Rain Bird COMMODORE 64/128K User manual

THE MUSIC SYSTEM
COMMODORE
64/128K
ADVANCED
D64 ATTACHED
TO THIS PDF

Philip Black (SYSTEM) SOUND/VMW/
ADVANCED EDITOR
TMS KEYBOARD/
EDITOR/SYSTEM DESIGN
Adrian Boot (ISLAND LOGIC) CONCEPT/SYSTEM
DESIGN/USER MANUAL
David Ellis (SYSTEM) CONCEPT/SYSTEM
DESIGN/USER MANUAL
Nicky Johns (ISLAND LOGIC) FILING/
INTEGRATION/DESIGN/
UTILITIES
Geoffrey Ellis (SYSTEM) DESIGN/
SYNTHESISER
Ewan Hayward (SYSTEM) ADVANCED LINKER
JOEY (ISLAND LOGIC) ADVANCED MIDI
Ching Man Wong (ISLAND LOGIC) COMMAND LINE/
KEYBOARD/GRAPHICS
Steve McGarry (ISLAND LOGIC) ADVANCED PRINTER
Shaun McGarry (ISLAND LOGIC) DEVELOPMENT
SUPPORT/PRINTER
Additional design/help/support/encouragement from:
Brian Jones (ISLAND LOGIC) Keith Shaw (SYSTEM)
Sue Shaw (SYSTEM) Steve Swallow (SYSTEM)
ii

AMS DEVELOPMENT TEAM ii
INTRODUCTION 2
EDITOR 10
KEYBOARD 37
SYNTHESISER 44
MIDI 63
THE PRINTER MODULE 73
LINKER 81
INDEX 86
APPENDIX 93
CONTENTS

THE MUSIC SYSTEM
ADVANCED
COMMODORE
64/128K

2
The Music System TMS is a comprehensive microcomputer-based music
program for creating, editing, playing and printing music. The system allows
easy input and storage of music which can then be played back through the
Commodore 64 internal sound system, or through an external MIDI
keyboard/synthesiser. Music can be printed out in proper musical notation
together with lyrics.
The music is entered in various ways: through an extremely versatile
EDITOR in written music format (note at a time). Via an on-screen piano
KEYBOARD emulator, or via an externally connected MIDI keyboard. Each
of these three input modes can create music files compatible with all other
modules. The LINKER can connect these music files together to form much
larger compositions. An understanding of the power as well as the limita-
tions of TMS can be gained through experience with the EDITOR module.
This module provides a central reference for the rest of the system, its
highly flexible step by step music input producing very accurate results.
The types of sound that can be generated are almost unlimited due to the
flexibility of the SYNTHESISER module. This allows you to create the
shapes of the sounds simply and quickly. The sound shapes (ENVE-
LOPES) are incorporated into the music using the EDITOR, KEYBOARD or
MIDI modules, to give you amazing versatility over your compositions.
INTRODUCTION
The six modules are directly accessible from the CONTROL SCREEN.
Each module is identifiable by its own symbol or icon. When applicable data
files are preserved when moving from module to module.
Editor Keyboard Synthesiser
Linker Printer Midi

3
TMS is loaded from disk via the Commodore 1541 disk drive after typing
LOAD“TMS”,8,1 and pressing RETURN. The Commodore 64 also allows
you to enter LOAD“*”,8,1 (RETURN). After the Island Logic/System Copy-
right screen has appeared the main TMS program will load automatically.
The loading will stop at the CONTROL SCREEN waiting for you to select a
module. When moving from one module to the next, you must always pass
through this screen. The highlighted icon is the one which may be run.
Press SPACE or SHIFT SPACE to select the next icon. Keep pressing to
get back to the original. Once selected the required module can be run by
pressing RETURN. Make sure that the TMS system disk is in your disk
drive before trying to load a module, otherwise an error message pop-up
will appear.
In general SPACE is used throughout the system to move a highlight or
select an operation.
When in the module return to the CONTROL screen by pressing function
key F5 to activate the command line pop-up. Use SPACE to move the
highlight bar over the EXIT command (eg. EXIT KEYBOARD) and press
RETURN. A short cut back to the CONTROL SCREEN can be achieved via
the COM CLR/HOME key pair. The COM key or Commodore key is at the
bottom left of the keyboard. Make sure the TMS system disk is in the disk
drive before leaving a module.
Moving around the MUSIC SYSTEM
TMS CONTROL SCREEN - EDITOR ICON SELECTED.
THE MUSIC SYSTEM

4
In each of the modules the command line provides easy access to the
available functions of TMS. Any command line pop-up menu can be activat-
ed by pressing one of the four commodore function keys, and de-activated
by pressing the same function key. Try selecting each of the command line
pop-ups.
The command line
You will notice that each of the pop-ups except INFO F7 has a horizontal
HIGHLIGHT bar or cursor which can be moved by pressing the SPACE bar.
This highlight cursor can also be moved in the opposite direction by holding
down SHIFT while pressing the SPACE bar. The highlight cursor is used to
select the function you intend to use.
Menu auto-scroll
In some cases, when the highlight reaches the bottom of a pop-up menu,
the menu itself will automatically scroll up, displaying new functions. It is
important to remember this feature. If you are looking for a particular
function and can’t see it within the selected pop-up, scroll the highlight
cursor up or down to auto-scroll the menu itself. You may reset the menu
after an autoscroll by pressing the function key to pop-down the menu
window and pressing the same key again to pop it back up.
InfoFiles Values Commands
f1
f3
f5
f7
InfoFiles Values Commands
f1 RETURN
SPACE
SPACESHIFT
Catalogue
Load
Save
Rename
Pop-up/pop-down Activate selection
↓Down
↑Up

5
The menu scrolls in a loop, a broken line showing the top of menu.
The SHIFT SPACE key combination causes the reverse to occur. When the
highlight reaches the top of the pop-up window the menu auto scrolls down.
Each item within the VALUES pop-up represents a value that can be
changed. For example when TEMPO or KEY SIGNATURE are selected,
the value can be changed using either the Qor Wkeys. These keys are
used throughout the system to change values.
The INFO pop-up only provides information and you can not directly
change it. Quantities such as available space, the size of individual voices,
and the values of important controls are displayed. This is the information
that you will often need to check during the operation of TMS.
InfoFiles Values Commands
Key signature
Save
Time signature
Tempo
Resolution
Volume
Filter
Voice
F # 6 sharps
Save
4/4
Presto
Expert
15
3
3
f3 Pop-up/pop-down
SPACE
↓Down
Highlight bar
Tempo
Save
Resolution
Volume
Filter
Voice
- - - - - - - - - - - - - - - - - - - - - - - - - - - - - -
Key signature
Presto
Save
Expert
15
3
3
F # 6 sharps
Auto scroll
Top of menu

6
The FILES pop-up and the COMMANDS pop-up both expect you to activate
a selected function by pressing RETURN. Often the action of pressing
RETURN will produce one or more secondary pop-ups either as a second
interactive window, or as simple messages or warnings. Remember, press-
ing the same function key will close down the window.
FILES
The most important function of the COMMAND LINE is to control the
loading and saving of files. Depending upon which module you are in, TMS
uses up to six different types of file.
Music files - Prefix m. Music as created by the EDITOR, KEYBOARD, or
converted from MIDI. Music files can be loaded into the LINKER, MIDI,
SYNTHESISER or PRINTER.
Sound files - Prefix s. Created and/or edited by the SYNTHESISER and are
used by the EDITOR, LINKER and KEYBOARD modules. Each sound file
can store 15 different instrument sounds.
InfoFiles Values Commands
Track Events
Free 9999
9999
9999
9999
9999
9999
9999
1
2
3
4
5
6
InfoFiles Values Commands
f5
RETURN
Save
Pop-up/pop-down
Activate selection
SPACE Select command
Clear all tracks
Metronome
Voice monitor window
Exit midi
Delete track

7
Midi files - Prefix x. Created via the MIDI module, and require an external
midi keyboard and interface. Midi files are easily converted to TMS music
files for use by the EDITOR and back to MIDI files for playback through a
MIDI.
Linker files - Prefix l. These files can only be created and used by the
LINKER. They use music ( m. ) files to produce much longer and more
complex compositions than the EDITOR or KEYBOARD alone can provide.
Notepad files - Prefix n. These are special files that are used by the
EDITOR to allow you to ‘cut and paste’ sections of music between voices
or even between music files
Text files - Prefix t. These files are created and used by the PRINTER
module: they are files of Lyrics that are normally associated with specific
music files.
It is very important that you ensure, when loading and saving files, that the
file is of the correct type. It is possible that two or more files can have the
same file name but different file types. ie. s.jazz is a sound file whereas
m.jazz is a music file.
Examples x.rock midi file
m.sonata music file
s.piano sound file
l.bigtune linker file
t.words text file
n.goodbit notepad file
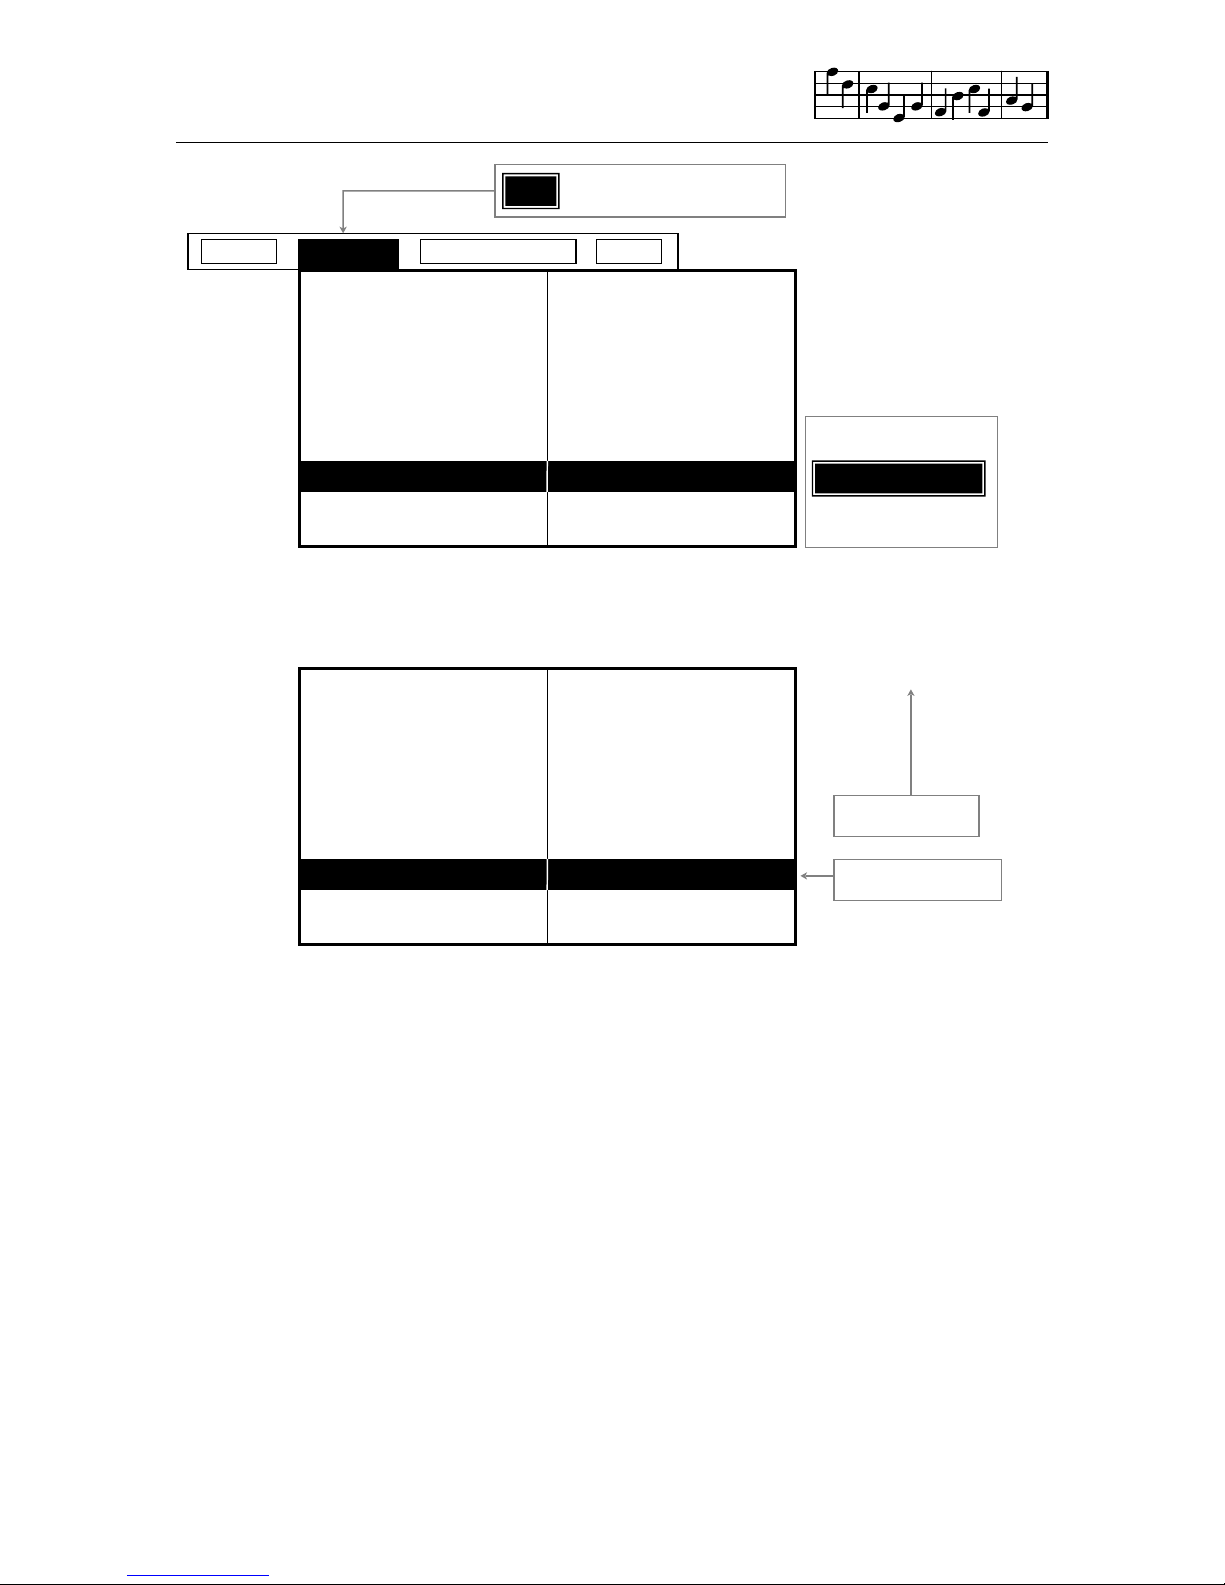
FILES options
To CATALOGUE the files available to the module you are in, first select the
FILES pop-up by pressing f1. Then move the highlight, using the SPACE
key, to select CATALOGUE. Press RETURN and wait a few moments. If
the disk contains any available files, then these will be displayed within a
CATALOGUE pop-up. Press RETURN to close the pop-up.
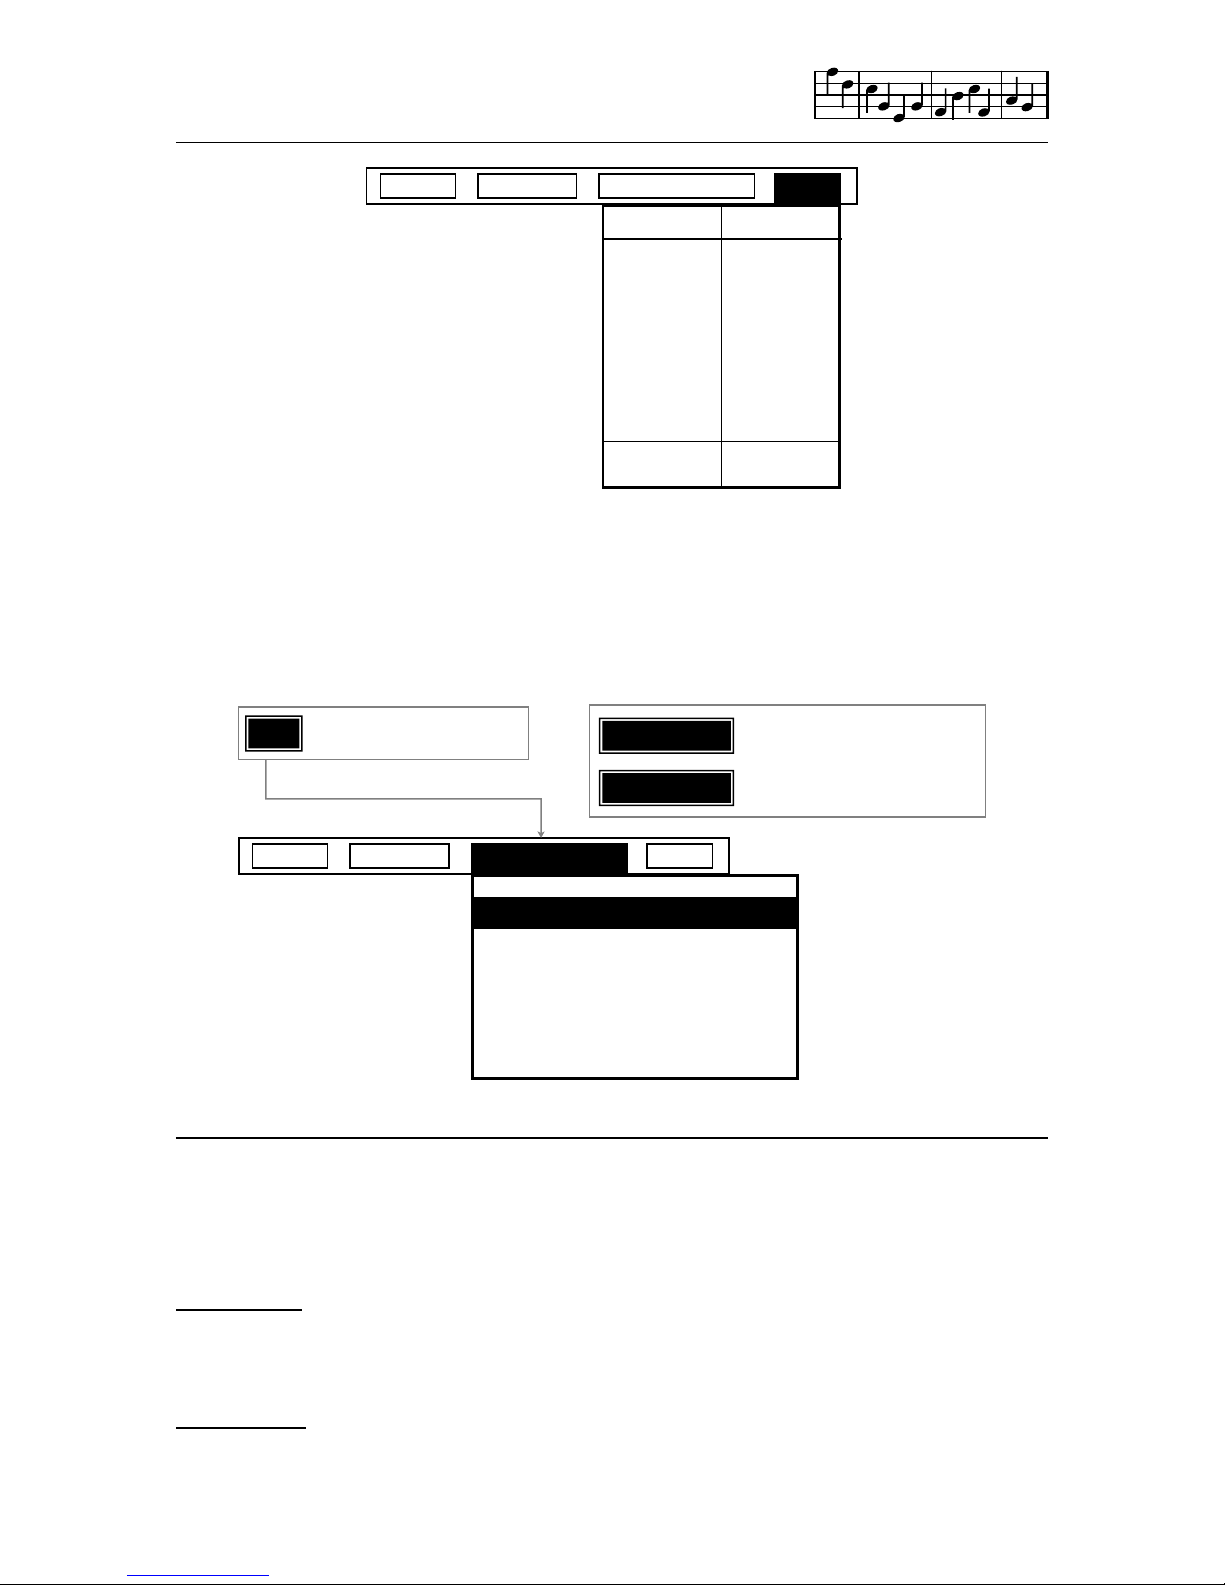
To LOAD a file, select the FILES pop-up f1, move the highlight bar to LOAD
press RETURN. After a few moments a pop-up will appear with a catalogue
of files available to the module. Move the highlight over the file you wish to

8
load and press RETURN. After a short delay the file will be loaded into the
module. If the filing system can’t find a file or encounters some other
problem, a pop-up message will occur.
To SAVE a file select the FILES pop-up f1 move the highlight to SAVE and
press RETURN. A small save pop-up will occur and wait for you to type in
afilename.The←keycanbeusedtochangethefiletype.Makesurethat
you use the correct file type. If you try to save a musical composition as a
sound (s.) file, then the current sound set will be saved, and not the music.
When you have entered a file name next to its correct file type prefix, press
RETURN and the file will be saved to the current disk. You cannot save files
to the TMS system disk. It is write protected. You will need a new disk to
save new or edited files.
To RENAME a file select the FILES pop-up and move the highlight to
RENAME (as above) and press RETURN. A catalogue will be displayed.
Move the highlight to the file you want to rename, press RETURN and type
in the new name. Press RETURN and the file will be renamed. You may
use the CATALOGUE option to check the renamed file.
You may DELETE a file in the similar way. A catalogue will allow you to
select the file you wish to delete.
Load sound 2
m.sonata
m.rockroll
m.jazz
s.woodwind
music
s.effects
Rename
m.rockroll
m.jazz
s.woodwind
m.reggae
s.effects
m.sonata
Rename
m.sonata
Save music
m.
SOUND 1
SOUND 2
↕
←
←
CHANGE FILE TYPE
midi
sound
linker
notepad

9
TMS may not function correctly if additional, or worse still exotic hardware
add-ons, are connected to your Commodore 64. The disk filing system may
not operate correctly when used in areas with a poor or fluctuation mains
power supply. Large magnetic fields generated by some TV’s and loud-
speaker systems could also create problems. Keep your disk drive in good
condition and operate it away from the above mentioned demons.
Filing Errors
If the disc drive reports any problems during filing operations, these will be
shown as “Disk Error XX” pop-ups. Look in your 1541 Disc Drive manual to
find out the nature of the error. (Refer to “DOS ERROR MESSAGES”)
The most likely errors are:
1) Disc Error 21 - No disc in the disc drive! It can also mean that your disk
is unformatted; or, more seriously, your disc drive is faulty.
2) Disc Error 26 - This happens if the disc is “write-protected”, and probably
means you are trying to save files to the System disk.
* Do not attempt to VALIDATE a disk which contains TMS files, as this may
result in the files being erased.
* All TMS filing operations only work on TMS files, so, for example, non-
TMS files will not be displayed in the catalogue, and cannot be renamed,
deleted etc.
* New discs must be “formatted” on the CBM64 before they can be used to
store files. If you have a new (unformatted) disc, then before loading TMS,
put the new disc in the disc drive and type:
OPEN 15,8,15,”NEW0:name,ID” <return>
CLOSE 15 <return>
N.B. Refer to the “NEW” command in your Disc Drive User’s Manual.
Audio Link. With care you can easily connect your Commodore and TMS to
your HI FI, with spectacular results. Connect your HI Fl lead to pins 2 and
3 of your video DIN. (C64’s programmers reference guide.) Shield to pin 2
and core to pin 3.
WARNING

10
The EDITOR module provides all the facilities of a wordprocessor; writing,
displaying and editing music rather than words. The EDITOR can of course
play the tunes as well! Tunes may be entered directly on the staves, played
and edited using the very comprehensive facilities available within the
EDITOR. The EDITOR also provides the unique function of displaying and
editing tunes entered via the KEYBOARD and MIDI modules. There is even
a command for ‘tidying up’ the results of your accomplishments with a
keyboard! The EDITOR also provides the finished files for the PRINTER
module and can also create tunes and backing tracks for both the SYN-
THESISER and MIDI modules.
EDITOR
The EDITOR displays notes within the selected four octave range on treble
and bass staves together with the appropriate key and time signatures. One
of the three voices may be displayed, scrolled through (with or without
playing) or edited at any time. You may flip instantaneously between voices
at exactly the same point in a tune and play selected voices together from
any note. The barmeter device shows you exactly where you are in a tune.
Music can be transposed instantly into any available key with the insertion
of the appropriate accidentals. Music can be entered in practically any time
signature with the facility for automatically entering barlines and ties where
necessary. Most common musical notation is catered for including triplets,
ties and repeats. The versatile loop sections may be used and edited in this
module.
Editor

11
The EDITOR features many powerful facilities for editing musical composi-
tions. There are block move, copy and delete facilities just like most
wordprocessors and even a notepad for storing sections of music for later
use. The EDITOR also includes many MACRO editing facilities for the more
advanced user.
The EDITOR screen
The EDITOR module can be selected from the CONTROL screen by
highlighting the EDITOR icon and pressing RETURN.
The screen consists of a large Voice Monitor Window (VMW) at the bottom
displaying the notes in any one of the voices; a barmeter followed by the
barnumber, volume, envelope and notename devices. A Free Space device
also appears in the top left of the VMW. You can return to the CONTROL
screen by accessing Commands: Exit Editor or pressing COMM-HOME.
The following sections briefly describe each of the EDITOR devices. Move
on to ‘Entering and playing notes - a quick guide’ if you really want to start
composing straight away! (p.14)
VMW
The Voice Monitor Window displays a part of the tune stored in memory. A
tune can have up to three voices and the VMW can show a small part of
InfoFiles Values Commands
1
2
3125 15 15 40

12
one of those voices. The window can be flipped between voices by pressing
1,2, or 3. The notes in that voice can be scrolled through the window using
[and ]. You can also hear them as they scroll by using SHIFT-RUN/STOP.
The diagram below shows the VMW looking into part of Voice 2.
Inside the VMW there is a white vertical band called the note cursor. This
marks the ‘current note’ - the one that can be edited or sounded. When
notes scroll past they sound when they reach the cursor column. When
flipping between voices the current note in the new voice is the one that
would have been playing at the same time as the current note in the
previous voice. If there wasn’t a note playing then it will go to the last note
in that voice. You can therefore flip easily between voices knowing that the
notes ‘line up’. The VMW also displays the appropriate key and time
signatures selected from Values.
Free Space
The EDITOR free space device is within the VMW and shows you how
many notes you can add to your tune before running out of space. It also
takes into account the space you have used up for your notepad. Look at
Info to see what the notepad size is.
Barmeter
The EDITOR barmeter indicates the overall length of each voice relative to
the others. Each voice is expanded to include all repeats. The barmeter
cursor shows you where you are within a tune and moves left and right as
you scroll backwards and forwards through a voice. The highlighted voice
Voice 1
Voice 2
Voice 3
[ ]
Free 792

13
number on the left indicates the current voice being displayed on the VMW.
If you flip between voices then the barmeter cursor will not move unless the
new voice is shorter. You can move the barmeter cursor quickly through a
tune using SHIFT-[ and SHIFT-]. When you release the keys the note
cursor will point to the new section of music in that voice.
The small playback indicators on the righthand end of the barmeter are
highlighted when voices are selected for playback. They remain highlighted
until switched off. SHIFT-1 is used to switch voice 1 on or off, SHIFT-2 to
switch voice 2 etc. Any combination of voices may be played back (includ-
ing none!) irrespective of the current voice displayed on the VMW.
The playback indictors also show whether a voice is being played as a
whole voice or as a loop section. An Sindicates a loop section. Loop
sections are intended to be used for repeated rhythm tracks, bass lines and
accompaniments and are set from Values.
Bar number
The bar number device indicates the number of the current bar displayed
by the VMW. Unlike the barmeter, repeats are ignored. When flipping
between voices the bar number might not necessarily remain the same
since it only counts the barlines and not the duration of the notes.
1
2
3
1
S
2 3
Barmeter cursor
Current voice on VMW
1 2 3
Active playback voices
SHIFT
[ ]
SHIFT SHIFT
16

14
Volume and envelope
These devices display the volume and envelope associated with the current
note on the VMW. The volume setting is an additional volume and can only
be used in voice 1. The overall (or global) volume is set from Values. The
envelope number for the current note is changed using Zand X.
Notename
For those of you who can not remember F-A-C-E or Every-Good-Boy-
Deserves-Favours the notename device displays the octave, notename
and accidental for the current note on the VMW. The key signature and any
previous accidentals in the bar are taken into account. The notename for a
rest is blank.
Entering and playing notes - a quick guide
The Editor is a very powerful composing tool with many facilities. This
section is intended as an introduction - as you become more familiar with
the basic commands you can launch yourself into the advanced editing
facilities, set up the user parameters from Values, attack macros and get to
grips with the notepad… adjust barlines… clock tidy… etc.
Notes are always entered directly on the treble and bass staves at the note
cursor. If there are no notes in the voice the current note is shown in blue.
If there are notes already there, you may delete all notes by accessing
Commands: Clear music. A blue note has not yet been stored in memory.
A
Voice 1 volume
210
3C
f
S Z X
<> <>
Envelope
↑
=
Pitch

15
It always appears at the end of a voice ready to be entered. The pitch,
duration and envelope of this note can all be changed before it is entered.
Enter the note by pressing RETURN. If autosound is on the note will be
heard. The newly entered note moves to the left and a similar note appears
under the note cursor. Again this note may be edited and entered into
memory by pressing RETURN. If you want to hear the note before it is
entered press *. This is very useful when changing envelopes.
Once a note has been entered you can easily edit it by moving the note to
the cursor position and changing the pitch, duration, etc.
This time the note will appear black because it is a real note stored as part
of the voice. You can press *to preview the note and press RETURN to
move on to the next one. You could just as well press [or ]to move onto
another note.
To remove a note (it must be a real one!) move it to the cursor column and
press DEL. To add another note to the end of a voice, scroll to the last note
and press RETURN. A blue note will appear again for you to edit and enter
as before.
As more notes are added to a voice barlines will begin to appear automati-
cally according to the time signature. You may even find that some of the
notes are automatically tied across a barline for you! In other cases you
might be told that the bar is too long and the notes can not be fitted in. Press
↑
=
Pitch
Z X
<>
Envelope
Q
Duration
W
<>
[ ]
*
Sound note
RETURN
Enter note
Scroll music

16
SPACE and change the duration of the note so that the bar will be the
correct length. The autobar and autotie parameters may be switched off in
Values if necessary.
Having entered some notes move to the beginning of the voice and play the
notes in that voice by pressing SHIFT-RUN/STOP. The notes will play and
scroll right to the end. You can stop them playing by pressing RUN/STOP
again. You can start and stop playing at any point in the voice. Notice how
the barmeter keeps track of the notes you have entered in the voice and
how the barmeter cursor shows where you are as you scroll through. You
can move through a voice more quickly using SHIFT-[ and SHIFT-] to fast
rewind and fast forward. This time the notemeter cursor moves left or right
without the music scrolling. Let go of the keys and the VMW will update
itself to the new part of the music. Look at the barnumber device to see
which bar you have reached. You can jump straight to the beginning of the
tune by pressing COMM-[ or to the end of the voice by pressing COMM-].
Remember that you have to press RETURN to get a blue note at the end
again.
So far you have only used one voice and we’ll assume that you have been
entering notes in voice 1. Press 2and you will be at the start of voice 2 - at
a blue note again because no notes have yet been entered. Check that the
barmeter shows number 2 highlighted on the left. Enter notes in exactly the
same way as before until both voices are the same length. You can flip to
voice 1 by pressing 1and back again with 2. Move to the start of voice 2
and press RUN/STOP. Both voices will play together without scrolling the
music. Press RUN/STOP again to stop playback before the end of the tune.
If both voices do not play then check that the playback indicators are all
highlighted (on). On pressing RUN/STOP only those voices set for playback
are heard. If none are on then you will not bear anything although the tune
will actually be playing! Press SHIFT-1 to switch voice 1 on/off; SHIFT-2 for
voice 2, etc.
[ ]
Scroll left
Fast rewind
Move to start
Play voice
SHIFT [
SHIFT
SHIFT
RUN
STOP
]
]
[
C
=
C
=
RUN
STOP
Scroll right
Fast forward
Move to end
Stop playback

17
Try adding a third voice in the same way as above but this time experiment
with the envelope settings. Each note can have a different sound envelope
attached to it. There are 15 envelopes available in sound set 1. Use Zand
Xto change the envelope number. Remember that you can preview the
sound with *before entering it. You can always return to any note and
change its envelope setting again. A whole sound set containing another
15 envelopes can be loaded into the EDITOR and this could change the
sound of all the notes already entered.
Your new tune can be saved in the normal way through Filing. Press f1,
select the Save option and press RETURN. Type your filename and press
RETURN again. Remember that you need your own data disc in the disc
drive and not the A.M.S. disc when you save a file. Your tune will remain in
memory after saving it. A new tune could also be loaded but remember that
this will delete your current tune and replace the sound set.
More on editing
Accidentals
Accidentals can be added to any note by pressing the relevant key. Notes
are automatically put in the correct key according to the selected key
signature so there is no need to put in sharps and flats where they are
already shown in the key signature. If you require a note to be a natural,
press U. Press Jto cancel any accidental and therefore leave the note in
the selected key.
In the EDITOR music is entered in proper musical notation. The usual
convention of only showing accidentals once in a bar is adhered to. If a
particular note, say C is made sharp (C#) any further C’s at that pitch will
be assumed sharp for the rest of that bar unless cancelled by a natural or
any other accidental.
The EDITOR also uses double sharps and double flats. They do not appear
in the most commonly used key signatures and are only usually used when
L K J H G U
Table of contents