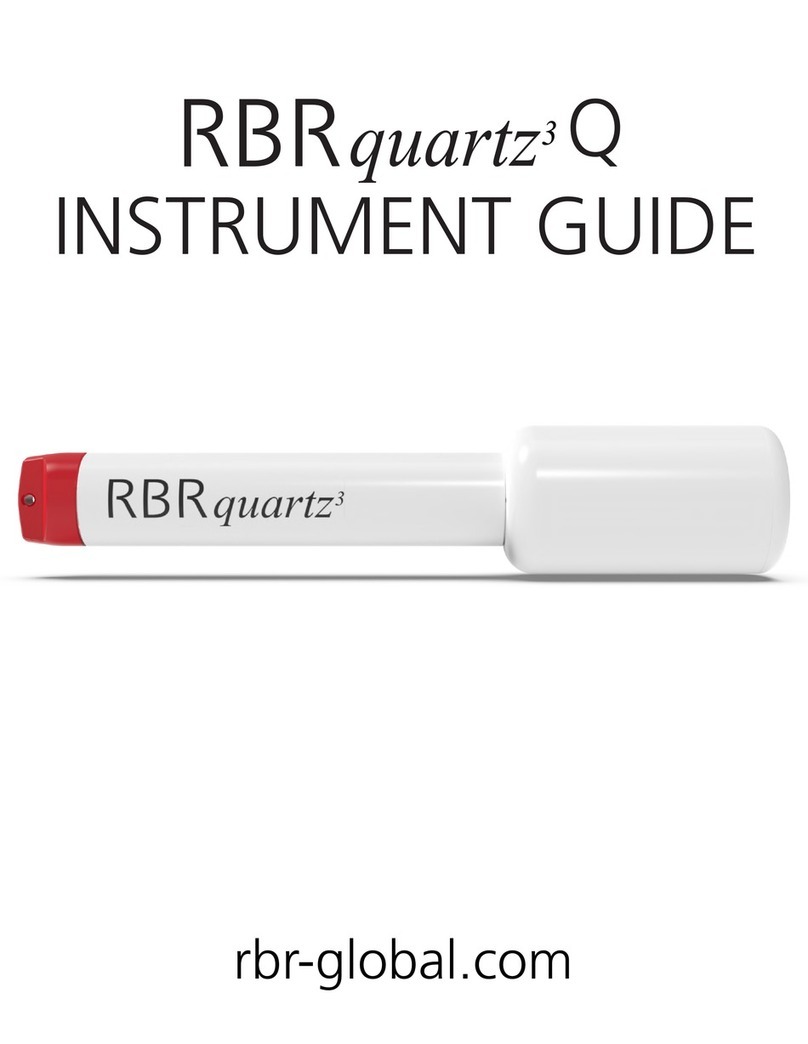
RBR quartz3 BPR zero User manual

rbr-global.com
INSTRUMENT GUIDE
BPR|zero

RBR#0008819revA
2
1 Table of Contents
1Table of Contents ...................................................................................................... 2
2 Introduction ............................................................................................................... 3
3 Revision history.......................................................................................................... 4
4 Warranty statement................................................................................................... 5
5 RBRquartz BPR|zero................................................................................................... 6
5.1 Overview - RBRquartz BPR|zero ....................................................................................................... 6
5.1.1 Description ........................................................................................................................................................................6
5.2 Specifications - RBRquartz BPR|zero ............................................................................................... 6
6 Instrument Hardware ................................................................................................ 9
6.1 Opening and closing the RBRquartz BPR|zero ................................................................................ 9
6.2 Changing the batteries - RBRquartz BPR|zero............................................................................... 11
6.2.1 Steps: ...............................................................................................................................................................................11
6.3 Installing desiccant - RBRquartz BPR|zero .................................................................................... 12
6.4 Maintenance and repairs................................................................................................................ 12
6.4.1 O-rings - RBRquartz BPR|zero.........................................................................................................................................12
Inspecting O-rings...........................................................................................................................................................13
Replacing an O-ring.........................................................................................................................................................13
6.4.2 Servicing the RBRquartz BPR|zero waste oil reservoir..................................................................................................14
Overview..........................................................................................................................................................................14
6.4.3 Repairs.............................................................................................................................................................................15
6.4.4 Support kits.....................................................................................................................................................................16
7 Appendix................................................................................................................... 17
7.1 Appendix A - RBRquartzBPR|zero Product Drawing...................................................................... 17
7.2 Appendix B - RBRquartzBPR|zero Service Drawing....................................................................... 19
7.3 Appendix C - RBRquartzBPR|zero Connector Details.................................................................... 20

RBR#0008819revA
– 4
3 Revision history
Revision No. Release Date Notes
A 04-May-2020 Original

RBR#0008819revA
– 5
4 Warranty statement
All data loggers manufactured by RBR Ltd. are warranted against defects in workmanship or original parts and
materials for one year. Third party sensors (not manufactured by RBR) are limited to the warranty provided by the
original manufacturer.
Units suffering from such defects will be repaired or replaced at the discretion of RBR Ltd., provided that the problem
has appeared during normal use of the instrument for the purpose intended by us. The liability of RBR Ltd. extends only
to the replacement cost of the instrument. The customer will bear all costs of shipment to us for repair; all other costs,
including return shipment, will be borne by RBR Ltd.
This warranty does not cover consumables or normal wear and tear, nor does it cover damage caused by negligent use
or mishandling. Attempted modification or repair of any unit without the prior consent of RBR Ltd. will immediately
void any warranty in force.
Users are expected to maintain a regular program of calibration.
We reserve the right to grant or refuse warranty repairs at our discretion if we consider that there are reasonable
grounds for doing so.

RBR#0008819revA
– 6
5 RBRquartz BPR|zero
5.1 Overview - RBRquartz BPR|zero
5.1.1 Description
The RBRquartz³ BPR | zero is a special version of the robust RBRquartz³ BPR implementing an internal quartz barometer
and a switching valve. The novel AzeroA technique is used to provide in-situ reference measurements to correct for long
term drift in the Paroscientific Digiquartz® pressure gauge. Configured with one or two Digiquartz® pressure gauges, an
internal barometer is used in conjunction with a hydraulic manifold to periodically make reference measurements of
internal housing pressure. This instrument is intended for deep water, long-term deployments where high stability and
resolution of absolute pressure measurements are critical. The RBRquartz³ BPR | zero may be supplied with external
power from RBRfermata (power) or RBRcervata (power and memory) canisters or cabled to an observatory for external
power and realtime data access.
The RBRquartz³ BPR | zero uses the AzeroA technique to assess drift in the Digiquartz® pressure gauge. This is done by
periodically switching the applied pressure that the gauge measures from seawater to the atmospheric conditions
inside the housing. The drift in quartz sensors is proportional to the full-scale rating, so a reference barometer - with
hundreds of times less drift that the marine gauge - is used to determine the behaviour of the marine pressure
measurements.
5.2 Specifications - RBRquartz BPR|zero
Physical
Weight: ~30kg in air (one Paros)
~18kg in water (one Paros)
Size: ~750mm x Ø140mm
Housing: Titanium
Depth rating: 7000 m
Operational temperature: -20°C to 50°C*
Storage temperature: -20°C to 50°C

RBR#0008819revA
– 7
Power: Requires external power**
External power: 9.5-30VDC
Communication: USB-C, RS-232/485, Ethernet***
Other
Storage: 240M readings
Clock drift: ±60 seconds/year
Integration time 760ms (Single Paros)
720ms (Dual Paros)
*Calibrated temperature range is -5°C to 35°C
**The instrument has 8 X AA batteries installed, however, this is intendedonlyfor purposes of sustaining the instrument
during external power interruptions of a few minutes. While the Paros will continue to run and be measured,the valve
will not operate.
***Connector diagram and pinout available inAppendix C - RBRquartzBPR|zero Connector Details
Marine temperature (standard)
Range: -5 to 35°C
Accuracy: ±0.002°C
Time constant: ~3 minutes
Typical stability: ±0.002°C/year

RBR#0008819revA
– 9
6 Instrument Hardware
6.1 Opening and closing the RBRquartz BPR|zero
Instruments have both a "sensor end cap" and a "battery end cap". The battery end cap will be the side with the two
underwater connectors (both MCBH and MINK are options, MCBH is shown below). Only the battery end cap needs to be
opened to access the data connector, batteries, desiccant, and waste reservoir. To open the logger battery end cap, the
two M6 screws will need to be removed using a 6mm Allan key (supplied). To do this the instrument can be stood on the
sensor end cap and held vertically, or laid on its side.
Once the screws are removed, the battery end cap can be removed and rested on the side of the housing when standing
vertical.

RBR#0008819revA
– 10
To reassemble, line up the battery end alignment pin with its socket and push until the battery end cap is mated fully to
the housing.Remember to keep the O-rings clean and avoid scratching the O-ring mating surfaces. Carefully inspect the
O-rings, as described in the Inspecting theO-rings section, before deploying the logger.
Reinstall the 2 X M6 screws and tighten to max of 10Nm.

RBR#0008819revA
– 11
1.
2.
3.
6.2 Changing the batteries - RBRquartz BPR|zero
The RBRquartz3BPR|zero has an internal battery holder contains 8xAA batteries (any chemistry, including LTC).
However, this is intendedonlyfor purposes of sustaining the instrument during external power interruptions of a few
minutes. While the Paros will continue to run and be measured,the valve will not operate.
6.2.1 Steps:
Remove the battery end cap from the logger. (see:Opening and closing the RBRquartz BPR|zero)
Remove the old cells from the battery end cap.
Install new cells with the negative terminal installed on the side with the spring. The terminals are also
labelled on the boards.
4. Reinstall the battery end cap.

RBR#0008819revA
– 12
1.
2.
6.3 Installing desiccant - RBRquartz BPR|zero
The logger has a dedicated location for placement of desiccant in the battery end cap, which will accommodate twelve
(12) desiccant capsules (part #0005669(qty50)).
Steps
Remove the battery end cap from the logger - seeOpening and closing the RBRquartz BPR|zero.
Inside the battery end cap, there are 12 recessed sockets. Insert a desiccant capsule into each socket,
ensuring that each is securely placed.
3. Replace battery end cap.
*Note these desiccant capsules can be opened, the desiccant removed and replaced or dried.
6.4 Maintenance and repairs
6.4.1 O-rings - RBRquartz BPR|zero
The single most important item of maintenance on any RBR submersible data logger is the care of the O-rings. Any kind
of water leak can damage the circuitry beyond repair and cause complete data loss. Every logger's seal depends upon
its O-rings, not the end cap tightness. Therefore, proper O-ring maintenance is crucial.
O-rings may lose elasticity over time due to pressure, even when the logger is not deployed.We strongly
suggest that the O-rings be replaced regularly, for example, before every deployment, or after a change of
batteries, or at least once a year.

RBR#0008819revA
– 13
•
•
•
1.
2.
3.
4.
5.
Inspecting O-rings
Pay attention to the following areas:
The surface of the O-ring itself
The mating surface on the inside of the case between the threads and the open end
The inner surfaces of the groove in the end cap where the O-ring sits
Any dirt present should be removed by wiping thoroughly with a soft, lint-free cloth. When cleaning, never use any
material or tool which could scratch the O-ring or any of its mating surfaces. If any dirt is present in the O-ring groove,
then the O-ring should be removed as described below to allow thorough cleaning of the groove. If an O-ring needs to
be removed for any reason, it should be replaced.
If the O-ring is scratched, cut, distorted, perished or defective in any other way it must be replaced. If any of the surfaces
of the O-ring groove are scratched, pitted or otherwise damaged, the logger may need to be returned to RBR for
refurbishment: please contact us for advice.
Replacing an O-ring
Lever the O-ring from its groove. Use a soft plastic or wood tool; do not use a metal screwdriver or any
other tool which may scratch the surfaces of the O-ring groove, doing so will probably render the end
cap useless. Slide the O-ring out of its groove and off the logger. The O-ring may need to stretch quite
a bit as it is pushed off; this requires some effort but can be done by hand.
Thoroughly clean the O-ring groove, taking great care not to scratch or damage it in any way. Inspect it
carefully, and contact us for advice if it appears damaged. Apply a light film of silicone grease to all
three inside surfaces of the groove, being careful not to trap any dirt, hairs or lint.
Select the proper O-ring,see part numbers below,and make sure it is not damaged. Lubricate it with a
very light film of silicone grease to ease its installation.
Install the new O-ring by pushing it into place and popping it into its groove.
When the new O-ring is in place, inspect it once more for scratches and dirt, and wipe away any
silicone grease deposited on the end cap.

RBR#0008819revA
– 14
1.
2.
3.
4.
5.
1.
2.
Most experienced users of oceanographic equipment replace all O-rings before every deployment as a matter of
routine. The cost of an O-ring is negligible compared with the cost of the instrument and its deployment. Therefore,
routine replacement of O-rings is cheap insurance.
O-rings:#2-225 N70 O-ring (RBR#0002408),#8-225 N90 backup ring (RBR#0009115)
6.4.2 Servicing the RBRquartz BPR|zero waste oil reservoir
Overview
The RBRquartz3BPR|zero utilizes aParoscientific Digiquartz®sensor which is filled with a buffer oil and is connected to
the environment via a tube.The difference between anRBRquartz3BPR and BPR|zero is that the |zero makes use of a
valve to change theParoscientific Digiquartz®sensor or sensors to measure the pressure inside the housing of the
instrument, which is monitored by a barometer in order to correct for the drift of the sensors over time. This actuation
of this valve results in a small volume of buffer oil transferred into the pressure housing of the instrument. The
transferred buffer oil is stored in a reservoir that will need to be cleaned periodically. The instructions in this section will
describe how to open this reservoir and replace the absorbent towel.
Materials required:
Protective gloves
Eye protection
Replacement absorbent towels*
O-ring*
Silicone grease*
*Provided in the maintenance kit
Opening the reservoir
Open the battery end cap as described inOpening and closing the RBRquartz BPR|zero
Remove the umbilical from the battery end cap by pushing down on the latch (located on the left-
hand side of the connector) and pulling the connector down. Do not pull from the wires attached to
the connector, as this could damage them.

RBR#0008819revA
– 15
3. Set the battery end cap off to the side.
4. Now you will have unobstructed access to the oil reservoir (red cap). To remove the reservoir turn the cap
counterclockwise at least one rotation and then pull.
5. The oil absorbent towel will be contaminated with the buffer (Dow Corning FS 1265 Fluid 300 cst) and should be
disposed of in accordance with local regulations.
6. Replace the O-ring on the waste reservoir.
7. Replace the absorbent towel by rolling one side of the towel and inserting it into the centre of the reservoir and
wrap the remaining towel around the reservoir in a clockwise manner (when viewed as below). The towel should only
wrap around the reservoir once, any additional layers will make it difficult to insert.
8. While holding the towel so that it does not unravel, reinsert the reservoir back into the instrument, and close by
turning the cap clockwise approximately one full rotation or until tight.
6.4.3 Repairs
We support all instruments and software that we manufacture. First line support is always available by phone or e-mail.
Please contact us immediately if you are experiencing problems with your RBR product. It is very important to contact
RBRquartz BPR|zero - service diagram
The complete RBRquartz3 BPR|zero service drawing is available inAppendix B - RBRquartzBPR|zero Service
Drawing

RBR#0008819revA
– 16
us before returning your instrument, as some difficulties can be easily solved on-site by the user. Please have the model
and serial number of the unit handy when you contact us at[email protected].
There are no user-repairable parts of the logger. Any attempt at repair, whether successful or not, without prior
authorization from RBR Ltd., will void the warranty.If it is necessary to return the product to RBR for an upgrade, repair,
or calibration; please review the detailed shipping information on our websitewww.rbr-global.combefore returning the
unit.
In the unlikely event of an instrument requiring service at RBR, contact us for an RMA number and please use the
following shipping address:
RBR Ltd
95 Hines Road Unit 5
Kanata, Ontario
CANADA K2K 2M5
Telephone +1 (613) 599-8900
For those who are shipping from outside of Canada, you will need to clearly mark the waybill and any other customs
paperwork with the following:
"Canadian goods being returned to manufacturer for repair. NOT A SALE."
Please state the instrument value on the waybill as closely as possible to the current market value based on the original
purchase price less depreciation. Please contact RBR if you have any questions about the instrument value. Send the
unit using your own preferred method (prepaid). However, we suggest that you do not use Ground Service since
customs brokerage charges will be billed incorrectly.
Units repaired under warranty will be returned prepaid by RBR. Warranty repairs are decided on a case by case basis.
Standard Repair Charges (Non-warranty)
Our minimum repair charge is $150 CAD. This charge covers a comprehensive initial check, including verification
calibration and sensor functionality. Minor repairs are also covered by this basic fee. If further repair work or re-
calibration is necessary, a quotation will be issued to the customer. Once we have received authorization to proceed,
the repair shall be completed and the instrument returned as soon as possible. Please note that any units returned with
low (or no) batteries will have new batteries installed and the costs will be added to the repair invoice.
6.4.4 Support kits
To simplify maintenance of your data logger, RBR sells support kits with enough O-rings, and silicone grease for 5
deployments. Please contact RBR for more information or to place an order.

RBR#0008819revA
– 17
7 Appendix
7.1 Appendix A - RBRquartzBPR|zero Product Drawing

RBR#0008819revA
– 18

RBR#0008819revA
– 19
7.2 Appendix B - RBRquartzBPR|zero Service Drawing

RBR#0008819revA
– 20
7.3 Appendix C - RBRquartzBPR|zero Connector Details
Other manuals for quartz3 BPR zero
1
Table of contents
Other RBR Voice Recorder manuals