Ready Track VX60 User manual

ReadyTrack OBD Vehicle Tracker
VX60
User Guide
Copyright © 2013 Ready Track Pty Ltd. All rights reserved. -1-

Contents
1. Notice ............................................................................................................................................................... 3
1.1 Usage Information........................................................................................................................................ 3
1.2 Product Accessories ..................................................................................................................................... 3
2. Product Function and Specifications................................................................................................................. 4
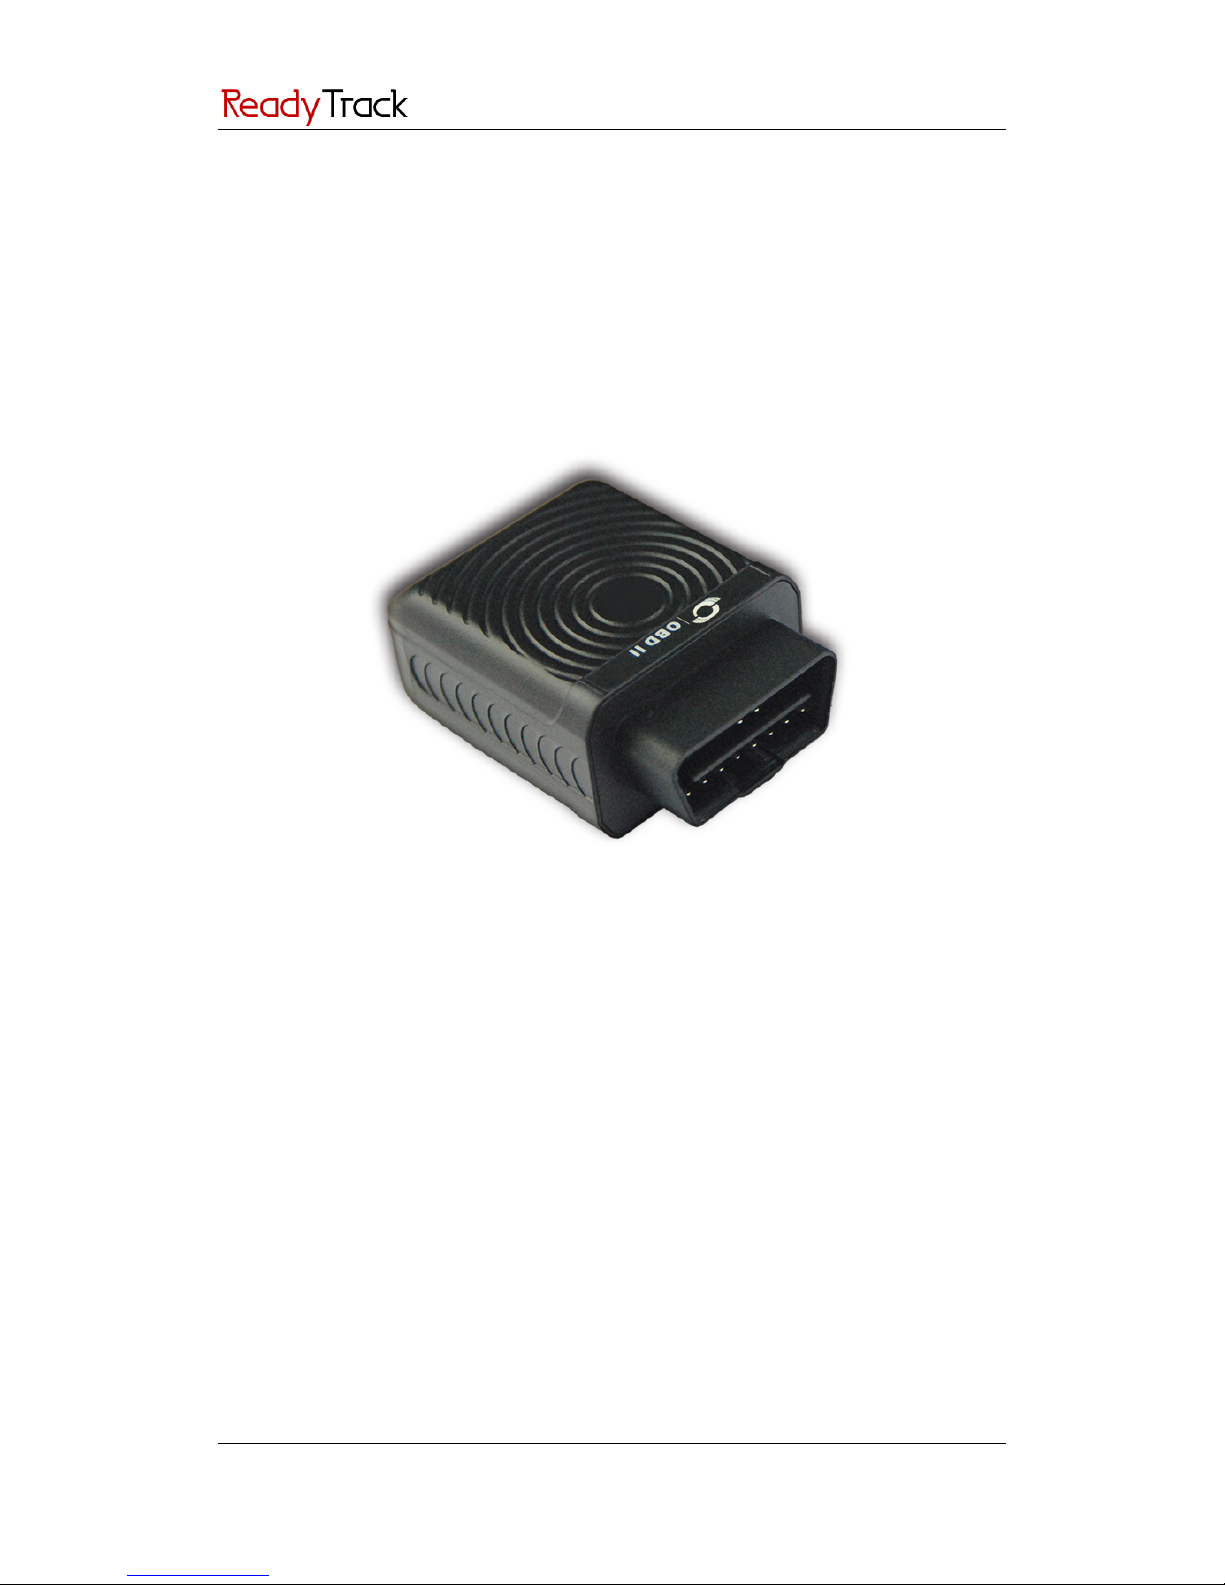
2.1 Introduction ................................................................................................................................................. 4
2.2 Specifications ............................................................................................................................................... 4
2.3 Product Function.......................................................................................................................................... 5
2.3.1 GPS Tracking ...................................................................................................................................... 5
2.3.2 Alarms ............................................................................................................................................... 5
2.3.3 Vehicle Fault and Safe Driving Reminder ........................................................................................... 5
2.3.4 Integrated Functions ......................................................................................................................... 6
3. View.................................................................................................................................................................. 6
4. Quick Start ........................................................................................................................................................ 7
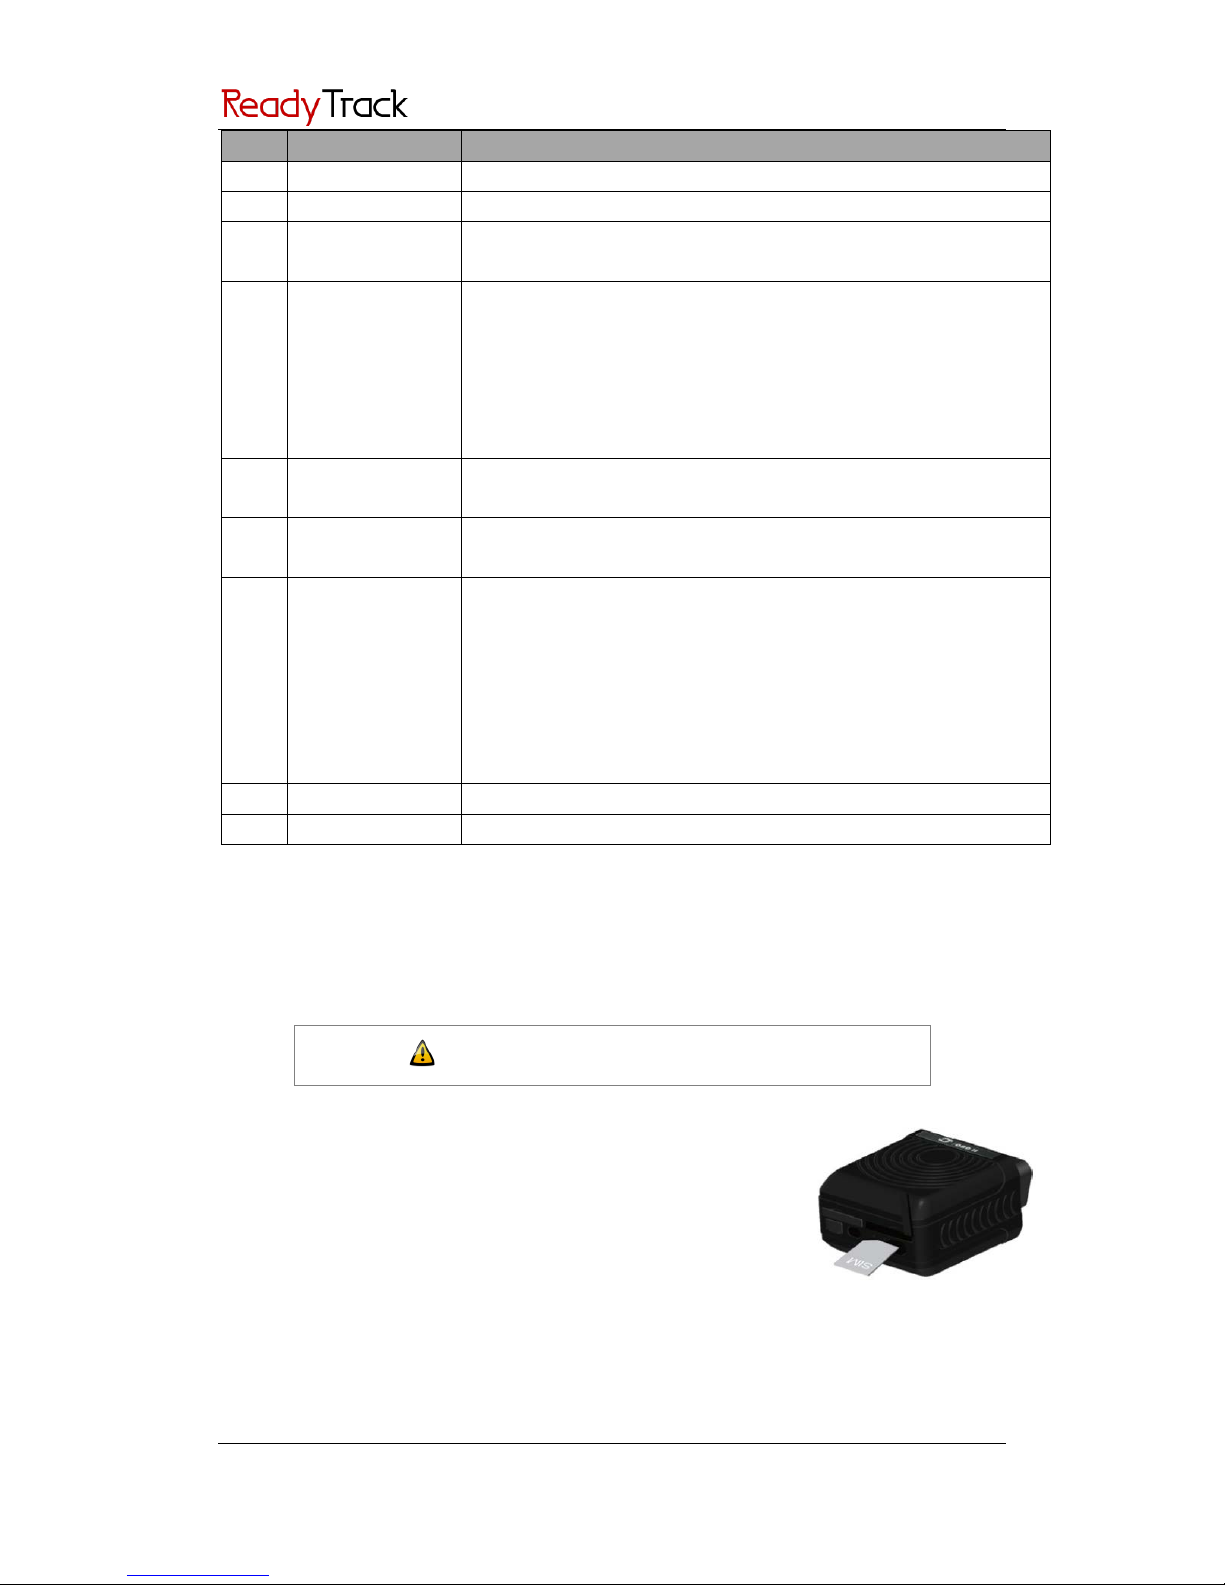
4.1 Insert the SIM Card ...................................................................................................................................... 7
4.2 Charge the Battery ....................................................................................................................................... 8
4.3 LED Indicators............................................................................................................................................ 8
4.4 Track by Calling............................................................................................................................................. 8
4.4.1 Multiple Phone numbers– A71 ......................................................................................................... 9
4.4.2 Listening-in (Voice Monitoring) – A72 ............................................................................................... 9
4.4.3 Smart Sleep Mode – A73................................................................................................................. 10
4.4.4 Time Zone – B35.............................................................................................................................. 10
4.5 Configure by Computer .............................................................................................................................. 11
4.5.1 SMS Tracking ....................................................................................... Error! Bookmark not defined.
4.5.2 GRPS Tracking and Buzzer Reminding Configuration...........................Error! Bookmark not defined.
4.5.3 Fault Record ........................................................................................ Error! Bookmark not defined.
4.6 Platform Tracking ....................................................................................................................................... 12
5. VX60 Installation ............................................................................................................................................. 12
5.1 Plug Car Connector Directly ....................................................................................................................... 12
5.2 Use the Extension Cable to Install (Optional) ............................................................................................. 12
Copyright © 2013 Ready Track Pty Ltd. All rights reserved. -2-

1. Notice
1.1 Usage Information
•This product is a wireless communication terminal; please turn it off before entering into places of
dangerous goods or restricted areas.
•Ensure that it is not exposed to rain and high temperature while installing and running.
•Uncontrollable factors, such as bad weather and metal objects may lead to poor signal reception.
•As this product utilizes wireless transmissions, for better signal strength, please put it to the place
where no metal shielding while using optional extension cable.
•The operating voltage of this product is DC 12V, and cannot be installed with 24V or 36V, otherwise it
will be damaged. This is not included in warranty policy.
•Ensure Ignition is off during the period of installation, plug in the terminal and then start the vehicle.
•In order to prevent the unit from unwanted removal, please use OBD extension cable to hide the unit in
a proper place for prolonging removal time.
1.2 Product Accessories
Please check the package you received as per below list, ensure accessories are completed and properly
purchased on demand.
Standard Accessories
Optional Accessories
Number Item Quantity Number Item Quantity
1 VX60 Device 1 pc 1 2m OBD Extension Cable 1 pc
2 USB Charging Cable 1 pc 2 Velcro Mounting Kit 1 pc
3 Quick Start Instruction 1 pc
4 Warranty Card 1 pc
Copyright © 2013 Ready Track Pty Ltd. All rights reserved. -3-

2. Product Function and Specifications
2.1 Introduction
VX60 is a GPS vehicle tracker specially developed and designed with OBD II (On-Board Diagnostics II) function,
mainly used for vehicle tracking, anti-theft, vehicle examination and fault diagnostics etc. It can provide you with
professional analysis for economic and safe driving.
VX60 can be easily and quickly installed, plug-in and play.
VX60 is applicable to those private cars and other vehicles with OBD II standard protocol and connector.
2.2 Specifications
Items Specification
Dimension 69.8 x 51.8 x 31.8 mm
Weight 60g
Input Voltage DC 12V/1A
Back-up Battery 150mAh/3.7V
Power Consumption 100mA
Operating
Temperature
-20
℃
~55
℃
Humidity 5%~95%
Work T ime Plugged in: Continuous.
Unplugged: 7 hours in power-saving mode and 1.5 hours in normal mode
LED 2 LED lights to show GPS/GSM status
Button 1 SOS button, 1 power button
Microphone/Speaker Internal microphone and speaker
Memory 8MB
Sensor Tremble sensor
GSM Frequency GSM 850/900/1800/1900MHz
GPS Chip Latest GPS SIRF-Star IV chipset
GPS Sensitivity -163dB
Positioning Accuracy 5-10 meters
Input/ Output 1 port for USB cable
Copyright © 2013 Ready Track Pty Ltd. All rights reserved. -4-

2.3 Product Function
2.3.1 GPS Tracking
2.3.2 Alarms
2.3.3 Vehicle Fault and Safe Driving Reminder
Function Description
Real Time Tracking Send SMS/GPRS command to get real time position.
Timing Tracking Set time interval for tracking. The unit will, in accordance with the preset time, report
location information at interval to the platform or mobile phone.
Distance Tracking Set distance interval for tracking. The unit will, in accordance with the preset distance,
report location information at interval to the platform.
Turn Report Set turn angle. The unit will report location information if its turn angel is greater than
preset angel. This will be a supplement when timing tracking report and distance tracking
report are absent in the corner.
Function Description
Disassemble Alarm An alarm will be generated and sent to the platform or mobile phone when the device is
removed from the OBD socket.
Speeding Set speed limit through the platform. An alarm will be generated if the speed exceeds
preset value.
Geo Fence Set a circular geo-fence with center coordinates and radius.
When the device enter or quit the fence, it will report alarm to the platform or send
SMS to your mobile phone.
SOS Press SOS button to generate alarm.
Low Power Alarm Alarm will be generated when the external power supply is less than 10V.
Terminal Status Alarm Turn on or restart VX60, alarm will be generated.
Function Description
Vehicle Fault
Alarm
Alarm when vehicle fault occurs.
Read fault code and freeze frame.
The device will cache fault data stream, store fault data in GPSLOG and upload it to the platform.
Fault content, possible reasons and freeze frame data will be shown on the platform.
In order to avoid high maintenance costs, when fault alarm is occurred, please solve it in time.
Safe Driving
Reminder
Maintenance Reminder Alarm
Fatigue Driving Alarm
Parking Overtime Without Ignition Off Alarm
Engine Overheat Alarm
RPM Speeding Alarm
Rush Deceleration Alarm
Rush Accelerate Alarm
Copyright © 2013 Ready Track Pty Ltd. All rights reserved. -5-

2.3.4 Integrated Functions
3. View
Function Description
Listen-in Function Listen-in function helps driver to know the status inside the car, and provide analysis report
when it has been stolen.
OTA OTA (Upgrade over the air) enable firmware could be upgraded remotely.
GPSLOG When GPS fix, the device will record vehicle running track in time interval. You can read this
GPSLOG from Ready Track Manager. Total 130000 records can be recorded.
GPS&GSM
Tracking
When no GPS fix, the device will get position data from GSM base station as supplementary
for tracking.
GPS Blind Spot
Report
When entering and leave GPS blind area, device will send alert to the platform.
GSM Blind area
storage/Replenish
Alarm
If the device failed to send out data in GSM blind area, it will record the data and re-send to
the platform when GSM signal is recovered.
Built-in FLASH 8M, GPRS buffer 8000, SMS buffer 256.
Mileage Report Mileage information is contained in each GPRS data. You can modify the device’s mileage as
the same with vehicle odometer value when using it initially.
2. SIM Card Slot
1. TF Card Slot
3.USB
Interface
4. Power
5. GSM LED
6. GPS LED 7. SOS Button
8. Microphone
OBD Plug
Copyright © 2013 Ready Track Pty Ltd. All rights reserved. -6-

NO. Name Function
1 TF Card Slot TF maps card slot (only applicable in China mainland)
2 SIM Card Slot SIM card slot
3 USB Interface USB Interface enables to charge, connect the computer for the parameters
configuration and firmware upgrade.
4 Power
In the case of turn off, press and hold the power switch for two seconds, until the
device is beeping and on.
In the case of turn on, press and hold the power switch for two seconds, until the
device is beeping and off.
In sleep mode, short press the power switch to wake up the device, power LED
indicator flashes slowly for 10 seconds.
5 GSM LED
(Green)
GSM LED indicates that the device receives GSM signal. Details in”4.3 LED
Indicators”
6 GPS LED
(Blue)
GPS LED indicates that the device receives GPS signal. Details in”4.3 LED
Indicators”
7 SOS Button In the case of emergency, press and hold the button for two seconds, the device
will beep in “BI” to alert users.
The device will call 3 Authorization phone numbers in turn and stop calling when
one phone answers.
Meanwhile, SMS will be sent to the authorized number. GPRS data will be sent to
the platform if GPRS is available.
In sleep mode, short press SOS button to wake up the device.
8 Microphone The microphone is automatically enabled when the voice monitor function is on.
10 OBDII Standard Plug Plug-in OBD II interface to get power and read the vehicle’s diagnostic data.
4. Quick Start
4.1 Insert the SIM Card
Notice
:
Please turn off VX60 before insert the SIM card
SIM Card
:
Remove the cover of SIM card and insert SIM card as picture (chip down), refit the
c o ve r.
Notice:
�Make sure there is enough charge (test it by SMS and Call after the SIM card
inserted );
�Make sure turn off the PIN function of the SIM card ;
�Make sure you have set Caller ID Display function if you need SMS report
after calling the device.
Insert SIM Card
Copyright © 2013 Ready Track Pty Ltd. All rights reserved. -7-

4.2 Charge the Battery
Please charge VX60 for at least 3 hours by the USB charging cable before the first use. To shorten charging time,
please turn off VX60 while charging.
4.3 LED Indicators
Press and hold the Power button for 3~5 seconds to turn on/off VX60.
Once insert VX60 into OBD II connector, it will turn on automatically with BI buzzer.
GPS LED (Blue)
Status Description
On One button is pressed or input is triggered
Fast Flashing (every 0.1 second) Initializing or low battery
Fast Flashing (0.1 second on, 2.9 seconds off) GPS fix
Slow Flashing (1 second on and 2 seconds off ) No GPS fix
GSM LED (Green)
Status Description
On A call is coming in or busy
Fast Flashing (every 0.1 second) Initializing
Fast Flashing (0.1 second on, 2.9 seconds off) GSM signal received
Slow Flashing (1 second on and 2 seconds off ) GSM signal lost
4.4 Track by Calling
Make a call to VX60 and it will report with one SMS.
For example,
Now,110727 02:48,V,16,23Km/h,61%,http://maps.google.com/maps?f=q&hl=en&q=22.540103,114.082329
&ie=UTF8&z=16&iwloc=addr&om=1
Click on the link then the location can be shown directly on Google Maps on your mobile phone.
Report description:
Now,110727 02:48,V,16,23Km/h,61%,http://maps.google.com/maps?f=q&hl=en&q=22.540103,114.082329
&ie=UTF8&z=16&iwloc=addr&om=1
Content Description Note
Now Current Location Alarm Type
110721 16:40 Date & Time: 21 July, 2011, 16:40pm Date & Time in YYMMDD HH:MM
Copyright © 2013 Ready Track Pty Ltd. All rights reserved. -8-

V No GPS fixed GPS Status Indicator:
A = valid, V = invalid
10 GSM signal=10 GSM Signal. Decimal Digit (0~31)
0Km/h Speed=0 KM/h. Decimal digit
97% Battery Power: 97% Battery Power Balance (Percentage)
http://maps.google.c
om/maps?f=q&hl=en
&q=22.540103,114.0
82329&ie=UTF8&z=1
6&iwloc=addr&om=1
Latitude: 22.513015
Longitude: 114.057235
Google Maps Web Link with Latitude and
Longitude. Click on t
he link to get the
location.
More SMS commands
You can configure VX60 by mobile phone or by computer using Ready Track Manager.
For more details, please refer to part 4.5 Configure by Computer.
Note:
1. Password is 4 digits only and defaulted as 0000. You can change the password in web portal and SMS
command.
2. VX60 will only accept commands from a user with the correct password and report SMS report to the user.
If preauthorized phone number was set, only this phone number can receive SMS reports.
4.4.1 Multiple Phone numbers– A71
Command: 0000, A71, phone number 1, phone number 2, phone number 3
SMS Get: IMEI, A71, OK
Note
:
Authorize a phone number for SOS alarm, calling for location report, geo-fence alarm, and low battery alarm.
Phone Number: Max 16 characters.
If no preset phone number, it is empty (default is empty).
Send command “0000, A71” to delete all phone numbers.
When the SOS button is pressed, VX60 will make a call to phone number 1, 2 and 3. It will stop calling when one
number answers.
Example: 0000,A71,13811111111,13822222222,13833333333
SMS Get: 353358017784062,A71,OK
4.4.2 Listening-in (Voice Monitoring) – A72
Command: 0000, A72, phone number 1, phone number 2
SMS Get: IMEI, A72, OK
Note:
Authorize a phone number to make a silent call to the tracker. The tracker will answer the call automatically and
allows the caller to listen to what is happening around the tracker. There is no sound when the tracker is working.
Phone Number: 2 monitoring numbers at the most can be set, 16 characters per number.
If no preset phone number, it is empty (default).
If no phone number, but has “,”, the number related to this “,” is deleted.
Copyright © 2013 Ready Track Pty Ltd. All rights reserved. -9-

Send command “0000, A72” to delete all phone numbers.
Example: 0000,A72,13844444444,13855555555
SMS Get: 353358017784062,A72,OK
4.4.3 Smart Sleep Mode – A73
Command: 0000,A73,X
SMS Get: IMEI,A73,OK
Note:
This setting is for power saving.
X=0, turn off sleep mode (default). VX60 can work for 1.5 hours with back-up battery.
X=1, normal sleep. VX60 can work for 4 hours with back-up battery. GSM module works. GPS module runs for 5
minutes and then close for 5 minutes intermittently.
Note: Normal Sleep is not recommended for users who set “track by interval”, because it will affect the
completeness of tracking.
X=2, deep sleep, VX60 can work for 8 hours with back-up battery. The tracker will enter this mode after it is
inactive or stationary (No SOS/any triggered by the button/input/incoming calls/message/movement) for 5
minutes. GPS module stops working and GSM module enters sleep mode. The tracker remains in this mode until
it is activated by SOS/any triggered by the button/input/incoming calls/message/movement. After that, it will
repeat above processes.
Note: In any condition, the device will directly quit the sleep mode and back to normal working mode by SMS or
GPRS command to turn off the sleep mode.
Example: 0000,A73,2
SMS Get: 353358017784062,A73,OK
4.4.4 Time Zone – B35
Command: 0000,B35,T
SMS Get: IMEI,B35,OK
Note:
Default time of the tracker is GMT. You can use this command to change the time on your tracker to your local
time. This command is for SMS tracking only.
Time zone of SMS report is separated with that of GPRS data. If you need to set time zone in GPRS data, please
use SMS command: 0000, B36, T
T=0, to turn off this function.
T=[-32768,32767] to set time difference in minutes to GMT.
For those ahead of GMT, just input the time difference in minutes directly. For example, GMT+10,
Example: 0000,B35,600
SMS Get: 353358017784062,B35,OK
For more details regarding SMS commands, please refer to READY TRACK SMS PROTOCOL.
Copyright © 2013 Ready Track Pty Ltd. All rights reserved. -10-

4.5 Configure by Computer
CURRENTLY NOT AVAILABLE
Copyright © 2013 Ready Track Pty Ltd. All rights reserved. -11-

4.6 Web Portal Tracking http://portal.readytrack.com.au
Please use your VX60’s IMEI as account name and 0000(default) as password to login Ready Track OBD tracking
system.
5. VX60 Installation
The VX60 is a plug and play (PnP) model, simple and without wiring required.
After plugging the VX60 to the car connector, it will sound BI one time, and all LEDs will begin blinking. This
indicates a successful connection.
Please ensure the device is firmly connected to avoid movement later on.
5.1 Plug Car Connector Directly
5.2 Use the Extension Cable to Install (Optional)
Use the extension cable on the condition of narrow space for installation, weak GPS signal, or for hidden purpose.
When installing the extension cable, plug the male connector to Car’s OBDII port then plug the female connector
to the VX60.
Copyright © 2013 Ready Track Pty Ltd. All rights reserved. -12-

◈Affix two small suede Velcro to VX60’s labeled surface and the surface of the extension cable.
◈Plug the male connector of the extension cable to the car OBDII connector.
◈Find a hidden space under the dashboard, and affix the biggest surface of Velcro to the car.
◈Affix VX60 with Velcro directly to the car Velcro.
You can use other way such as tie wraps to fix the unit to the vehicle, provided there is sufficient space.
Copyright © 2013 Ready Track Pty Ltd. All rights reserved. -13-

Copyright © 2013 Ready Track Pty Ltd. All rights reserved. -14-
Table of contents