CAUTION! NEVER change nozzles
without locking the safety lock on the
trigger handle.
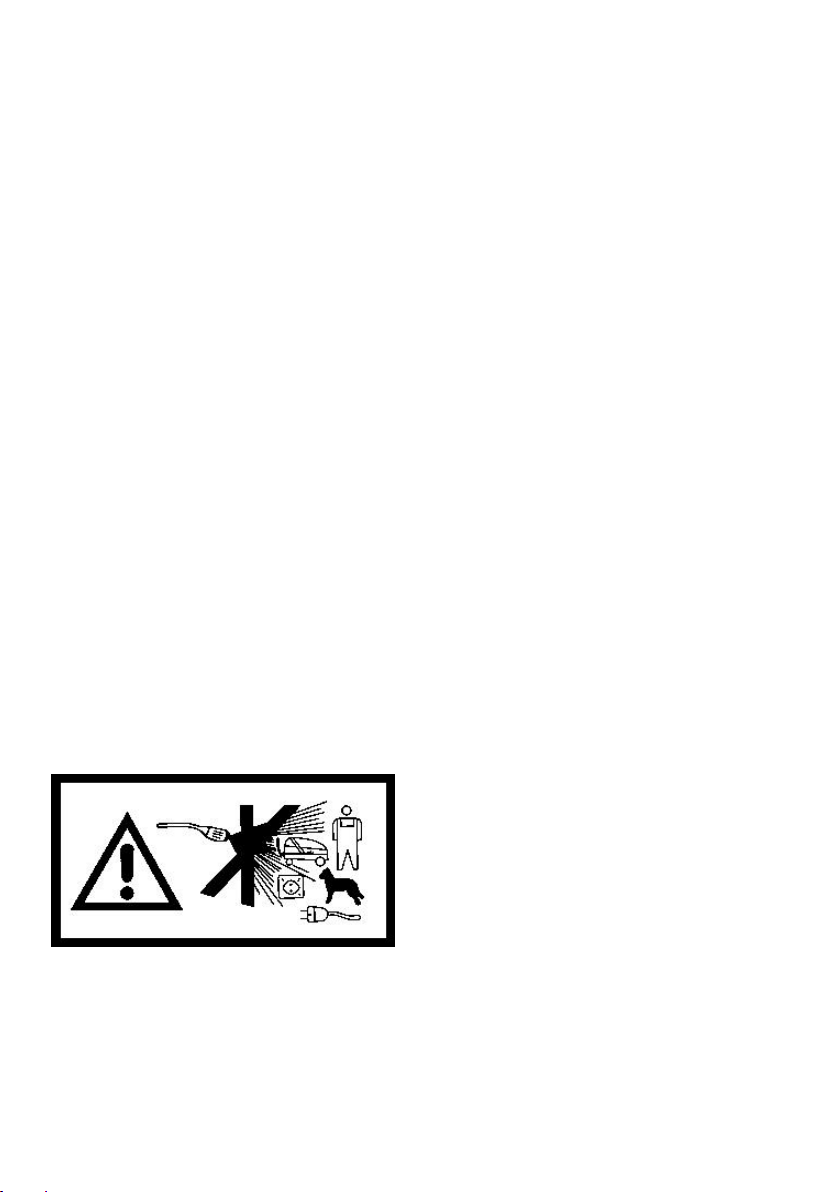
WARNING! High-pressure jets can be
dangerous if subject to misuse. The jet
must not be directed at persons, pets, live
electrical equipment, or the appliance itself.
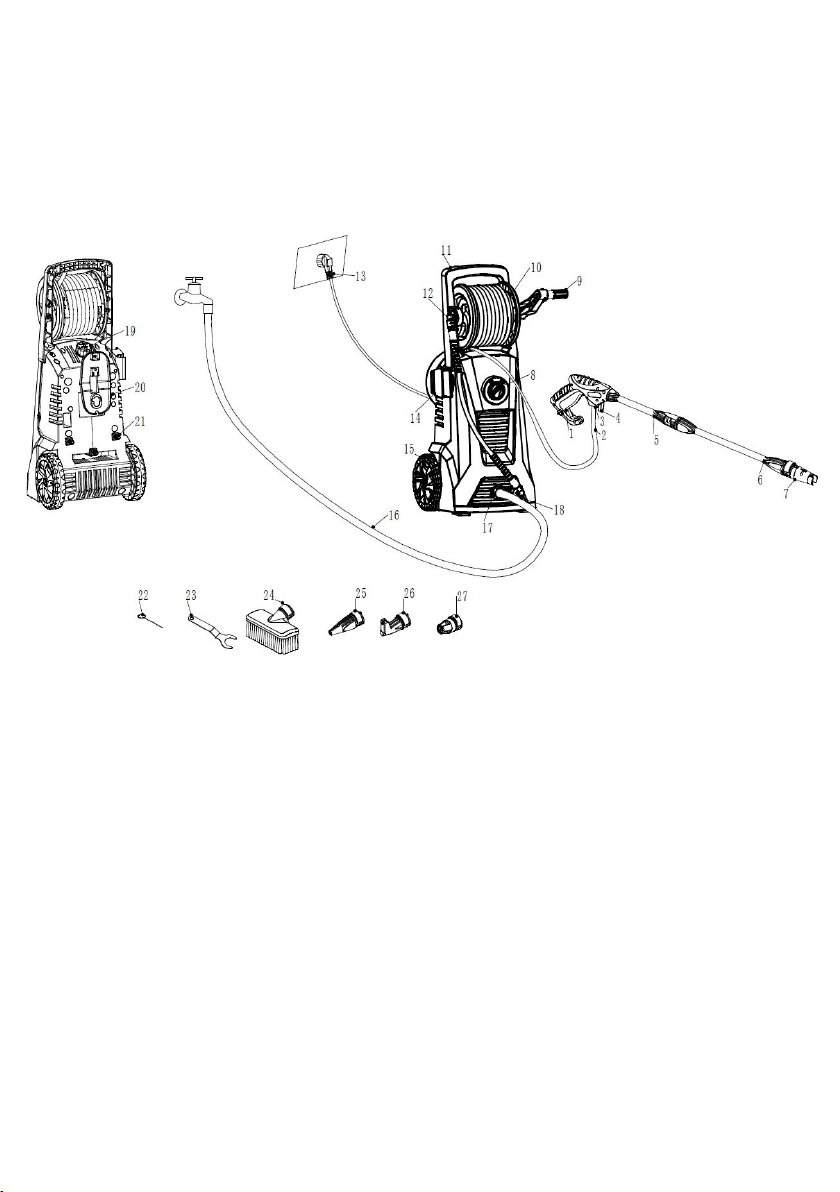
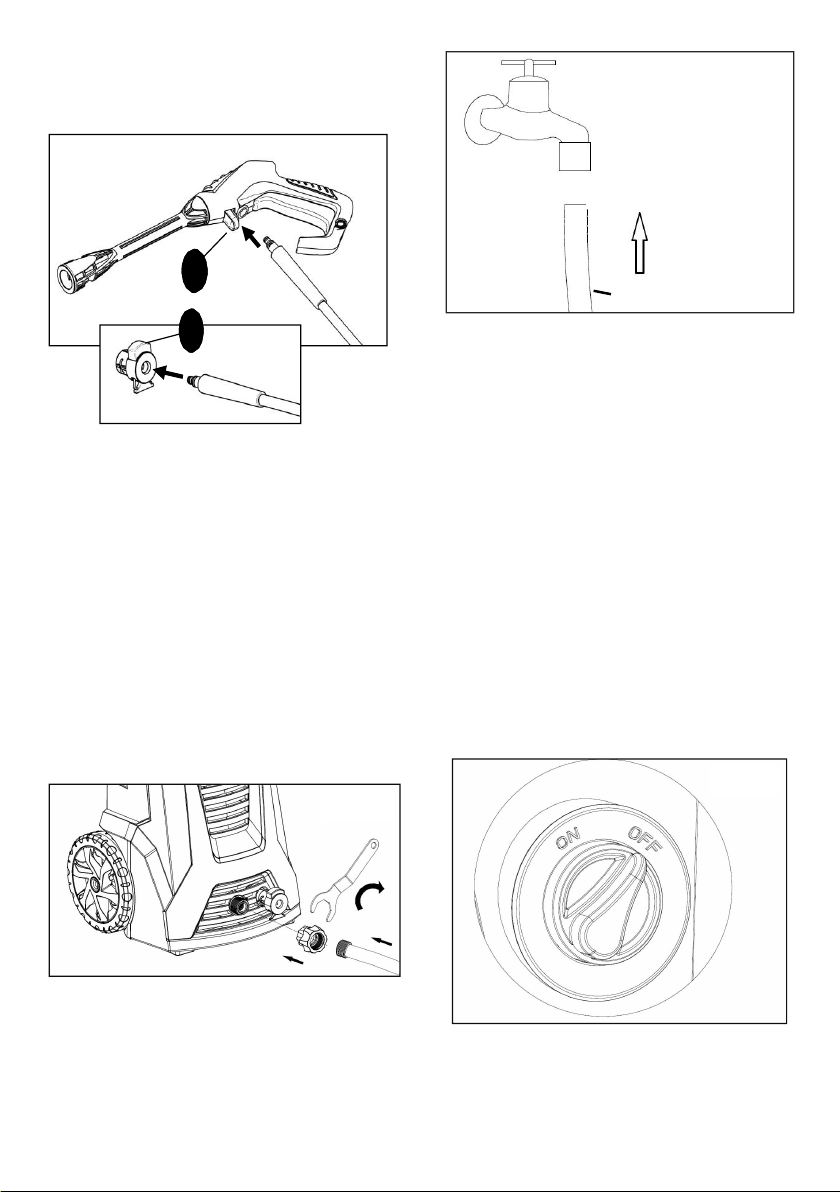
This electric pressure washer is equipped
with Quick-Connect nozzle that easily
screw onto the spray lance.
To connect a nozzle to the spray lance:
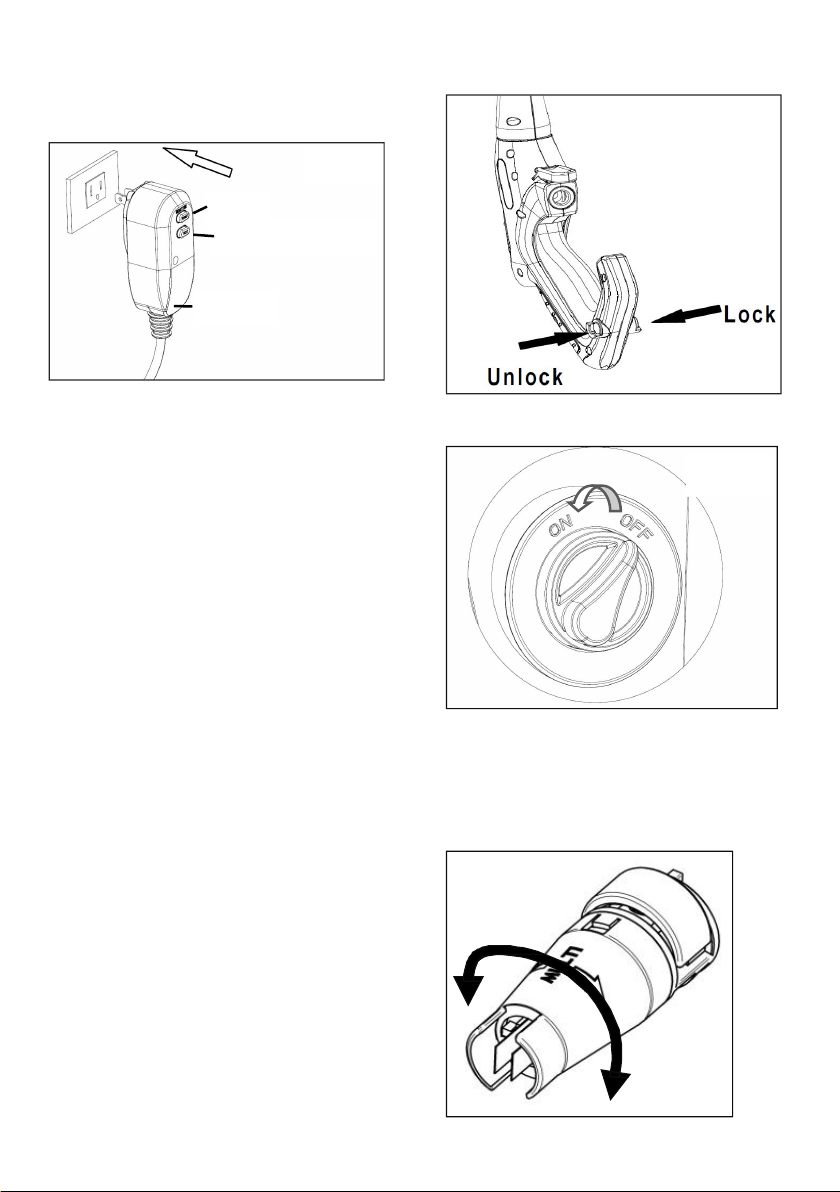
1.Turn off the pressure washer and shut off
the water supply. Pull the trigger to
release water pressure.
2.Engage the safety lock on the trigger
handle by pushing right on the safety
lock(Fig.9).
3.Connect the desired nozzle onto the spray
lance tight (Fig.4).
To disconnect a nozzle from the spray
lance once the cleaning job is complete:
4.Turn off the pressure washer and shut off
the water supply.Pull the trigger to release
water pressure.
5. Engage the safety lock on the trigger handle
by pushing right on the safety lock(Fig.9).
6. Remove the nozzle from the spray lance.
WARNING! Do not make changes to the
nozzle whilethe trigger is engaged. Doing so
could result in damage to the pressure
washer or injury to the user.
Working with detergents
When cleaning with the pressure washer,
some cleaning tasks can be solved with
water alone, but for most tasks cleaning with
detergent allows for more effective dirt
removal.
WARNING! Use only detergents designed
for Pressure Washers. DO NOT USE
household detergents, acids, alkaline
solutions, bleaches, solvents, flammable
material, or industrial grade solutions.
These could damage the pressure washer.
Many detergents may require mixing prior
to use. Prepare the cleaning solution as
instructed on the solution bottle.
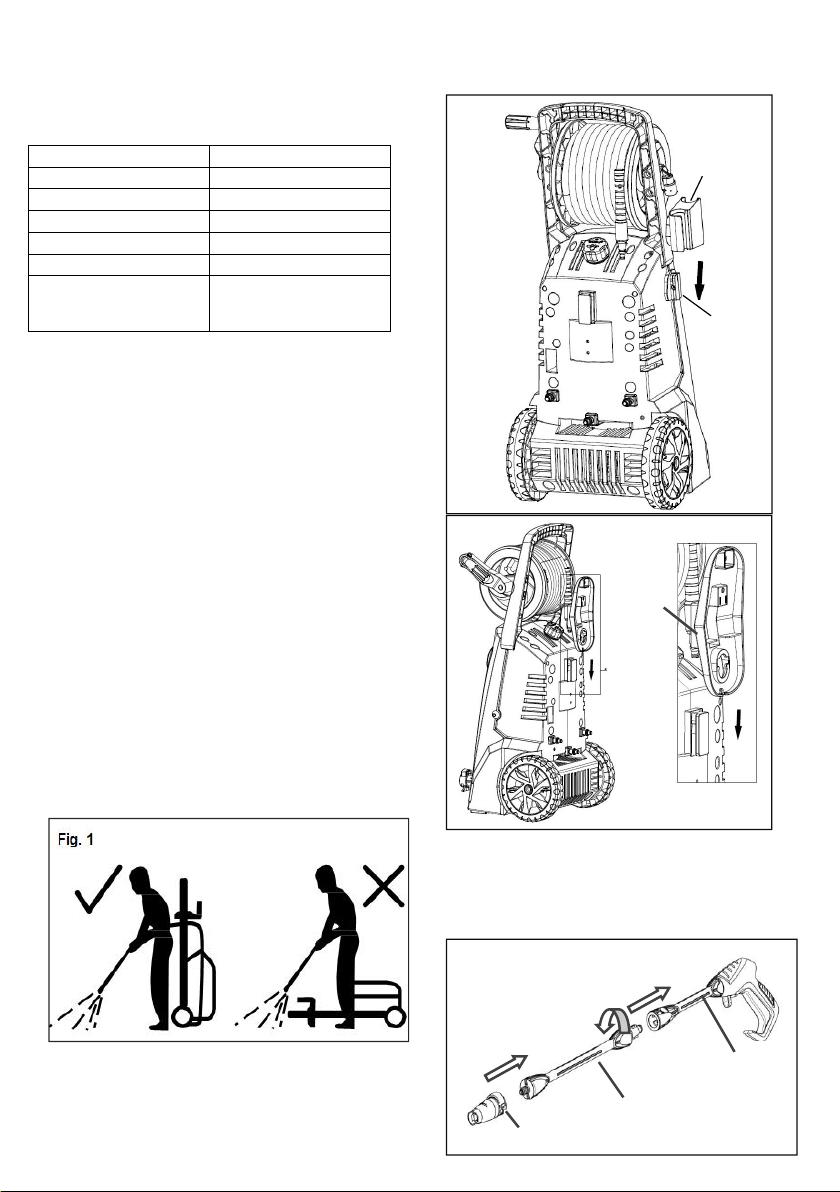
1.Unscrew the cap from the detergent bottle
and fill it with detergent designed
specifically for use with pressure washers
(Fig. 12).
2.Install the detergent nozzle on the spray wand.
3.Adjust foam spraying amount by rotating
the nozzle head.