English --- 9
115391326 Rev. 3 1/31/11
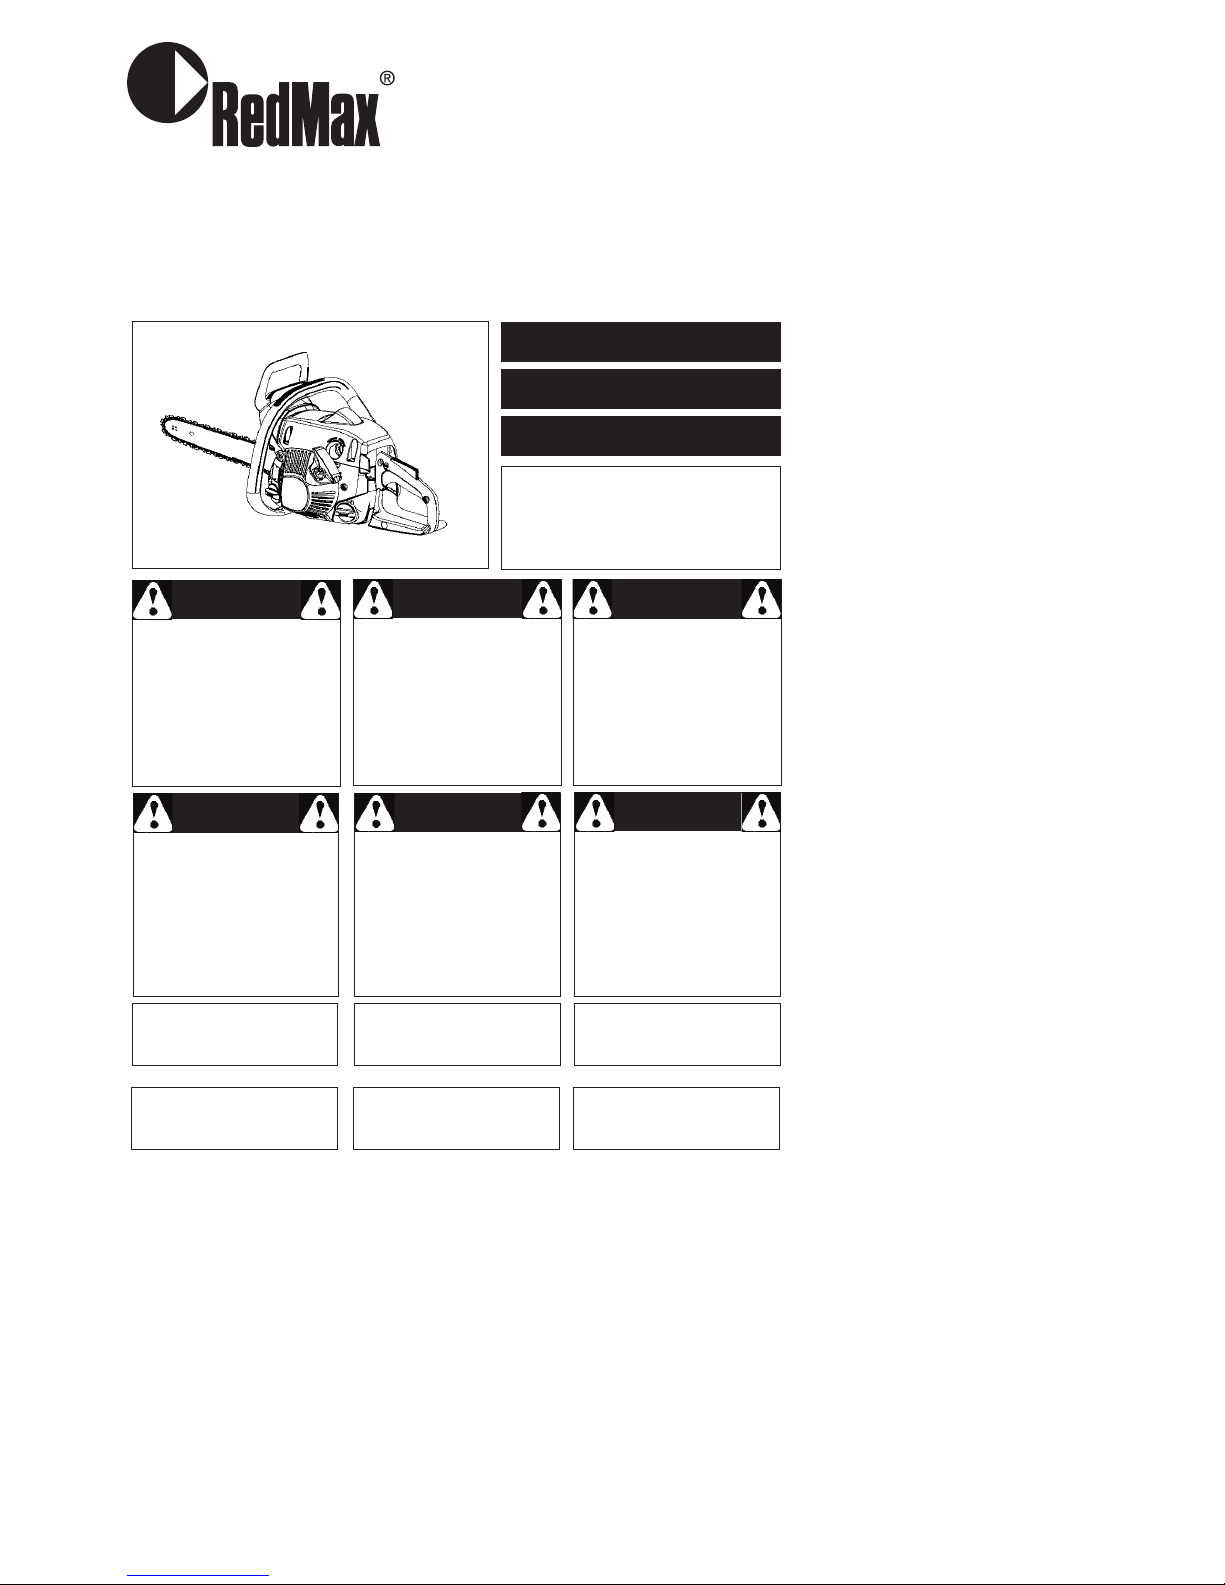
GENERAL SAFETY PRECAUTIONS
Personal protective equipment
SApproved protective helmet
SHearing protection
SProtective goggles or a visor
SGloves with saw protection
STrousers with saw protection
SBoots with saw protection, steel toe--cap and
non--slip sole
SAlways have a first aid kit nearby.
SFire Extinguisher and Shovel
Generally clothes should be close--fitting
without restricting your freedom of move-
ment.
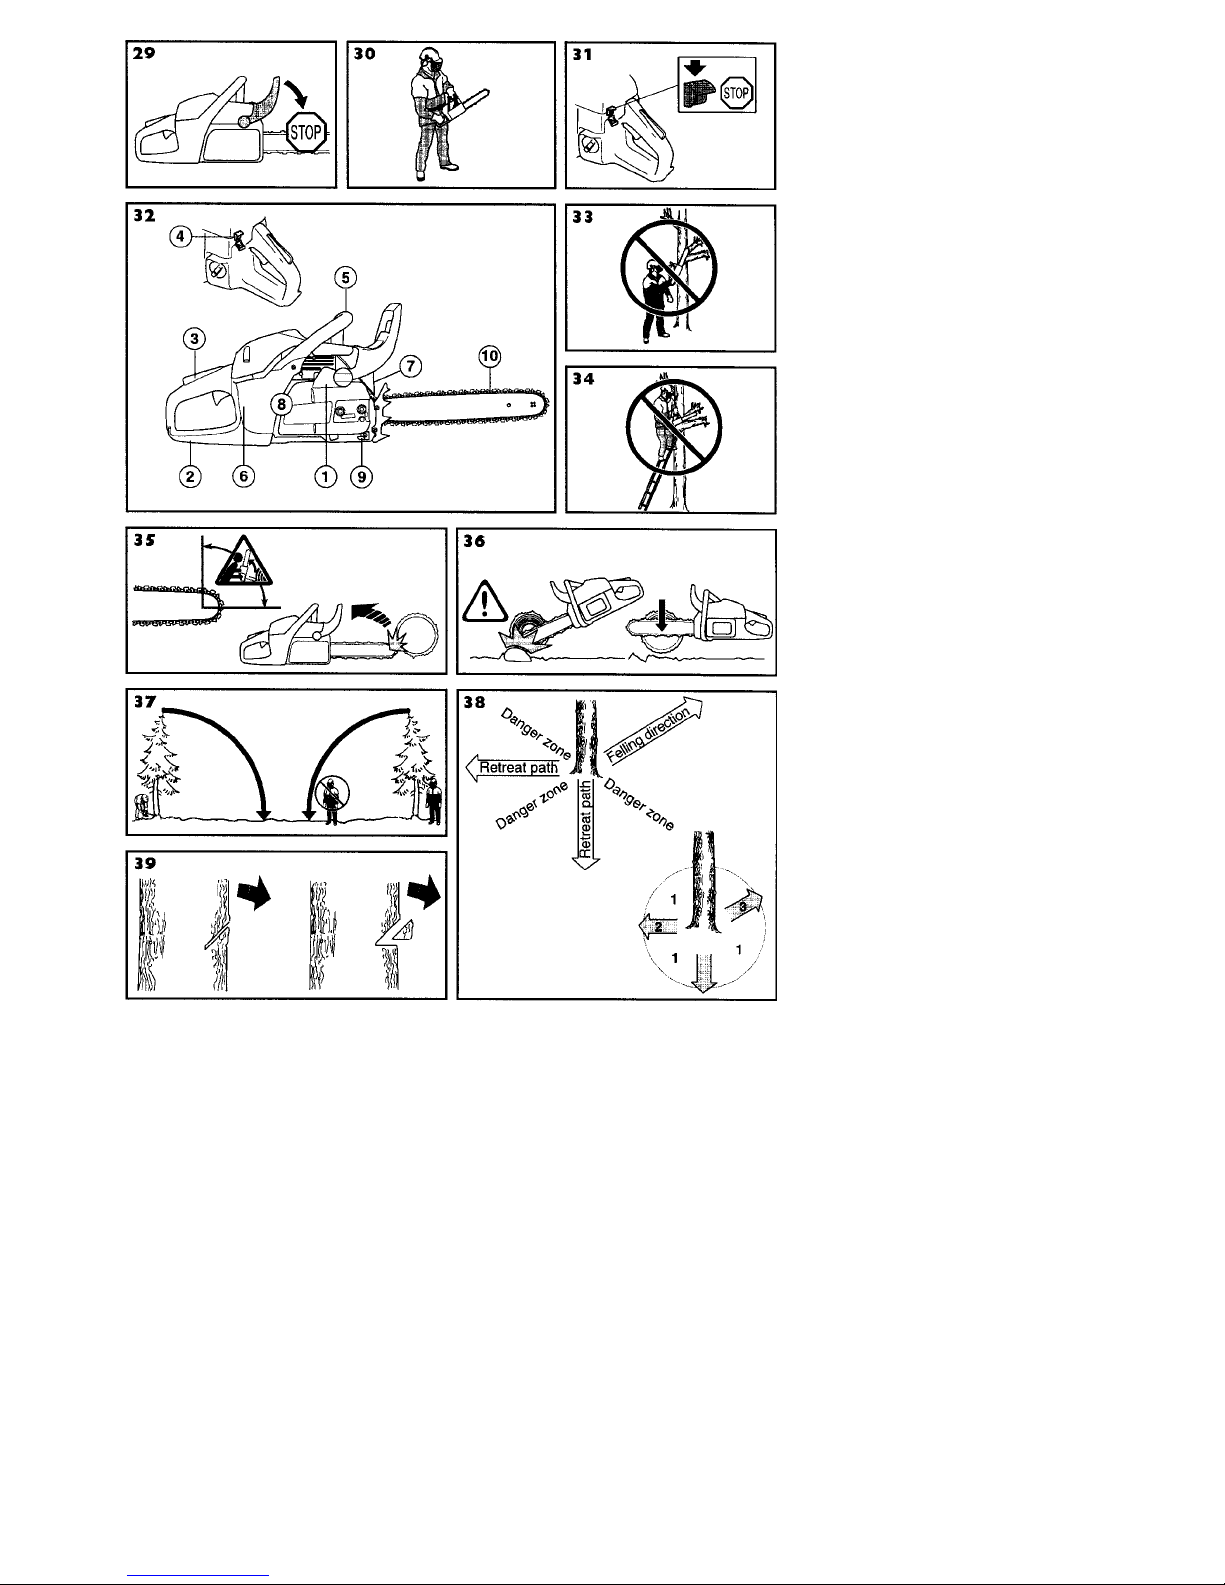
Machine’s safety equipment
In this section the machine’s safety fea-
tures and their function are explained.
For inspection and maintenance see
instructions under the heading Checking,
maintaining and servicing chain saw safety
equipment. See instructions under the
heading, What is what?, to find where
these parts are located on your machine.
The life span of the machine can be reduced
and the risk of accidents can increase if
machine maintenance is not carried out
correctly and if service and/or repairs are
not carried out professionally. If you need
further information please contact your
nearest servicing dealer.
Chain brake and front hand guard
Your chain saw is equipped with a chain
brake that is designed to stop the chain if
you get a kickback. The chain brake re-
duces the risk of accidents, but only you
can prevent them.
Take care when using your saw and make
sure the kickback zone of the bar never
touches any object.
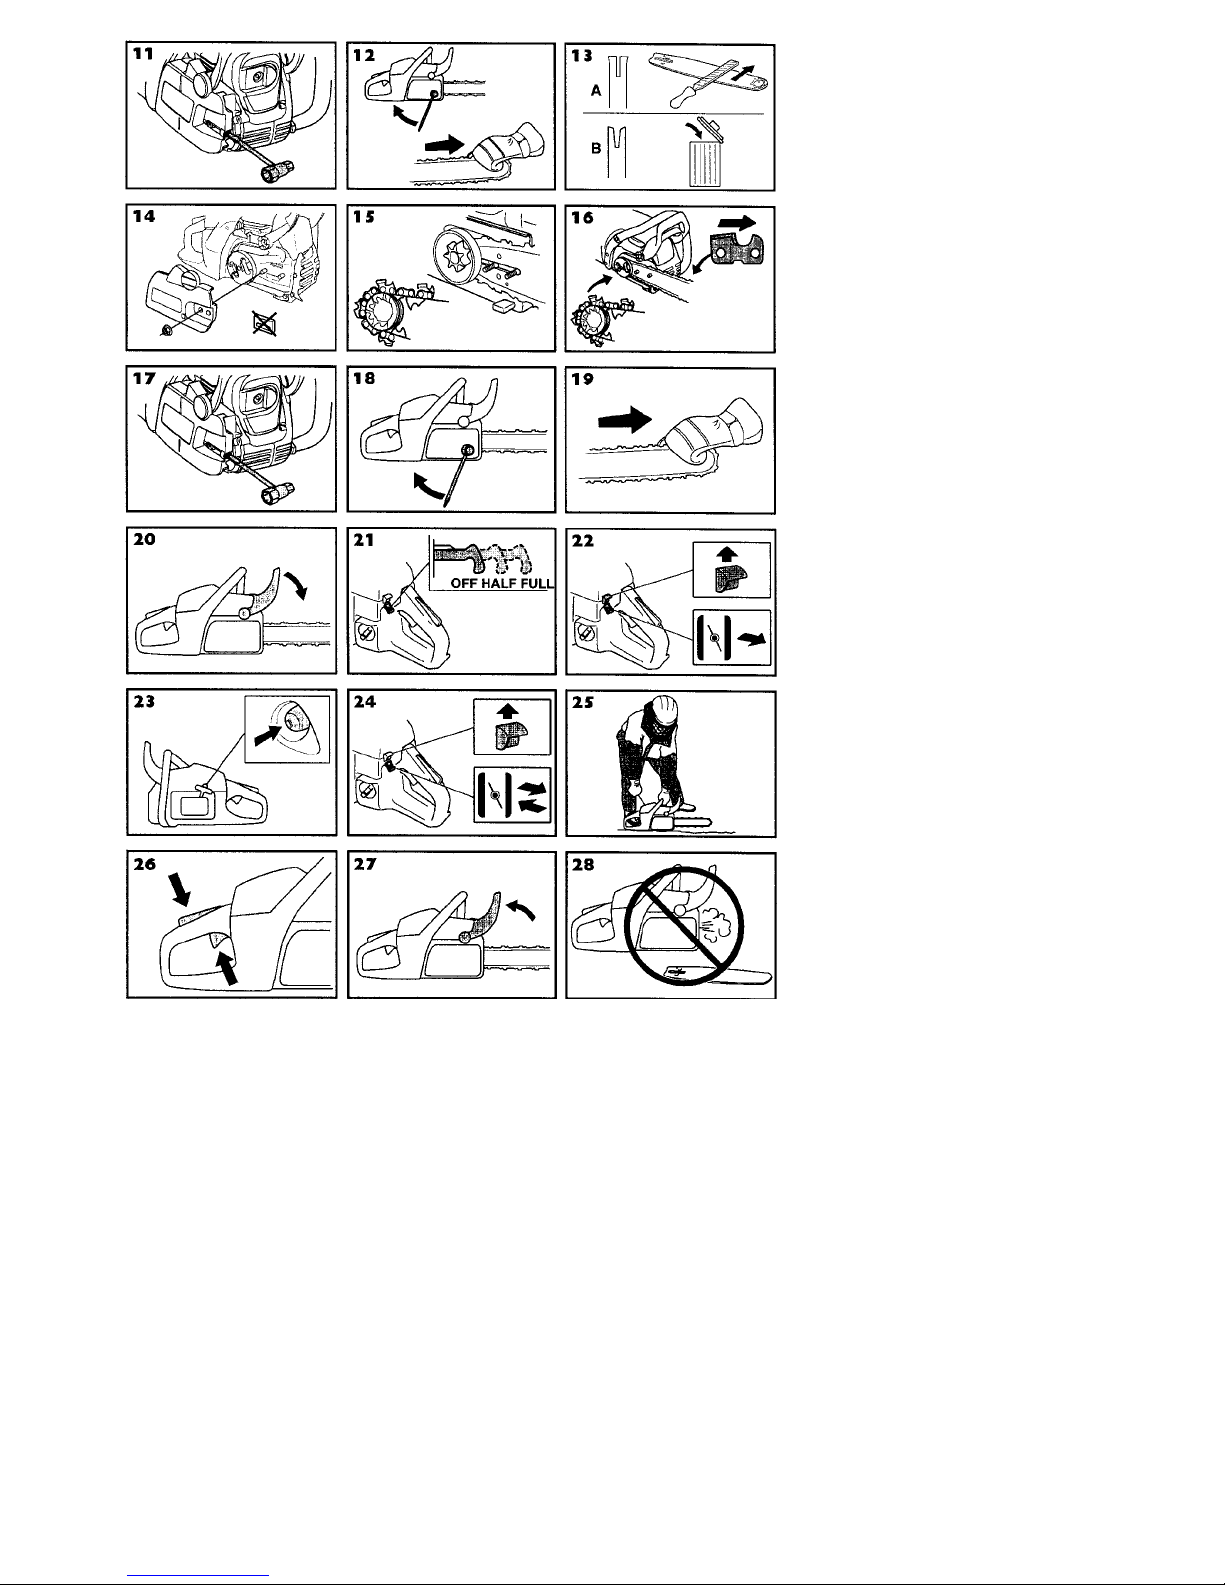
SThe chain brake (A) can either beactivated
manually (by your left hand) or automati-
cally by the inertia release mechanism. (3)
SThe brake is applied when the front hand
guard (B) is pushed forward. (3)
SThis movement activates a spring--loaded
mechanism that tightens the brake band
(C) around the engine drive system (D)
(clutch drum). (4)
SThe front hand guard is not designedsolely
to activate the chain brake. Another impor-
tant feature is that it reduces the risk of your
left hand hitting the chain if you lose grip of
the front handle.
SThe chain brake must be engaged when the
chain saw is started to prevent the saw chain
from rotating.
SUsethechainbrakeasa“parkingbrake”
when starting and when moving over short
distances, to reduce the risk of moving chain
accidentally hitting your leg or anyone or any-
thing close by.
WARNING: Most chain saw acci-
dents happen when the chain
touches the operator. You must use
approved personal protective
equipment whenever you use the
machine. Personal protective
equipment cannot eliminate the risk
of injury but it will reduce the de-
gree of injury if an accident does
happen. Ask your dealer for help in
choosing the right equipment.
WARNING: Faulty cutting equip-
ment or the wrong combination of
bar and saw chain increases the
risk of kickback! Only use the bar/
saw chain combinations we
recommend, and follow the filing
instructions. See instructions un-
der the heading Technical data.
Always use common sense (2)
It is not possible to cover every conceivable
situationyoucanfacewhenusingachain
saw. Always exercise care and use your
common sense. Avoid all situations which
you consider to be beyond your capability. If
you still feel uncertain about operating proce-
dures after reading these instructions, you
should consult an expert before continuing.
Do not hesitate to contact your dealer or us if
you have any questions about the use of the
chain saw. We will willingly be of service and
provide you with advice as well as help you
to use your chain saw both efficiently and
safely. Attend a training course in chain saw
usage if possible. Your dealer, forestry school
or your library can provide information about
which training materials and courses are
available. Work is constantly in progress to
improve the design and technology -- im-
provements that increase your safety and
efficiency. Visit your dealer regularly to see
whether you can benefit from new features
that have been introduced.
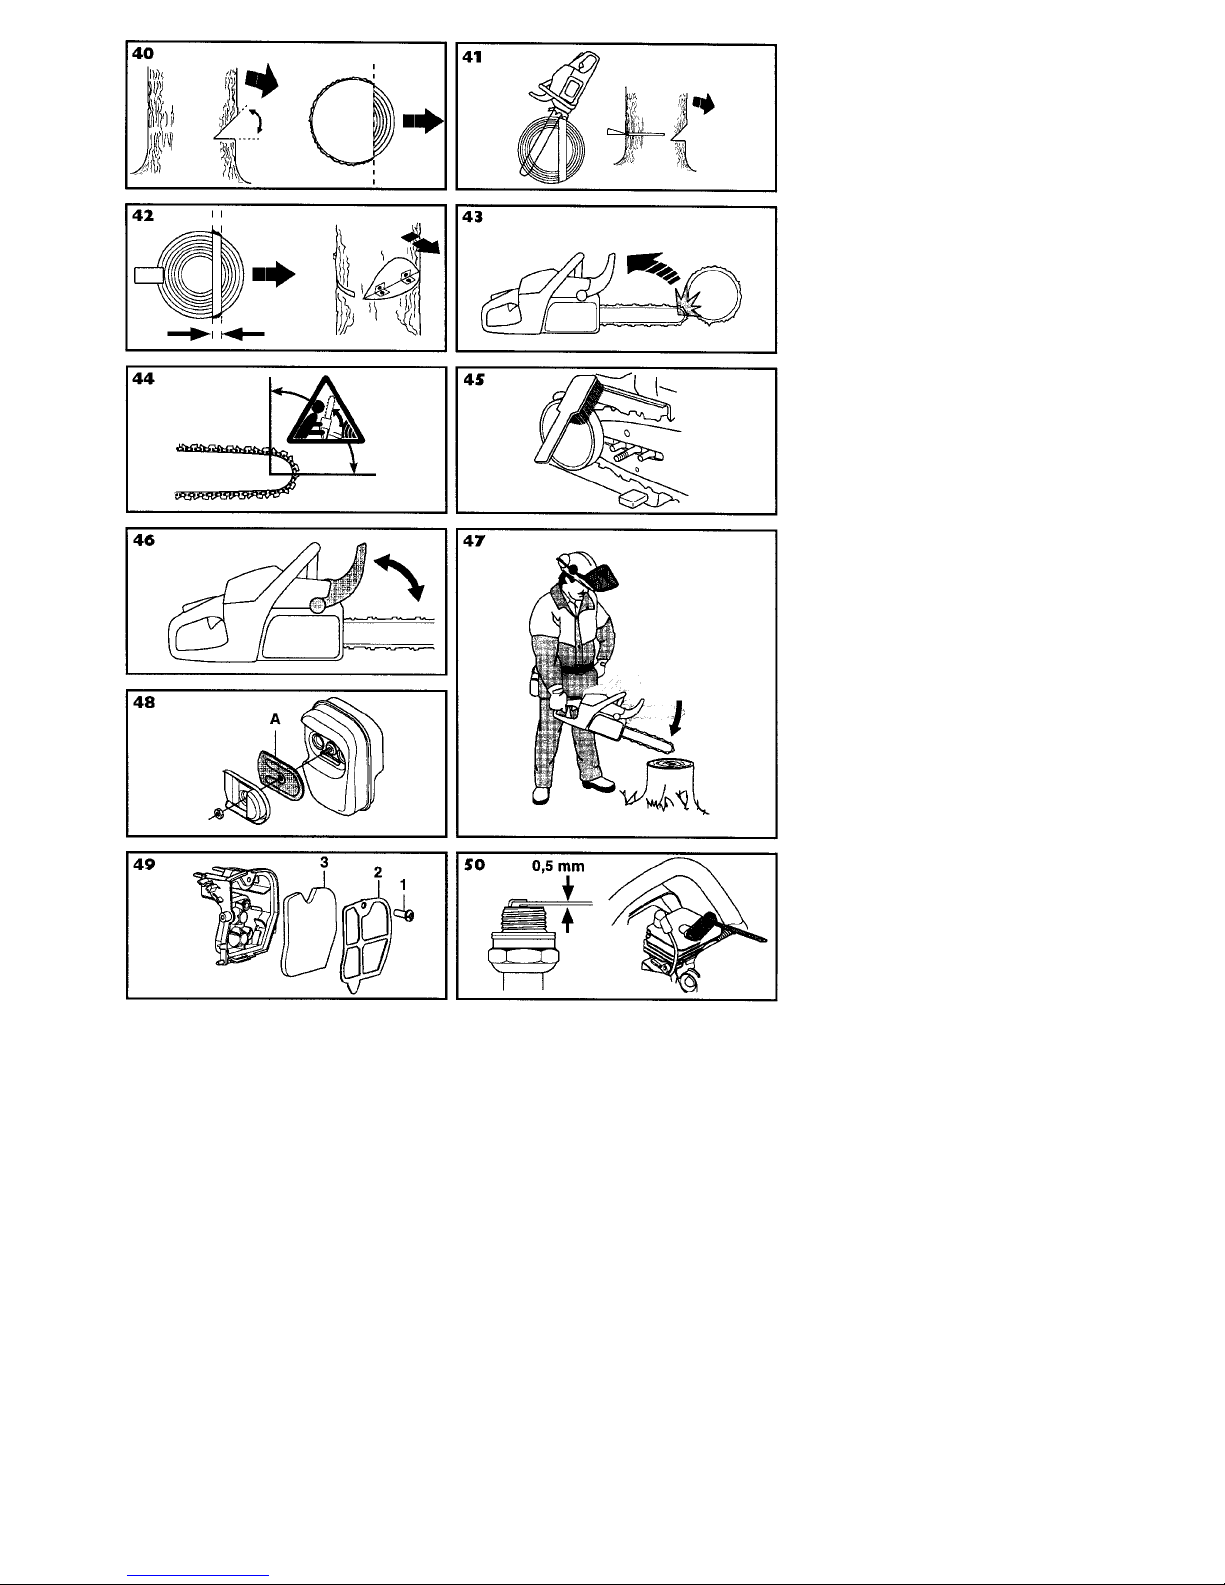
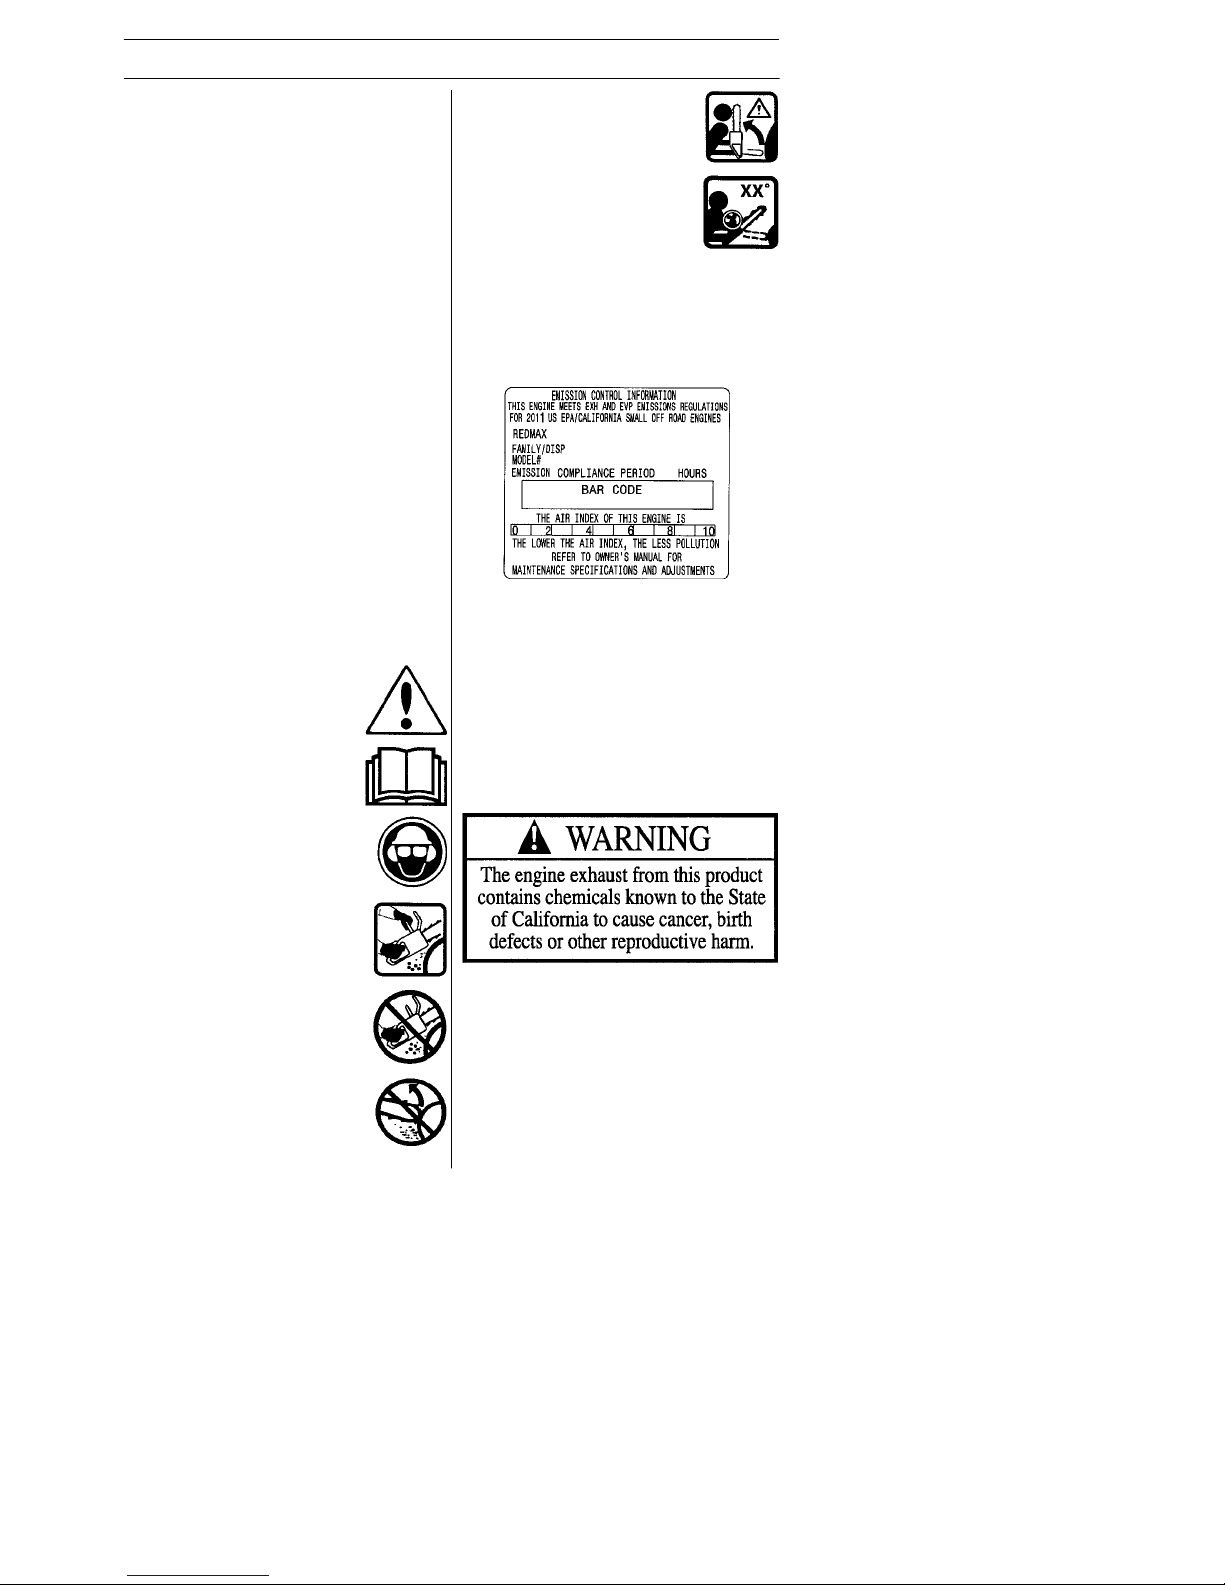
IMPORTANT! Sparks can come from the
muffler, the bar and chain or other sources.
Always have fire extinguishing tools avail-
able if you should need them. Help prevent
forest fires.
WARNING: Never use a machine
with defective safety components.
Safety equipment must be in-
spected and maintained. See in-
structions under the heading
Checking, maintaining and servic-
ing chain saw safety equipment. If
your machine does not pass all the
checks, take the saw to a servicing
dealer for repair.