US-3
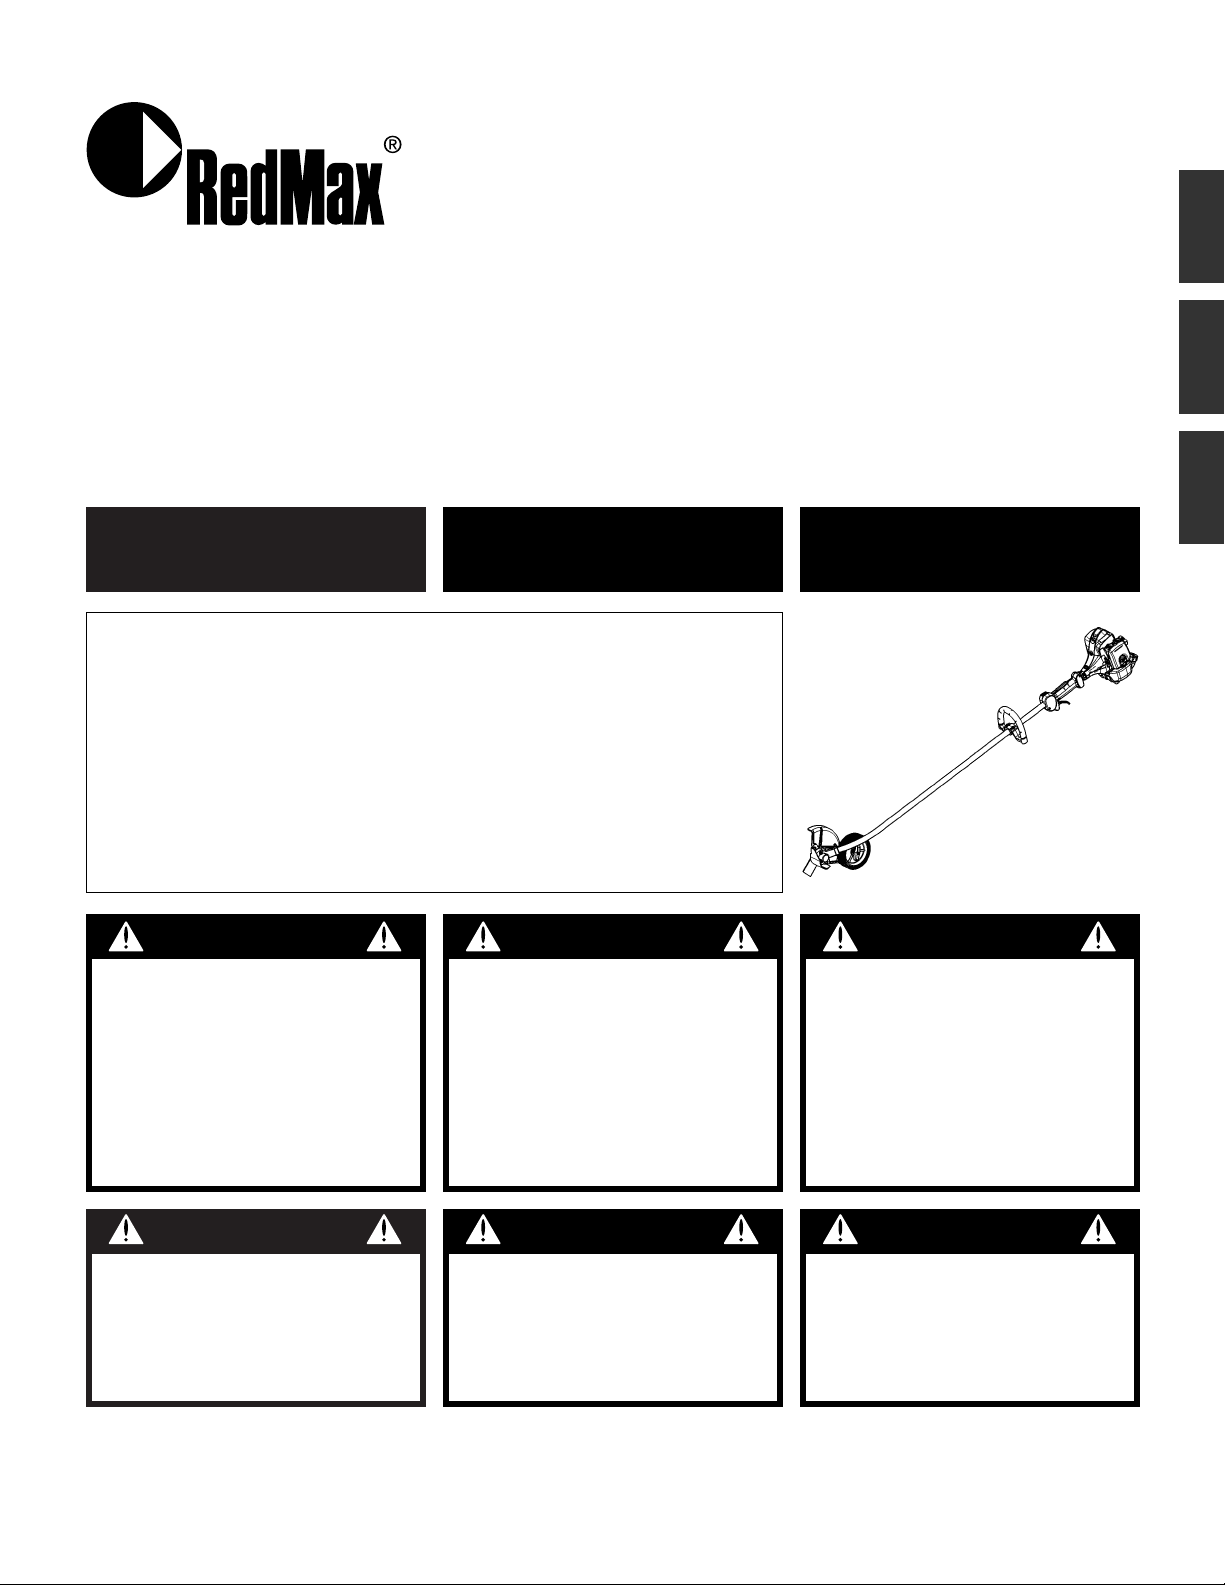
HEZ230F/HEZ260F
U
S
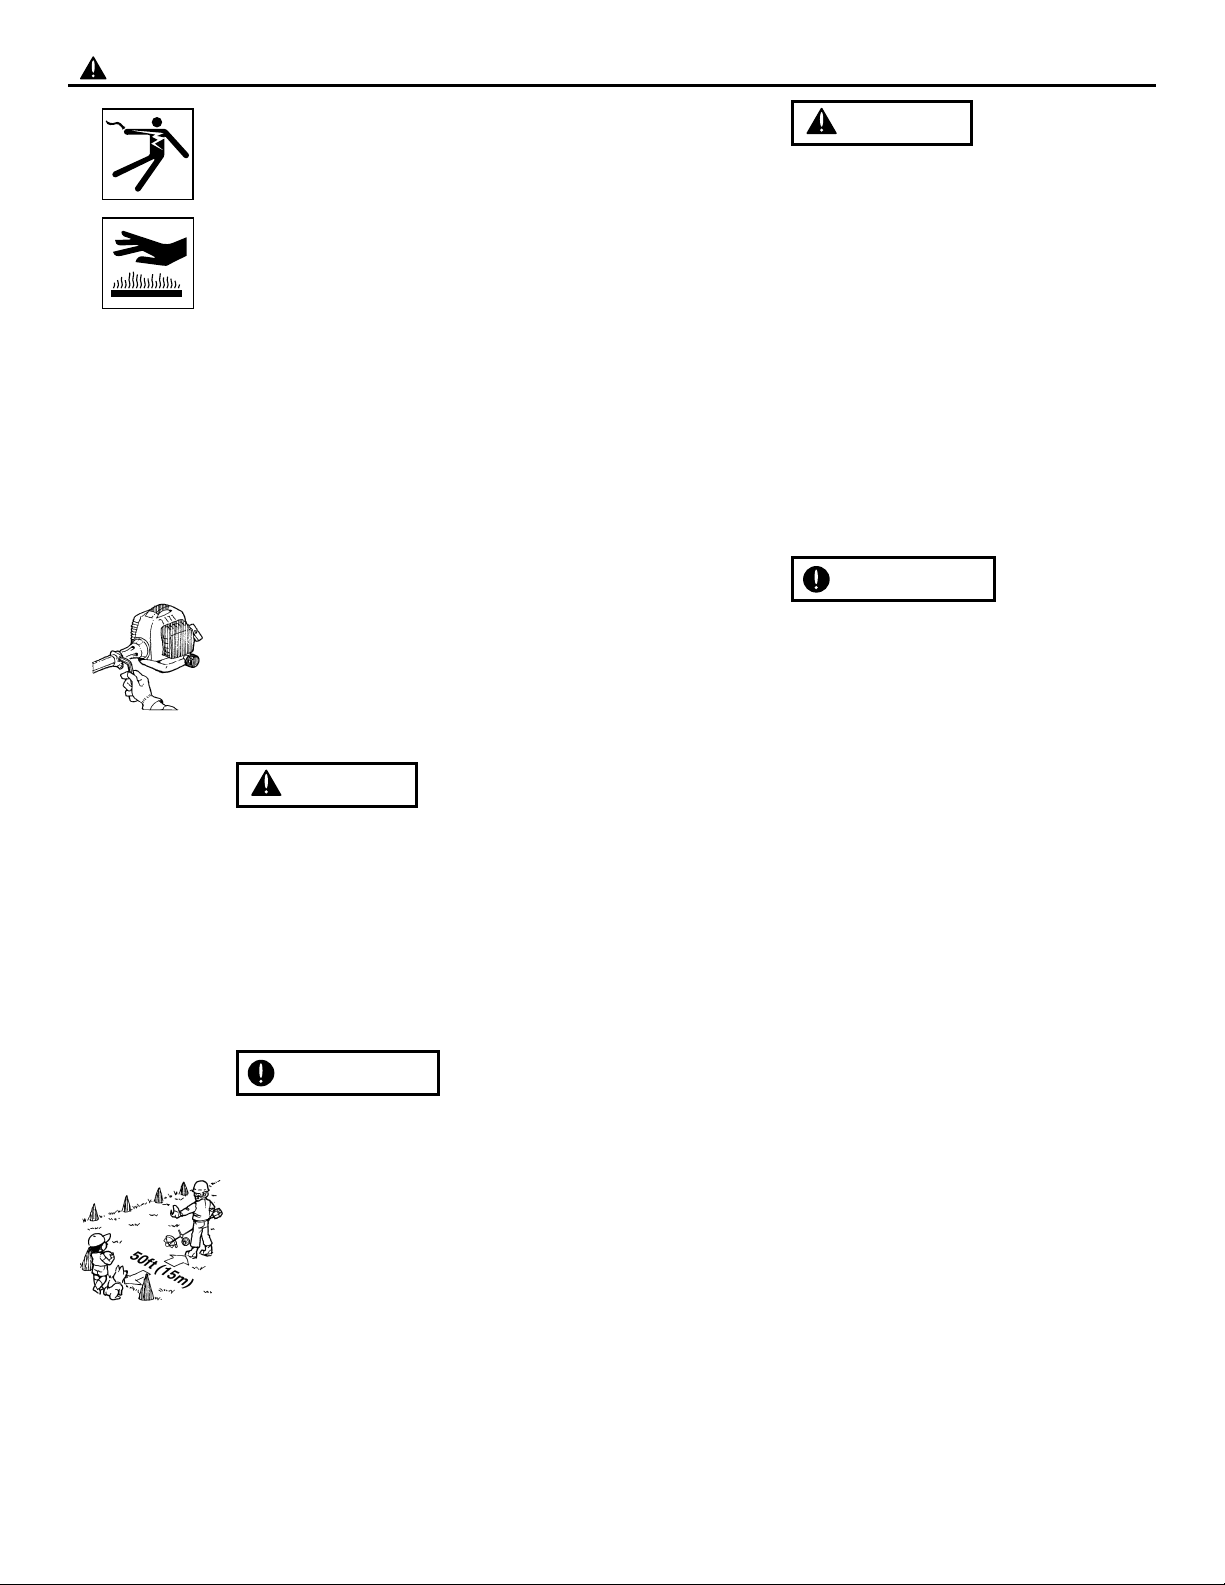
1. Parts location
1. Loop handle
2. Stop switch
3. Throttle cable
4. Throttle lever
5. Blade guard
6. Grease filler cap
7. Wheel
8. Spark arrester
9. Starter knob
10. Fuel tank
11. Air purge
12. Choke lever
13. Air cleaner cover
14. Locking nut
15. Support flange
16. Blade
17. Drive disk
18. Combination spanner
19. Locking pin
20. Operator's manual
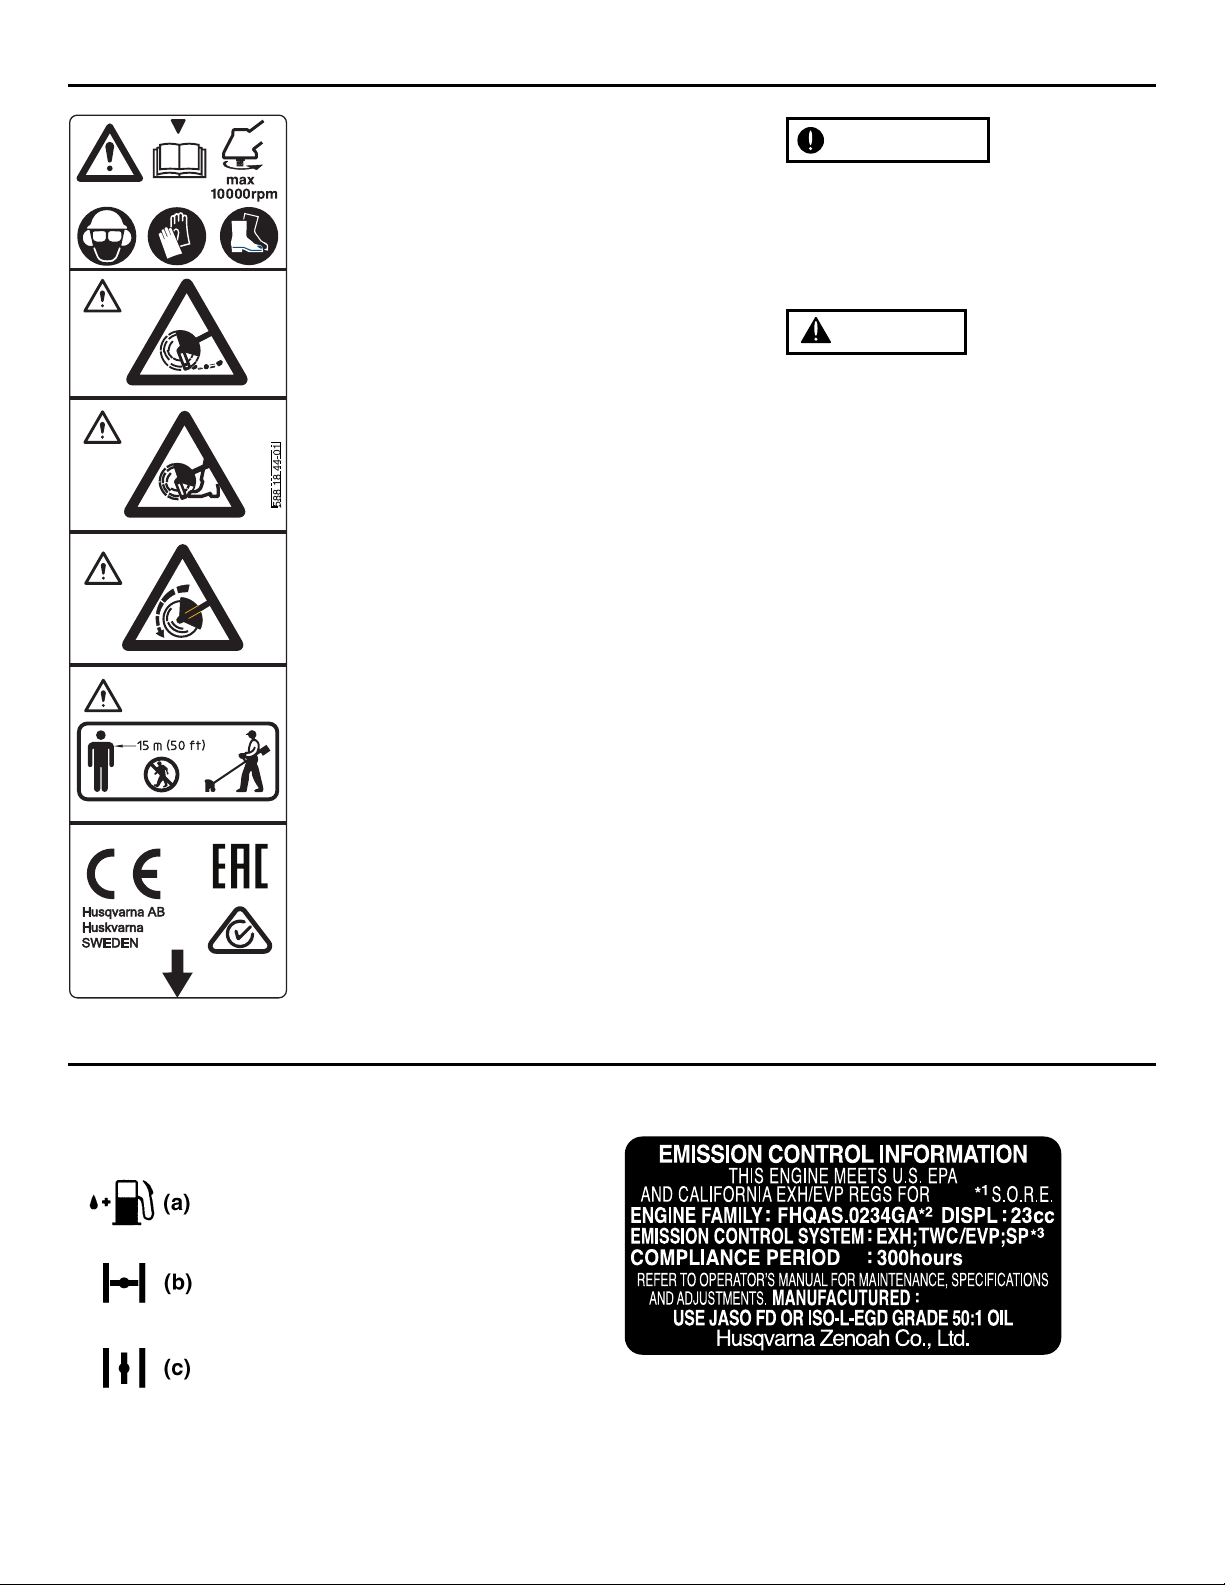
2. Specifications
■HEZ260F
Overall size(LxWxH) ··············································································· 69.0 (1752)x11.1 (283)x11.4 (290) in (mm)
Dry weight w/o acc. ······················································································································ 14.6 (6.63) lbs (kg)
Engine Type·················································································································· Air-cooled 2-stroke gasoline
Model ················································································································································· GZ26S
Displacement ················································································································· 1.6 cu-in (25.4 cm3)
Max. output ························································································ 1.27 Hp (0.95 kW) at 7500/min-1(rpm)
Idle speed····················································································································3000 ± 200/min-1(rpm)
Fuel ·················································································································· Mixture (Gasoline 50 : Oil 1)
··················································································································(when using RedMax genuine oil)
Carburetor ··············································································································· Walbro Diaphragm type
Spark plug ······························································································································NGK BPMR8Y
Fuel tank capacity···························································································································22.3 fl.oz (0.66 )
Transmission···································································································· Centrifugal clutch, Flexible driveshaft
Reduction ratio····················································································································································· 1.25
Cutting head rotating direction··················································································· Clockwise (Vew against blade)
Durability period··············································································································································300 hrs.
Blade length ···································································································································7.87 (200) in (mm)
Use for ·················································································································································· Lawn edging
Specifications are subject to change without notice.
■HEZ230F
Overall size(LxWxH) ··············································································· 68.9 (1749)x11.1 (282)x11.4 (289) in (mm)
Dry weight w/o acc. ························································································································· 14 (6.35) lbs (kg)
Engine Type·················································································································· Air-cooled 2-stroke gasoline
Model ················································································································································· GZ22S
Displacement ················································································································· 1.4 cu-in (22.5 cm3)
Max. output ·························································································· 1.0 Hp (0.75 kW) at 8000/min-1(rpm)
Idle speed····················································································································3000 ± 200/min-1(rpm)
Fuel ·················································································································· Mixture (Gasoline 50 : Oil 1)
··················································································································(when using RedMax genuine oil)
Carburetor ··············································································································· Walbro Diaphragm type
Spark plug ······························································································································NGK BPMR8Y
Fuel tank capacity···························································································································21.6 fl.oz (0.64 )
Transmission···································································································· Centrifugal clutch, Flexible driveshaft
Reduction ratio····················································································································································· 1.25
Cutting head rotating direction··················································································· Clockwise (Vew against blade)
Durability period··············································································································································300 hrs.
Blade length ···································································································································7.87 (200) in (mm)
Use for ·················································································································································· Lawn edging
Specifications are subject to change without notice.