Ricoh THETA Z1 User manual

Quick Reference Guide
Preparation
STEP1
Charging the camera
Connect the camera to your computer using the provided USB cable to charge it. The power
lamp lights green during charging and goes out when the camera is fully recharged.
* The camera is charged in approx. 200 minutes (at 25°C (77°F)).
* When the remaining battery level is low, it may take a while for the camera to be recognized
by the computer.

STEP2
Installing computer application "RICOH THETA"
1. Download the app suitable for your computer.
For Windows users (start downloading)
For Mac users (start downloading)
2. Double click the file downloaded and install it following the on-screen instructions. When a
screen as shown in the diagram below appears, the installation is complete.

STEP3
Checking the camera firmware version
1. Start computer app"RICOH THETA".
2. Select [File] → [Firmware Update] in the menu.
3. Follow the instructions on the screen to connect the camera to your computer using the
provided USB cable.
* Internet connection of the computer is necessary. 4. Click [OK] and Check the firmware
version.
* If the firmware isn't the latest version, update it according to the message. 5. After checking the
firmware version, click [OK] and disconnect the USB cable.

STEP1
Starting the camera
1. Press and hold the power button. Camera status lamp flashes in blue slowly during startup.
2. The OLED panel turns on.

STEP2
Preparation for connecting the chamera to a smartphone
Press the wireless button.Wireless LAN icon is animated on the OLED panel.

STEP3
Starting the smartphone app "RICOH THETA"
iPhone
1. Start "RICOH THETA" app on the smartphone.
2. Tap the [Shoot] button at the bottom center of the screen.
3. Tap [Registering a new camera].
4. Enter the serial No. of the camera on the serial column.(The serial No. is written on the base of
the camera. example: YN12345678)
5. Tap [Register] at the top right of the screen.
6. When the wireless LAN connection is complete, Wireless LAN icon becomes lit.
*From the next time, after operating the above only 1. and 2., select the camara displayed at
[Camera connected the last time] column on the screen.

Android
1. Enable the Wi-Fi™ of the smartphone.
2. Start "RICOH THETA" app on the smartphone.
3. Tap [Yes] after the below message.
"To connect to the camera, you must turn on the setting to use position information for this
device and then permit access from the app."
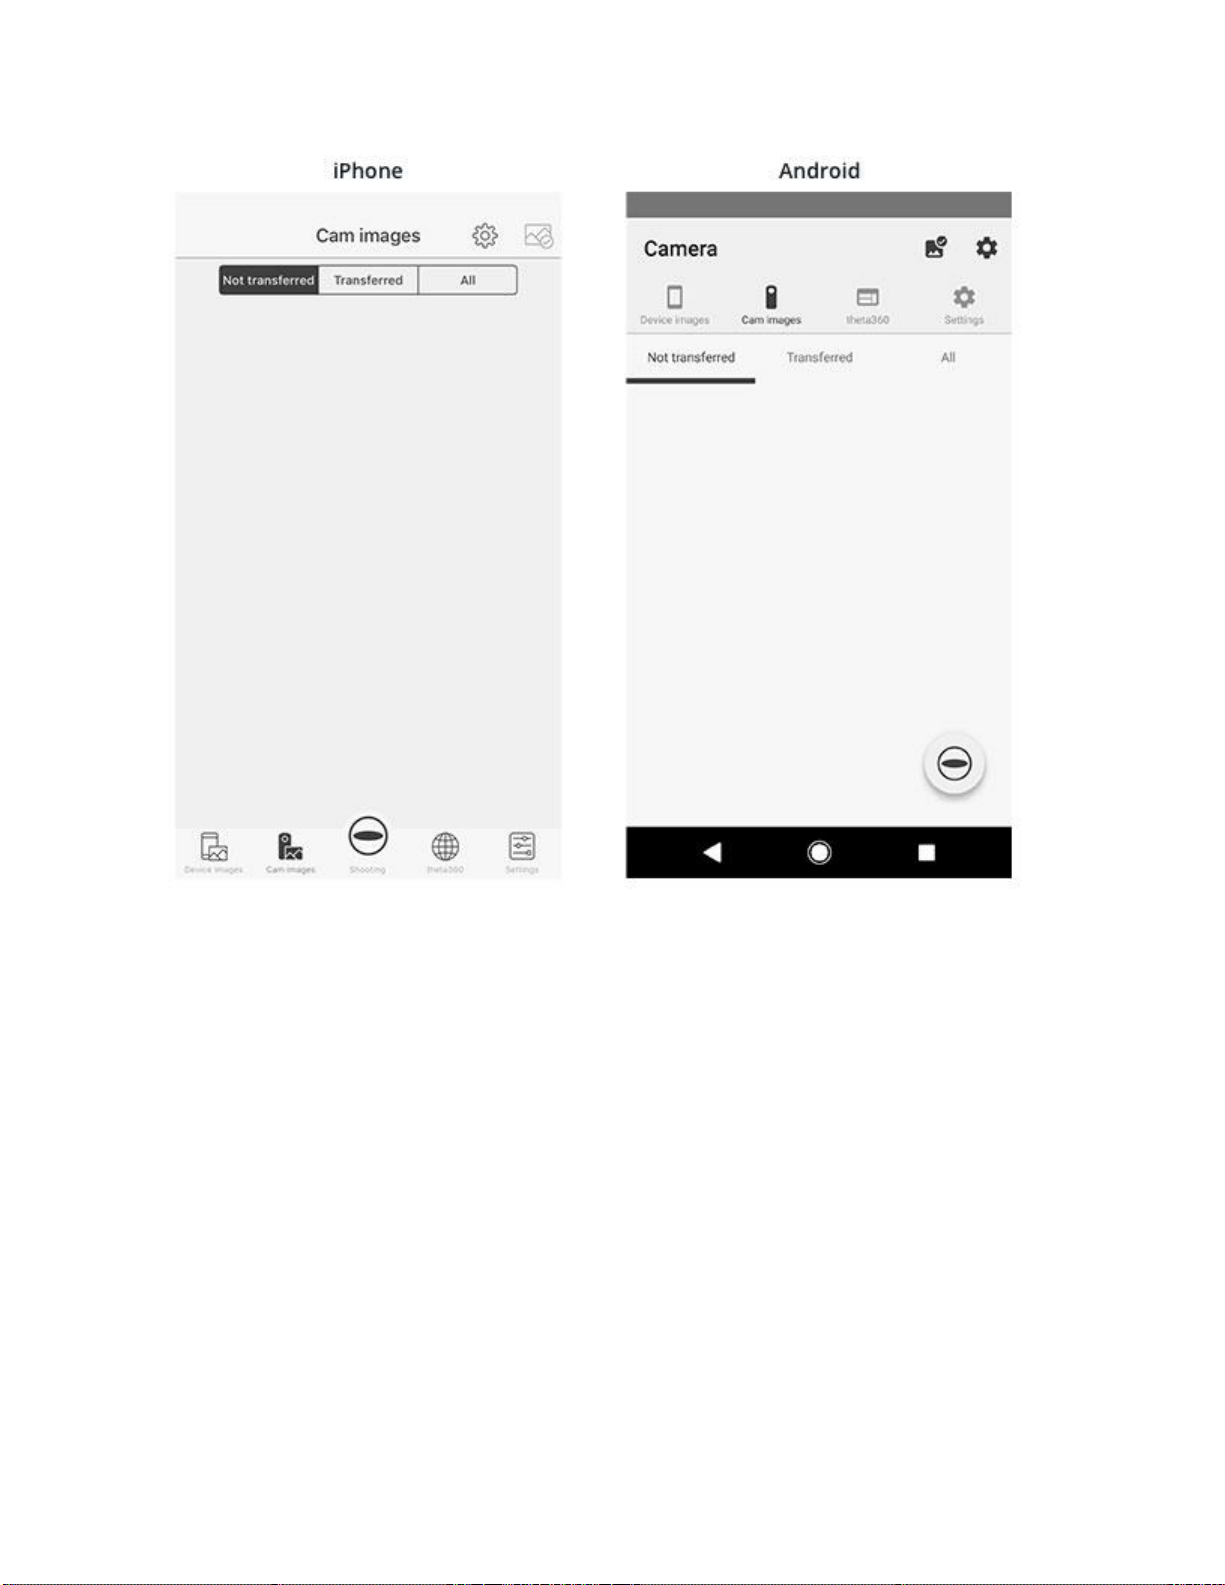
4.Tap [Θ icon] on the bottom right of the screen.
5. Tap [THETAYN********.OSC] displayed at [Unregistered camera] column on the screen.
6.When the wireless LAN connection is complete, Wireless LAN icon becomes lit.
*From the next time, after operating the above 1, 2 and 4, select the camera displayed at
[Registered camera] column on the screen.

STEP4
Checking and changing the camera settings
Tap "Cam images" on the bottom left of the screen.

Tap [Settings] > [Camera settings] . Available to change [camera shutter volume] / [sleep mode]
/ [auto power off] and etc.
* The date and time of the camera are synchronized with the smartphone or computer when the
camera is connected to the basic app.
Taken with the camera

STEP1
Starting the camera
1. Press and hold the power button.
2. Press the mode button to select the still image shooting mode. Camera icon appears on the
OLED panel.

STEP1
Starting the camera
1. Press and hold the power button. Camera status lamp flashes in blue slowly during startup.
2. The OLED panel turns on.
3. Press the mode button to select the still image shooting mode.
・From the smartphone app "RICOH THETA" remote shooting screen, you can switch shooting
modes with the still image button/video button.

STEP2
Preparation for connecting the chamera to a smartphone
Press the wireless button.Wireless LAN icon is animated on the OLED panel.

STEP3
Starting the smartphone app "RICOH THETA"
iPhone
1. Start "RICOH THETA" app on the smartphone.
2. Tap the [Shoot] button at the bottom center of the screen.
3. Tap [Registering a new camera].
4. Enter the serial No. of the camera on the serial column.(The serial No. is written on the base of
the camera. example: YN12345678)
5. Tap [Register] at the top right of the screen.
6. When the wireless LAN connection is complete, Wireless LAN icon becomes lit.
*From the next time, after operating the above only 1. and 2., select the camara displayed at
[Camera connected the last time] column on the screen.

Android
1. Enable the Wi-Fi™ of the smartphone.
2. Start "RICOH THETA" app on the smartphone.
3. Tap [Yes] after the below message.
"To connect to the camera, you must turn on the setting to use position information for this
device and then permit access from the app."
4. Tap [Θ icon] on the bottom right of the screen.
5. Tap [THETAYN********.OSC] displayed at [Unregistered camera] column on the screen.
6. When the wireless LAN connection is complete, Wireless LAN icon becomes lit.
*From the next time, after operating the above 1, 2 and 4, select the camera displayed at
[Registered camera] column on the screen.

STEP4
Remote shooting
When you tap the [Shoot] button, remote shooting will start.
・You can set exposure with [EV]. This can be confirmed in live view*.
・You can set the following in [Option Setting].
[Noise reduction]: Indoors or other dark places (Camera must be secured so it does not move.)
[DR compensation]: Outdoors in places with much differences in brightness and darkness.
[HDR Rendering]: Scenery and other places with high dark-bright contrast (Camera must be
secured so it does not move.)
To learn more about how to view images, click here.
To learn more about how to share images, click here.
・You can shoot manually. Click here for details.

* You can shoot while checking the image in live view. You can switch between
OFF/panorama/full screen.
Interval shooting
STEP1
Starting camera and app
1. Perform STEP 1 to STEP 3 in "Taken with the smartphone."
2. Tap the gear symbol at the top right of the screen and switch to the shooting settings screen.

STEP2
Shooting settings
1. Set [Shooting method] to [Interval shooting].
2. Make the following settings.[Interval], [Total shots].
3. Tap [Done] (iPhone), Tap [Back button] (Android).

STEP3
Interval shooting
When you tap the [Shoot] button at the bottom center of the screen, interval shooting will start at
the specified intervals and the number of shots.
Other manuals for THETA Z1
1
This manual suits for next models
1
Table of contents
Other Ricoh Action Camera manuals