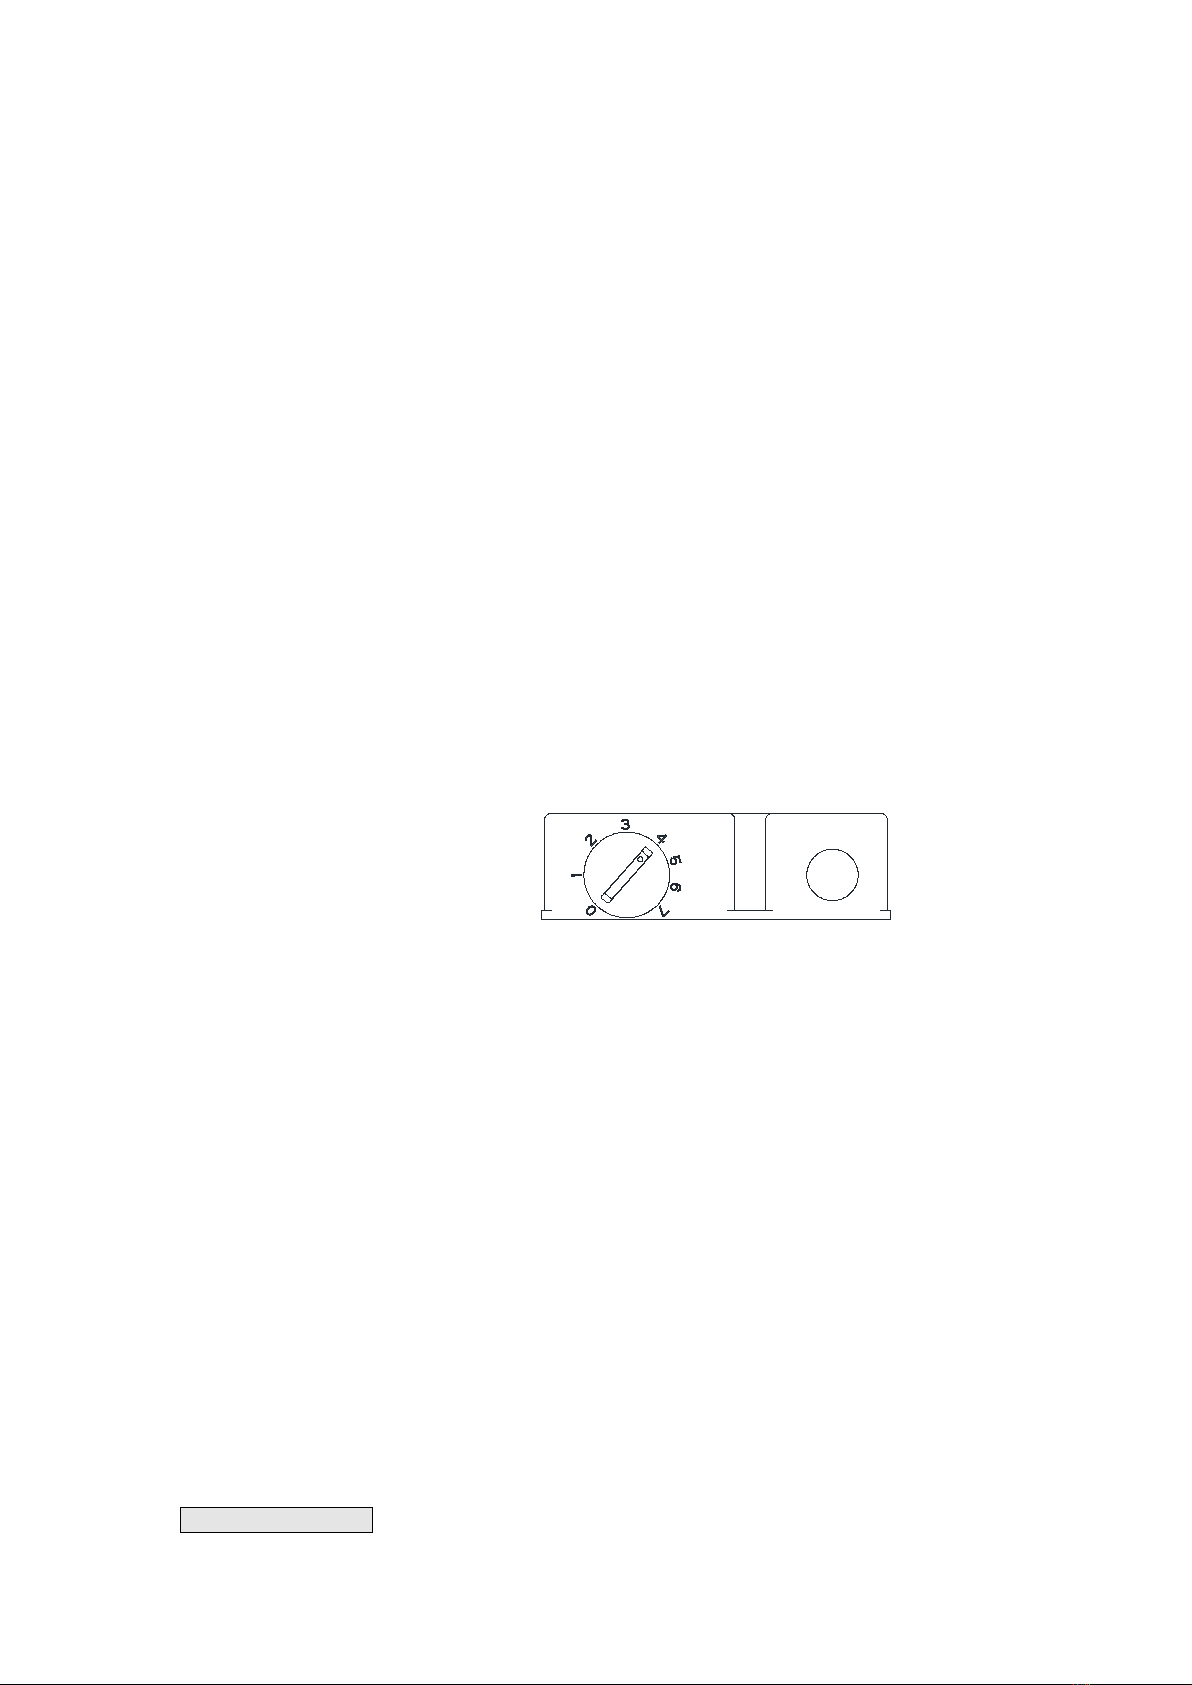
ROWAN ELECTRIC APPLIANCE BD-50 User manual

Owner’s Manual
Household Freezer
Model:BD-50 BD-80
Thank you for purchasing this product! Please read the instructions carefully
before use. If you have any questions about the product, please contact us via
Amazon Message or customer service number: 213-4467172 or 661-4358826.

1
Table of Contents ……………………………………………….….……1
Package Content . ………………………………………………..…….2
Important Safeguards ……………………………………………..…..2
Getting to know your Freezer ……………………………………..…..4
Preparing Your Freezer for Use .……………………………….…..…4
Unpacking your Freezer ……………………………………………….....4
Connecting Your Freezer ………………………………………………...5
Temperature Control ………………………………………..………….....5
Operating Procedures & Maintenance.……………………………….6
Moving Your Freezer ………………………………………………………6
Defrosting Your Freezer …………………………………………………..6
Cleaning Your Freezer …………………………………………………… 7
Troubleshooting …………………………………………………………..7
Technical Specifications …………………………………….………….8
TABLE OF CONTENTS

2
Freezer Unit 1 pc
Shelf 1 pc
Owner’s Manual 1 pc
When using your FREEZER, basic safety precaution should be followed to reduce the risk of fire,
electric shock, and injury to persons or property. Read all instructions in this owner’s manual
carefully.
Use this appliance only for its intended purpose as described in this owner’s manual.
WARNING: This appliance is intended to be used in households and similar applications
such as
– staff kitchen areas in shops, offices and other working environments;
– farm houses and by clients in hotels, motels and other residential-type
environments;
– bed and breakfast type environments;
– catering and similar non-retail applications.
The appliance must be correctly installed and connected to the power supply in accordance
with the installation instructions before it is used. (See: “Preparing Your Freezer for Use”).
The main power supply must be properly grounded.
This freezer must be positioned so that the plug is accessible. Never unplug your unit often
by pulling on the power cord. Always grasp the plug firmly and pull it straight out from the
outlet.
Do not use an extension cord as this can negatively affect the performance of the unit. If you
must use an extension cord, use 18AWG minimum size and rated no less than 1875 watts.
When transporting the refrigerator, keep the unit in the upright position. Do not tilt the
appliance beyond 45° or place the unit in upside-down position. Do not tip over.
Do not touch the cooled surfaces while the appliance operates, especially not with wet hands,
because the skin may stick to the cold surfaces.
It is recommended that the refrigerator is positioned away from any combustible sources such
as gas, petrol, alcohol, lacquer and banana oil, etc. The aforementioned objects should not be
stored in the refrigerator under any circumstances.
If the unit fails to cool properly, dispose of spoiled food as needed.
Unplug your Freezer before cleaning or making any repairs. NOTE: If for any reason this
product requires service, we strongly recommend that a certified technician perform the
service.
PACKAGE CONTENT
IMPORTANT SAFEGUARDS

3
Do not defrost the appliance with other electric devices (hair dryer etc.) and never scrape the
ice or frost layer with sharp tools. Warning: Do not damage the refrigerant circuit.
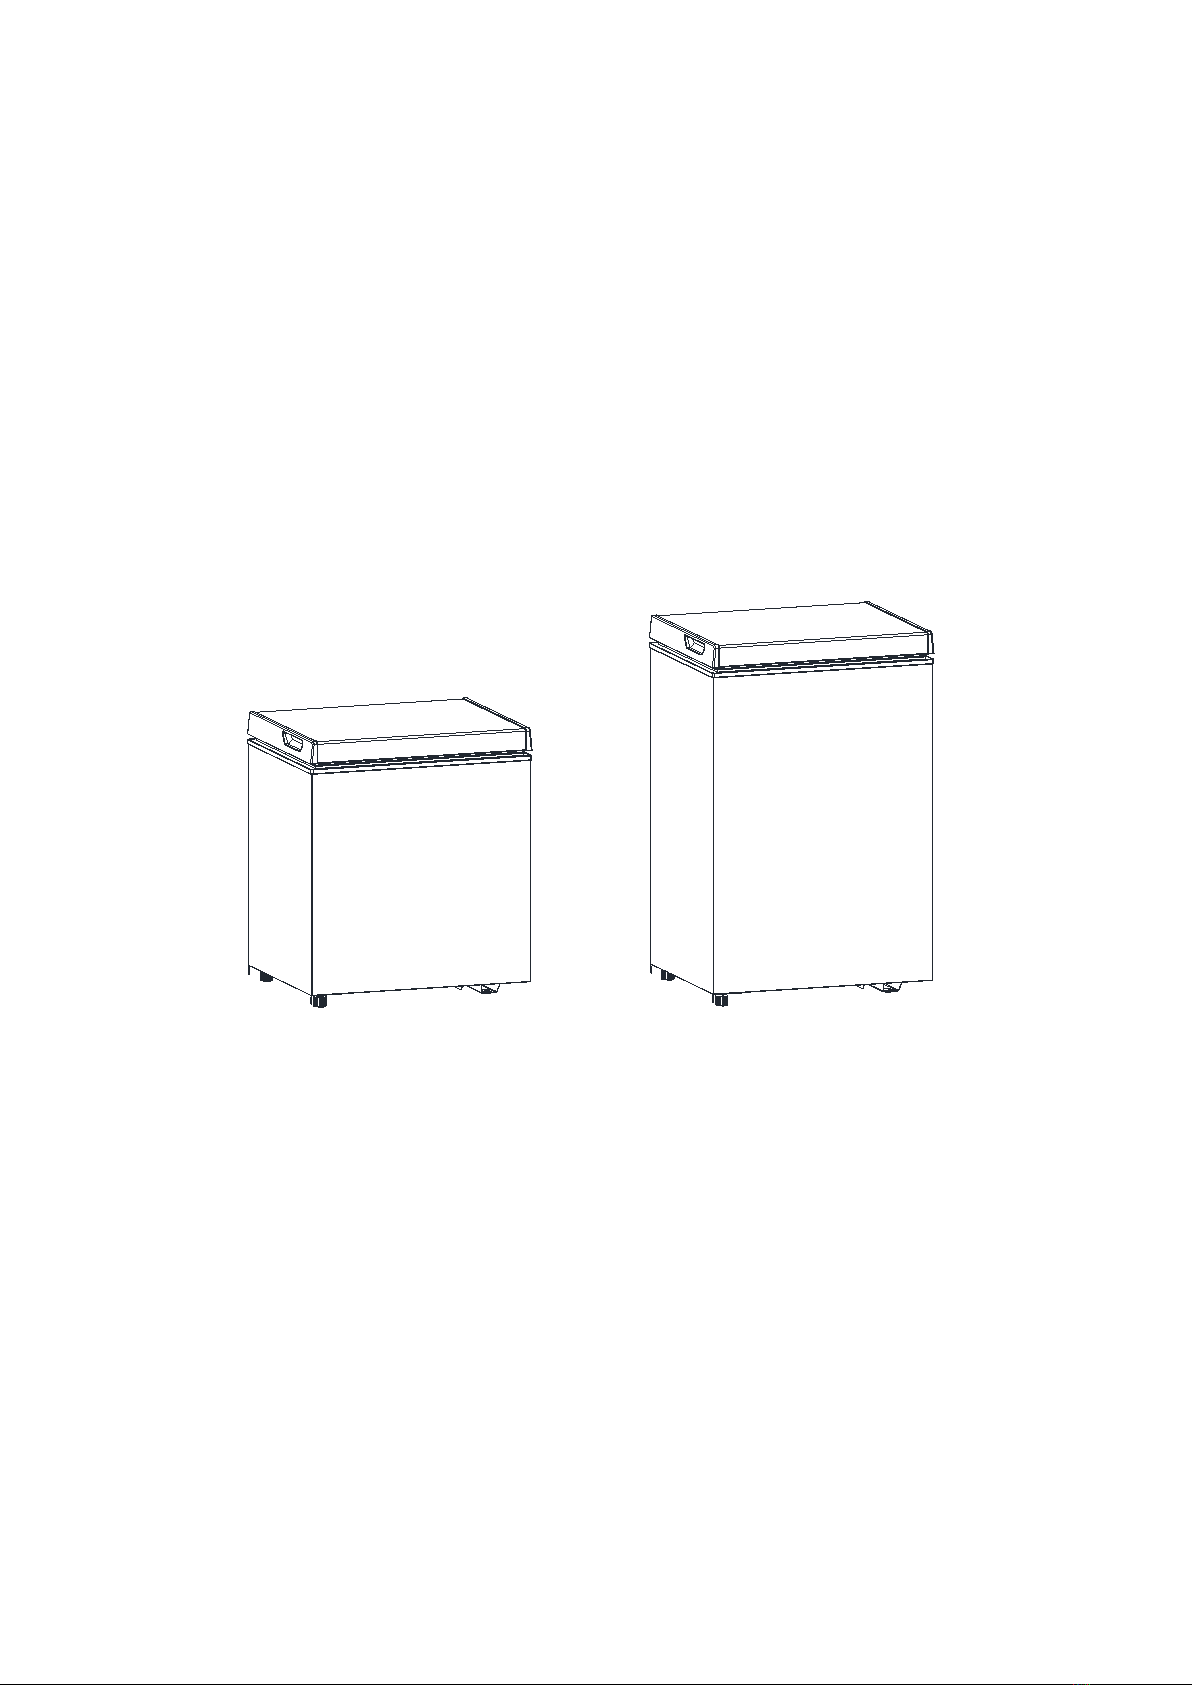
The rating plate is inside the appliance or outside on the rear or side wall.
This appliance is not intended for use by persons (including children) with reduced physical,
sensory or mental capabilities, or lack of experience and knowledge, unless they have been
given supervision or instruction concerning use of the appliance by a person responsible for
their safety. Children should be supervised to ensure that they do not play with the appliance.
CAUTION: To prevent A Child From Being Entrapped, Keep Out Of
Reach Of Children And Not In The Vicinity Of Freezer.
Do not run cord over carpeting or other heat insulators. Do not cover the cord. Keep cord
away from traffic areas, and do not submerge in water. If the supply cord is damaged, it must
be replaced by the manufacturer or its service agent or a similarly qualified person in order to
avoid a hazard. Repair or replace immediately all electric service cords that have become
frayed or otherwise damaged. Do not use a cord that shows cracks or abrasion damage along
its length, the plug or the connector end.
WARNING: Keep ventilation openings, in the appliance enclosure or in the built-in structure,
clear of obstruction.
WARNING: Do not use mechanical device or other means to accelerate the defrosting
process, other than those recommended by the manufacturer.
WARNING: Do not damage the refrigerant circuit.
WARNING: Do not use electrical appliances inside the food storage compartments of the
appliance, unless they are of the type recommended by the manufacturer.
Do not operate your refrigerator in the presence of explosive fumes.
WARNING--Do not use the flame or catch the fire near the unit.
DANGER-Risk of Fire or Explosion. FLAMMABLE REFRIGERANT Used. Do Not Use
Mechanical Device To Defrost Refrigerator. Do Not Puncture Refrigerant Tubing
DANGER-Risk of Fire or Explosion. Flammable Refrigerant Used. To Be Repaired Only By
Trained Service Personnel. Do Not Puncture Refrigerant Tubing.
CAUTION – Risk Of Fire Or Explosion. Flammable Refrigerant Used. Consult Repair
Manual/Owner’s Guide Before Attempting To Service This Product. All Safety Precautions
Must be Followed.
CAUTION--Risk of Fire or Explosion. Dispose Of Property In Accordance With Federal Or
Local Regulations. Flammable Refrigerant Used.
CAUTION – Risk Of Fire Or Explosion Due To Puncture Of Refrigerant Tubing; Follow
Handling Instructions Carefully. Flammable Refrigerant Used.
Disposal of your unit

4
Please comply with the local regulations on disposal of the appliance for its flammable
refrigerant and blowing gas. Before you scrap the appliance, please take off the doors to
prevent children trapped.
DANGER: Risk of child entrapment. Before you throw away your old refrigerator or freezer:
Take off the doors.
Leave the shelves in place so that children may not easily climb inside.
Unpacking your Freezer
1) Remove the exterior and interior packaging without tilting or laying it on its side.
2) It is advisable to clean the inside of the Freezer with lukewarm water using a mild
detergent and a soft cloth, and then dry it thoroughly prior to use. See Cleaning Your
Freezer.
3) Free-standing installation only.
Find a location for your unit that is protected from direct sunlight and other sources of heat.
Place the unit on a level surface. Make sure that there is at least 5 inches of space
between each side of your unit and the wall. Avoid locating the appliance in moist areas.
Too much moisture in the air will cause condensation to form, requiring more frequent
defrosting of the unit.
Warning: Risk of fire / flammable materials
1) Indicating Light
2) Thermostat Dial
3) Thermostat Box
4) Adjustable foot
5) Drain port
(bottom,not shown)
6) Cabinet
7) Basket shelf
8) Door
PREPARING YOUR FREEZER FOR USE
GETTING TO KNOW YOUR FREEZER

5
4) Allow it 4 hours for the refrigerant fluid to settle before plugging it in.
5) The refrigeration system of the cabinet is designed to operate with the cabinet located
on a flat surface. Avoid tilting the cabinet side.
Connecting Your Freezer
Improper use of the grounded plug can result in the risk of electrical shock.
This unit should be properly grounded for your safety. The power cord is equipped with a
three-prong plug which mates with standard three-prong wall outlets to minimize the
possibility of electrical shock.
Plug your appliance into an exclusive, properly installed, grounded wall outlet. Do not
under any circumstances cut or remove the third (ground) prong from the power cord. Any
questions concerning power and or grounding should be directed toward a certified
electrician.
This appliance requires a standard 115volt, 60Hz electrical outlet with three-prong ground.
Always use ground fault protection where required by the electrical code.
Temperature Control
1) The temperature control dial is located at the back side of the cabinet.
The range of the temperature control is from position "1" the warmest to "7" the coldest
Adjust the temperature control to the setting that best suits your needs. The
recommended control setting is near the No. 4 position, which should be appropriate for
home or office refrigerator use.
The first time you turn the unit on, adjust the temperature control dial to "7" and run for at
least 2 hours before putting food inside. This will ensure the cabinet is thoroughly chilled
before food is put in.
2) Turning the temperature control dial to the "0" position until it clicks will switch off the
power to the compressor.
IMPORTANT: Turning the control dial to the “0” position is to turn off the cooling function;
It does NOT disconnect the unit from the power supply.
3) To adjust the thermostat control dial: turn the control to a higher number for colder
temperatures, a lower number for less cold temperatures. It is recommended that you
adjust by one numerical increment at a time, allowing several hours for temperatures to
stabilize between increments
.
Cool Down Period: To ensure proper food storage, allow it 4 hours for the freezer to cool

6
down completely. The freezer will run continuously for the first several hours. Already frozen
foods may be placed in after the first few hours of operation, however you must wait 4 hours
before placing in any unfrozen food.
IMPORTANT: The storage life of frozen foods varies and the recommended storage time
should not be exceeded.
Place frozen food into the freezer as quickly as possible after purchase. If there are
instructions on the package, carefully follow these instructions regarding storage time.
Notes:
Do not store canned food or food stored in glass containers in the freezer compartment.
Moving Your Freezer
Remove all contents and make sure to tape down any loose items.
To avoid damaging the leveling screws, turn them all the way into the base.
Tape the door shut.
Make sure your unit stays in the upright position during transportation.
Defrosting Your Freezer
After you have used your freezer for some time, frost will accumulate inside mostly on
the upper part of the food liner. This is due to warm, moist air entering the freezer when
the door is open and it is normal. If this frost becomes thicker than 1/4", it should be
removed as it will become less energy efficient due to longer running time. Under
normal circumstances, defrosting will not be necessary more than once a year. To
defrost your freezer properly, follow these instructions:
1) Unplug freezer.
2) Quickly remove all frozen food and store it in baskets, cartons or other suitable
containers. Keep them well covered with blankets to avoid excessive temperature
rise.
3) Place pans of hot water in the freezer with the lid open to speed melting.
4) Using a wooden spatula or plastic scraper, remove the frost and ice off the inner
liner walls as soon as it becomes loose (approximately 15 minutes from the start)
WARNING: Do not use a mechanical device to defrost your freezer. Do not puncture
refrigerant tubing.
5) A cloth or towel soaked in hot water will help speed up the process. Remove ice
from freezer as soon as it becomes loose. Allowing it to melt will only make
cleaning it more difficult.
6) You are now ready to clean your freezer.
Please Note: Do not pour boiling water to defrost because it may damage the
plastic parts. In addition, never use a sharp or metallic instrument to remove frost
as it may damage the inner liner or the cooling coils, voiding any and/or all
warranties which may be in effect.
OPERATING PROCEDURES & MAINTENANCE

7
Cleaning Your Freezer
WARNING: Do not clean your freezer with flammable fluids. The fumes can create a
fire hazard or explosion.
Unplug your Freezer before cleaning or making any repairs.
1) Turn the temperature control to “0”, unplug the unit, and remove all the food and
shelves.
2) Cleaning the Inside:
We recommend the following cleaning method: sprinkle baking soda on the sides and
bottom of the freezer, this will help in cleaning and odor removal. In order to retain the
finish of the freezer cabinet, inside and outside, wash painted and plastic parts only with
warm water and mild soap, then rinse and dry. Do not use, under any circumstances, a
gritty soap or a scouring pad as they will scratch the finish. During the defrosting operation,
some water may have dripped from the back flange of the lid cover. This is quite normal.
Ice has built up on the lid insulation during normal operation and this ice will melt during
defrosting. You will probably have to fold over and dry the gasket on the hinge side of the
lid to complete the cleaning process
3) Cleaning the Outside:
Wash the cabinet with warm water and mild liquid detergent. Rinse well and wipe dry with
a clean soft cloth.
4) Wash the shelves with a mild detergent solution.
5) Make sure the door gasket (seal) is kept clean in order to keep the unit running
efficiently
Freezer does not
work
1. It may not be plugged in well.
2. The circuit breaker tripped or the main fuse may be blown.
3. The thermostat may be set to “0”
The compressor
turns on and off
frequently
1. The room temperature is hotter than usual.
2. The freezer is filled to its maximum capacity.
3. The door is opened too often.
4. The door is not closed completely.
5. The thermostat dial is set too low.
6. The door’s magnetic gasket does not seal properly.
Vibrations
1. The freezer may not be leveled properly.
TROUBLESHOOTING

8
The unit makes too
much noise
1. Low noise may come from the flow of the refrigerant, during the
refrigeration cycle, which is normal.
2. As each cycle ends, gurgling sounds caused by the flow of
refrigerant in your freezer are normal.
3. Contraction and expansion of the inside walls may cause
popping and crackling noises.
4. The freezer is not level.
The door will not
close properly
1. The unit is not level.
2. The gasket is dirty.
3. The shelves are out of position.
4. Too much ice or frost accumulated.
MODEL
BD-50
BD-80
Power Supply
115V~ 60Hz
115V~ 60Hz
Rating
0.9 A
0.9 A
Capacity
50 L/1.8 Cu.Ft
78 L/2.8 Cu.Ft
Dimensions
W525*D445*H600(mm)
W525*D445*H810 (mm)
Refrigerant
R600a, 1.09 Oz/31g
R600a, 1.52 Oz/43g
TECHNICAL SPECIFICATIONS

9
Thank you for purchasing this product! If you have any questions
about the product, such as missing parts, damaged products, product
assembling, and operation, please contact us via Amazon Message
or customer service number: 213-4467172 or 661-4358826.
IMPORTANT
Please call our customer service department for any consulting:
213-4467172
661-4358826
(8:30am - 5:30pm P.S.T.)
DATED PROOF OF PURCHASE IS REQUIRED FOR WARRANTY
SERVICE.
AVIS
Veuillez appeler le service à la clientèle pour toutes questions au:
213-4467172
661-4358826
(8:30am - 5:30pm P.S.T.)
PREUVE D’ACHAT ORIGINALE REQUISE POUR SERVICE DE
GARANTIE.
IMPORTANTE
Sólo hay que llamar nuestro departamento de servicio
al cliente en caso de tener preguntas o inquietudes:
213-4467172
661-4358826
(8:30am - 5:30pm P.S.T.)
SE REQUIERE PRUEBA DE COMPRA CON FECHA PARA
SERVICIO BAJO GARANTÍA.
Address: ROWAN ELECTRIC APPLIANCE LLC
28407 Ascent Way, Santa Clarita, CA 91350
Phone: 213-4467172 or 661-4358826
This manual suits for next models
1
Table of contents