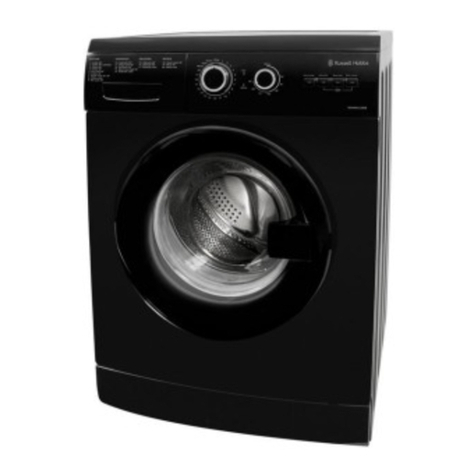
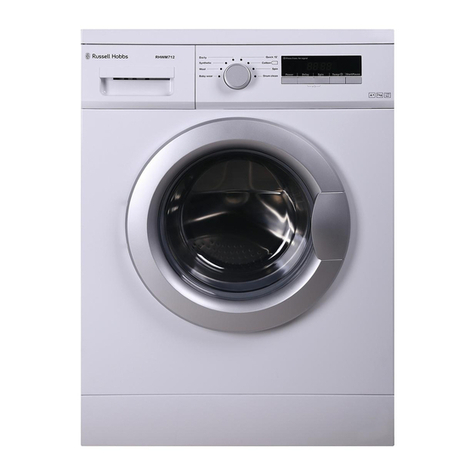
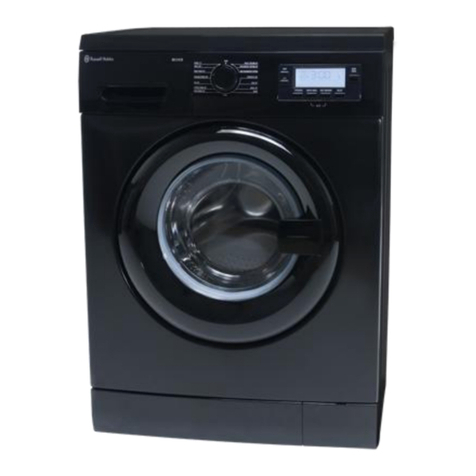
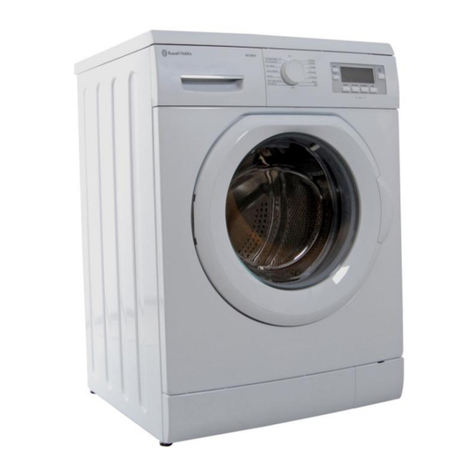
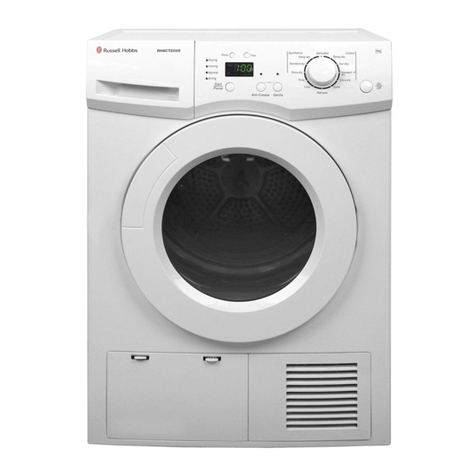
Russell Hobbs 11 Series User manual

Operating Manual
REGISTER YOUR
APPLIANCE FOR
FREE TODAY
CLEAN DRAWER
Remove & wash the drawer with
Hot water at least once a month.
CLEAN DRUM
Wipe the drum and seals
with white vinegar.
1
MONTH
RH814WM111W
RH814WM111B
WASHING MACHINE
11 SERIES

P a g e | 2
11 Series Washing Machines Revision 1.6
GUARANTEE
At Russell Hobbs, we take all our customer feedback seriously.
Feel free to contact our Product Care Team, on 0345 208 8750 who will be
more than happy to assist you.
This product is guaranteed for 12 months from the date of the original
purchase. If any defect arises due to faulty materials or workmanship, the
faulty product must be returned to the place of purchase.
Refund or replacement is at the discretion of the retailer.
The following conditions apply:
•The product must be returned to the retailer with the original proof of
purchase.
•The product must be installed and used in accordance with the
instructions contained in this instruction guide and any other instructions
for use which are supplied.
•It must be used for domestic purposes only and for its intended use.
•This guarantee does not cover wear and tear, damage, misuse or
consumable parts.
•This does not affect your statutory rights.
REGISTER
ONLINE
Visit our website to
register your full parts
and labour guarantee online.
mda.russellhobbs.com
REGISTER
BY PHONE
Call our friendly Product Care team.
0345 208 8750
RUSSELL HOBBS CONTACT DETAILS
Website: mda.russellhobbs.com
Telephone: 0345 208 8750
Address: Product Care Customer Service, Green Bank
Business Park, Hindley Green, Wigan, WN2 4AY
Note your serial number below for future reference.
Image for
illustration
purposes only

P a g e | 3
11 Series Washing Machines Revision 1.6
CONTENTS
Page
Section
2
Guarantee
4
Safety Instructions
6
Installation - Transportation
7
Installation - Levelling
8
Installation - Location
9
Installation - Water Inlet
10
Installation –Water Discharge
11
Installation - Detergent Drawer
12
Installation - Stacking
13
Drain Pump Filter
14
Functions & Buttons
15
First Time Use
16
Operation
17
Cleaning & Care
19
Washing Symbols
20
Programs & Times
22
Problem Solving
24
Technical Specification

P a g e | 4
11 Series Washing Machines Revision 1.6
IMPORTANT SAFETY INSTRUCTIONS
•It is hazardous for anyone other than a competent
person to carry out any service or repair operation that
involves the removal of a cover which gives protection
against exposure to electrical parts.
•If the supply cord is damaged, it must be replaced by
the manufacturer, its service agent or similarly qualified
persons in order to avoid a hazard. DO NOT use with
damaged cord or plug.
•DO NOT use with an extension cable.
•This product is intended for household use only. DO NOT
use outdoors.
•This appliance can be used by children aged from 8
years and above and persons with reduced physical,
sensory or mental capabilities or lack of experience and
knowledge if they have been given supervision or
instruction concerning use of the appliance in a safe
way and understand the hazards involved. Children
should not play with the appliance. Cleaning and user
maintenance should not be made by children without
supervision.
•DO NOT install on carpet or any surface that would
prevent adequate ventilation of the appliance.
•Use only parts and accessories supplied with the
appliance, or sourced directly from the manufacturer.
•Do not open the detergent drawer during operation.
•Do not open the door with water still in the appliance.
•Keep the appliance and plug away from water; do not
allow it to get wet.

P a g e | 5
11 Series Washing Machines Revision 1.6
IMPORTANT SAFETY INSTRUCTIONS
•DO NOT use appliance if it has been dropped,
damaged, left outdoors or dropped into water. Do not
operate this appliance for anything other than its
intended use.
•If unit is wet, do not plug unit into wall socket or turn unit
on. Do not immerse in water or other liquids for cleaning.
DO NOT handle the appliance with wet hands.
•DO NOT pull by the cord, close door on cord, pull cord
around sharp corners or edges, or expose cord to
heated surfaces.
•The use of accessory attachments not recommended by
the manufacturer may cause fire, electric shock or injury.
Only use the accessories supplied by the manufacturer.
•Only use the appliance when fully assembled.
•Never place your fingers or other objects into any part of
the appliance. Be aware that loose clothing or hair may
become trapped in the cleaner if improperly used.
•DO NOT touch water discharge pipe during operation,
or water being expelled as it may be hot.
•NEVER wash any fabric, clothes, or any other object that
has been exposed to flammable liquids such as petrol,
spirits, etc. ALWAYS ventilate and hand wash at least 24
hours prior.
•ALWAYS remove transport bolts prior to first use; any
damaged caused by failure to remove bolts will void
your guarantee.
P a g e | 6
11 Series Washing Machines Revision 1.6
INSTALLATION –TRANSPORTATION BOLTS
Before Installation, you MUST ensure the 4 transportation bolts are
removed. Failure to do so will result in damage to the appliance.
Using a 10mm spanner, turn the bolts counter clockwise until they
come loose from the white plug stoppers. Once removed, either
by hand or using plyers, remove the white plugs also.
Add the 4 blanking caps supplied into the holes left by the bolts.

P a g e | 7
11 Series Washing Machines Revision 1.6
INSTALLATION –LEVELLING THE FEET
WARNING –we recommend a minimum of 2 people when moving
or lifting the appliance.
WARNING –only level the appliance with the feet supplied. DO
NOT use cardboard, wood or similar materials to level the
appliance.
For optimal performance, your washing machine must be levelled,
which will prevent deterioration of performance, damage to the
appliance, and reduce noise.
We recommend the use of a spirit level to gauge the surface
before adjusting any feet, by placing the appliance in its location
and checking both the Forward and Side elevations.
Once you know the level of the appliance, slightly tilt the
appliance at the required corner and using a 30mm spanner,
rotate the desired foot in an anti-clockwise motion. Ensure levels
are checked regularly during this stage.

P a g e | 8
11 Series Washing Machines Revision 1.6
INSTALLATION –LOCATION
Before installation ensure you have all parts and accessories as
highlighted in the instruction manual.
Ensure all transportation bolts have been removed.
Ensure appliance is to be installed in a position it will remain above
0°C (32°F), storage below this temperature will lead to irreparable
damage.
DO NOT install on carpet, or any other surface which would reduce
ventilation around the appliance.
ALWAYS leave adequate space around the appliance for
ventilation (5cm on the sides, 10cm on the rear).

P a g e | 9
11 Series Washing Machines Revision 1.6
INSTALLATION –WATER INLET
Your washing machine is COLD WATER fed only, DO NOT feed hot
water into the machine.
ONLY use the included water inlet hose (Fig.1), or one sourced
directly from the manufacturer.
Your appliance is supplied with a water seal. Ensure this is installed
at the tap end (Fig.4)
Ensure the hose is free from kinks, folds and twists after installation.

P a g e | 10
11 Series Washing Machines Revision 1.6
INSTALLATION –WATER DISCHARGE
We recommend your washing machine is directly plumbed into
your drainage system, or it can be discharged through an existing
drain such as a sink.
The discharge pipe MUST be mounted a minimum of 60cm from
the ground, and a maximum of 100cm.
Ensure the discharge pipe is free from kinks, folds and twists.

P a g e | 11
11 Series Washing Machines Revision 1.6
INSTALLATION –DETERGENT DRAWER
Only use substances in the detergent drawer
such as Washing Powder, Fabric Softener, or
specifically designed washing machine
cleaning products. Only use detergents as
directed by the supplier of the substance.
The detergent drawer is separated into 3
sections. Section II is used on all cycles,
Section I is only used during pre-wash cycles,
and Section is for fabric softener. Never fill past the Max line.
To remove the drawer for cleaning, press the blue clip (X) and
gently pull the drawer from the machine.
To replace the drawer, push back in until it clicks. Do not force the
drawer. If the drawer does not easily go in, press the blue clip whilst
installing.

P a g e | 12
11 Series Washing Machines Revision 1.6
INSTALLATION –STACKING
This appliance can be installed and used in a stack with a dryer.
NEVER stack the washing machine on top of another appliance –
the dryer must always be the top appliance.
ALWAYS check the dryer capacity is the same or below the
capacity of the washing machine.
ALWAYS use a stacking kit/fixing kit when stacking appliances
ENSURE the floor underneath the stack can bear a weight of at
least 150kg
ALWAYS review the below table to ensure sizes of the appliance
are appropriate

P a g e | 13
11 Series Washing Machines Revision 1.6
DRAIN PUMP FILTER
Regularly cleaning the pump filter prolongs the life of your pump
and prevents lint from building up and damaging the appliance.
We recommend you clean the pump filter every 2 months.
Using the washing powder scoop (included), insert into the small
notch and gently level off the cover.
Place a container such as a drain pan or towels under the filter
before proceeding further.
Turn the filter anti-clockwise and remove the filter, water will drain
out.
Remove any foreign materials and/or lint with a soft brush, then
replace the filter by inserting and rotating clockwise.
Replace the filter cover by gently pushing into position.
1
2
3
4
5
6

P a g e | 14
11 Series Washing Machines Revision 1.6
FUNCTIONS & BUTTONS
Child Lock
You can activate Child Lock on the appliance by simultaneously
holding buttons ‘Spin’ and ‘Delay’ for at least 3 seconds. Once
activated, ‘CL’ will flash on the display, and all functions will be
locked.
-If the dial is moved into the ‘Off’ position, then turned to any
programme, the appliance will continue the previously selected
cycle.
To deactivate Child Lock, simultaneously hold the ‘Spin’ and ‘Delay’
buttons for at least 3 seconds until ‘CL’ disappears from the display.
Cancelling a Programme
To cancel a running programme at any time in a cycle, turn the
programme dial to the ‘OFF’ position.
WARNING –your appliance may still have water inside. Before
opening the door you MUST turn the programme dial to the
‘SPIN/DRAIN’ programme, which will begin the drainage cycle and
cancel the previous programme.
In the event of a power cut, we recommend selecting ‘SPIN/DRAIN’
before running any other programme or opening the door.

P a g e | 15
11 Series Washing Machines Revision 1.6
IMPORTANT - FIRST TIME USE
Before using your machine for laundry, we recommend you perform
a ‘first-time’use cycle.
Add detergent such as a washing powder as highlighted in this
instruction manual, but WITHOUT loading any laundry.
Select programme ‘Eco 40/60’, and adjust the temperature to 90°C,
and the spin speed to 1200RPM.
Press the Start/Pause button, and allow the machine to run the
whole cycle.
Once complete, your appliance is ready to use.
We recommend you always leave the door open after any kind of
cycle to allow the appliance to fully dry and prevent build-up of
mould.

P a g e | 16
11 Series Washing Machines Revision 1.6
OPERATION
Turn on the appliance by selecting the appropriate programme
using the dial. The marker on the dial indicates the selected
programme. The selected programme time, will be displayed on the
panel.
To adjust the temperature or the spin speed, press the function
buttons to the right of the display to cycle through available
temperatures and spin speeds depending on the programme
selected, the Spin Speeds or Time will be displayed on the panel.
If you wish to delay the cycle, press the ‘Delay’ button and ‘1hr’ will
be displayed. You can delay between 1-23 hours.
To cancel the delay:
-If you have already pressed the Start/Pause button, press the
Delay button once, and the clock symbol will clear.
-If you have NOT pressed the Start/Pause button, continue to
press the Delay button until the clock symbol clears from the
display.
Once you have selected the desired programme, temperature, spin
speed, press the Start/Pause button to begin the cycle.

P a g e | 17
11 Series Washing Machines Revision 1.6
CLEAN DRAWER
Wash the drawer with hot
water at least once a month.
CLEAN DRUM
Wipe the drum and seals
with white vinegar.
IMPORTANT!
CLEAN THE MACHINE
1
MONTH
ALWAYS LEAVE
DOOR ADJAR
AFTER CYCLE

P a g e | 18
11 Series Washing Machines Revision 1.6
CLEAN DRAWER
Wash the drawer with hot
water at least once a month.
CLEAN DRUM
Wipe the drum and seals
with white vinegar.
IMPORTANT!
CLEAN THE MACHINE
1
MONTH
1
HR
ALWAYS LEAVE
DOOR ADJAR
AFTER CYCLE

P a g e | 19
11 Series Washing Machines Revision 1.6
WASHING SYMBOLS & GARMENT CARE
The below are a selection of the most common care label symbols that may
appear on your clothing. Always follow the instructions on the care labels to
ensure that there is no damage of shrinkage caused by incorrect washing.
Wash at 30°
Wash at 40°
Machine
Wash
Machine
Wash
Normal
Machine
Wash
Delicates
Hand Wash
Only
Dry Clean
Only
Do Not Dry
Clean
Tumble
Dryer Safe
Tumble Dry
Low Heat
Tumble Dry
Medium
Heat
Do Not
Tumble Dry
Important:
•Always separate light colours from dark colours.
•Always separate heavily soiled garments from normal washing, even if
you would normally wash them together.
•Never overload the washing machine –the indicated maximum weight
capacity of the washing machine is for DRY clothes however; there
should always be air space and the door should shut easily without force.
•Always check the maximum load weight for specific programs listed in
the program guide.
Below are some typical item weights (for guidance only):
Towel
200g
Bed Linen
500g
Pillow Case
200g
Underwear
100g
T-Shirt
150g
Jeans
650g

P a g e | 20
11 Series Washing Machines Revision 1.6
PROGRAMMES & TIMES
11 Series
Program
Time
(mins)*
Function
Eco 40-60
218
Lower power consumption whilst
achieving normal cleaning results
Cotton
235
Normal wash cycle
Cotton prewash
164
Combined with pre-wash solution*,
for very soiled laundry
Cotton 20°C
96
Lower temperature wash for less
dirty, & unsoiled laundry
Colours
230
For less dirty & unsoiled laundry
Easy
Care/Outdoor
110
Very dirty or synthetic laundry (e.g.
Nylon)
Wool
43
Lower temperature wash to ensure
your woollens don’t lose their
shape
Mix
105
For all laundry types
Rinse
30
An additional rinse cycle to
remove excess residue
Allergy Safe
197
Baby clothes
Spin/Drain
17
An extra spin to aid in drying your
laundry
Hand
wash/Delicate
90
For delicate and hand-wash only
laundry
Rapid 15 min
15
Unsoiled laundry only
Fast 60' 60°C
60
A normal wash at 60°C but in a
shorter time
Jeans
96
Dark items. Wash inside out.
Caution: Dyes may run
*Programme duration may adjust based on weight of laundry, water
temperature, ambient temperature, and selected function
This manual suits for next models
2
Table of contents
Other Russell Hobbs Washer manuals

Russell Hobbs
Russell Hobbs RHM51000B User manual

Russell Hobbs
Russell Hobbs RHBI714WM1 User manual

Russell Hobbs
Russell Hobbs RH1042 User manual

Russell Hobbs
Russell Hobbs RH8CTD600 User manual

Russell Hobbs
Russell Hobbs RH1250TW User manual

Russell Hobbs
Russell Hobbs RHWM81400DIDW User manual

Russell Hobbs
Russell Hobbs RH1250TB User manual

Russell Hobbs
Russell Hobbs RHWM61200B User manual

Russell Hobbs
Russell Hobbs RH1261TW User manual

Russell Hobbs
Russell Hobbs RH714WM1 User manual