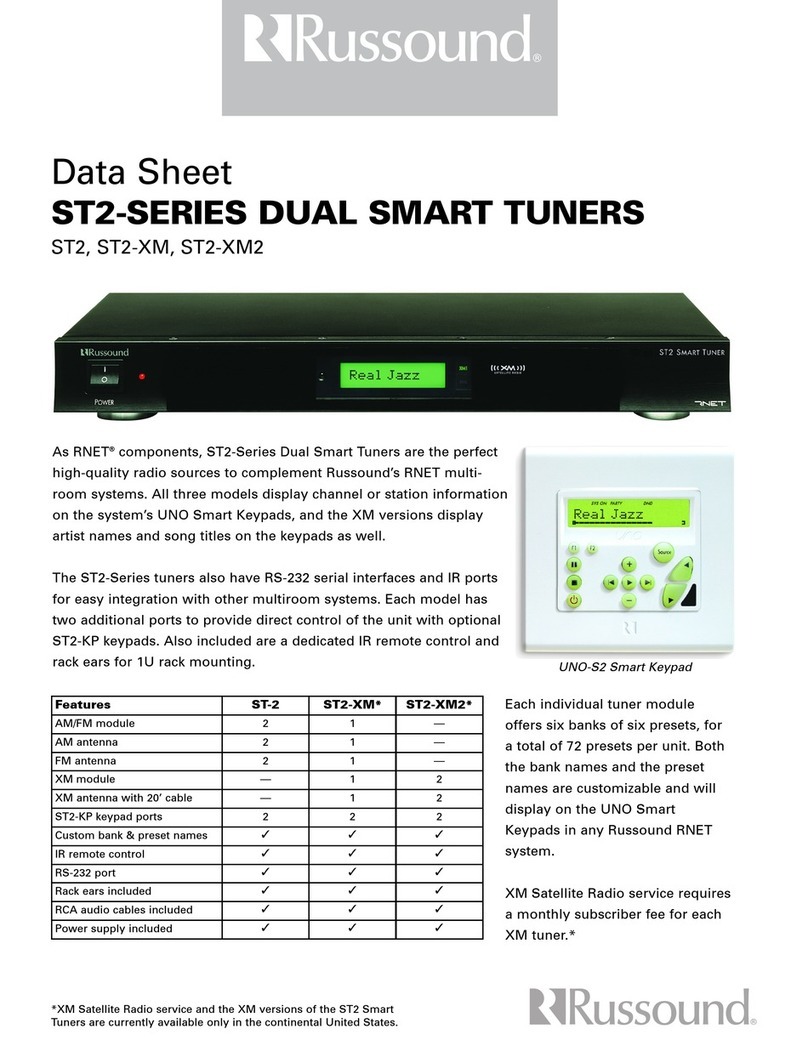
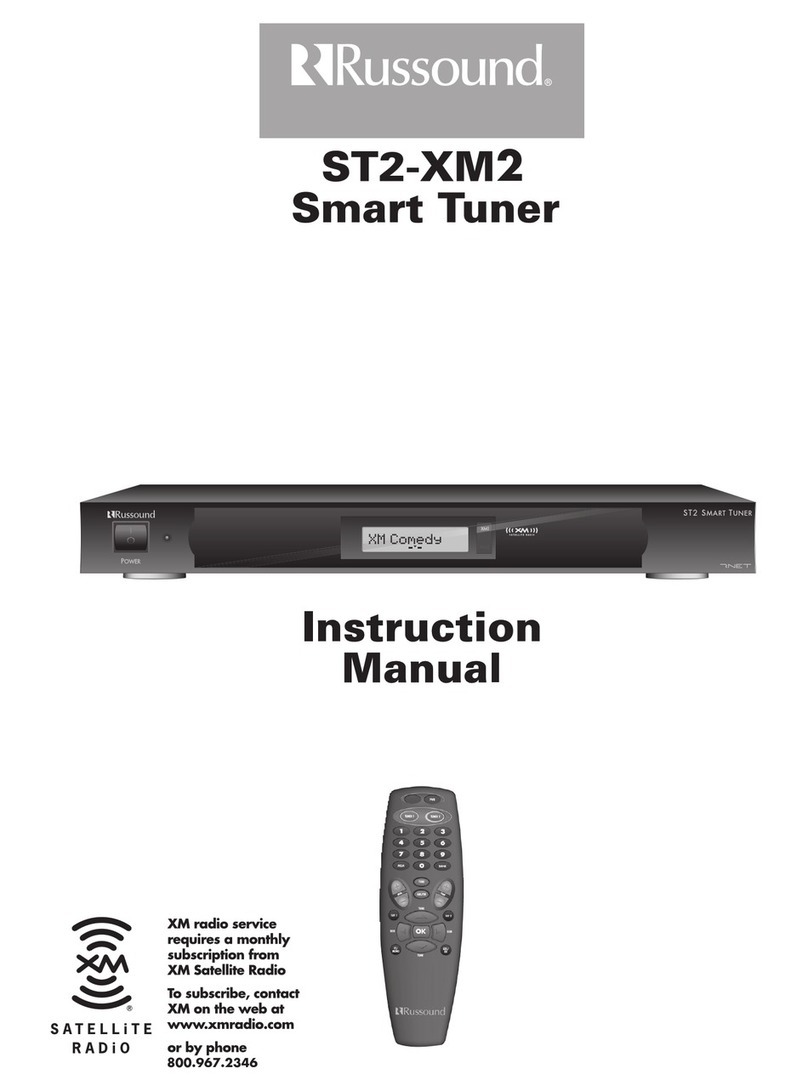
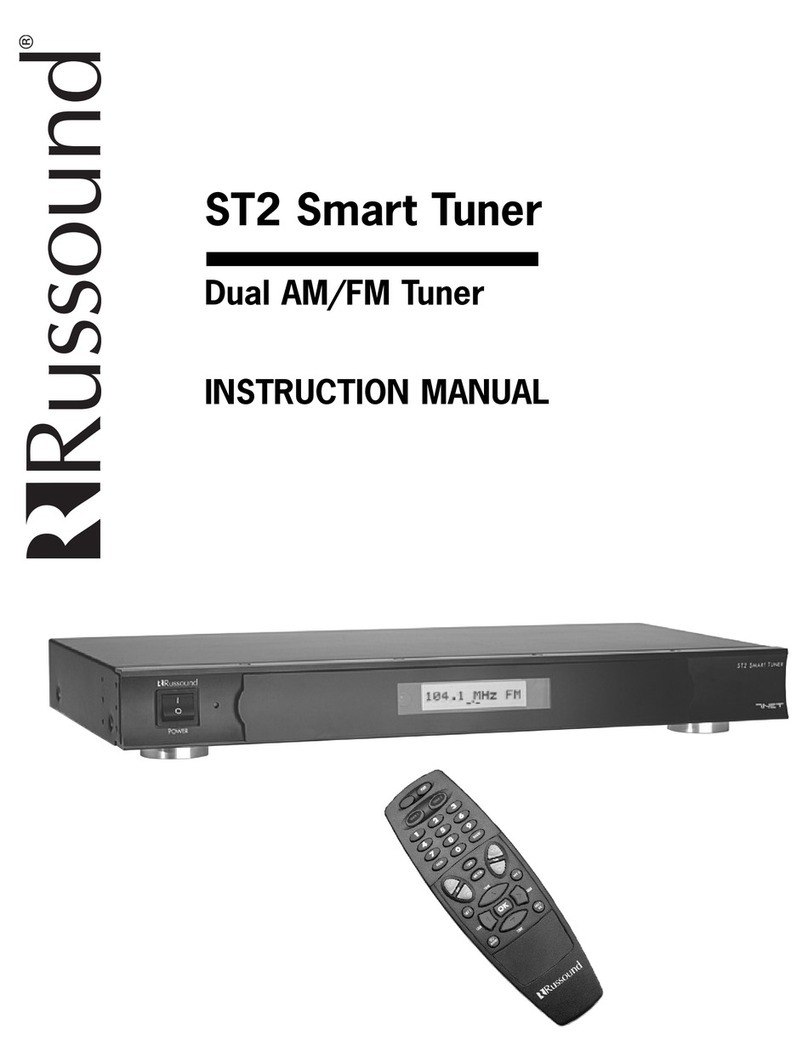
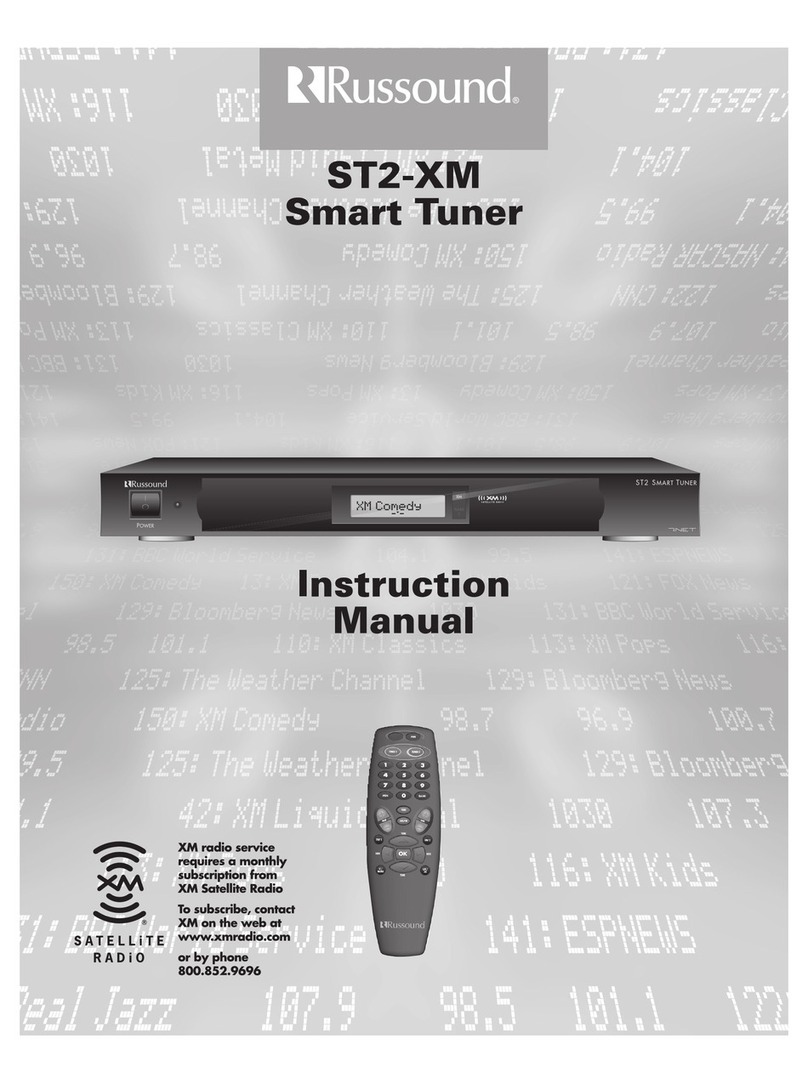
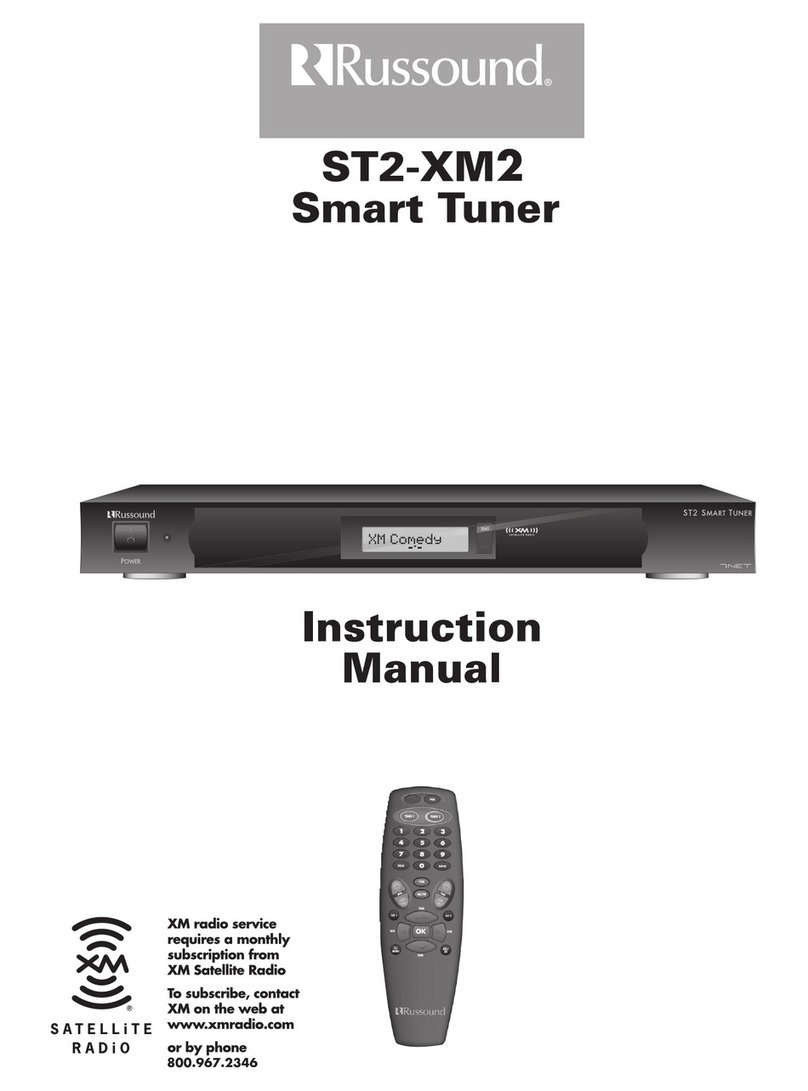
Russound ST2 Smart Tuner Quick setup guide

1061 South 800 East · Orem, Utah 84097 · Telephone 801 229 2800 · Fax 801 224 0355 Document Updated May 9, 2015
©Vantage Equinox
Russound:ST2
page 1 of 7
VANTAGECONTROLS.COM
EQUINOX INTEGRATION GUIDE
Manufacturer:
Russound
Widget:
Audio
Model Number/s:
ST2
Aliases:
None
Driver Version:
v. 52 or higher
Driver Category:
Tuner
DC Version:
v. 3.3 or higher
Connection Type:
Serial ( RS-232 )
I. Overview
As part of its Premier Partner Program, Vantage Equinox products support the Russound model ST2 Tuner for control with the
InFusion System. The Equinox audio widget automatically populates the Russound user interface for the EQ41 and EQ73 in-wall
touchscreens and for mobile devices using the Equinox App on iPhones, iPads, iPods, and Android products.
II. Supported Features
Feature
EQ40
EQ41, EQ73 &
EQApp
Current Station
Display the current station
Current Band
Display and switch between AM and FM bands
Seek controls
Seek both backwards and forwards
Tune controls
Change stations via built in tuner
Station Presets
Cycle and assign station presets. Note that each Device can have its own presets.
EQ40 has 6 presets for each band and EQ73, EQ41, and EQApp have 8
Volume Control
Adjust the volume and display the current level on screen
Mute Control
Toggle the amplifier on or off
Multiple Tuners
Up to 2 independent tuners as sources with the same device
Supported
Task Only Support
Not Supported

EQUINOX INTEGRATION GUIDE
©Vantage Equinox
Russound: ST2
page 2 of 7
III.Notes
Different parts of the world have different tuner specifications. The Russound ST2 supports U.S. and E.U. specifications. You will
need to set the region on the device according to the location of the project (e.g. if the project is in the United Sates the region
should be set to U.S.). This will also need to be specified within Design Center as explained later.
The presets on the device are not synced with the presets in Equinox. Also the presets between each Equinox device are unique to
that device (i.e. two EQ40’s can have different presets). There are Design Center Tasks that cycle through Russound hardware
presets.
IV. Links
Product Page: http://www.russound.com/product_detail.php?i=1035
V. Installation Steps
The installation manual can be found in the link above. Follow the manual to install and configure the Russound. Once the system
has been setup, check to make sure the region is correct. This can be done by:
1) Hold the “TNR SEL” button until Tuner Setup appears
2) Press the “BAND” button. The screen should read Memory Name
3) Press the “MEM (down)” button. The screen should read Region
4) Press Band. If Euro is displayed, the device is using European frequency standards and if U.S. is displayed, the device is using
United States frequency standards.
5) To Change the Region Press the “TUNE (Up)” button
6) Press “TNR SEL” to exit setup
7) Make note of the region you are using

EQUINOX INTEGRATION GUIDE
©Vantage Equinox
Russound: ST2
page 3 of 7
VI. Design Center Setup
1. Project Settings –Click on
Settings | Project
Information| Owner (tab).
Fill out the Equinox Mobile
Passcode: (alpha/numeric)
and the Equinox Admin PIN:
(numeric).
2. Add Russound Tuner - In
the Object Explorer, select
Drivers and drag or
double click ST2 to add to
the project.
3. Name the Russound –
In the Object Editor,
name the Russound’s
two tuners and give
them display names.
TIP: The Display Name
will appear in the audio widget.
4. Add Port –Add a new RS-232
port that matches the port
you wired the Russound into
the controller with.
5. Set the Version –If the
Region is “Euro”on the
Russound, check the EU
Version box.
VII. Equinox 40 Setup
To use Russound with the audio widget in the Equinox 40, follow these additional instructions:
6. Add EQ 40 Station –If not already added, in the Object
Explorer, select the Vantage Objects | Stations (WireLink)
| Equinox 40 Station and drag or double click it to add it
to the project.
TIP: The EQ40 is added to the room currently selected
when double clicking.
7. Name the EQ 40 –Give it a user-friendly name.
8. Set the area –If the EQ40
is not already placed in
the correct room or area,
set the correct area now.
9. Select AV Zone –In the
Object Editor, select the
AV Zone that the EQ40
will be controlling.

EQUINOX INTEGRATION GUIDE
©Vantage Equinox
Russound: ST2
page 4 of 7
After the Russound device and EQ 40 are configured and a Full Program or Update is done from Design Center to the InFusion
Controller, you should see something like the following display on the EQ 40:
Equinox 40 –Audio Mini-Widget for Russound
Swipe below this line to the left/right to go to the next/previous audio source.
Press the name of the current station to cycle to the next station. Press and hold to set the
displayed station as a preset.
Press the AM/FM icon to cycle the band.
The two inner buttons are seek back/forward and the outer ones are tune back/forward
Zone Power and Volume controls. Press the source name (tuner 1 in this example) to turn on/off
the zone power.
VIII. Add Additional Equinox Devices and Program Controller
To use Russound with the Equinox audio widget, simply add and name any EQ 73 or EQ 41 (from Vantage Objects | Touchscreens in
the Object Explorer pane) in their respective areas in your Design Center project (for the Equinox mobile app, no object needs to be
added). No additional Design Center setup is required.
Connect to the InFusion Controller. Configure the devices. After the devices are configured, do an Update or Full Program. The
devices should now be operational.
IX. Equinox Widget Navigation
Once a Russound is added to the project, the audio widget will normally appear on the EQ73, EQ41, and Equinox Apps. If the widget
is not visible, go to Profile Settings and select the widget to make it visible. Note that if the audio widget is already on the Equinox
device, but the Russound is not visible; go to the widget’s Edit Mode (see below) to toggle the Russound to make it visible.
The following screen shots, taken from a typical EQ73 device, show the basic navigation for full Equinox widgets on the EQ41, EQ73,
and Equinox App, among the three widget views: Dashboard, Full Screen, and Edit Mode. Refer to the “Equinox Apps Widget Install”
document on Vantage’s website for more detailed information.

EQUINOX INTEGRATION GUIDE
©Vantage Equinox
Russound: ST2
page 5 of 7
Dashboard View of the Russound
in the Audio Widget
Press to Enter Full Screen view
Source Controls
Zone Power Toggle (press the name of the zone) and
Volume Controls
Full Screen View of the Russound in the Audio Widget
Enter Edit Mode view
Switch to different zone
Select source (can also swipe right/left)
Switch radio to AM, FM or Sirius (if applicable)
Preset buttons. Hold down for 3 seconds to set, press to
activate
Edit Mode View for Audio Widget
Configure zones/sources/options
Hold and drag up/down to change the order
Toggle checkmark to show/hide items

EQUINOX INTEGRATION GUIDE
©Vantage Equinox
Russound: ST2
page 6 of 7
Equinox App Licensing Note
Install the Equinox App (search for Vantage Equinox) on your iOS or Android devices. A valid license is needed for each Equinox
device connected to a Vantage System. Licenses are available via Controller SD cards for up to 5 (EQ-APP-5), 10 (EQ-APP-10), or
unlimited (EQ-APP-X) quantities of Equinox devices. Also, each EQ73 station adds one more license (EQ73TB-T1). Ensure Step 1 of
the Design Center Setup was completed, as the Equinox App will not run without the Equinox Mobile Passcode. Launch the App, and
follow the on-screen prompts in the Setup Wizard.
X. Connection Diagram Example
XI. Bill of Materials Example
#
Device
Manufacturer
Part Number
Protocol
Connector Type
Notes
1
EQ40
Vantage
EQ40TB-TI
Station Bus (16/2)
2
EQ41
Vantage
EQ41TB-TI
Ethernet w/PoE
Cat 5 (RJ45)
3
EQ73
Vantage
EQ73TB-TI
Ethernet w/PoE
Cat 5 (RJ45)
4
EQ Mobile Apps
Vantage
EQ-APP-5/10/X
WiFi
N/A
5
Dual Tuner
Russound
ST2
AM, FM
dB9 RS-232, RCA
6
Infusion Controller
Vantage
IC-36-1
Ethernet
Station bus / Cat 5
7
Wireless Router
Luxul
XWR-1750
Ethernet / WiFi
Cat 5 (RJ45)
8
Gigabit Switch w/PoE
Luxul
XGS-1008P
Ethernet w/PoE
Cat 5 (RJ45)
9
Audio Controller
Russound
MCA-C5
RS-232, Ethernet
dB9 RS-232,Cat 5
Ethernet, RCA in
10
Zone Speakers
Various
Various
N/A
16/4 Speaker Wire

EQUINOX INTEGRATION GUIDE
©Vantage Equinox
Russound: ST2
page 7 of 7
XII. Tech Notes
Things to Know / Gotchas:
Make sure to check the region is set correctly in both the device and Design Center
Known Issues
Repeatedly pushing the cycle stations button too quickly may result in lag or an incorrect station being displayed.
XIII. Design Center Task Procedure Table
Available Task Procedures
Category
Folder
Sub-folder
Procedure
Audio/Video
Channel
Channel Down
Channel Up
Channel Recall
Scan Down
Scan Up
Set Channel
Keyboard
Press Key
Tuner
Next Band
Next Preset
Previous Band
Previous Preset
Select Band
Select Frequency
Tuner Scan Down
Tuner Scan Up
Tuner Seek Down
Tuner Seek Up
Tuner Tune Down
Tuner Tune Up
Select Tuner Preset
Volume
Volume
Decrease Volume
Increase Volume
Set Volume
Set Volume to Slider
Mute
Mute Volume
Restore Volume
Toggle Mute
Other manuals for ST2 Smart Tuner
4
Table of contents
Other Russound Tuner manuals