9
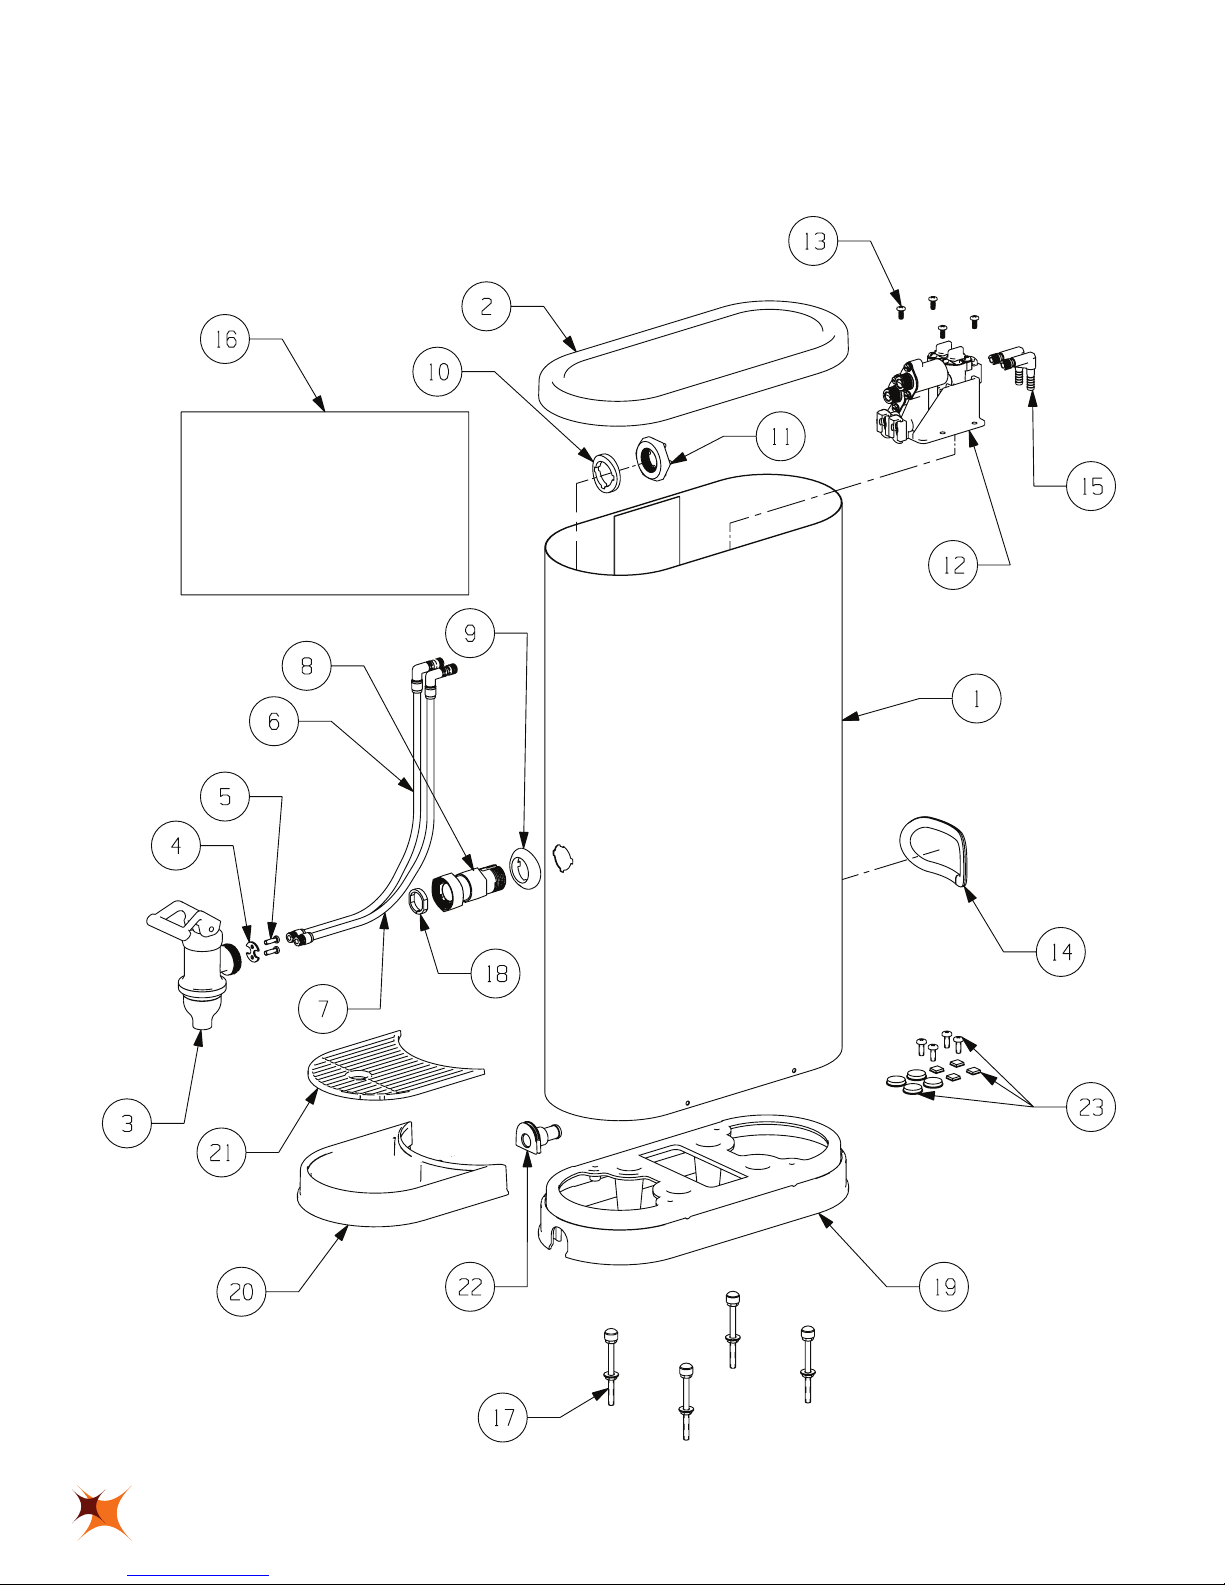
OVAL CAN ASSEMBLY
OVAL ASSEMBLY
ITEM SCHROEDER PN DESCRIPTION
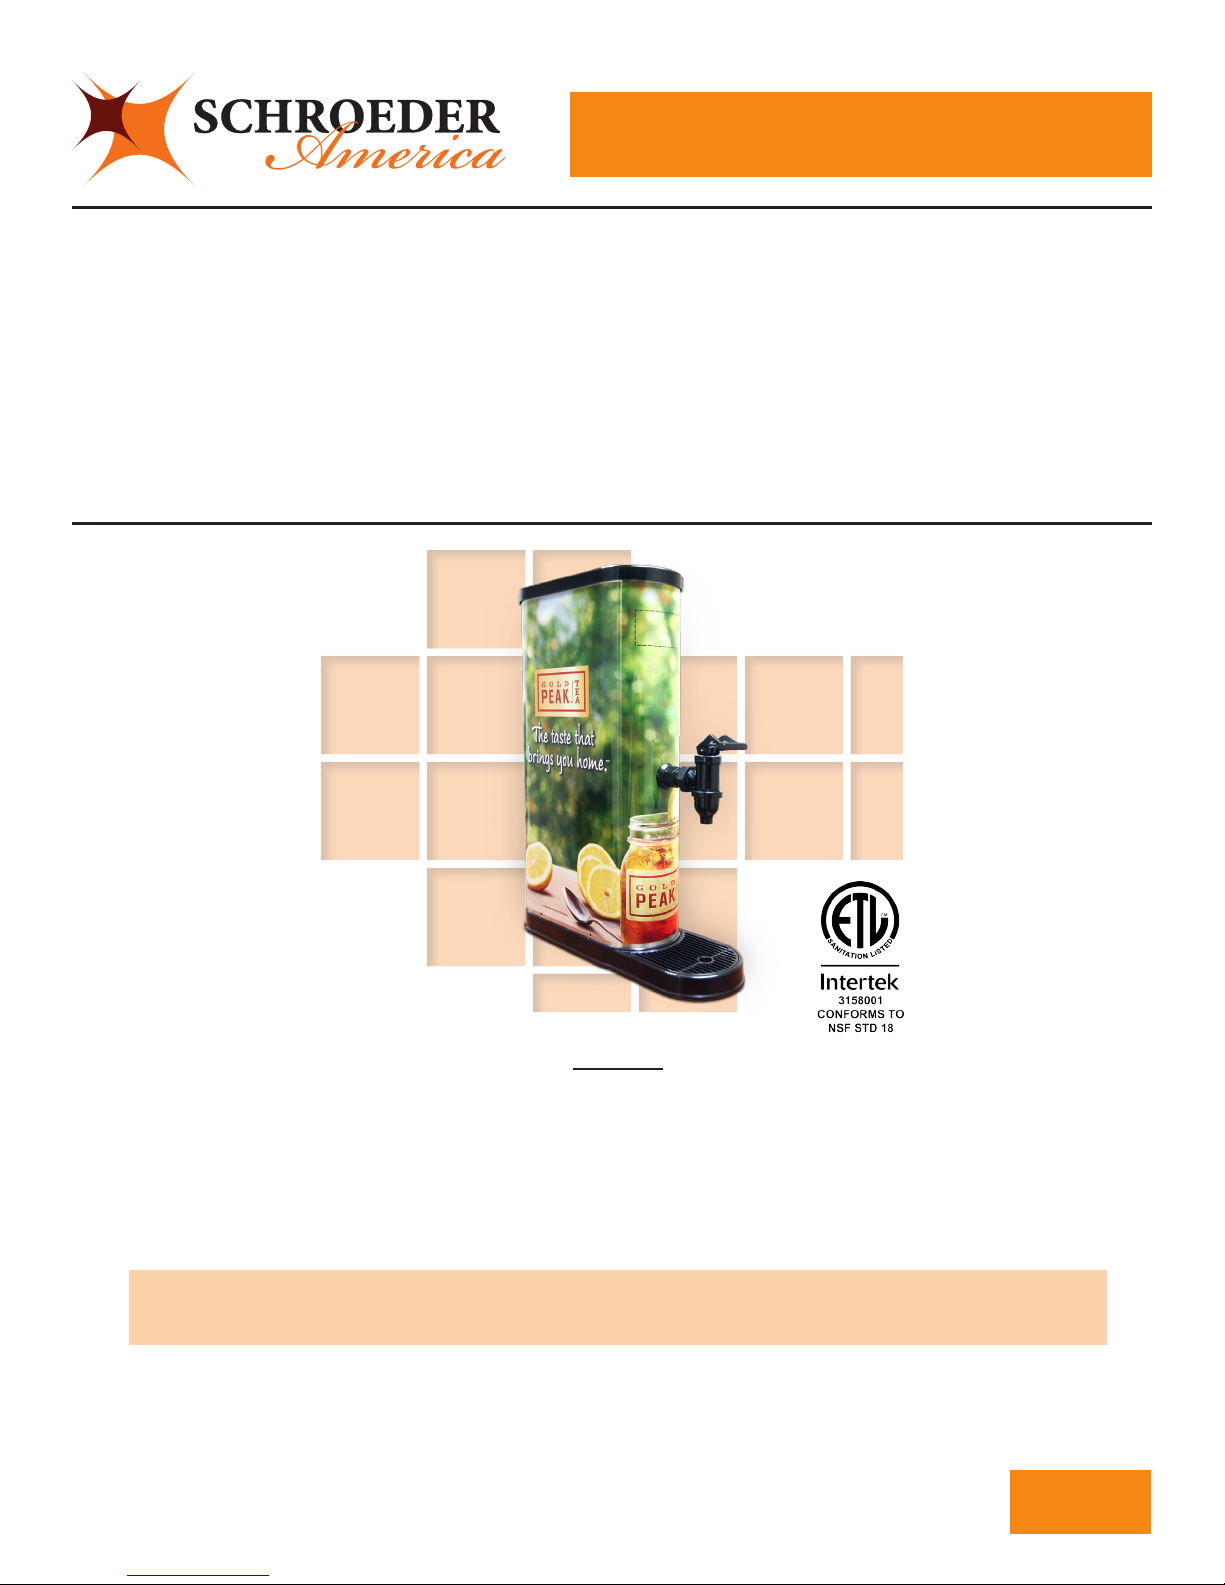
1 634-0105 CAN ASSY, COKE TEA
2 265-0350 LID, OVAL, 5.75”
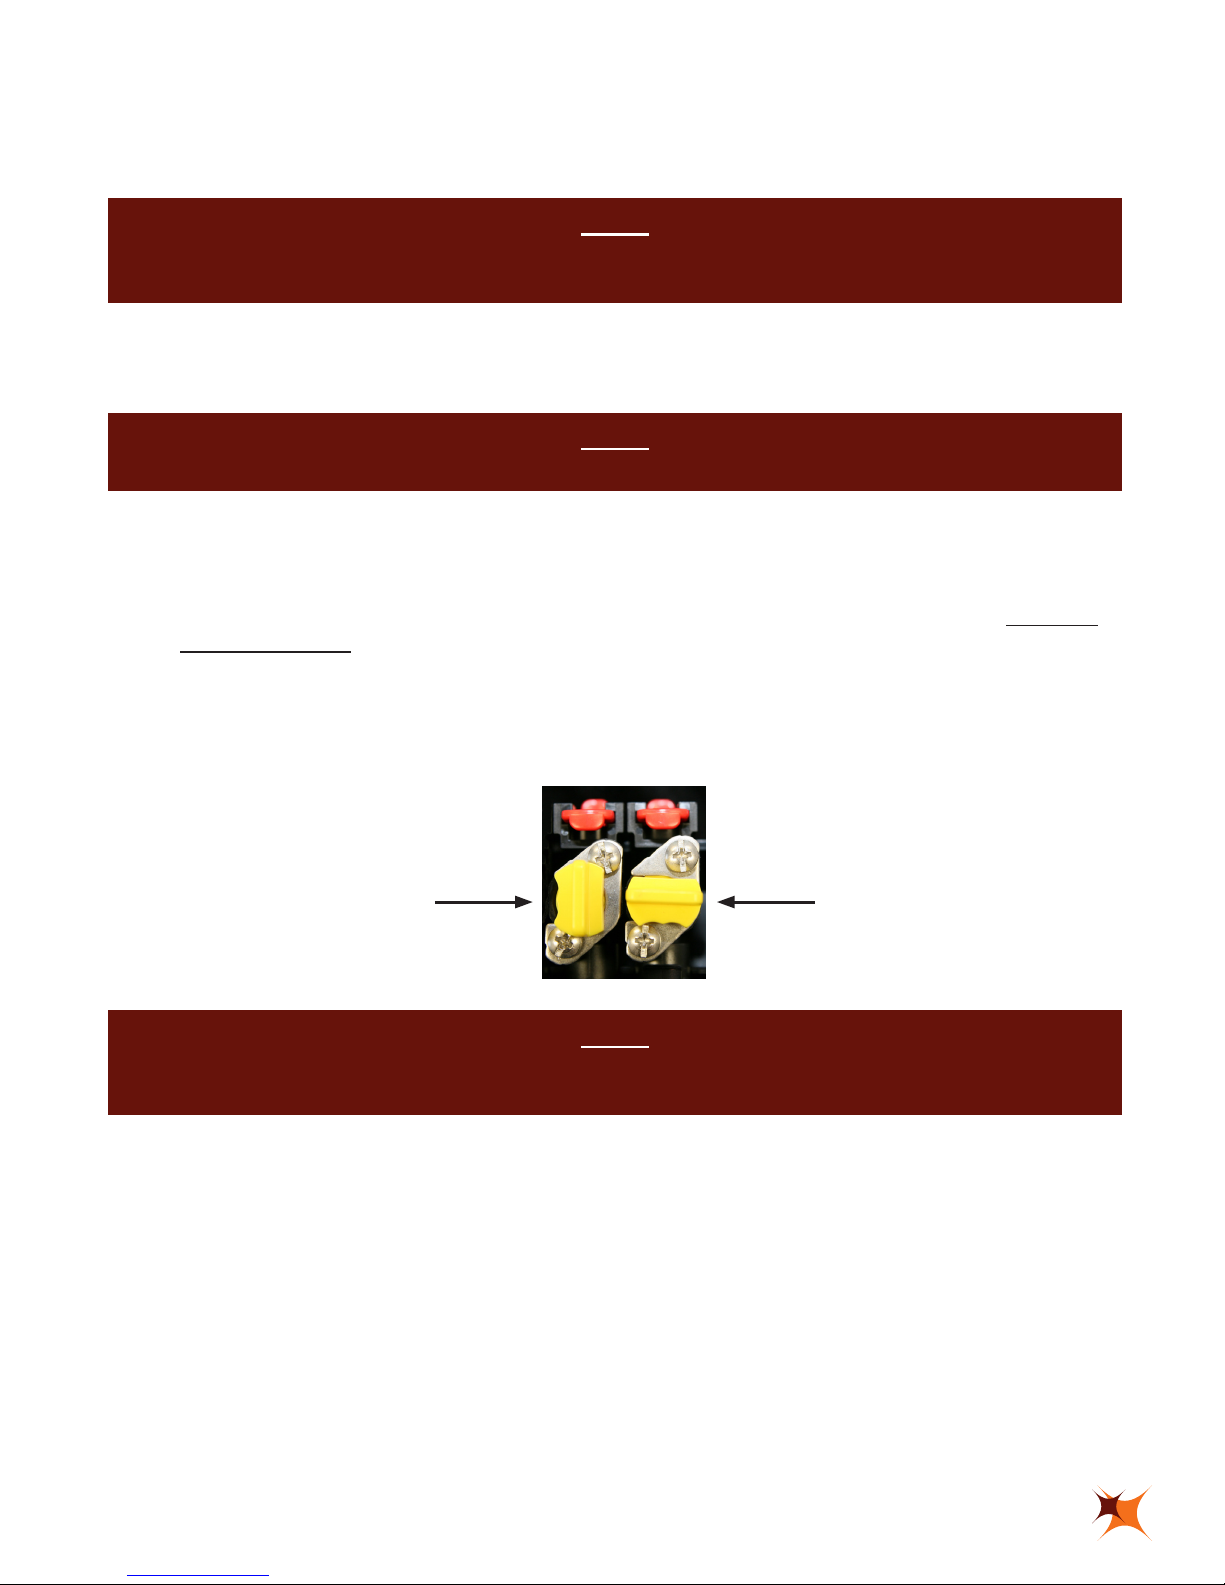
3 637-0015 ASSY, VALVE, POSTMIX,W/O ADA LEVER
4 256-0021 PLATE, VALVE, TEA
5 224-0006 SCREW, 6-19x.500, PLASTITE, PH, PHD
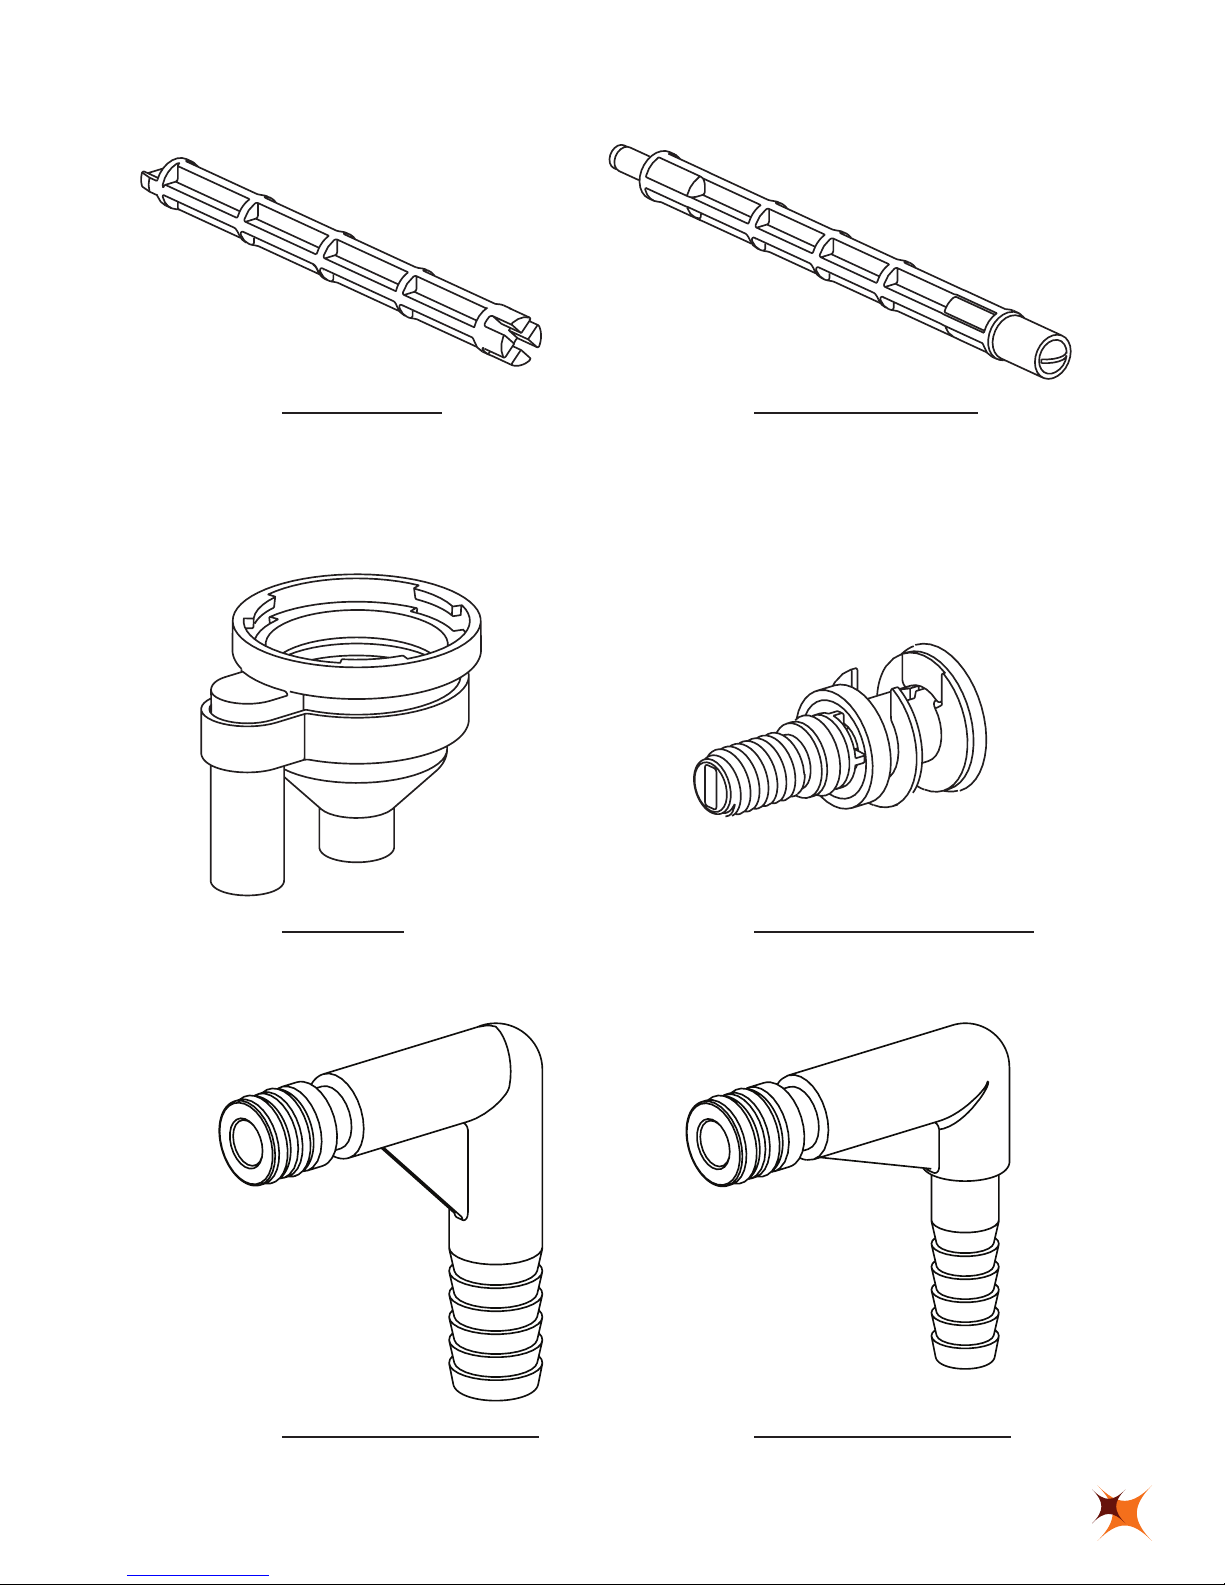
6 632-0143 SUB-ASSY, WATER, PMV W/O ADA LEVER
7 632-0144 SUB-ASSY, S1, PMV W/O ADA LEVER
8 645-0173 SHANK ASSY, PMV
9 265-0374 SPACER, PMV TO 5.75” CAN
10 265-0377 SPACER, INSIDE, 5.75” CAN
11 265-0382 NUT, HEX, 1-16, NYLON
12 660-1003 VALVE/BRACKET ASSY, 2V, BLK, TEA
13 220-0037 SCREW, 8-32x.375, PH, PHD, 18-8SS
14 210-0030 GROMMET,CAN,BACK,TEA
15 670-0033 PKG, INSTALL, 2 EA 1/4 BARB 90 DEG FITTINGS
17 670-0013 PACKAGE,INSTALL,SCREWS,TEA URN -
FOR MOUNTING TO COUNTER WITH NO BASE
18 210-0046 GASKET,SHANK,PM VALVE
19 265-0544 BASE,TEA,SINGLE
20 631-0132 DRIPTRAY ASSY,1V,W/DRAIN,REMOVABLE CUPREST
21 265-0550 CUPREST,DRIPTRAY,1V TEA
22 675-0062 KIT,DRAIN ADAPTER,DRIPTRAY,TEA
23 675-0081 KIT,BUMPERS & SCREWS
AVAILABLE GRAPHICS
16 812-**** GRAPHICS, TEA URN - PARTIAL AND FULL WRAPPERS AVAILABLE
AVAILABLE ACCESSORIES
670-0030 PKG, INSTALL, 2 EA 3/8 BARB 90 DEG FITTINGS
675-0059 KIT,ROUND FEET AND SCREWS FOR BASE,TEA
675-0060 KIT,SQUARE FEET FOR DRIPTRAY,TEA
OTHER AVAILABLE KITS
675-0042 KIT, RETAINER, & SCREWS, PMV : ITEMS 4 AND 5
675-0082 KIT, POSTMIX VALVE W/O ADA LEVER : ITEMS 3, 4, AND 5
675-0044 KIT, SHANK ASSY, PMV: ITEMS 8, 9, 10, AND 11