SDI PPS-2RM-B User manual
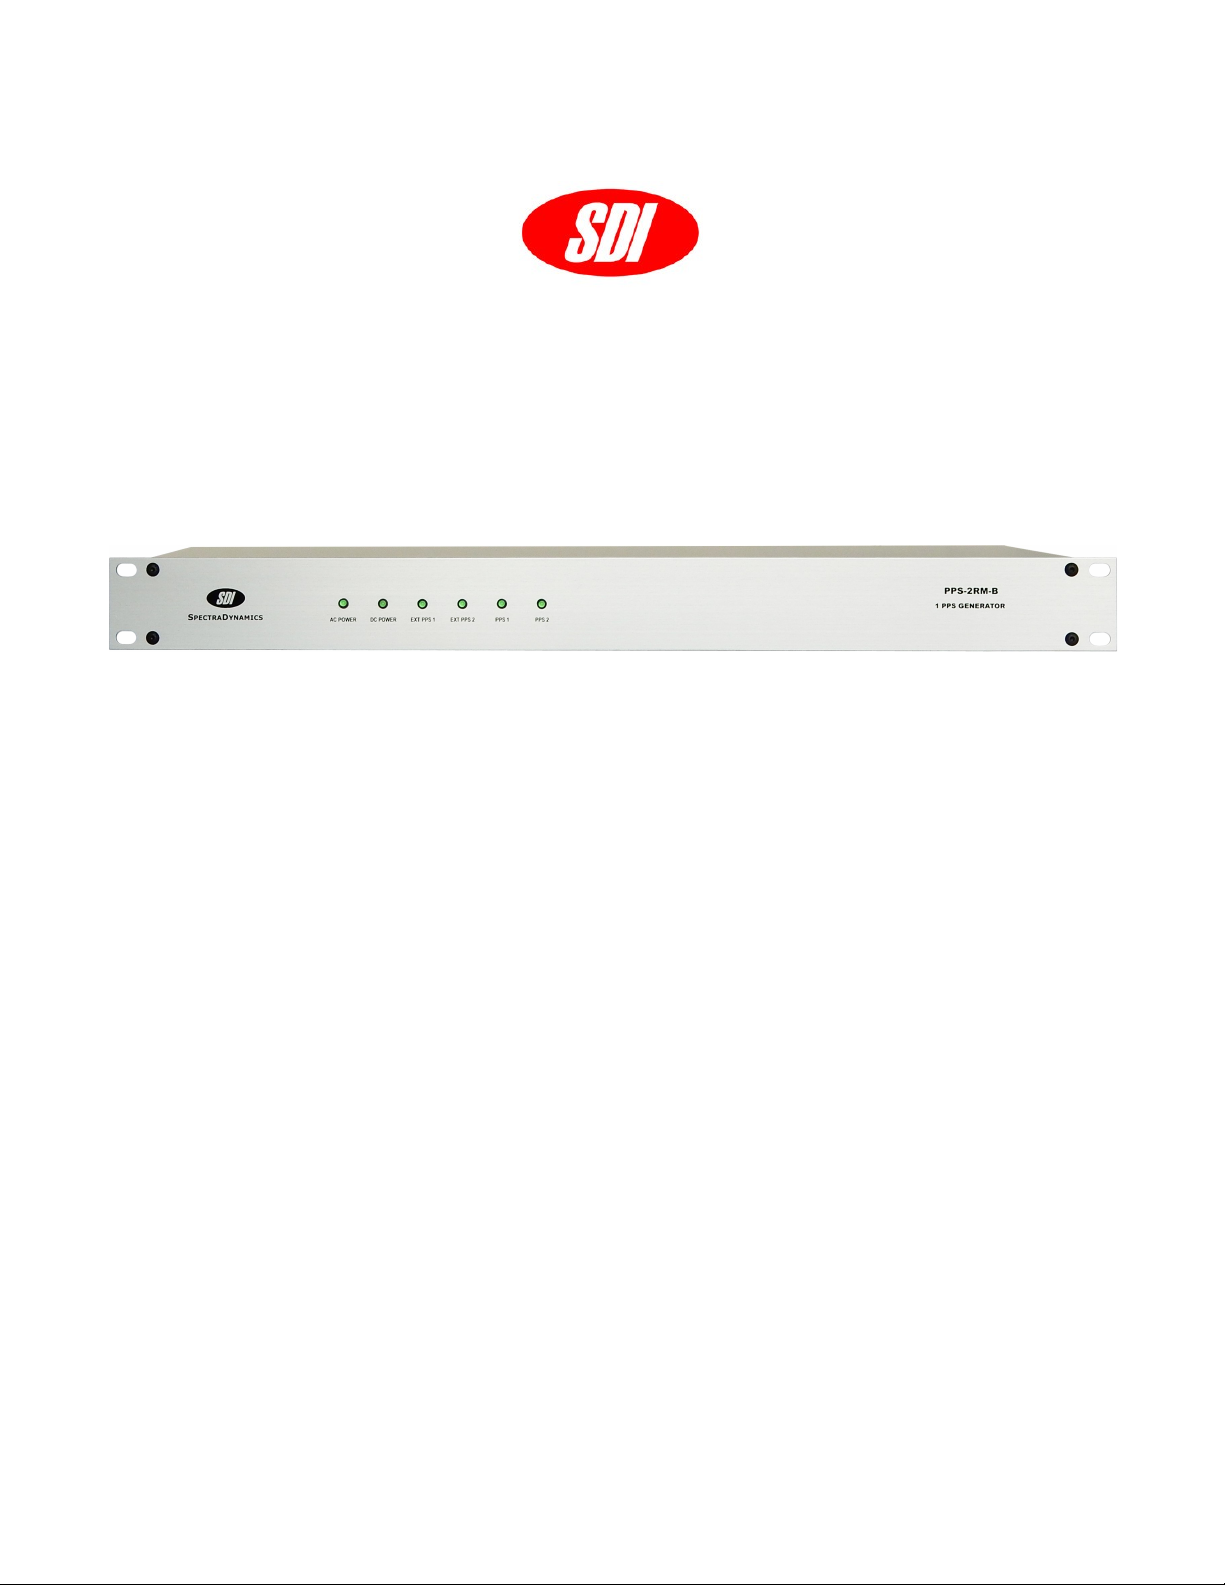
PPS-2RM-B
1 PPS GENERATOR
OPERATING MANUAL
SPECTRADYNAMICS, INC • 1849 Cherry St. Unit 2. • Louisville, CO 80027
Phone: (303) 665-1852 • Fax: (303) 604-6088
www.spectradynamics.com
SPECTRADYNAMICS, INC

PPS-2RM-B, 1 PPS Generator Operating Manual
Copyright © 2021 SpectraDynamics, Inc. All rights reserved.
PPS-2RM-B:R00-2021/MD

Contents
1.0 Introduction 1
2.0 Safety and preparation for use 2
2.1 Electrical 2
2.2 Instrument 4
3.0 Front panel description 5
4.0 Back panel description 6
5.0 Operation 7
6.0 Specifications 8
7.0 Warranty 9


1.0 Introduction
Page 1
The PPS-2RM-B is a dual 1 pulse-per-second (1 PPS) generator. This instrument requires
a sine-wave input signal of 1 MHz, 5 MHz or 10 MHz to generate the 1 PPS.
The PPS-2RM-B generates two pairs of independent 1 pulse-per-second outputs with
variable pulse width. The input frequency and pulse width may be configured by DIP switch
settings. The 1 PPS output can be synchronized to an external event. The synchronization
is good to +/-1/2 of the input clock cycle. The outputs are designed to drive low impedance
loads and long 50 or 75-ohm cables. The channel-to-channel delay differences are less
than 500 ps.
The pulse per second generators are available in a 1U full rack mount enclosure that
operate on 100 to 240 VAC. Optional DC operation option is available for all models upon
request.
PPS Options:
Part Number Description AC Operation DC Operation
OPTION
PPS-2RM-AOne generator, two outputs
Rear panel connectors
PPS-2RM-A-DC One generator, two outputs
Rear panel connectors
PPS-2RM-B
Two generators,
Two outputs per generator
Rear panel connectors
PPS-2RM-B-DC
Two generators,
Two outputs per generator
Rear panel connectors
PPS-2RM-B1
Two generators,
Two outputs per generator
FRONT panel connectors
PPS-2RM-B1-DC
Two generators,
Two outputs per generator
FRONT panel connectors

2.0 Safety and Preparation for Use
Page 2
The PPS-2RM-B was designed for indoor use only and is not intended for operation
outdoors or in a wet environment. The instrument may be mounted in a standard 19-inch
instrumentation rack or may be used on a laboratory bench. Inspect the instrument and
power cords for damage before first use.
2.1 Electrical safety and preparation for use.
Voltages capable of causing injury or death are present in this instrument. Use
extreme caution whenever the instrument cover is removed.
Line Voltage
This instrument is designed to operate with a 100 to 240 VAC, 47 to 63 Hz power source.
This instrument is also capable of operating with a DC power source that can supply +12
to +36 VDC at 2 Amperes when the DC option is acquired.
Fuse
A 1.0 Ampere 250V 5X10mm slow-blow fuse is used for 100 to 240 VAC operation.
A 2.0 Ampere 250V 5X10mm slow-blow fuse is used for DC power operation.
Only replace fuses with the same type and specifications.
AC Power
The instrument has a detachable three wire power cord for connection to a grounded AC
power source. The enclosure of the unit is directly connected to the outlet ground to
protect against electrical shock. Always use an outlet with a protective ground and do not
disable this safety mechanism. Detaching the AC power cord is the only option of
disconnecting the unit from the AC mains supply. Make sure you have access to the rear
panel or provide an external accessible AC disconnect means for your PPS-2RM-B.
DC Power
The PPS-2RM-B may be acquired with a DC power option to allow the instrument to be
powered by +12 to +36 VDC, 2 Amp source. The DC supply operation may be used as
backup power to prevent loss of signal during power outages or as a mains supply source.
The switching from AC to DC supply operation is affected by a Schottky diode network and
charge storage capacitors to ensure glitch free operation.
If the PPS-2RM-B was acquired with the DC operation option a 6 pin DC connector will be
available on the back panel.

2.0 Safety and Preparation for Use
Page 3
The configuration for the DC connector, if available, is as follows:
Pin 1 NC
Pin 2 NC
Pin 3 NC
Pin 4 +12 to +36 VDC power return
Pin 5 +12 to +36 VDC power
Pin 6 Chassis GND /Earth GND
Verify that the connector of the external DC power supply providing voltage to the unit has
the same pin configuration mentioned above. Do not apply AC voltage to the DC power
connector. Failure to follow these directions may cause injury or death to personnel, cause
irreparable damage to the instrument and voids all warranties.
Please note that the power return (pin 4) is NOT connected to the instrument case ground
internally, however both ground connections (pin 4 and pin 6) are available at the DC
power connector and may be connected together at this point.
The following specifications should be used to ensure optimum performance:
DC Supply voltage +12 to +36 VDC, 2 Amps
Line regulation +/- 0.05% for a 10% line change
Load regulation +/- 0.05% for a 50% load change
Output ripple < 5 mV peak-to-peak
Detaching the DC power cord is the only option of disconnecting the unit from the DC
mains supply. Make sure you have access to the rear panel or provide an external
accessible DC disconnect means for your PPS-2RM-B.

2.0 Safety and Preparation for Use
Page 4
2.2 Instrument safety and preparation for use.
Reference Frequency Configuration
The PPS-2RM-B may be configured to operate on 1 MHz, 5 MHz or 10 MHz frequency
reference. The default configuration for the unit is 5 MHz. To change the input reference
frequency, the unit must be unplugged from the power source(s). Remove ONLY the top
cover of the instrument. Once the cover is removed you will find an aluminum bracket
cover in the middle section of the instrument. Locate the DIP switch labeled S5 on the pps
module(s).
Modify the setting to reflect the selection of your choice following the next table.
Pulse Delay Settings
The PPS-2RM-B pulse generator can be configured for different pulse widths. The default
configuration for the unit is 51.2 us pulse-width. To change the pulse-width selection,
the unit must be unplugged from the power source. Remove ONLY the top cover of the
unit. Locate the DIP switch labeled S5 on the module(s) to be configured. The pulse width
of the generator is a multiple of the clock period and can be set according to the table
below.
DIP SW 1 DIP SW 2 FREQUENCY
ON ON 10 MHz
ON OFF 5 MHz
OFF ON 1 MHz
OFF OFF RESERVED
DIP SW 3 DIP SW 4 DIP SW 5 1 MHz pw 5 MHz pw 10 MHz pw
OFF OFF OFF 4.096 ms 819.2 us 409.6 us
OFF OFF ON 2.048 ms 409.6 us 204.8 us
OFF ON OFF 1.024 ms 204.8 us 102.4 us
OFF ON ON 512 us 102.4 us 51.2 us
ON OFF OFF 256 us 51.2 us 25.6 us
ON OFF ON 64 us 12.8 us 6.4 us
ON ON OFF 16 us 3.2 us 1.6 us
ON ON ON 4 us 0.8 us 0.4 us

3.0 Front Panel
Page 5
AC Power LED
The LED will turn on when AC power is applied to the instrument.
DC Power LED
If the instrument was acquired with the DC operation option the DC power LED will light up
when DC power is applied to the unit.
EXT PPS1 LED
The LED will flash on the rising edge of the 1 PPS external synchronization signal from the
first module.
EXT PPS2 LED
The LED will flash on the rising edge of the 1 PPS external synchronization signal from the
second module.
PPS1 LED
The LED will flash on the rising edge of the 1 PPS output signal from the firts PPS
generator module.
PPS2 LED
The LED will flash on the rising edge of the 1 PPS output signal from the second PPS
generator module.

4.0 Back Panel
Page 6
AC POWER
The PPS-2RM-B is configured to operate on 100 to 240 VAC
DC POWER
If the instrument was acquired with the DC operation option a DC connector will be
available on the back panel. Operation on DC from +12 to +36 VDC will be possible as the
main power supply or as backup power in case of AC power outages when both, AC and
DC, are powering the instrument.
PPS 1 INPUTS
Ref - Receives a sine-wave input signal of 1 MHz, 5 MHz or 10MHz. Power level must be
in the range of +3 to +13 dBm.
Ext. 1 PPS - Receives a 1 PPS synchronization input. The 1PPS signal must conform
to TTL specifications.
PPS 1 SYNC
Enable - When the switch is positioned to “Enable” selection, the 1 PPS output will have
the possibility to be synchronized to an external 1 PPS signal. Warning!!! After a
synchronization event this switch should be returned to the off or down position to prevent
accidental synchronization.
Trigger - When synchronization is enabled and a 1 PPS signal is present on the Ext.
1 PPS input, the 1 PPS synchronization event can be triggered by the push button. Only
one synchronization will occur for each trigger.
Phase - Selects the reference clock edge of the synchronization event. The 1 PPS will be
synchronized to the next reference clock rising edge after the incoming synchronization
PPS input when the switch is in the Enable position. When the switch is in the down
position, the 1 PPS will be synchronized to the reference clock falling edge that occurred
before the incoming synchronization PPS input. Warning!!! Toggling the Phase switch will
cause loss of synchronization.
PPS 1 OUTPUTS
1 and 2 - Two 1 PPS outputs will be available at the SMA connectors labeled 1, 2.

5.0 Operation
Page 7
To operate the PPS-2RM-B, locate the AC power entry module on the rear of the
enclosure and/or the DC connector and connect the power cord(s). Plug the unit into
appropriate power outlet(s). The LED on the front panel labeled AC will turn on when AC
voltage is applied. If you also apply DC voltage, the LED labeled DC on the front panel
should light up.
Please remember that there are two independent modules in the PPS-2RM-B. In order to
generate a second 1 PPS, an input reference signal for each module is required.
Attach a frequency reference signal to the SMA connector on the back panel labeled PPS
INPUTS Ref. The unit will generate one pulse per second signals at each of the output
ports of the module receiving the reference signal. An LED on the front panel will flash on
the rising edge of each pulse.
To synchronize the output pulses to an external event, connect the external reference
pulse signal to the input labeled Ext. 1 PPS on the back panel. Enable the synchronization
sequence by moving the Enable switch to the Enable position. The Trigger button will arm
the synchronization sequence to occur on the next rising edge at the Ext. 1 PPS input.
Only one synchronization event occurs per push of the Trigger button.
The 1 PPS will be synchronized to the reference clock rising edge after the incoming
synchronization PPS input when the switch labeled Phase is in the up position. When the
Phase switch is in the down position, the 1 PPS will be synchronized to the reference clock
falling edge that occurred before the incoming synchronization PPS input. It is important to
turn off the synchronization enable switch by moving it to the down position to disable
further inadvertent synchronization events.

6.0 Specifications
Page 8
Rackmount chassis 1U H, 19“ W, 14” D
Storage temperature -10 to +75 ºC
Operation environment 0 to +50 ºC
Humidity 5% to 95% Non-condensing
AC Input Voltage Range 110 to 240 VAC, 8 W, 47-63 Hz
DC Input Voltage Range +12 to +36 VDC, 6 W
Weight 10 lbs.
PARAMETER CONDITIONS MIN TYP MAX UNITS
Rise time 10 - 90 % - 1.5 2 ns
Fall time 10 - 90 % - 1.5 2 ns
Differential delay Channel - Channel - 200 500 ps
Impedance input
output
-
-
50
10
-
-
Ohms
Input High Level
Input Low Level
Input signal into 50
ohm load
Input signal into 50
ohm load
2
-0.7
-
-
5
0.8
V
Output High Level
Output Low Level
50 ohm load
50 ohm load
3
-
4
0.1
5
0.2
V
Input Signal Level 1 MHz, 5 MHz and
10 MHz
0 +7 +13 dBm
External Sync. Error 1 MHz
5 MHz
10 MHz
-
-
-
+/- 500
+/- 100
+/-50
-
-
-
ns
Temperature-delay
Coefficient
0 - 50 ºC -
3
5
ps/ºC

7.0 Warranty and Service
Page 9
WARRANTY
The PPS-2RM-B is warranted to be free of defects under normal operating conditions,
as specified, for one year from date of shipment from SpectraDynamics, Inc (SDI). SDI’s
obligation and liability under this warranty is expressly limited to repairing or replacing, at
SDI’s option, any product not meeting the said specifications. This warranty shall be in
effect for one (1) year from the date a PPS-2RM-B is sold by SDI. SDI makes no other
warranty, express or implied, and makes no warranty of the fitness for any particular
purpose. SDI’s obligation under this warranty shall not include any transportation charges
or costs of installation or any liability for direct, indirect, or consequential damages or
delay. Any improper use, operation beyond capacity, substitution of parts not approved by
SDI, or any alteration or repair by others in such manner as in SDI’s reasonable judgement
affects the product materially and adversely shall void this warranty. No employee or
representative of SDI is authorized to change this warranty in any way or grant any other
warranty.
SERVICE
Do not attempt to service or adjust the instrument unless another person, capable of
providing first aid or resuscitation, is present. Please remember that any alteration or repair
may void the warranty. Contact SDI with any questions or to request an RMA if a repair is
needed.
SpectraDynamics, Inc.
1849 Cherry Street Unit 2.
Louisville, CO 80027
USA
Tel: (303) 665-1852
Fax: (303) 604-6088
www.spectradynamics.com


EC Declaration of Conformity
This Product has been designed and manufactured in accordance with the below
referenced Standards and complies with all essential requirements of the Directives listed
below.
Directives:
2014/35/EU of the European Parliament and of the Council of 26 February 2014 on
the harmonization of the laws of the Member States relating to the making available on the
market of electrical equipment designed for use within certain voltage limits.
2014/30/EU The Electromagnetic Compatibility Directive and its amending directives.
2011/65/EU of the European Parliament and of the Council of 8 June 2011 on the
restriction of the use of certain hazardous substances in electrical and electronic
equipment.
Standards:
EN 55011 2009 + A1: 2010, Product family standard for Industrial, Scientific and
Medical (ISM) equipment.
EN 61010-1:2010 Safety Requirements for Electrical Equipment for Measurement,
Control and Laboratory Use – Part 1: General Requirements
EN 61326-1:2013 Electrical Requirements for Electrical Equipment for Measurement,
Control and Laboratory Use – Part 1: General Requirements
Table of contents
Popular Portable Generator manuals by other brands

WORMS
WORMS ACCESS 3400 Instructions for use

Champion Global Power Equipment
Champion Global Power Equipment 200921 quick start guide

PowerGrip
PowerGrip YG-2 Operation manual

Champion Power Equipment
Champion Power Equipment 200965 quick start guide

Shindaiwa
Shindaiwa DGK20FS Owner's and operator's manual

WARRIOR
WARRIOR 6000S operating manual


