IMPORTANT: DO NOT plug the device into a USB port until the software has been installed!
Log in as a user with Administrator privileges and close all other Windows applications, including any Antivirus software.
On the Install CD click the 'Install' button. Type in the part number for your device or click on the drop box to scroll to the
appropriate part number.
Click the 'Read Manual' button for additional information on installing and using these devices.
SOFTWARE INSTALLATION
a - Click the 'Install Drivers' button to start the installation, or browse to the SeaI/O installation file.
b - The InstallShield Wizard for SeaI/O will start, click 'Next'.
c - Click 'Yes' to confirm the license agreement.
d - Type in your user information and company name, click 'Next'.
e - Click 'Next' to confirm the default installation destination.
f - Click 'Next' to add a Program Folder to the Start Menu.
g - Installation begins and the Setup Status window is displayed.
h - An Information window will pop up regarding Microsoft Certified drivers, click 'OK'.
i - After installation, you may be asked to restart your computer, click 'Yes'.
NOTE: The first time you install a Sealevel USB Digital I/O device, it is installed in three separate parts - the first section
installs the USB interface controller, the second section installs the SeaI/O driver, and the third section installs the
USB-to-SeaI/O bridge. Click 'Finish' at the end of each section. Do not unplug the device until all three sections have been
installed.
HARDWARE INSTALLATION
Make sure USB PIO devices (8203 & 8205) are connected to power. All other USB digital I/O devices covered in this guide
are USB powered. Plug the device into any available USB port.
IMPORTANT: When you plug the device into a USB port, the LED labeled "E" (Enable) will NOT light immediately. The device
must first initialize the USB controller and successfully communicate with the driver before the LED will light.
DO NOT UNPLUG THE DEVICE DURING INSTALLATION else the USB controller will not be properly initialized and, in
certain cases, the device may have to be returned to Sealevel for service.
a - The Found New Hardware Wizard starts
b - If asked, click the radio button next to "No, not this time" and click 'Next'.
c - Click the radio button next to "Install the software automatically (Recommended)" and click 'Next'.
d - The next screen displays "Please wait while the wizard searches…"
e - The next screen displays "Please wait while the wizard installs the software…"
f - The final screen displays "Completing the Found New Hardware Wizard", click 'Finish'.
Note: Remember, do not unplug the USB cable until all three sections of the installation have completed successfully.
g - A few seconds may pass before the Found New Hardware Wizard reappears for the 2nd and 3rd parts of the
installation. Repeat steps 'a' through 'f' above for the 2nd and 3rd sections of the installation.
The Sealevel USB Digital I/O device is now successfully installed.
Three utilities are included to help with configuration and testing: SeaIOTST, VBTest, and VCTest
Refer to the user manual or help file for information on using these utilities.
If you experience any problems installing the Sealevel USB digital I/O device, contact Technical Support by e-mail at
Step 1
Step 2
Step 3
Step 4
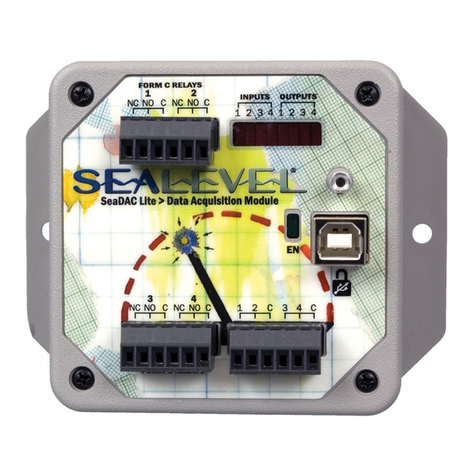
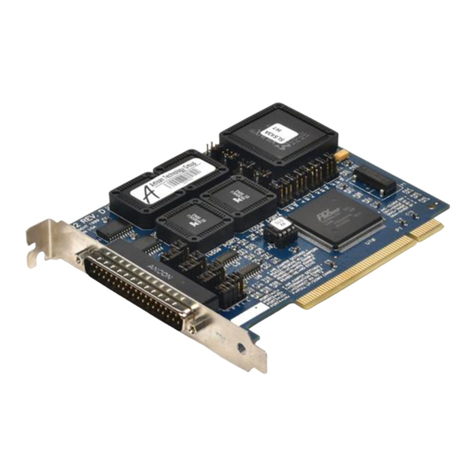
This QuickStart guide covers the following Sealevel USB Digital I/O devices:
8203 - USB to 48 Channel TTL Interface
8205 - USB to 96 Channel TTL Interface
8206 - USB to 8 optically isolated inputs and 8 Form C relay outputs
8207 - USB to 16 optically isolated inputs
8208 - USB to 16 Reed relay outputs
8209 - USB to 8 optically isolated inputs and 8 Reed relay outputs
Sealevel USB digital I/O devices make interfacing to the real world easy. You can connect the
digital I/O devices to any available USB 1.1 compliant port without having to worry about
opening the PC chassis. Removable terminal blocks or industry standard 50-pin header
connectors simplify field wiring.
Note: Before installing your USB Digital I/O device, confirm that you are running one of the following
versions of Windows compatible with USB devices: 98, ME, 2000, or XP (95 and NT do not natively
support USB devices). Refer to the user manual for Linux installation instructions.
Sealevel USB Digital I/O QuickStart Guide
Step 6
Step 5
SL9000 Rev08/30/05


