Shenzhen Hongdian Technologies S91 User manual

User manaul
Model No.: S91,S90,J11,J12,J15,J16,J21,J23,J25
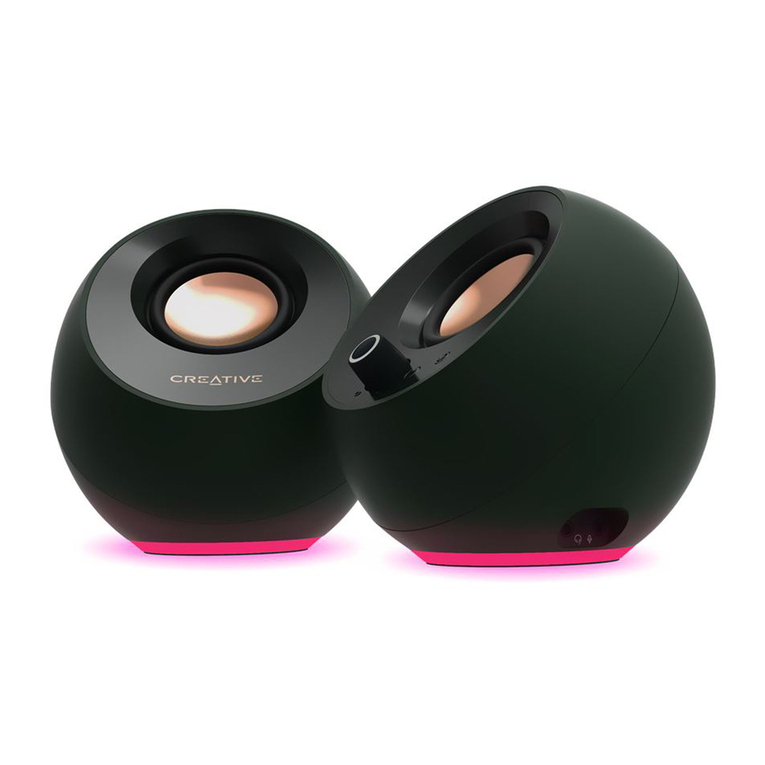
Product Name: BLUETOOTH SPEAKER
Main Functions:
1. Mobile Phone Exclusive Smart Bluetooth Speaker
2. Clock: Adjust Time by Four Buttons. Smart Screen Saver Big Screen Display
3. Clock Projection: HD Color Clock Projection with Adjustable Brightness
4. Dual Alarms: One-click Snooze, Five Kinds of Gradual Ringtone
5. DIY Ringtone
6. Bluetooth / FM / AUX / TF, One-click Timing Playing
7. Bluetooth: Compatible V4.2+BR+EDR+BLE
8. Bluetooth Hands-Free Calling, One-click Answering and Hang-up
9. Bluetooth Mode Support Reminder by Wechat Pay and Alipay
10. TF: Support MP3 / WMA (double decoding) Audio Format
11. AUX-in External Audio Input
12. FM Frequency: 87.5-108MHz
13. Priority Play Post Plug-in
14. Intelligent Reset: Restore Factory Settings with a Single Key
15. Built-in 18650 Power Battery
Technical Parameters:
Bluetooth Output: RMS 2*5W ( 10% THD+N 4Ω 1KHz)
SNR: ≥75dB
Distortion: ≤1%
Frequency: 80Hz-18KHz
Audio Input Mode: Bluetooth / AUX / TF Card / FM

Volume Adjustment: Buttons
Speaker: φ52 4Ω 5W*2
Working Voltage: 3.7V 2000mAh
AUX Maximum Input Sensitivity: 800mV
Working Temperature: 0℃~+50℃
Product Size:201X71X86MM
Net Weight:630g
Usage:
1. Reset: Built-in hidden reset switch in external audio source interface, restore factory settings.
2. Turn “ON” position. The screen lights up. “LOAD” enters the CLOCK mode. Initial time starts
at 12:00.
3. Press “M” key to switch function : Clock / Bluetooth / FM cyclical patterns.
Priority play when post plug-in TF card and AUX. 30S automatically switches to the time
display when Bluetooth / FM / TF card is playing.
Displaying Clock and AUX icons when AUX mode.
4. Maximum Volume is 16 levels for music playing. Initial default volume is 10 levels. Memorize
the last set volume level after operation.
The default is to return to the initial volume 10 levels when volume setting less than 1 level.
5. Turn on the default brightness is brightest. Optional brightness with short press . Turn
off screen brightness with long press .
No operation 60S enters the screen saver under the brightest level. (screen saver is middle
level brightness)
Projection Function:
1. Short press the “Projection” key when turned on, it shows current time. The first
time the projection is reversed, short press the positive display, short press
again to close the projection.
2. Brightness Adjustment: Long press the “Projection” button for brightness
adjustment. Three levels optional.
3. Rotate the projection head to adjust the projection angle. Slide the projection head turbine to
adjust the focus sharpness.
Clock Function:
A : Time Settings
1. When CLOCK mode. The hour number flashes when long press “M” key . Short press

or long press “Previous / Next” / or “V+ / V-” / both can
change the hour up or down. (The machine has an AM PM system. One hour is skipped every 12
hours during setting hour)
2. After the hour is set, the minute number flashes after 5S no operate. Or short press “M” key
to enter minute setting. Short press or long press “Previous / Next” / or
“V+ / V-” / both can change the minute up or down.
3. In the hour or minute setting, short press or long press “M” key or “Play” key
to confirm current time setting and saved. Or can also automatically confirmed after 5S no
operate.
B: Alarm Settings
This machine can set 2 groups of alarm.
1. When CLOCK mode. The hour number flashes when long press “Alarm 1” , at the
same time the icon of the Alarm 1 lights up.
Short press or long press “Previous / Next” / can change the hour up or
down. (The machine has an AM PM system. One hour is skipped every 12 hours during setting
hour)
2. After the hour is set, the minute number flashes after 5S no operate. Or short press “M” key
to enter minute setting. Short press or long press “Previous / Next” /
can change the minute up or down.
3. In the hour or minute setting, short press or long press “Play” key to confirm current
time setting and saved. Or can also automatically confirmed after 5S no operate.
4. Short press the “Snooze” button to select 5 kinds of alarm sounds in the process of
setting the hour or minute number flashes.
Short press or long press the “Play” button to confirm the current ringtone, while
saving the current alarm time.
5. After saving and exiting, return to CLOCK function status. The icon of Alarm 1 will light
on CLOCK interface, the Alarm 1 setting is valid.
Alarm 2 setting is same as Alarm 1 setting...
C: Check / Cancel Alarm and Snooze
1. Check Alarm 1: When CLOCK mode. Short press “Alarm 1” to show Alarm 1 setting

time. Return to Clock state when short press “Alarm 1” or 5S no operate.
2. Check Alarm 2: When CLOCK mode. Short press “Alarm 2” to show Alarm 2 setting
time. Return to Clock state when short press “Alarm 2” or 5S no operate.
3. The icon of Alarm 1 and Alarm 2 will light on CLOCK interface if the setting is
valid. If not, invalid.
4. Cancel Alarm 1: When CLOCK mode. Long press “Alarm 1” when hour number
flashes. In this interface, long press “Alarm 1” to return to CLOCK state. The icon of
Alarm 1 light off, Alarm 1 close.
5. Cancel Alarm 2: When CLOCK mode. Long press “Alarm 2” when hour number
flashes. In this interface, long press “Alarm 2” to return to CLOCK state. The icon of
Alarm 2 light off, Alarm 2 close.
6. Long press “Snooze” button to turn off the alarm when rings. Short press or Long
press any other keys is a snooze function ( the screen brightness adjustment key / projection key
are invalid) .
The snooze time interval is 10 minutes, the alarm time is 2 minutes.
Maximum 5 times after no operate when snooze followed by recycling.
7. When alarm rings, ringtone volume from small to large, every time is 2 minutes. Rings again
after 10 minutes if no operation within 2 minutes.
The alarm will be turned off after 5 times if without any operation. Until the alarm rings again
next day.
If there is no operation after the first alarm rings and second alarm time is up, then rings the
second alarm.
If the first alarm snooze rings again and Alarm 2 time is up, then rings the second alarm.
DIY Ringtone Setting:
1. When CLOCK mode, long press “Snooze” button and display REC, recording 10S ringtone;
release “Snooze” button and play sound just recorded.
2. Set the hour or minute character beat when setting the alarm, short press “Snooze” button
to select DIY ringtone.
FM Function:
1. Short press “M” key , switch to Radio state.

2. Initial use, long press “Play” key to radio receiver automatically. Searched stations
are automatically saved in P01-P50 mode.
Long press “M” key also to radio receiver automatically. Long press “Pause” button
to stop receiving during the auto-takeover process.
3. Short press “Previous / Next” / to select the previous station or next station.
Long press “Previous / Next” / to radio receiver semi-automatically. Search
up or down for the nearest station on the current frequency.
4. When play radio state. Short press “Play / Pause” button to turn ON / OFF mute.
5. When play radio state. Short press or long press “V+ / V-” / to adjust
volume.
TF Card Function:
1. Insert a TF card that stores MP3 / WMA music format into the corresponding TF card slot, the
display shows the track number, such as 0001 / play progress 00:01. At the same time, the icon
of TF and MUSIC light up.
2. Short press “Previous / Next” / to select the saved song in the card. Long
press “Previous / Next” / to fast forward or fast reverse.
3. When TF card state. Short press “Play / Pause” to Play / Pause.
4. When TF card state. Short press or long press “V+ /V-” / to adjust volume.
Bluetooth Function:
1. Short press “M” key to switch to Bluetooth state, the display shows “BLUE”, while
the Bluetooth icon flashes.
2. Use a Bluetooth device, such as smart phone, turn on the Bluetooth function on the phone to
search for and connect the device named S91. Voice prompt when connected successfully.
It will be automatically connected if the phone connected the Bluetooth device recently.
It will automatically connect to the last connected Bluetooth device in each time.
3. Open the player on phone to play music through this device.
4. Short press “Previous / Next” / to select music of phone.
5. When play mobile phone music state. Short press “Play / Pause” to Play / Pause.

6. Short press or long press “V+ / V-” / to adjust volume.
7. When Bluetooth connection state. Quickly short press the “Play” button Twice to
call back the last time the phone was called. Short press again to hang up. Short press
the “Play” button to connect the phone during the call.
Audio Input:
1. When power on state. Insert the φ3.5mm plug of the external audio cable into the “AUX”
socket. The icon of “AUX” light up.You can play the music by the external audio source.
2. When play state. Short press “Play” button to turn ON / OFF mute.
3. Short press or long press “V+ / V-” / to adjust volume.
Timing Play:
1. When Bluetooth / TF / FM / Audio Input state. Both supporting timing playing.
Short press “M” key to switch the above mode, then short press the “Snooze” button
, the display shows SL10, play 10 minutes at regular intervals. Stop playing after 10
minutes.
SL20 SL30 SL40 SL50 SL60 SL70 SL80 SL90 OFF regular time optional. “OFF”
turn off the timing play.

FCC Warning
This device complies with part 15 of the FCC Rules. Operation is subject to the following two conditions:
(1) This device may not cause harmful interference, and (2) this device must accept any interference
received, including interference that may cause undesired operation.
Any Changes or modifications not expressly approved by the party responsible for compliance could void
the user's authority to operate the equipment.
Note: This equipment has been tested and found to comply with the limits for a Class B digital device,
pursuant to part 15 of the FCC Rules. These limits are designed to provide reasonable protection against
harmful interference in a residential installation. This equipment generates uses and can radiate radio
frequency energy and, if not installed and used in accordance with the instructions, may cause harmful
interference to radio communications. However, there is no guarantee that interference will not occur in a
particular installation. If this equipment does cause harmful interference to radio or television reception,
which can be determined by turning the equipment off and on, the user is encouraged to try to correct the
interference by one or more of the following measures:
-Reorient or relocate the receiving antenna.
-Increase the separation between the equipment and receiver.
-Connect the equipment into an outlet on a circuit different from that to which the receiver is
connected.
-Consult the dealer or an experienced radio/TV technician for help.
The device has been evaluated to meet general RF exposure requirement. The device can be used in
portable exposure condition without restriction.
This manual suits for next models
8
Table of contents
