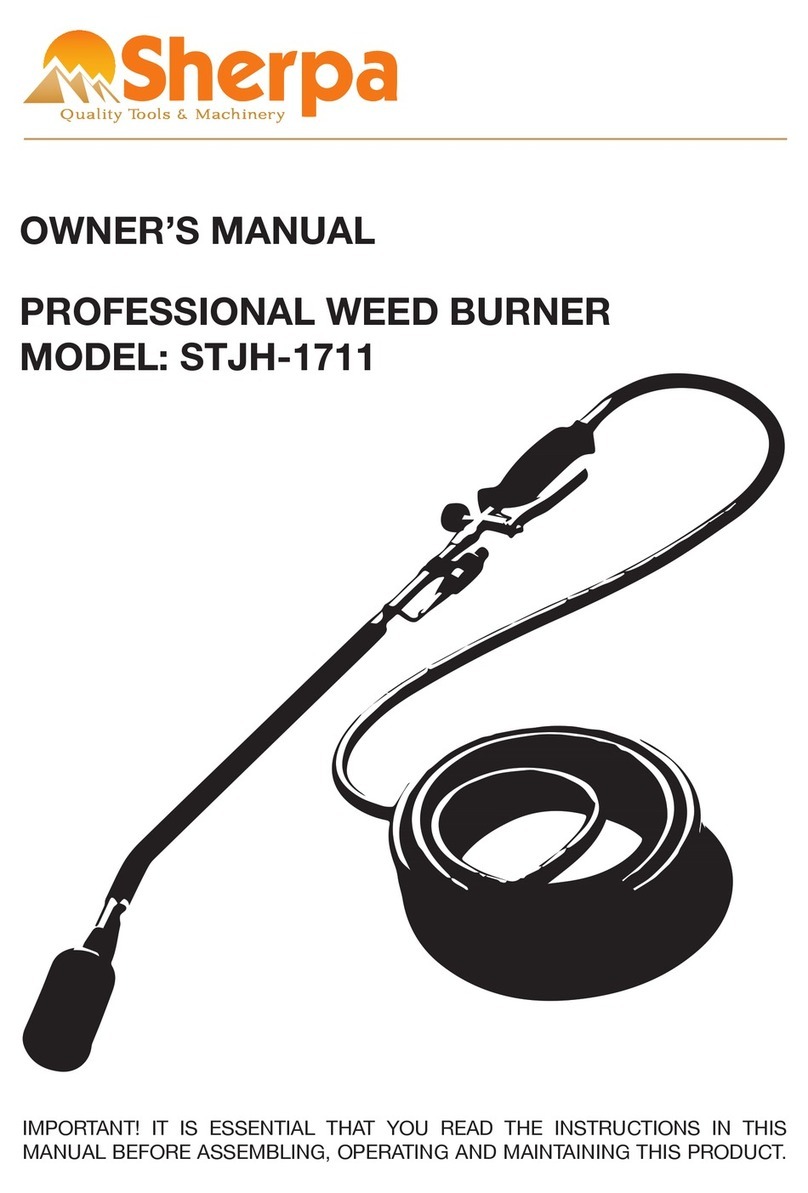
Thank you for choosing this Sherpa product. It is important that you read the entire manual to become
familiar with this product before you begin to assemble and use it. This burner is designed for certain
applications only. We strongly recommend that you do not modify or use this for any application other than
that for which it was designed.
• Burner Diameter - 50 mm
• Burner Length - 80 mm
• Hose - 5 m with brass ttings
• Hose Type - 6.3mm 30Bar Propane / Butane
• Regulator - 2.5Bar Propane / Inlet POL 105
• Lance Length - 890 mm
• Handle size - 125 mm
• Lance Weight - 0.8 kg
• Ignition Type - Piezo (Button)
• Warranty - 1 Year
A weed burner removes weeds in a simple, environmentally friendly way. This product is specied for
spot weeding. This includes localised weeds or small weeds commonly found on drives, paths and paved
areas.
This weed burner is designed for professional use. It is only to be used by a competent professional
person.
Protective eye wear, gloves and appropriate clothing must be worn when operating this product.
When ame weeding, the most effective method is to catch weeds early, from 1-4 inches. Weeds over 4
inches are more difcult to kill without multiple amings.
You do not need to set re to weeds to kill them. Only enough heat exposure is required to wilt plants.
Flame weeding is a slow kill process. By applying extreme heat the cell structure in the plant leaf is
destroyed. Weeds will gradually die and dry out after application. They can then be cleared from the area.
On patios this is normally possible just by brushing.
For best results, increase exposure to the heat if weeds are wet. Water on the leaves acts as insulation
and decreases cell damage unless exposure time is increased.
It is ne to ame when it is wet. Moisture can lessen the threat of ignition of dry debris.
Flame weeding can be applied to almost any plant. Take care around plants you want to keep as the heat
will affect these causing damage or destruction. It is not only the ame that can cause plant damage.
Avoid ame weeding near combustible materials.
Take care around the following plant types; conifers, poison ivy, oak or any poisonous plants. These are
highly ammable or the vapour / smoke from amed leaves could cause severe irritation.
This product is not suitable for beds and lawns. The weed burner is for outdoor use only. Be aware of the
risk of re and always have some water at hand to extinguish any re.
PREPARING THE WEED BURNER
1. Fit the DG-approved hose to the thread on the regulator. Tighten the nut using a spanner.
2. Fit the other end of the hose to the burner handle and tighten the connection using 2 spanners.
3. Before using check that the connections remain sealed under pressure using a leak spray of soapy
water in accordance with legislation, the gas hose must be replaced after 5 years.
4. Make sure that the weed burner is off. The adjustment knob (2) should be turned clockwise to stop.
5. The regulator should be tted to the gas cylinder. Follow the instructions that accompany the regulator
carefully.
SPECIFICATION
INSTRUCTIONS FOR USE
Start up before using the weed burner:
1. Turn the weed burner down and away from you.
2. Open the adjustment knob / tap on the gas bottle halfway. Then open the pilot light adjustment knob (2)
on the handle very lightly, until you can hear a slight hissing sound from the gas at the burner head (3).
3. Press the piezo igniter (5) once or more until the spark lights the ame. Then adjust the pilot light to a
suitable level using the adjustment knob (2). The pilot light should be a yellow ame.
4. Pressing the burner handle trigger (4) activates the burner’s operating mode. This weeder features a
variable trigger (4). The further the trigger is pulled, the larger and hotter the ame. For less heat only
depress the part way in.
5. Once the trigger is released, the burner returns to the gas-saving pilot light state.
REMOVING WEEDS
Move the weed burner slowly using a sweeping movement. It is only necessary to heat the weeds until
they shrink up. The plant cells will then dry out, and the weeds will wither and die within a few days.
The residues can then be removed and composted. Note: Strong, tenacious weeds may require several
treatments.
AFTER USE
To stop using the weed burner, turn the knob on the handle to cut the ame. Turn the gas off on the bottle
before disconnecting the regulator.
The weed burner head will be very hot after use. Do not touch it and avoid placing it in a place where
it may start a re or cause other damage. Avoid allowing the weed burner to touch easily ammable
materials or leave the burner when it is on. After use, remove the regulator from the gas bottle valve in
accordance with the instructions.
TROUBLE SHOOTING
1) If the gas will not light, this may be because:
a) The gas ow is too great. If this is the case, adjust down using the pilot adjustment knob (2). If this
is not adequate also adjust the ow of the gas tap on the bottle.
b) No Spark. Check the piezo electrode inside the burner head is making a spark when igniter (5) is
pressed. Warning: Disconnect the gas bottle from the ame gun before carrying out this operation.
2) The ame goes out when weeding
a) The gas ow is too low. Increase the gas ow on pilot light knob (2).
b) The burner head is too close to the weeds. Steam from the weeds can stie the ame if too close.
Use the weeder from further away. Where safe to do so angle the weeder slightly to the side of the
weed allowing inammable gasses to escape vertically.
DO NOT use if there is any sign of damage to the produce. If there is any sign of the gas hose perishing,
replace immediately.
DO NOT use with other people / animals around. Ensure a safe working distance at all times.
DO NOT put the weed burner down or leave unattended when alight.
DO NOT use in a conned area.
Regulator provided is suitable for use with appropriate propane bottles.
The weeder can be run on propane or butane gas types with the appropriate regulator. Regulator: 2.5Bar
Approved accessories for use with STJH-1711:
Sherpa Weed Burner Bottle Trolley | Sherpa Weed Burner Arm Support


