. Panel control & Terminals
. Preparation for Performance
1. Using AC/DC adapter
2. Installation Of Batteries
3. Headphone/Speaker Output
4. MIDI IN/OUT Jacks
5. LCD Display Indicators
. Preparation for Performance
1.
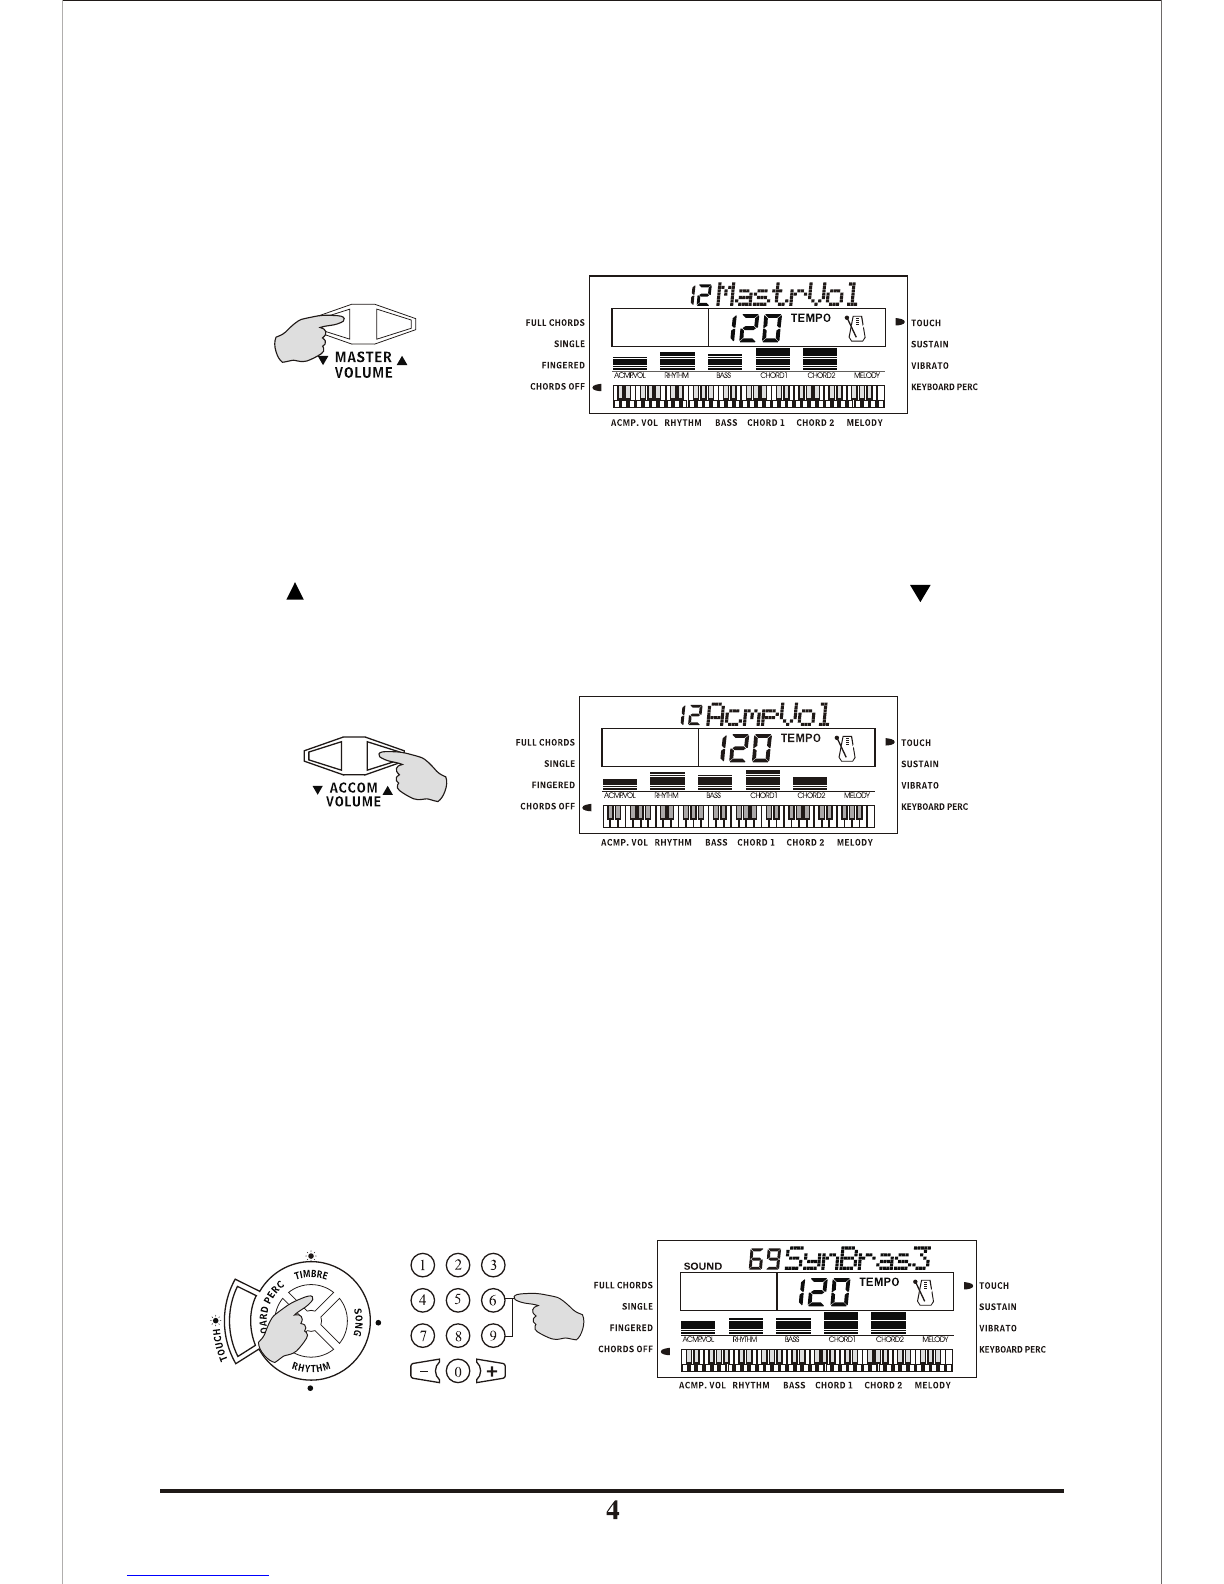
2. Timbres Selection
3. Play Percussions
4. Demonstration Songs
. Rhythmic Accompaniment
1. Rhythms selection
2. Accompaniment control
3. Auto Metronome
4. Tempo Control
. Auto Bass Chord
1. Single Finger Auto Bass Chord
2. Multi-finger Auto Bass Chord
3. Full Chords
4. Chords Off
.Effect Control
1. Pitch Bend
2. Transposition
3. Tuning
4. Vibrato
5. Sustain
6. Touch Sensitive
7. Keyboard Split
.Status Register
.Record and Playback
.Program
. Intelligent Teaching Function
1. One Key
2. Follow Me
3. Ensemble
. Appendix
Volume Adjustment
..................................................................................................................
..................................................................................................................
..................................................................................................................
..................................................................................................................
..................................................................................................................
..................................................................................................................
..................................................................................................................
..................................................................................................................
..................................................................................................................
..................................................................................................................
..................................................................................................................
..................................................................................................................
..................................................................................................................
..................................................................................................................
..................................................................................................................
..................................................................................................................
..................................................................................................................
..................................................................................................................
..................................................................................................................
..................................................................................................................
..................................................................................................................
..................................................................................................................
..................................................................................................................
..................................................................................................................
..................................................................................................................
..................................................................................................................
..................................................................................................................
..................................................................................................................
..................................................................................................................
..................................................................................................................
..................................................................................................................
..................................................................................................................
..................................................................................................................
...........................................................................................................
..................................................................................................................
..................................................................................................................
..................................................................................................................
..................................................................................................................
CONTENTS