Source headrush User manual

1415312
Touchscreen
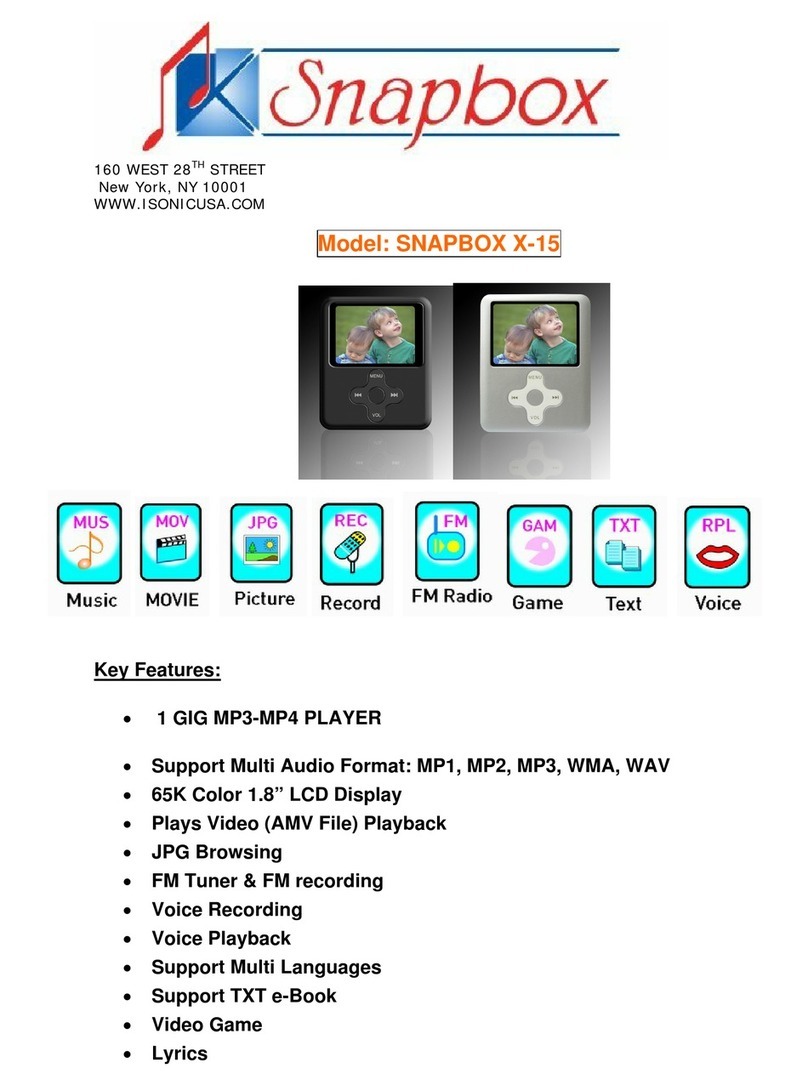
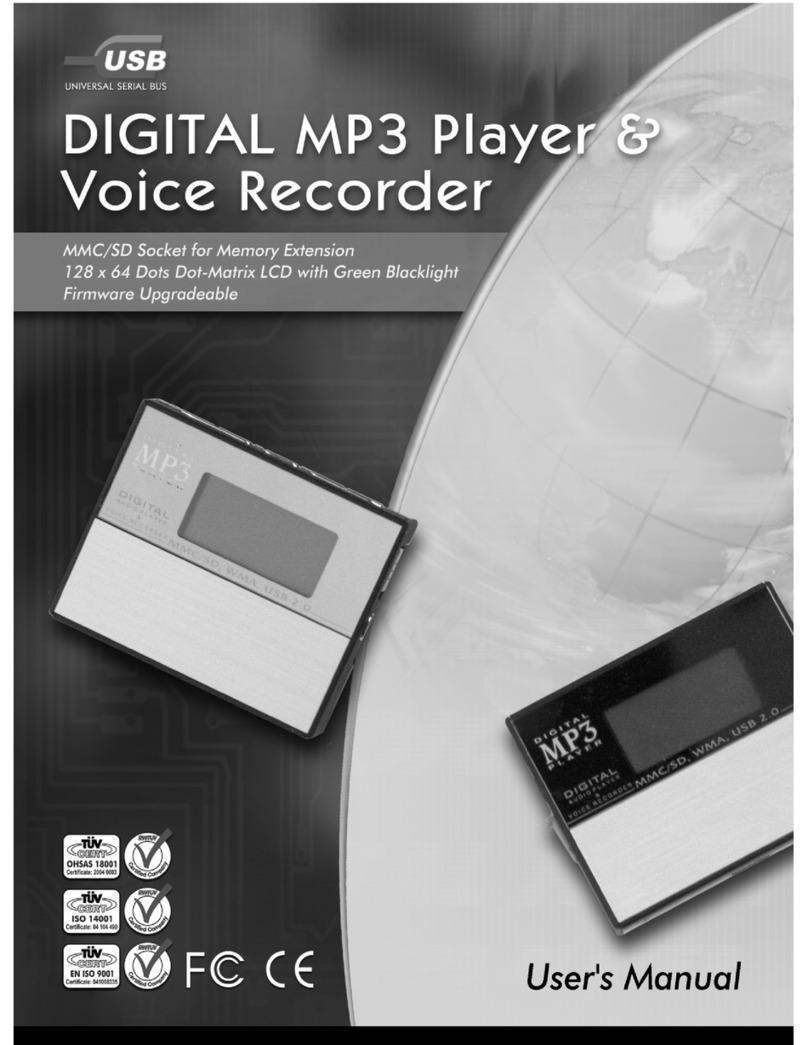
MP3 Video Player
INSTRUCTION MANUAL
Please read this instruction manual rst before using
8
GB

2
Table of Contents
THANK YOU 4
Package Contents 4
Features 4
CONTROLS AT A GLANCE 5
GETTING STARTED 6
Charging the Battery 6
Charging with a Computer 6
Turning the Player On/O 6
Resetting the Player 7
Using theTouchscreen Controls 7
Installing a microSD Memory Card 7
MAIN MENU 8
Main Menu Controls 8
MUSIC MODE 9
Music Browser Controls 9
Now Playing Controls (Music Playback) 10-11
Quick Option Menu 12-13
VIDEO MODE 14
Movie Browser Controls 14
Movie Playback Controls 15
PHOTO MODE 16
Photo Browser Controls 16
Photo Viewer Controls 17
Quick Option Menu 18
RADIO MODE 19
Radio Tuning Controls 19
Quick Option Menu 20-21
TEXT MODE 22
Text Browser Controls 22
Text Reader Controls 23
Quick Option Menu 24
EXPLORER MODE 25
Explorer Controls 25
Quick Option Menu 26-27

3
SETTING MODE 28-29
VIDEOCAM MODE 30
CAMERA MODE 31
CALENDAR MODE 32
CLOCK MODE 33
VIDEO CONVERTER 34
INSTALLATION 35
CONVERTING VIDEO 35-36
SPECIFICATIONS 37
TROUBLESHOOTING 38-39
FCC 40
WARRANTY 41

4
Thank You
Thank you for your purchase of the 8GB HeadrushTM Touchscreen MP3 Video Player.
This manual is designed to help you easily set up and begin using your new player right away.
Please read this manual carefully and retain it for future reference.
PACKAGE CONTENTS
Please make sure that the items shown below
are included in the package.
• MP3TouchscreenVideoPlayer
• USBCable
• InstructionManual
• Earbuds
• ProtectivePouch
FEATURES
• Integratedashmemory
• Intuitivetouchscreencontrol
• 2.8”TFTDisplay
• Playsmusic,video,photosandtext
• ID3andLRCsupportforsongandsynchronizedlyric
information display
• microSDcardslotforeasymemorycapacityupgrades
(microSD card not included)
• IntegratedFMRadio
• Integrated0.3megapixelcamera
• USB2.0Hi-speedforfastletransfers
This package may contain plastic bags or other materials
that pose a hazard to children. Be sure to safely dispose
of all packing materials after opening.

5
Controls at a Glance
LEFT VIEW
1. Volume Up button <UP>
2 . Volume Down button <DOWN>
3. MicroSD Card slot -
LoadamicroSDmemorycard
here to upgrade the memory
capacity of the player.
FRONT VIEW
4. Speaker
5. LCD touchscreen -Tap the
display with your nger to activate
the on-screen control.
6. Power/Enter button - Press
and hold the button to power the
player on or o. <ENTER>
7. LED indicator
8. Menu button <MENU>
REAR VIEW
9. Camera lens
10. Reset button <RESET>
Bottom View
11. USB Port/Charge - Connect to a computer
to transfer media les to the player.
12. 3.5 mm headphone jack

6
Getting Started
CHARGING THE BATTERY
Yourplayerhasanintegratedrechargeablebattery.Uponinitialuse,thebatteryshouldbechargedfullytoensure
optimal performance and battery life.
Iftheplayerhasnotbeenusedinawhile,thebatterymayneedtoberechargedovernight(about8hours).
• Thebatteryusedinthisdevicemaypresentareorchemicalburnifmistreated.Donotdisassemble,incinerate,or
heatthebattery.Donotleavethebatteryinaplacesubjecttodirectsunlight,orinacarwithitswindowsclosed.
• Donotconnecttheplayertoapowersourceotherthanthatwhichisindicatedhereoronthelabelasthismay
result in the risk of re or electric shock.
CHARGING WITH A COMPUTER
Your player can be charged through a USB computer connection. Use the supplied USB cable to connect the player to the
USB port of a computer. The computer must be powered on and not in sleep mode.
When the player is connected and charging, a USB symbol will be displayed on the player’s screen.
TURNING THE PLAYER ON/OFF
• Toturntheplayeron,pressandholdthe<ENTER>buttonuntilthescreenturnson.
• Toturntheplayero,pressandholdthe<ENTER>buttonuntilthescreenturnso.

7
RESETTING THE PLAYER
Resettheplayerifitshouldfreezeandnotrespondorotherwisemalfunction.
• Disconnectyourplayerifitisconnectedtoacomputer.
• Useapapercliptogentlypressthe<RESET>buttonlocatedontherearoftheplayer.
USING THE TOUCHSCREEN CONTROLS
Your video MP3 player comes equipped with an easy-to-use touchscreen which allows access to the player’s functions.
• Useyourngertiporthestylustotaptheareaofthescreenwhereacontroliconisdisplayed.
• Ifyoutapandholdanicon,itwillregisterasacontinuousbuttonpress.
To avoid damaging the screen, do not touch it with excessive force or with any object other than your nger or the stylus. For
best response, make sure your hands are clean before using the touchscreen controls.
INSTALLING A microSD MEMORY CARD OPTIONAL
You can upgrade the memory capacity of your player by adding a microSD memory card.
This player supports memory cards up to 2GB in size.

8
Main Menu
Whenyouturnontheplayer,youwillseetheMainmenu.
FromtheMainmenu,youcanaccesseachofyourMP3
player’s function modes.
MAIN MENU CONTROLS
Each function mode is represented by an icon on the Main
Menuscreen.Toenteramode,taptheiconwithyournger.
You may also use the player’s standard controls to access
each mode:
• Pressthe<UP>or<DOWN>buttontomovethe
selection.
• Press<ENTER>toconrm.
MUSIC Browse and play music
VIDEO Browse and play movies
PHOTO Browse and view pictures
RADIO ListentoFMradiobroadcasts
TEXT Browse and read text les
EXPLORER Browse all les
SETTING Adjust the player’s options
VIDEOCAMS Record video clips
CAMERA Capture still images
CALENDAR Launchthecalendarprogram
CLOCK Set the internal clock display

9
Music Mode
Browse for and play your music les.
Forinformationaboutloadingmusicontoyourplayer,pleaserefertothesection“TransferringFilestothePlayer”.
MUSIC BROWSER CONTROLS
WhenyouchooseMUSICmodefromtheMainmenu,youwillseetheMusicBrowserscreen.
FUNCTION KEY ACTION
To browse through the folders Press <UP> or <DOWN>
To select/view an item Press<ENTER>,ortapthedesiredselectionontheLCDscreen.
To return to the previous screen Tap on screen or press <MENU>
To return to the Main menu Hold <MENU>
You can also touch the < >icontorefreshthemusiclibraryifyouhaveloadednewmusiclesontotheplayer,this
process may take several minutes.You will not be able to access the Music Browser screen until you refresh the music
library.

10
NOW PLAYING CONTROLS
MUSIC PLAYBACK
Tostartplayingmusic,browseforasongand
thentapthesongtitletostartplayback,or
you can press <ENTER> to start playback.
Whenasongisplaying,theNowPlaying
screen appears (see illustration).
Playback Status
Time Display
BatteryLevel
Quick Option
Icon
Add to Favourite
ListOption
Next Icon
Play/Pause Icon
Total Time
EqualizerIcon
Play Mode
Back Icon
Album Cover
Previous Icon
File Name
Progress Bar
Elapsed Time
Current Track / Total Tracks

11
The following functions are performed from the Now Playing screen.
FUNCTION KEY ACTION
To pause/resume playback Press <ENTER> or tap the Play/Pause Icon on screen
To play the next track Tap on screen
To forward-scan through the track Hold on screen
To play the previous track Tap on screen
To reverse-scan through the track Hold on screen
To adjust the volume level Press <UP> or <DOWN> button.
To access the Quick Option menu
see section below for details)
Tap on screen
To return to the Music Explorer screen Tap on screen or press <MENU> button
Tap the screen once to view the controls.

12
QUICK OPTION MENU
Toaccessthequickoptionmenu,tap< > on the Now Playing screen.
• Tobrowsethroughthesettings,pressthe<UP>or<DOWN>button.
• Toselectasetting,pressthe<ENTER>buttonortapthedesiredselectiononscreen.
• Toreturntothepreviousscreen,tap< > on screen or press the <MENU> button.
Repeat Mode
Change the repeat options to adjust the order in which tracks are played.
ITEM DESCRIPTION
Normal Play tracks in normal order and no repeat.
Single Play the current track repeatedly.
Random Play all tracks in random order.
All Play all tracks repeatedly.

13
Equalizer
Selectadigitalequalizerpresettooptimizethewaytheplayerprocessesaudiosignals.Theoptionsare:Normal,Classic,
Pop,Rock,andJazz.
Add to Favorite
Add the current song to the Favorite list.
You can also tap the
icon on the Now Playing screen to add the song to the Favorite list.
To play the favorite songs, select “My Favorites” from the Music Browser screen.
Lyric
SettheLyricdisplayONorOFF.
Lyricdisplayrequiresa“.LRC”lyriclewhichmaybefoundontheinternetormaybecreatedwithaLyricleeditor.
Lyriclescancontainsynchronizedtiminginformationaswellaslyricinformation.
Lyriclesmusthavethesamenameasitscorrespondingmusicle
(e.g.,“SongTitle1.lrc”and“SongTitle1.mp3”)andmustbeplacedinthesamedirectory.

14
Video Mode
Browse for and play your movie les.
Your player supports AVI les.Videos may need to be encoded with the included software for device playback.
MOVIE BROWSER CONTROLS
WhenyouchooseVideomodefromtheMainmenu,youwillseetheMovieBrowserscreen.
Use the Movie Browser to nd all movie les loaded on your player.
FUNCTION KEY ACTION
To browse through the list of video les and folders Press <UP> or <DOWN> button.
To select/play an item Press <ENTER> or tap the Play/Pause Icon on screen
To return to the previous screen Tap on screen or press <MENU>
To return to the Main menu Hold <MENU>
MOVIE PLAYBACK CONTROLS
Whenavideoisplaying,holdtheplayerhorizontally,theNowPlayingscreenappears:

15
Tap the screen once to view the controls.
The following functions may be performed from the
Now Playing screen.
FUNCTION KEY ACTION
To play the next movie Tap on screen
To play the previous movie Tap on screen
To forward-scan quickly
through the current movie
Hold on screen
To reverse-scan quickly
through the current movie
Hold on screen
To pause/resume playback Press <ENTER> or
Tap the II button.
To adjust the volume level Press <UP> or <DOWN>
To return to the Movie
Browser screen
Press <MENU> or tap
on screen
To return to the Main menu Hold <MENU> button
Video Playing Window
Elapsed Time
Total Time
File Name
movie

16
Photo Mode
Browse for and play your photo les.
PHOTO BROWSER CONTROLS
WhenyouchoosePhotomodefromtheMainmenu,youwillseethePhoto
Browser screen. Your Photo will be displayed as thumbnail images.
Use the Photo Browser to nd allphoto les loaded on your player.
1. Folder
2. Photo
3. Name of the selected folder or photo
FUNCTION KEY ACTION
To browse through the list of photo les and folders Press <UP> or <DOWN> button.
To select/view an item Press<ENTER>ortapthedesiredselectionontheLCDscreen
To return to the previous screen Tap on screen or press <MENU>
To return to the Main menu Hold <MENU>

17
PHOTO VIEWER CONTROLS
Toviewaphoto,browsethroughthethumbnailphotoandthenpress<ENTER>ortapontheselectiondirectly.
The following functions may be performed from the PhotoViewer screen.
FUNCTION KEY ACTION
To view the next or previous photo Press<UP>or<DOWN>,ortap or on screen
To start or stop slideshow mode Tap or
To rotate the photo Press <ENTER> or tap
on screen
To access the Quick Option menu Tap on screen
To return to the Photo Browser screen Press <MENU> or tap on screen
To return to the Main menu Hold <MENU>
Tap the screen once to view the controls.

18
QUICK OPTION MENU
Toaccessthequickoptionmenu,tap< > on the PhotoViewing screen.
Tobrowsethroughthesettings,pressthe<UP>or<DOWN>button.
Toselectasetting,pressthe<ENTER>buttonortapthedesiredselectiononscreen.
Toreturntothepreviousscreen,tap< > on screen or press the <MENU> button.
Save as PowerOn picture
Save the current photo as a PowerOn picture that will display when you power on the player.
Save as PowerO picture
Save the current photo as a PowerO picture that will display when you power o the player.
Slide Setting
Enterthismenutoturnslideshowmodeonoro,ortoadjusttheamountoftimebetweenphotosduringslideshow
mode.

19
Radio Mode
Listen to FM radio broadcasts.
YoumusthaveapairofheadphonesconnectedtotheheadphonejacktoreceiveFMbroadcasts;yourplayerwillutilize
the headphone cord as an antenna.
RADIO TUNING CONTROLS
WhenyouchooseRadiofromtheMainmenu,youwillseetheRadioTuning
screen.Youcansearchforstations,tunetostationsmanually,ortunetopreset
stations. The following functions are performed from the Radio Tuning screen.
FUNCTION KEY ACTION
To tune to a higher station manually Tap on screen
To tune to a lower station manually Tap on screen
To tune to the next preset station Tap on screen
To access the Quick Option menu Tap on screen
To adjust the volume level
Press <UP> or <DOWN>
To return to the Main menu
Tap on screen or press <MENU>

20
QUICK OPTION MENU
Toaccessthequickoptionmenu,tap< > on the Radio screen.
• Tobrowsethroughthesettings,pressthe<UP>or<DOWN>button.
• Toselectasetting,pressthe<ENTER>buttonortapthedesiredselectiononscreen.
• Toreturntothepreviousscreen,tap< > on screen or press the <MENU> button.
Search Station
Scan for all stations in broadcast reception range.
The player will automatically seek and save all frequencies with a broadcast signal to the Preset Station list.
The auto scan feature will overwrite any previously stored preset stations.
Area Select
Set the FM frequency range area.
Save Station Info
Save the current station to the Preset Station list.
You can also tap
on the Radio screen to add the current station to the Preset Station list.
Table of contents


