manuals.online logo
Brands
  1. Home
  2. •
  3. Brands
  4. •
  5. Sove
  6. •
  7. Play Set & Playground Equipment
  8. •
  9. Sove 60-164-500 User manual

Sove 60-164-500 User manual

Other Sove Play Set & Playground Equipment manuals

Sove 31-500-100 User manual

Sove

Sove 31-500-100 User manual

Sove 30-190-510 User manual

Sove

Sove 30-190-510 User manual

Sove 11-140-126 User manual

Sove

Sove 11-140-126 User manual

Sove 50-151-651 User manual

Sove

Sove 50-151-651 User manual

Sove PARADISIO G511-B Programming manual

Sove

Sove PARADISIO G511-B Programming manual

Sove 23-400-010 User manual

Sove

Sove 23-400-010 User manual

Sove 30-862-017 User manual

Sove

Sove 30-862-017 User manual

Sove 11-145-153 User manual

Sove

Sove 11-145-153 User manual

Sove 52-200-020 User manual

Sove

Sove 52-200-020 User manual

Sove 30-196-800 User manual

Sove

Sove 30-196-800 User manual

Sove 51-162-551 User manual

Sove

Sove 51-162-551 User manual

Sove 16-101-170 User manual

Sove

Sove 16-101-170 User manual

Sove 61-200-400 User manual

Sove

Sove 61-200-400 User manual

Sove 30-850-100 User manual

Sove

Sove 30-850-100 User manual

Sove 11-500-121 User manual

Sove

Sove 11-500-121 User manual

Sove Saturn Hati 2 User manual

Sove

Sove Saturn Hati 2 User manual

Sove 30-801-030 User manual

Sove

Sove 30-801-030 User manual

Sove 50-151-640 User manual

Sove

Sove 50-151-640 User manual

Sove 16-102-150 User manual

Sove

Sove 16-102-150 User manual

Sove 71-864-052 User manual

Sove

Sove 71-864-052 User manual

Sove 23-400-023 User manual

Sove

Sove 23-400-023 User manual

Sove 50-151-630 User manual

Sove

Sove 50-151-630 User manual

Sove 30-860-017 User manual

Sove

Sove 30-860-017 User manual

Sove 16-300-030 User manual

Sove

Sove 16-300-030 User manual

Popular Play Set & Playground Equipment manuals by other brands

FUNormous Disney Junior MICKEY MOUSE instruction manual

FUNormous

FUNormous Disney Junior MICKEY MOUSE instruction manual

Outward OUT116 user manual

Outward

Outward OUT116 user manual

GALOPIN ARC02 instruction manual

GALOPIN

GALOPIN ARC02 instruction manual

stilum levis Maintenance instructions

stilum

stilum levis Maintenance instructions

Costway NP10441 user manual

Costway

Costway NP10441 user manual

NOVUM 12124 Assembly instructions

NOVUM

NOVUM 12124 Assembly instructions

Ledon 1700 Assembly instructions

Ledon

Ledon 1700 Assembly instructions

Terra Bound Solutions Kennel Club Playground manual

Terra Bound Solutions

Terra Bound Solutions Kennel Club Playground manual

Palmako Marta MV100-3510 Assembly, installation and maintenance instructions

Palmako

Palmako Marta MV100-3510 Assembly, installation and maintenance instructions

FEI 32-2400 Assembly guide

FEI

FEI 32-2400 Assembly guide

stilum intera 2 Mounting instructions

stilum

stilum intera 2 Mounting instructions

Play & Leisure 2435507 Aassembly Instructions

Play & Leisure

Play & Leisure 2435507 Aassembly Instructions

Costway TS10033 user manual

Costway

Costway TS10033 user manual

Octonauts OCTOPOD SHARK ADVENTURE PLAYSET quick start guide

Octonauts

Octonauts OCTOPOD SHARK ADVENTURE PLAYSET quick start guide

BOERPLAY Castle Koeningsbourg installation instructions

BOERPLAY

BOERPLAY Castle Koeningsbourg installation instructions

wendi toys Nordic Lodge Installation and operating instructions

wendi toys

wendi toys Nordic Lodge Installation and operating instructions

Tree Frogs 5.4 Mega Deck Fort Install manual

Tree Frogs

Tree Frogs 5.4 Mega Deck Fort Install manual

GSWeb Playground Equipment GS-SC2102 installation manual

GSWeb Playground Equipment

GSWeb Playground Equipment GS-SC2102 installation manual

manuals.online logo
manuals.online logoBrands
  • About & Mission
  • Contact us
  • Privacy Policy
  • Terms and Conditions

Copyright 2025 Manuals.Online. All Rights Reserved.

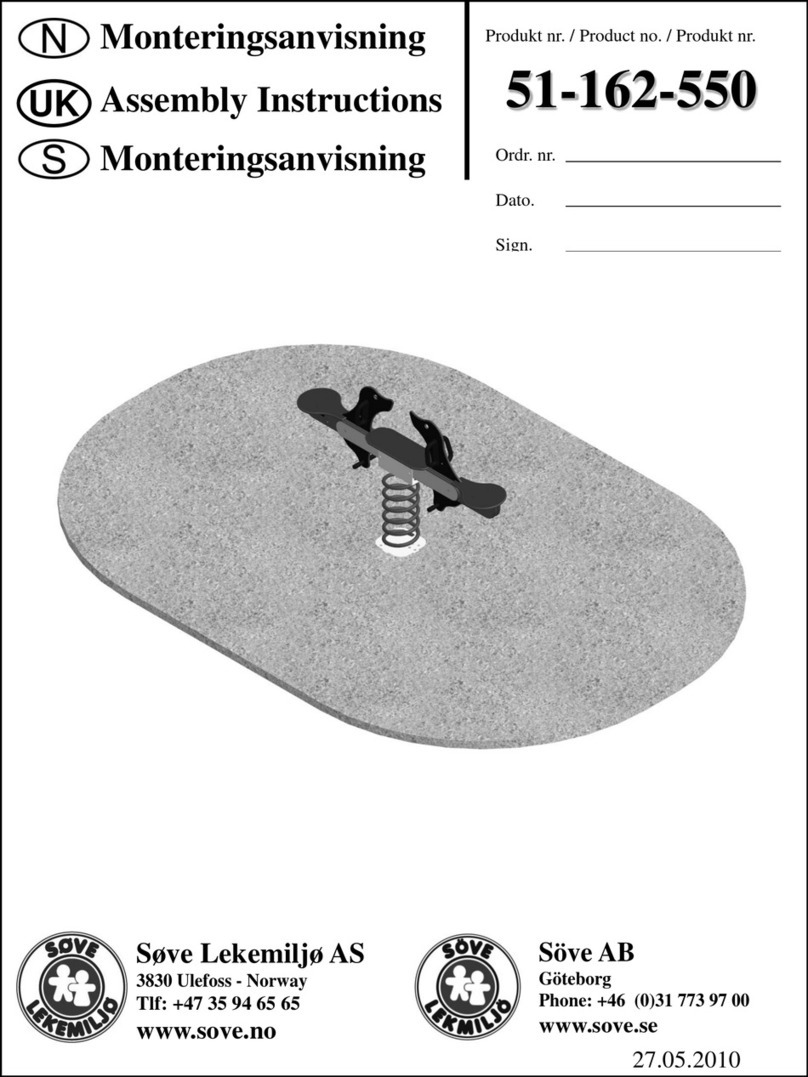
Monteringsanvisning
Assembly Instructions
Monteringsanvisning
Produkt nr. / Product no. / Produkt nr.
UK 60-164-500
Ordr. nr.
Dato.
Sign.
Söve AB
Göteborg
Phone: +46 (0)31 773 97 00
www.sove.se
Søve Lekemiljø AS
3830 Ulefoss - Norway
Tlf: +47 35 94 65 65
www.sove.no 12-06-2017
Monteringstips / Assembly Advice / Monteringstips
1
Les monteringsanvisningen nøye før montering.
Monter elementene i rekkefølgen som vist.
Boltene bør ikke skrues for hardt til før alt er montert, vatret og loddet. Skru så boltene til.
NB! Ved bruk av drill, kan boltene ryke.
På grunn av at solen kan gjøre rutsjeflaten veldig varm, bør rutsjebanens utløp vende mot
nord-øst eller nord-vest.
Er lekeutstyret plassert i naturlige ferdselstraséer må området sikres mot spontan
gjennomgang.
Innspringningshinder bør vurderes rundt lekeapparater hvor det er stor bevegelse, f.eks.
ved huskestativ.
Det bør være fritt innsyn til lekeutstyr som er beregnet for barn under 3 år.
N
UK
NB! Under monteringsarbeidet må utstyr, som ikke er forankret forsvarlig i bakken,
avstives slik at det ikke velte.
Området må avstenges under oppsettelse av apparatene med sperrebånd eller lignende.
Read the instruction carefully before assembling the play unit.
Assemble the components in the sequence shown in these instructions.
Fixings must not be fully tightened during assembly. Before casting the foundations, the structure
must be level and plumb, at which point all fixings are tightened.
PS! If use of drill, the bolts may be wrecked.
Avoid positioning the slide facing due south because of overheating –ideal positions are facing
north-east or north-west.
Secure the construction-area to prevent people from walking through it.
Consider installing barriers around play-equipment which gives rise to a lot of activity –i.e.swings.
Ensure that clear vision is possible across the play area so that supervision is possible from any
position, particularly where children under 3 years of age will be playing.
NB! During assembly of the equipment, ensure that all structures are securely propped,
especially when left overnight. Also ensure that equipment is supported whilst concrete
foundations are setting and enclose the area securely to prevent access.
2
SLäs monteringsanvisningen noga före montering.
Montera delarna i den ordningen som anvisas
Skruvarna bör inte skruvas för hårt tills allt är monterat, i våg och lodat.
OBS! Används elektrisk skruvdragare, kan bulten gå sönder. Hårddra därför manuelt!
Solen kan göra att rutchbanan blir väldigt varm. Banans nedfart rekommenderas att vändas i norrlig
riktning
Om lekplatsen placeras vid en gångväg mm bör området säkras mot genomfart av gående och
cyklister.
Inspringningshinder bör placeras runt lekutrustning med stor rörelse, t ex, gungställning.
Det bör vara fri insyn till lekutrustning beräknat till barn under 3 år.
OBS! Under monteringsarbete bör utrustningen som inte ska förankras i
marken, ställs så att den inte kan välta.
Området måste spärras när lekutrustningen byggs upp, med avspärrningsband
eller liknande.
3
1 m2
2
3
N
UK
S
N
UK
S
Nødvendig antall personer / Number of persons required
/ Lämpligt antal personer
Arealbehov ved montering / Working space
/Arealbehov vid montering
Eller
Or
Äller
1
C D
E
N
UK
S
Nødvendig verktøy / Tools required / Nödvändiga verktyg
17 mm
BA
Torx Nr 45
High quality
5
N
UK
S
Komponenter Ant
Components
Komponenter
Dimensjon
Dimension
Dimension Qty
Ant
1
55 x 95 x 95
1100 x 95 x 95
1
Med hull
Lev
Lev
1
Ø 500
Ant
Qty
Ant
Dimensjon
Dimension
Dimension
Bolter/skruer
Bolts/Screws
Bultar/Skruvar
Lev
Lev
2
4
8
4
10 x 300
Sign.
1 av 2
Pakkliste for / Parts list for / Packlista för :
60-164-500
04-000-025
8 x 25 mm Torx
04-060-050
50 x 15 x 8 mm 4
01-164-201
03-191-013
00-400-997
04-040-008
8 mm
04-050-008
8 mm
04-070-050
00-400-083
4
Produkt merking
Product marking
Produkt märkning 111mm hull
Fundamentering / Foundation / Förankring
6
N
UK
S
Alle mål er oppgitt i millimeter
Scale measured in mm
Alla mått är i millimeter.
600
1000
200
1000
600
200
300
45° R100
N
UK
S
Komprimert masse. betong
Compressed mass. concrete
Komprimerad masse. betong
N
UK
S
Bakkenivå
Ground level
Marknivå
N
UK
S
Støtsand
Safer surface
Stridsand
N
UK
S
For stolper
For posts
För stulpar
Ref NS-EN 1177
Ref NS-EN 1177
Med bruk av betong
With use of concrete
Med bruk av betong
N
UK
S
7
8
N
UK
S
Sikkerhetssone / Safety zone / Säkerhetszon
Fallhøyder / Free height of fall / Fallhöjder
Alle mål er oppgitt i millimeter
Scale measured in mm
Alla mått är i millimeter.
N
UK
S
Alle mål er oppgitt i millimeter
Scale measured in mm
Alla mått är i millimeter
500
Ø 500
2
10 Montering av lekeapparatet / Assembly instructions / Montering av lekredskapet
1
04-000-025 x4
8 x 25 mm Torx
Bolten skrues helt igjennom
aluminiumen.
The bolt must be tightened
in to the post, so that it pierces
the aluminium.
Bulten skruvas helt igenom
aluminiumen.
OBS !
04-060-040 x 4
40 x 15 x 8 mm
04-076-050
50 x 50 x 5 mm x 4
04-000-025 x4
8 x 25 mm Torx
04-040-008
8 mm x4
04-040-008
8 mm x 4
01-164-201
00-400-083
3
03-191-013
03-191-013
00-400-997
10 Montering av lekeapparatet / Assembly instructions / Montering av lekredskapet
13
N
UK
SKontrollera att fallunderlag är utlagt enligt gällande regler eller vårt rekomendation (se punkt 8)
Ta bort alla monteringshjälpmedel (rester av betong, plankor, pallar, plast och liknande)
Innan Redskapet tas i bruk, skal man kontrollera att anoracksnoddar eller kläder/delar av kläder eller liknande inte kan
fastna i några delar på redskapet. (Den bipackade ”knävringen” kan man med fördel användas för denna kontroll.
Detta görs för att upptäcka eventuella felmonteringar.)
Påse at fallunderlag er utlagt i henhold til gjeldende regler eller vår anbefaling (se punkt 8)
Fjern alle monteringshjelpemidler ( rester av betong, planker, paller, plast, og lignende)
Før utstyret tas i bruk,burde man sjekke at det ikke er fare for at anorakksnorer og lignende som kan hekte seg fast
noen steder på lekeapparatet.(Vedlagte snor med dobbe (kneledd) kan brukes til å sjekke at dette er i orden.Se vedlagte
veiledning for bruk av denne. Dette gjøres for å oppdage eventuelle feilmonteringer.?
Make sure the area and depth of safer surfacing are according to the current standard, or to the manufacturer’s
recommendation
Make sure all tools and surplus materials are removed before play begins
Før utstyret tas i bruk / Before play begins / Innan lekredskapet tas i bruk
NB! Bør stå i 2-3 dager før bruk.
PS! When complete, allow 2-3 days for the concrete to set before use.
OBS! Bör stå i 2-3 dagar för bruk