www.sparkygroup.com
1 – 13
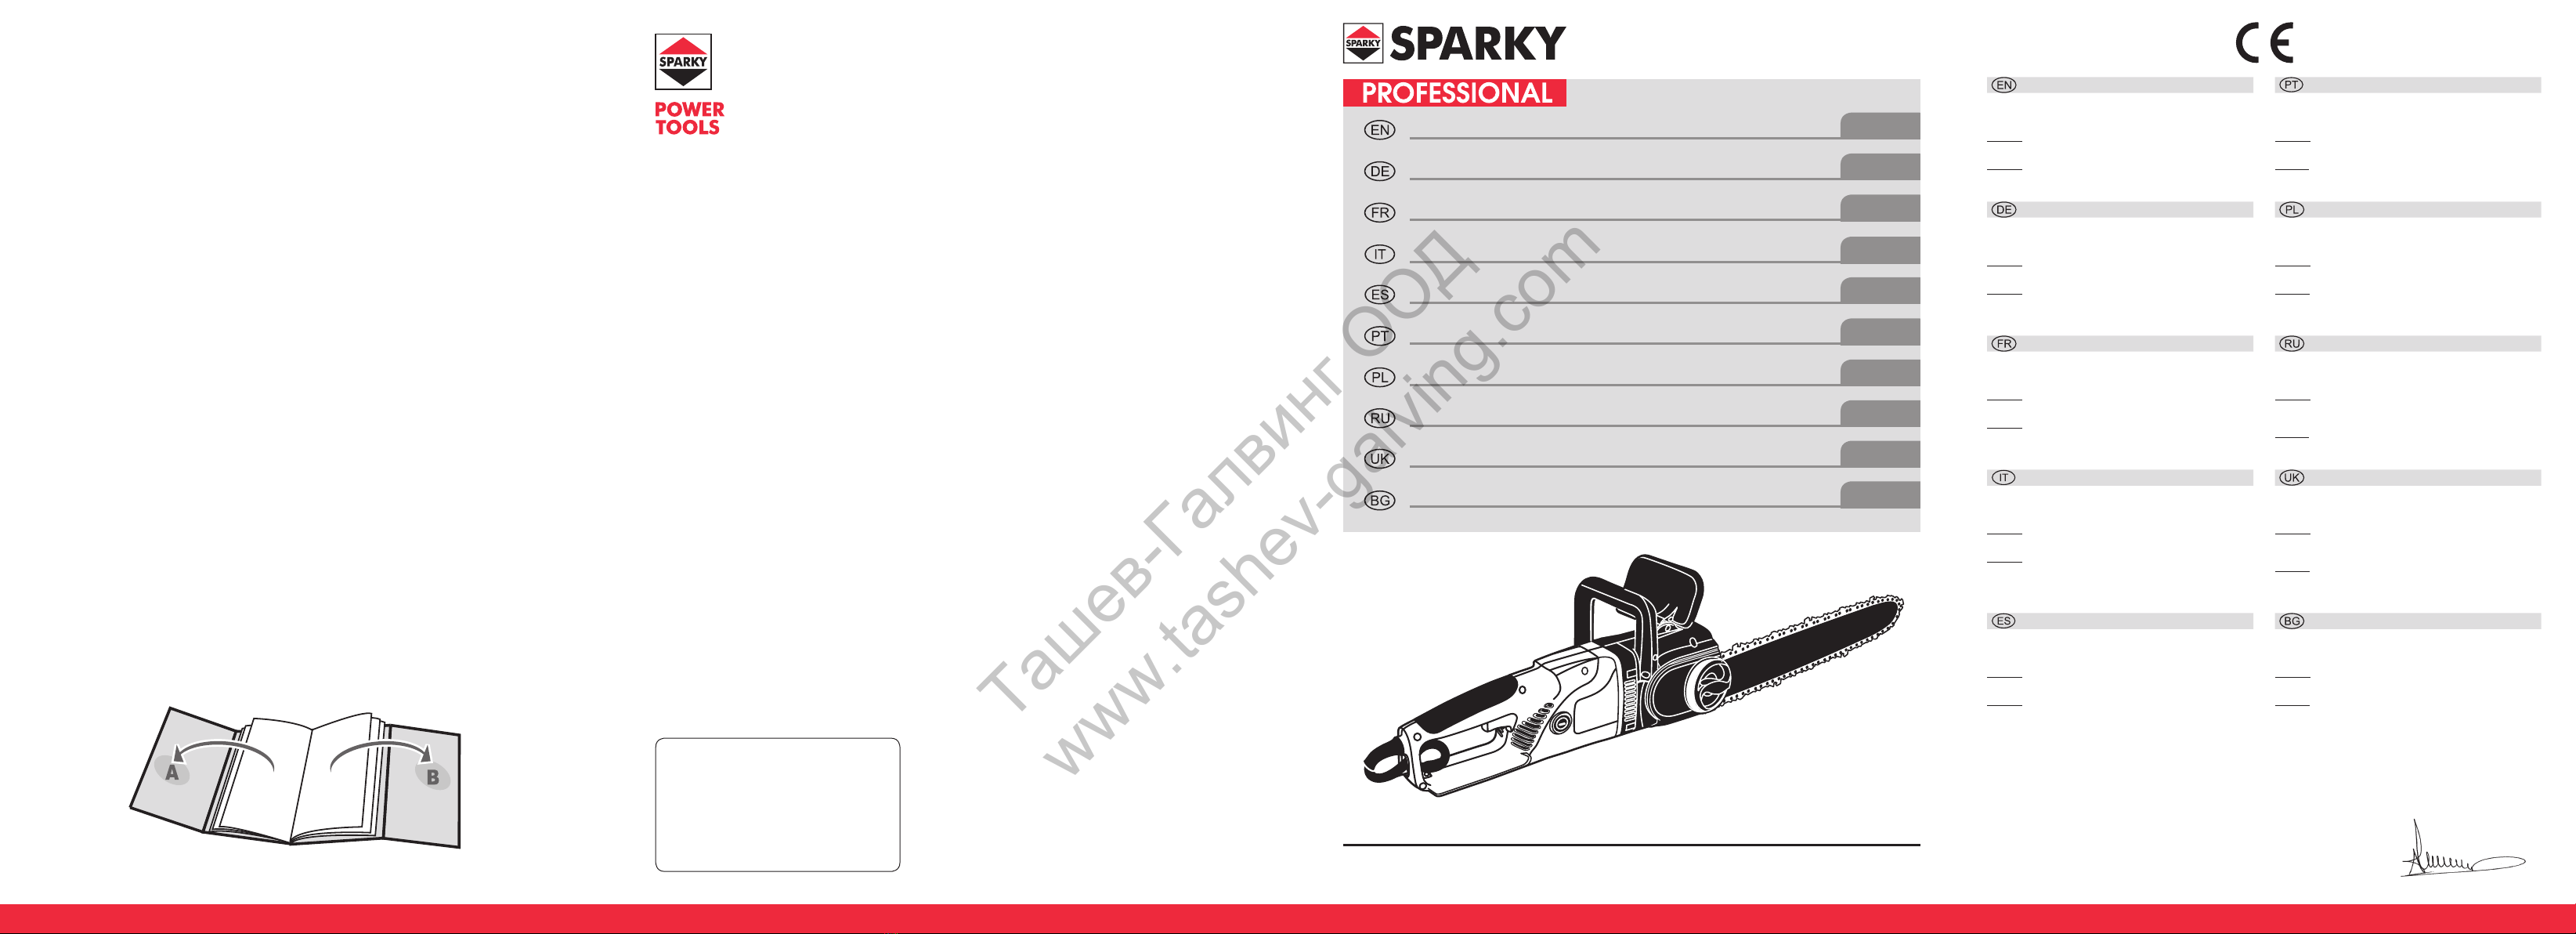
ELECTRIC CHAIN SAW
Original instructions
29 – 44
TRONÇONNEUSE ELECTRIQUE
Notice originale
103 – 118
ЭЛЕКТРИЧЕСКАЯ ЦЕПНАЯ ПИЛА
Оригинальная инструкция по эксплуатации 119 – 132
ЕЛЕКТРИЧНА ЛАНЦЮГОВА ПИЛКА
Оригінальна інструкція з експлуатації 133 – 148
ЕЛЕКТРИЧЕСКИ ВЕРИЖЕН ТРИОН
Оригинална инструкция за използване
14 – 28
ELEKTROKETTENSÄGE
Originalbetriebsanleitung
89 – 102
ELEKTRYCZNA PILARKA ŁAŃCUCHOWA
Instrukcją oryginalną
45 – 58
ELETTROSEGA
Istruzioni originali
74 – 88
ELECTROSERRA
Instrução original para o uso
59 – 73
SIERRA DE CADENA ELÉCTRICA
Instrucciones de uso originales
© 2012 SPARKY 1204R01
Manufacturer
SPARKY Power Tools GmbH
Leipziger Str. 20
10117 Berlin, GERMANY
Signature of authorized person
A. Ivanov
Technical director of SPARKY ELTOS AG20.03.2012
DECLARATION OF CONFORMITY
We declare under our sole responsibility that this product fulls all the relevant provisions of the
following directives and the harmonized standards:
2006/42/EC; 2004/108/EC; 2000/14/EC amended by 2005/88/EC; EN 60745-1; EN 60745-2-13;
EN 55014-1; EN 55014-2; EN 61000-3-2; EN 61000-3-11
2006/42/EC: Conformity assessment procedure according to Annex IX.
Certicate №: BM 50170194 0003. Notied body: 0197 TÜV Reinland Product Safety GmbH,
Am Grauen Stein, D-51105 Köln, Germany
2000/14/EC: Conformity assessment procedure according to Annex V. Equipment category: 6
Measured sound power level on an equipment representative: 103dB (A
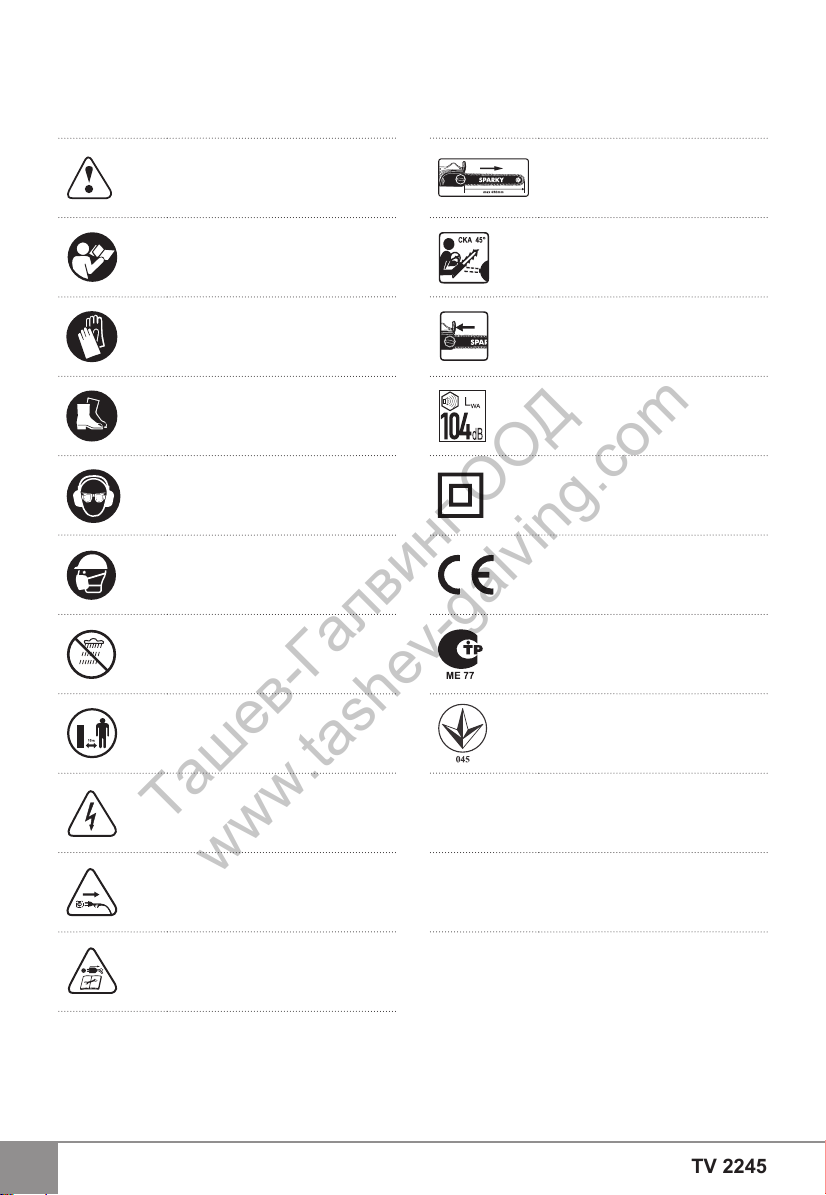
Guaranteed sound power level for this equipment - LWA does not exceed 104dB (A)
Technical le is stored at SPARKY ELTOS AG, Koubrat Str. 9, 5500 Lovetch, Bulgaria.
KONFORMITÄTSERKLÄRUNG
Hiermit versichern wir unsere persönliche Haftung, dass dieses Erzeugnis allen einschlägigen
Bestimmungen folgender Richtlinien und entsprechender harmonisierten Standards entspricht:
2006/42/EC; 2004/108/EC; 2000/14/EC (2005/88/EC); EN 60745-1; EN 60745-2-13;
EN 55014-1; EN 55014-2; EN 61000-3-2; EN 61000-3-11
2006/42/EC: Bewertungsverfahren der Konformität gemäß Anhang IX.
Zertikat №: BM 50170194 0003. Zertizierungsstelle: 0197 TÜV Reinland Product Safety
GmbH, Am Grauen Stein, D-51105 Köln, Germany
2000/14/EC: Bewertungsverfahren der Konformität gemäß Anhang V. Produktkategorie: 6
Der bewertete Schalleistungspegel eines Musters ist: 103dB (A
Der garantierte Schalleistungspegel LWA des Produkts übersteigt nicht 104dB (A)
Die technischen Unterlagen werden bei SPARKY ELTOS AG, Kubrat Str.9, 5500 Lovetch,
Bulgarien, aufbewahrt.
DECLARATION DE CONFORMITE
Nous déclarons sous notre responsabilité que ce produit satisfait à l’ensemble des dispositions
pertinentes de la présente directives, respectivement aux normes harmonisées:
2006/42/EC; 2004/108/EC; 2000/14/EC(2005/88/EC); EN 60745-1; EN 60745-2-13; EN 55014-1;
EN 55014-2; EN 61000-3-2; EN 61000-3-11
2006/42/EC: Procédures d’évaluation de la conformité conformément à l’annexe IX.
Certicat №: BM 50170194 0003. Organe notié: 0197 TÜV Reinland Product Safety GmbH,
Am Grauen Stein, D-51105 Köln, Germany
2000/14/EC: Procédures d’évaluation de la conformité conformément à l’annexe V. Catégorie
des produits : 6
Niveau mesuré de la puissance sonore de l’échantillon représentatif: 103dB (A
Niveau garanti de la puissance sonore de l’échantillon représentatif: 104dB (A)
Le dossier technique est conservé par SPARKY ELTOS AD, 9, rue Kubrat, Lovech, Bulgarie.
DICHIARAZIONE DI CONFORMITÀ
Noi dichiariamo sotto la nostra personale responsabilità, che questo prodotto è in conformità a
tutte le disposizioni pertinenti della presente direttive e norme armonizzate:
2006/42/EC; 2004/108/EC; 2000/14/EC(2005/88/EC); EN 60745-1; EN 60745-2-13;
EN 55014-1; EN 55014-2; EN 61000-3-2; EN 61000-3-11
2006/42/EC: Procedimento di valutazione della conformità secondo appendice IX.
Certicato №: BM 50170194 0003. Organo noticato: 0197 TÜV Reinland Product Safety
GmbH, Am Grauen Stein, D-51105 Köln, Germany
2000/14/EC: Procedimento di valutazione della conformità secondo appendice V. Categoria di
prodotto: 6
Livello di potenza sonora ponderata di un campione rappresentativo: 103dB (A
Livello garantito di potenza sonora del prodotto - LWA non supera i 104dB (A)
Il fascicolo tecnico viene custodito presso la SPARKY ELTOS, 5500 Lovech, via Kubrat n. 9,
Bulgaria
DECLARACIÓN DE CONFORMIDAD
Declaramos bajo nuestra exclusiva responsabilidad que este producto está conforme con
todas las disposiciones aplicables de la presente directrices aplicables y las correspondientes
normas armonizadas: 2006/42/EC; 2004/108/EC; 2000/14/EC (2005/88/EC); EN 60745-1;
EN 60745-2-13; EN 55014-1; EN 55014-2; EN 61000-3-2; EN 61000-3-11
2006/42/EC: Procedimiento para evaluación de la conformidad según anexo IX.
Certicado №: BM 50170194 0003. Organismo noticado: 0197 TÜV Reinland Product Safety
GmbH, Am Grauen Stein, D-51105 Köln, Germany
2000/14/EC: Procedimiento para evaluación de la conformidad según anexo V. Categoría de
producto: 6
Nivel de potencia acústica medido del tipo de una sola máquina representativa de su tipo: 103dB (A)
Nivel de potencia acústica garantizado de la máquina: LWA no supera 104dB (A)
El expediente técnico está archivado en SPARKY ELTOS SA, C/ Kubrat, 9, 5500 Lovech,
Bulgaria.
DECLARAÇÄO DE CONFORMIDADE
Declaramos assumindo a nossa responsabilidade pessoal que este produto está conforme
com todas as disposições relevantes da presente directrizes aplicáveis e respectivos
estandartes harmonizados: 2006/42/EC; 2004/108/EC; 2000/14/EC (2005/88/EC); EN 60745-1;
EN 60745-2-13; EN 55014-1; EN 55014-2; EN 61000-3-2; EN 61000-3-11
2006/42/EC: Procedimento de avaliação em conformidade com o Anexo IX
Certicado №: BM 50170194 0003. Órgão noticado: 0197 TÜV Reinland Product Safety
GmbH, Am Grauen Stein, D-51105 Köln, Germany
2000/14/EC: Procedimento de avaliação em conformidade com o Anexo V. Categoria do produto: 6
Nível determinado de potência sonora de exemplar representativo: 103dB (A)
Nível garantido de potência Sonora do produto - LWA não ultrapassa 104dB (A)
O expediente técnico ca guardado na SPARKY ELTOS SA, rua Kubrat, 9, 5500 Lovech, Bulgária
DEKLARACJA ZGODNOŚCI
Niniejszym deklarujemy naszą osobistą odpowiedzialnością, że ten produkt spełnia wszystkie
odpowiednie postanowienia następujących dyrektyw i harmonizowanych standardów:
2006/42/EC; 2004/108/EC; 2000/14/EC (2005/88/EC); EN 60745-1; EN 60745-2-13;
EN 55014-1; EN 55014-2; EN 61000-3-2; EN 61000-3-11
2006/42/EC: Sposób oceny zgodności wg załącznika IX. Certykat №: BM 50170194 0003.
Jednostka notykowana: 0197 TÜV Reinland Product Safety GmbH, Am Grauen Stein,
D-51105 Köln, Germany
2000/14/EC: Sposób oceny zgodności wg załącznika V. Kategoria produktów: 6
Zmierzony poziom mocy akustycznej dla urządzenia reprezentacyjnego dla tego typu: 103dB (A
Gwarantowany poziom mocy akustycznej LWA nie przekracza 104dB (A)
Teczka techniczna przechowywana jest w SPARKY ELTOS AG, Kubrat Str.9, 5500 Lovetch,
Bułgaria
ДЕКЛАРАЦИЯ О СООТВЕТСТВИИ
Мы заявляем со всей ответственностью, что данный продукт полностью соответствует
всем соответствующим требованиям действующих директив и гармонизированных
стандартов: 2006/42/EC; 2004/108/EC; 2000/14/EC(2005/88/EC); EN 60745-1;
EN 60745-2-13; EN 55014-1; EN 55014-2; EN 61000-3-2; EN 61000-3-11
2006/42/EC: Процедура оценки соответствия согласно приложения IX,
Сертификат №: BM 50170194 0003.
Нотифицированный орган: 0197 TÜV Reinland Product Safety GmbH, Am Grauen Stein,
D-51105 Köln, Germany
2000/14/EC: Процедура оценки соответствия согласно приложения V. Категория продукта: 6
Замеренный уровень звуковой мощности представленного образца: 103dB (A
Гарантированный уровень звуковой мощности изделия - LWA не превышает 104dB (A)
Техническое досье хранится в СПАРКИ ЕЛТОС АД, ул. Кубрат №9, 5500 Ловеч, Болгария.
ДЕКЛАРАЦИЯ ЗА СЪОТВЕТСТВИЕ
Ми заявляємо під свою власну відповідальність, що даний продукт відповідає всім діючим
вимогам директив і гармонізованих стандартів:
2006/42/EC; 2004/108/EC; 2000/14/EC (2005/88/EC); EN 60745-1; EN 60745-2-13;
EN 55014-1; EN 55014-2; EN 61000-3-2; EN 61000-3-11
2006/42/EC: Процедура оцінки відповідності згідно з Додатком IX,
Свідоцтво №: BM 50170194 0003.
Повноважний орган: 0197 TÜV Reinland Product Safety GmbH, Am Grauen Stein,
D-51105 Köln, Germany
2000/14/EC: Процедура оцінки відповідності згідно з додатком V. Категорія продукту: 6
Виміряний рівень звукової потужності репрезентативної вибірки: 103dB (A)
Гарантований рівень звукової потужності продукту LWA не перевищує: 104dB (A)
Технічне досьє зберігається в СПАРКИ ЕЛТОС АД, ул. Кубрат № 9, 5500 Ловеч,
Болгарія.
ДЕКЛАРАЦИЯ ЗА СЪОТВЕТСТВИЕ
Ние декларираме на своя лична отговорност, че това изделие отговаря на всички
приложими изисквания на следните директиви и хармонизирани стандарти: 2006/42/EC;
2004/108/EC; 2000/14/EC изменена с 2005/88/EC; EN 60745-1; EN 60745-2-13; EN 55014-1;
EN 55014-2; EN 61000-3-2; EN 61000-3-11
2006/42/EC: Процедура за оценяване на съответствието съгласно Приложение IX,
Сертификат №: BM 50170194 0003. Нотифициран орган: 0197 TÜV Reinland Product Safety
GmbH, Am Grauen Stein, D-51105 Köln, Germany
2000/14/EC: Процедура за оценяване на съответствието съгласно Приложение V.
Категория на изделието: 6
Измерено ниво на звукова мощност на представителен образец: 103dB (A)
Гарантираното ниво на звукова мощност на изделието LWA не надвишава: 104dB (A)
Техническото досие се съхранява в СПАРКИ ЕЛТОС АД, ул. Кубрат №9, 5500 Ловеч,
България.
BLACK PANTONE185
BLACK PANTONE185
2200 W TV 2245
Ташев-Галвинг ООД
www.tashev-galving.com