Spoused SP920 User manual

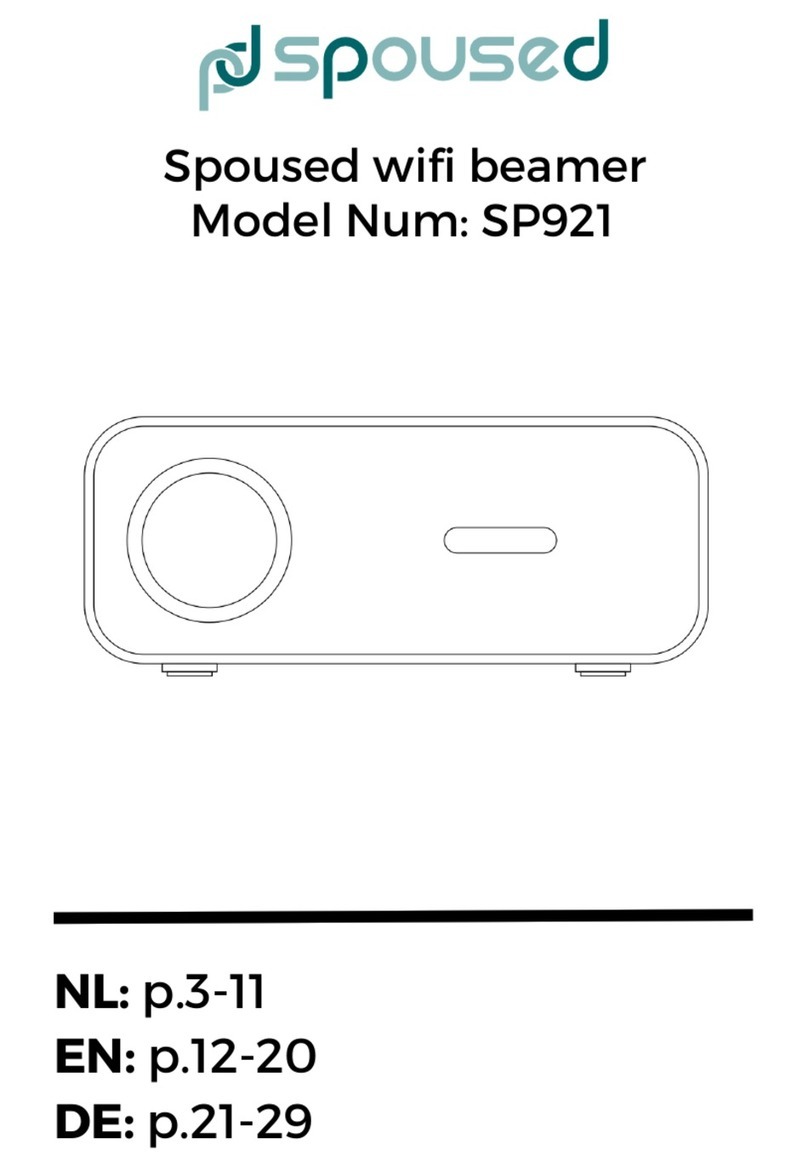
Spoused wifi beamer
Model Num: SP920
NL: p.3-11
EN: p.12-20
DE: p.21-29

Inhoud
Spoused wifi beamer
Waarschuwingen
Product details
Projectiegrootte
Correctie
Source bepalen
Gebruiksaanwijzing
1.
2.
3.
4.
5.
6.
Warnings
Product details
Projection distance
Correction
Source
User manual
1.
2.
3.
4.
5.
6.
Warnungen
Produktangaben
Projektionsgröße
Korrektur
Source
Gebrauchsanweisung
1.
2.
3.
4.
5.
6.
EN
DE

3.
Waarschuwingen
Veiligheidsmaatregelen voor gebruik
1. Lees de instructie voor gebruik.
2. Beamer buiten bereik van water houden.
3. Wanneer de beamer niet wordt gebruikt wordt aanbevolen
de beamer uit het stopcontact te halen.
4. Als de stroomkabel beschadigd is dient de beamer niet meer
gebruikt te worden. Neem contact op met de retailer om te
kijken of reparatie mogelijk is.
5. Hou de ventilatiegaten ten alle tijden vrij van blokkades. Hou
ten alle tijden 10CM afstand aan om oververhitting te
voorkomen.
6. Voorkom dat de snoer heet wordt.
7. Controleer voor gebruik of het stopcontact de juiste voltage
heeft.
8. Plaats niets op de beamer.
9. Buiten bereik van kinderen houden.
10. Voorkom dat de motor, snoer of stekker nat wordt.
11. De beamer is gemaakt om gebruikt te worden onder
normale huishoudelijke omstandigheden.

2
1
3
7
4
5 8
Focus
4.
Product details
Product onderdelen
1Bediening
2Correctie
3
4Handmatig
6Source
7Indicatielamp
8Aan/uit
6
5Terug

2
1
3
4
5
Speaker
5.
Product details
Product onderdelen
1Support base
2Tripod
3
4Lens
5IR sensor
7

2
1
3 4 5
HDMI 3
6.
Product details
Product onderdelen
1Netstroom
2HDMI 1
3
43.5MM Jack
5AV poort
6 7
6USB 1
7USB 2

2
1
3
4
Bediening
Terug
1
2
3
4
5
6
7
8
9
Let op: zorg dat het ventilatierooster niet geblokkeerd wordt!
Power
Analoog
7.
Product details
Product onderdelen
1VGA Poort
2IR sensor
3
4Ventilatie
1
2
3
4Source
5Volume -
6Mute
Exit
9Enter
10 Menu
11
12 Volume +
10
11
12
Volgende
7
8Pauzeren
Tip: richt de afstandsbediening
altijd op de infrarood sensor.

8.
Projectiegrootte
Voor gebruik
Aspect ratio 16:9
Afstand
50 inch
72 inch
100 inch
120 inch
16:9
1.52m
2.15m
2.93m
3.48m
Hoe ver plaats je de beamer afhankelijk van de schermgrootte

1. Plaats de beamer verticaal op een vlakke ondergrond. De
beamer dient recht naar het scherm te wijzen.
2. Zorg dat het licht recht op het scherm valt.
9.
Correctie
Voor gebruik
Keystone correctie
Handmatige focus
1. Als het beeld naar achter of voor wordt geprojecteerd kan dit
worden opgelost met de keystone correctie. Draai de keystone
correctie zo dat deze lijkt op het middelste plaatje rechts.
2. Als dit niet werkt verlaag dan de positie van de beamer.

10.
Correctie
Voor gebruik
1. Met de handmatige focus kun je het beeld scherp stellen.
Draai aan deze knop tot het beeld het scherpste is.
2. Het is normaal dat de randen van het beeld iets minder
scherp zijn.
1. Verbind de beamer op de gewenste manier, kies uit USB,
HDMI, AV, VGA.
2. Als de gewenste source is aangesloten druk je op source. Dit
kan zowel op de afstandsbediening als het bedieningspaneel.
3. Indien gewenst kunnen er ook stereospeakers worden
verbonden met de beamer. Dit kan met de 3.5MM jack opening.
Source bepalen

11.
Specificaties
Productinformatie
Gebruiksaanwijzing
1. Sluit de beamer aan op de netstroom
2. Plaats de beamer op een geschikte hoogte en zorg daarbij
dat de ventilatiegaten niet geblokkeerd worden.
3. Richt de beamer recht op het projectiescherm.
4. Maak het beeld, indien nodig, recht met keystone correctie.
5. Stel het scherm scherp met de handmatige focus.
6. Sluit de gewenste source aan.
7. Sluit indien gewenst speakers aan.
8. Kies de aangesloten source en speel het gewenste beeld af.
Model nummer:
SP920
Volt:
220-240V
Frequentie:
50/60Hz
Merk:
Spoused

12.
Warnings
Safety precautions
1. Read the instructions before use.
2. Keep projector out of reach of water.
3. When not in use, it is recommended to unplug the projector
from the mains.
4. If the power cable is damaged, the projector should no longer
be used. Contact the retailer to see if repair is possible.
5. Keep the ventilation holes clear of obstructions at all times.
Keep 10CM distance at all times to avoid overheating.
6. Prevent the cord from getting hot.
7. Before use, check that the socket has the correct voltage.
8. Do not place anything on top of the projector.
9. Keep out of reach of children.
10. Avoid getting the motor, cord or plug wet.
11. The projector is made to be used under normal household
conditions.

2
1
3
7
4
5 8
Focus
13.
Product details
Product components
1Controls
2Correction
3
4Manual focus
6Source
7Indication light
8On/off
6
5Return

2
1
3
4
5
Speaker
14.
Product details
Product components
1Support base
2Tripod hole
3
4Lens
5IR sensor
7

2
1
3 4 5
HDMI 2
15.
Product details
Product components
1Power
2HDMI 1
3
43.5MM Jack
5AV port
6 7
6USB 1
7USB 2

2
1
3
4
Arrow keys
Backwards
1
2
3
4
5
6
7
8
9
Caution: make sure the ventilation is free and can ventilate.
Power
Analog
16.
Product details
Product components
1VGA Port
2IR sensor
3
4Ventilation
1
2
3
4Source
5Volume -
6Mute
Exit
9Enter
10 Menu
11
12 Volume +
10
11
12
Forward
7
8Pause
Tip: always aim at the infrared
sensors while using the remote.

17.
Projection size
Aspect ratio 16:9
Distance
50 inch
72 inch
100 inch
120 inch
16:9
1.52m
2.15m
2.93m
3.48m
How far you place the projector depending on the screen size

1. Place the projector vertically on a flat surface. The projector
should point straight at the screen.
2. Make sure the light falls straight onto the screen.
18.
Correction
Before use
Keystone correction
Manual focus
1. If the image is projected tilted you can solve this with the
keystone correction. Turn the keystone correction so that it
resembles the centre picture on the right.
2. If this does not work, lower the position of the projector.

19.
Correction
For the optimal brightness
1. Manual focus allows you to focus the image. Turn this knob
until the image is at its sharpest.
2. It is normal for the edges of the image to be slightly out of
focus.
1. Connect the projector in the desired way, choose from USB,
HDMI, AV, VGA.
2. When the desired source is connected press source. This can
be done either on the remote control or the control panel.
3. If desired, stereo speakers can also be connected to the
projector. This can be done with the 3.5MM jack opening.
Source

20.
Specifications
Productinformation
User manual
1. Connect the projector to the mains
2. Place the projector at a suitable height, taking care not to
block the ventilation holes.
3. Aim the projector straight at the projection screen.
4. If necessary, straighten the image with keystone correction.
5. Focus the screen with manual focus.
6. Connect the desired source.
7. Connect speakers if required.
8. Select the connected source and play the desired picture.
Model number:
SP920
Voltage:
220-240V
Frequence:
50/60Hz
Brand:
Spoused
Table of contents
Languages:
Other Spoused Projector manuals
