manuals.online logo
Brands
  1. Home
  2. •
  3. Brands
  4. •
  5. Status Instruments
  6. •
  7. Industrial Electrical
  8. •
  9. Status Instruments SEM1000 User manual

Status Instruments SEM1000 User manual

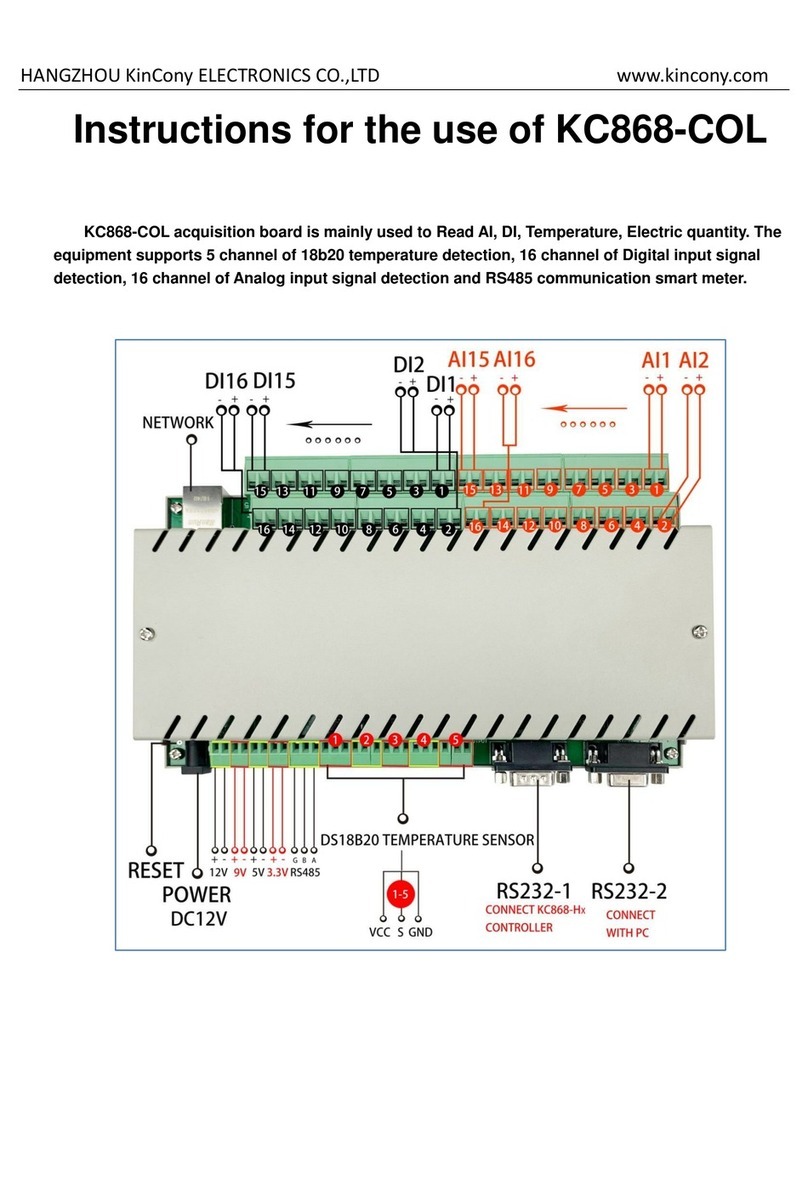
D2543-01-02 CN5219 SEM1000 Web User Guide
(4 to 20) mA Loop Isolator
Status Instruments Ltd, Status Business Park, Tewkesbury, Glos. GL20 8FD
Tel: +44 (0)1684 296818 Fax: +44 (0)1684 293746
Email: [email protected] Web: www.status.co.uk
SECTION
CONTENTS PAGE NO.
1.0 DESCRIPTION 1
2.0 SPECIFICATION
1
3.0 INSTALLATION 2
4.0 OPERATION 3
5.0 CALIBRATION 3
6.0 MECHANICAL 3
SEM1000
INDEX
D2543-01-02 CN5219 SEM1000 Web User Guide
The SEM1000 isolator is designed to be series connected into a new or existing (4 to 20) mA current
loop and provide an isolated (4 to 20) mA signal capable of driving into 300 R. The output is powered
from the input loop.
Type Current input 2 wire loop powered
Range (4 to 20) mA (30 mA maximum)
Protection Reverse connection
Voltage Drop 5.5 V + O/P V Drop (O/P V Drop = O/P load x 0.02)
Max Loop Supply 35 V
Type (4 to 20) mA source (Powered from input)
Load (0 to 300) Ω(Open circuit limits at approximately 15 V)
Isolation 500 VAC (flash tested @ 1 kV) (Isolation method, opto-
coupler/transformer)
Electrical Safety BS EN61010-1 Pollution Degree 2; Installation CAT II; CLASS I
Ambient (0 to 70) ºC; (10 to 95) % RH non condensing
Accuracy 0.05 % full range output
Stability 0.01 % / ºC
Response Time Less than 100 ms to reach 63 % of final value.
EMC Compliant with BS EN50081-1, BS EN50082-1
Connection Captive clamp screws
Cable Size Maximum 4 mm² solid/2.5 mm² stranded
Case Material Grey Polyamide
Flammability To UL94-VO VDE 0304 Part 3, Level IIIA
Dimensions (60 x 60 x 12.5) mm (67.5 mm above rail)
Mounting Snap on "Top Hat" rail (DIN EN 50022-35)
Adjustments Zero and Span Adjustment
Page 1
This unit must be housed within a suitable enclosure that will provide protection from the external
environment, ensuring that the stated temperature and humidity operating ranges are not exceeded. It
is good practice to mount the unit away from sources of electrical noise, such as switch gear and
transformers. The unit enclosure is designed to snap fit onto a standard "Top Hat" DIN rail. To
remove from rail, apply pressure at the bottom face at the back upwards towards the rail to release
the spring clip and tip away from the top. The unit may be mounted in any orientation and stacked
side by side along the rail.
Connections to the isolator are made via screw terminals. Wire protector plates are provided inside
each terminal. To maintain CE compliance twisted pair (screened) cables are recommended. It is also
good practice to ensure that all (4 to 20) mA loops are grounded at a single point in the loop. Before
installation, care must be taken to ensure enough voltage is available in the loop to drive the total loop
load. Refer to the specifications listed for the voltage drop. In the case of the SEM1000 the additional
voltage drop of the load connected in the isolated circuit, will be added to the loop drop of the isolator,
for example a SEM1000 isolator driving into a 250 Ωload will have a total loop drop of 10.5 V
maximum.
Refer to the SEM1000 series data sheet for further information on applications of this series of
isolators. Please note the isolation provided by this device is only suitable for providing isolation
between two process signals and therefore must not be used to provide isolation from hazardous
voltages, such as mains supplies.
Figure 1
Page 2
1.0 DESCRIPTION
2.0 SPECIFICATION
2.1
INPUT
2.2 OUTPUT
2. 3
GENERAL SPECIFICATION @ 20 °C
3.0 INSTALLATION
3.1 MECHANICAL
3.2 ELECTRICAL
SEM1000
ZERO
SPAN
OUT
IN
D2543-01-02 CN5219 SEM1000 Web User Guide
This isolator requires no user adjustment during commissioning. Minor adjustments can be made to
the calibration of the device by means of the two front panel accessible calibration potentiometers.
Incorrect connection in the loop will not damage the device as long as the specified maximum
currents/voltages are not exceeded. If the isolator fails to operate, check loop for bad connections.
Ensure enough voltage is available in the loop to power the isolator. In the unlikely event of the
isolator not working, it should be returned to the supplier for repair or replacement.
1. Connect a precision current calibrator to the input and a precision current meter to the
output of the device to be calibrated.*¹
2. Inject 4.000 mA ± 0.001 mA into the input and adjust ZERO potentiometer for 4.000 mA ±
0.001 mA output.*²
3. Inject 20.000 mA ± 0.001 mA into the input and adjust span potentiometer for 20.000 mA ±
0.001 mA output.*²
4. Repeat Steps 2 and 3 until both points are in calibration.
*Notes:
1. Current calibrator must be capable of driving the expected loop drop.
2. Please note that the above reading accuracies quoted in 2 and 3 are absolute values and
do not include test equipment tolerances.
Figure 2
Page 3
•
Smart In Head Temperature Transmitters
•
Din Rail Mounted Temperature Transmitters
•
Panel & Field Temperature Indicators
•
Temperature Probes
•
Trip Amplifiers
•
Signal Conditioners
•
And many other products
For further information on all products:
Status Instruments Ltd, Status Business Park, Tewkesbury, Glos. GL20 8FD
Tel: +44 (0)1684 296818 Fax: +44 (0)1684 293746
Email: sales@status.co.uk Web: www.status.co.uk
Page 4
4.0 OPERATION
6.0 MECHANICAL DETAIL
ALSO AVAILABLE:
5.0 CALIBRATION

Popular Industrial Electrical manuals by other brands

Murata GRM0335C1H8R2CA01 Series Reference sheet

Murata

Murata GRM0335C1H8R2CA01 Series Reference sheet

Murata GRM3195C1H102JA01 Series Reference sheet

Murata

Murata GRM3195C1H102JA01 Series Reference sheet

Murata GRT21BR60J335KE13 Series Reference sheet

Murata

Murata GRT21BR60J335KE13 Series Reference sheet

Greenheck AMD-42-TD Installation, operation and maintenance manual

Greenheck

Greenheck AMD-42-TD Installation, operation and maintenance manual

Bticino LN4572 manual

Bticino

Bticino LN4572 manual

3M Fibrlok 2525 instructions

3M

3M Fibrlok 2525 instructions

Murata GRM188R60J106KE47 Series Reference sheet

Murata

Murata GRM188R60J106KE47 Series Reference sheet

Murata GRM0335C1E8R9DA01 Series Reference sheet

Murata

Murata GRM0335C1E8R9DA01 Series Reference sheet

ABB TA0107L instruction manual

ABB

ABB TA0107L instruction manual

Eaton Memshield 3 Series Instruction leaflet

Eaton

Eaton Memshield 3 Series Instruction leaflet

Weidmüller PVNCM1I3S1F3V101TXPX10 operating instructions

Weidmüller

Weidmüller PVNCM1I3S1F3V101TXPX10 operating instructions

Murata GRM1885C1H7R8DA01 Series Reference sheet

Murata

Murata GRM1885C1H7R8DA01 Series Reference sheet

Festo DGSL operating instructions

Festo

Festo DGSL operating instructions

Murata GRM155R61E224KE01 Series Reference sheet

Murata

Murata GRM155R61E224KE01 Series Reference sheet

Murata GRM0335C1E1R5BA01 Series Reference sheet

Murata

Murata GRM0335C1E1R5BA01 Series Reference sheet

Max-Air Technology Max Electric EFS 550 Series Installation, operation and maintenance instructions

Max-Air Technology

Max-Air Technology Max Electric EFS 550 Series Installation, operation and maintenance instructions

Murata GRM188R71H393KA61 Series Reference sheet

Murata

Murata GRM188R71H393KA61 Series Reference sheet

LEGRAND 4 204 85 manual

LEGRAND

LEGRAND 4 204 85 manual

manuals.online logo
manuals.online logoBrands
  • About & Mission
  • Contact us
  • Privacy Policy
  • Terms and Conditions

Copyright 2025 Manuals.Online. All Rights Reserved.