Contents
2
1. Safety information
1.1 Warnings
1.2 Use restrictions
1.3 Power precautions
1.4 Precautions
2. Accessories List
3. Product
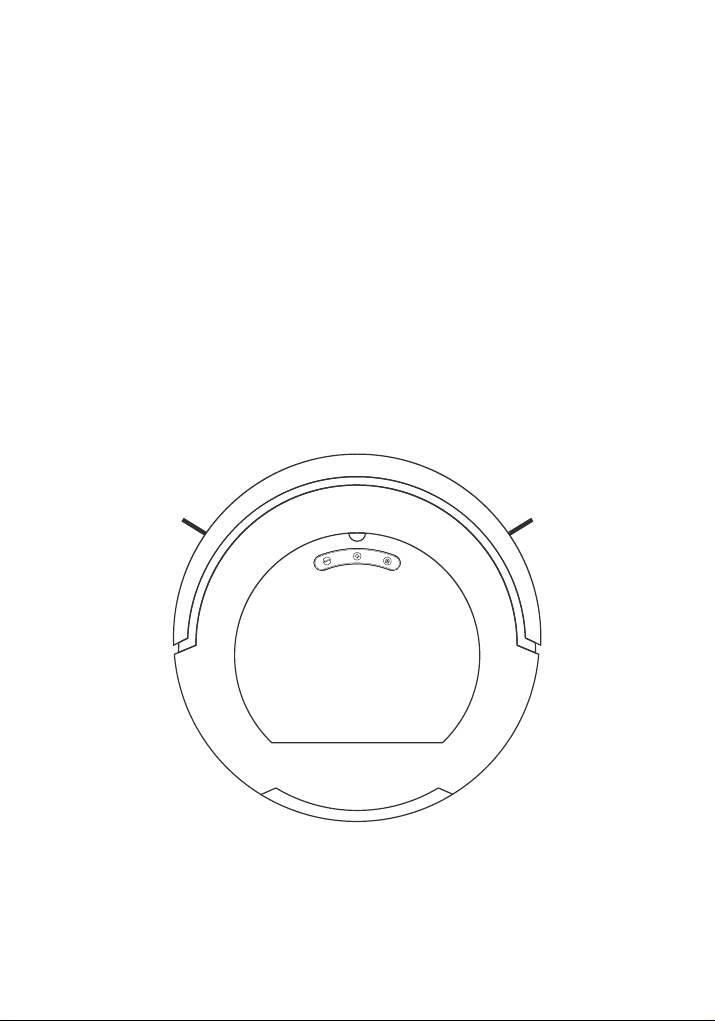
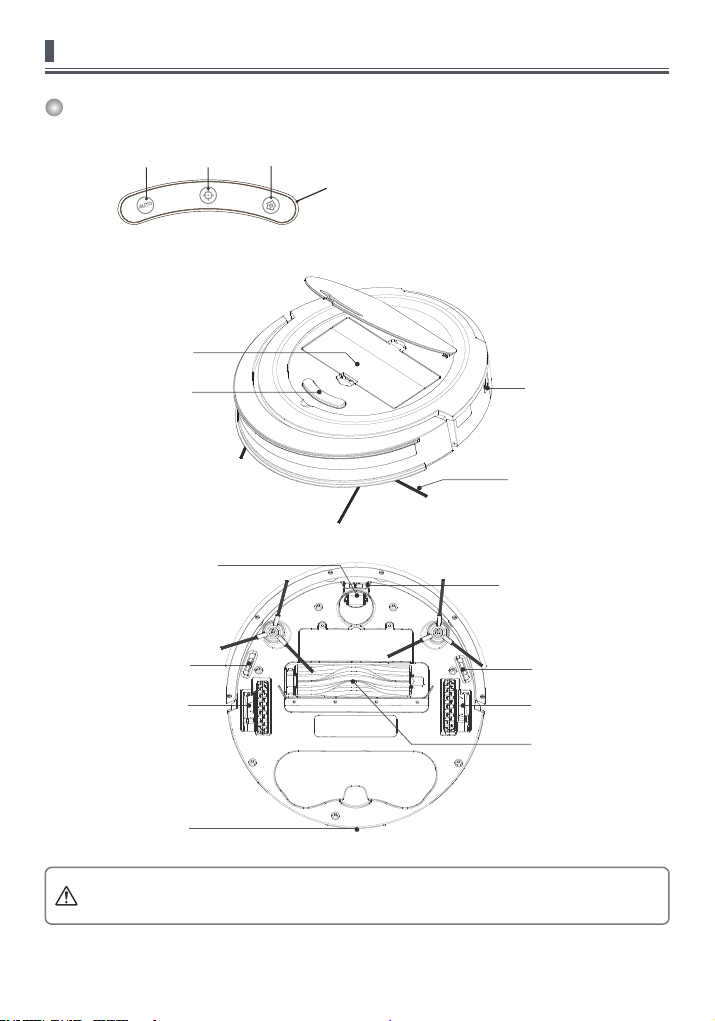
3.1 Robot
3.2 Charging base
3.3 Dust bin
3.4 Water tank(optional)
4. Operating
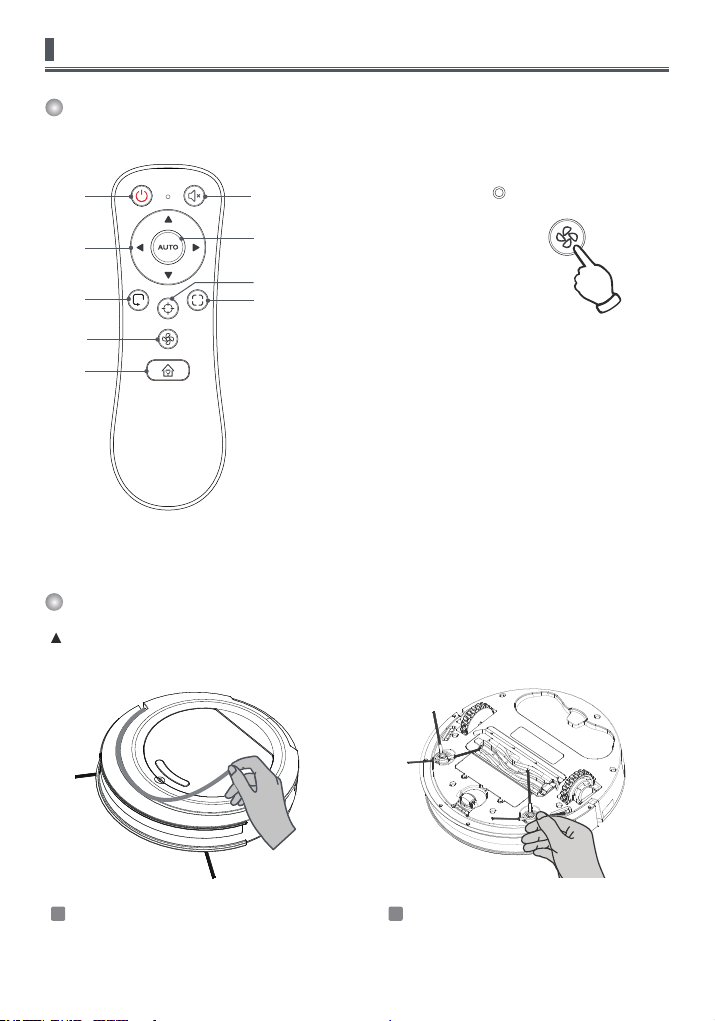
4.1 Remote control
4.3 Preparation before use
4.4 Power On / Off / Sleep mode
5. Function description
5.1 Auto cleaning
5.2 Random cleaning
5.3 Recharge
5.4 Spot cleaning
5.5 Edge cleaning
5.6 Mopping
5.7 Virtual wall
6. Maintenance
6.1 Main brush cleaning
6.2 Side brush cleaning
6.3 Universal wheel cleaning
6.4 Dust bin cleaning
6.5 Filter cleaning
7. Water tank and mop
8. Troubleshooting & Parameters
--------------------------------------------------- 3-5
---------------------------------------------------------- 3
------------------------------------------------------ 3
---------------------------------------------------- 4
-------------------------------------------------------- 5
------------------------------------------------------ 6
----------------------------------------------------------- 7-8
------------------------------------------------------------- 7
------------------------------------------------------- 8
------------------------------------------------------------8
--------------------------------------------------- 8
-------------------------------------------------------- 9-10
------------------------------------------------------ 9
------------------------------------------------- 9
-------------------------------------------- 10
----------------------------------------------- 11-13
------------------------------------------------------- 11
----------------------------------------------------- 11
---------------------------------------------------------- 12
------------------------------------------------------ 13
------------------------------------------------------ 13
---------------------------------------------------------- 13
-------------------------------------------------------- 13
----------------------------------------------------- 14-16
-------------------------------------------------- 14
-------------------------------------------------- 15
----------------------------------------------- 15
---------------------------------------------------- 16
------------------------------------------------------ 17
----------------------------------------------- 17-18
------------------------------------------ 19