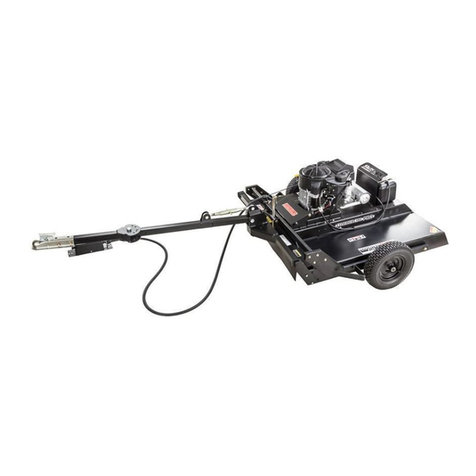
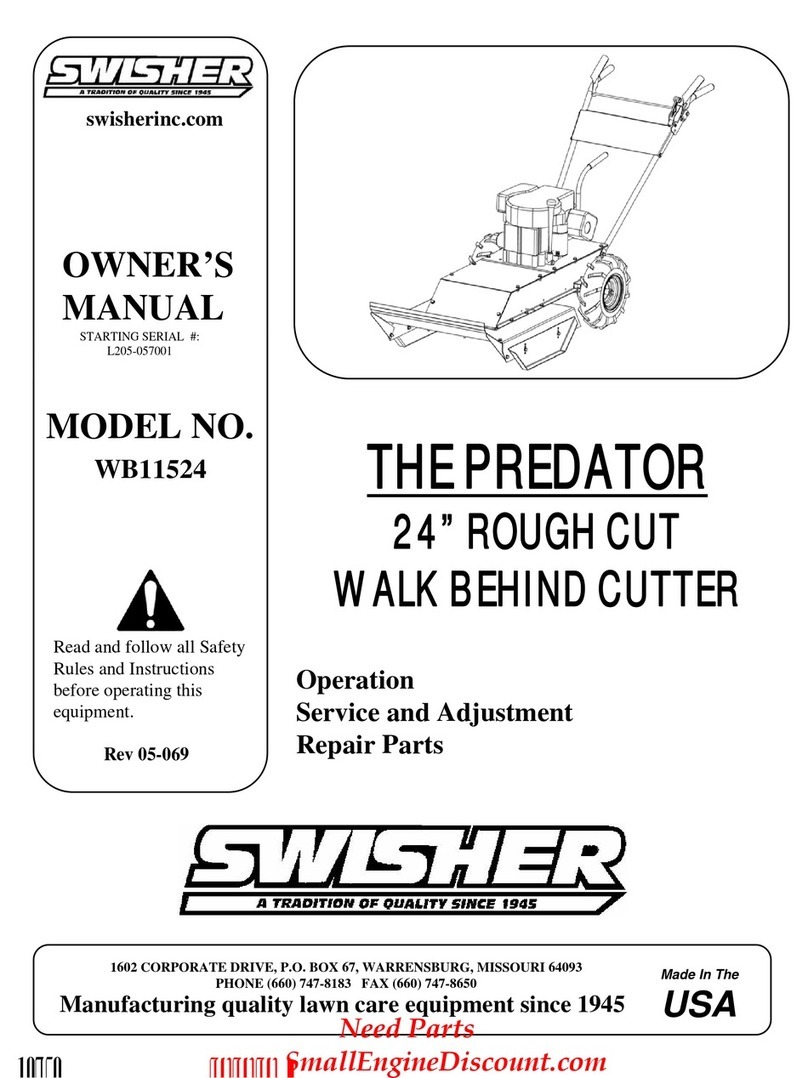
Swisher ZT2452A Operating instructions
Other Swisher Lawn Mower manuals
Swisher
Swisher Trim-Max STD4422HO User manual
Swisher
Swisher L116-336001 User manual

Swisher
Swisher ZT2760A User manual

Swisher
Swisher FC14560CL Use and care manual
Swisher
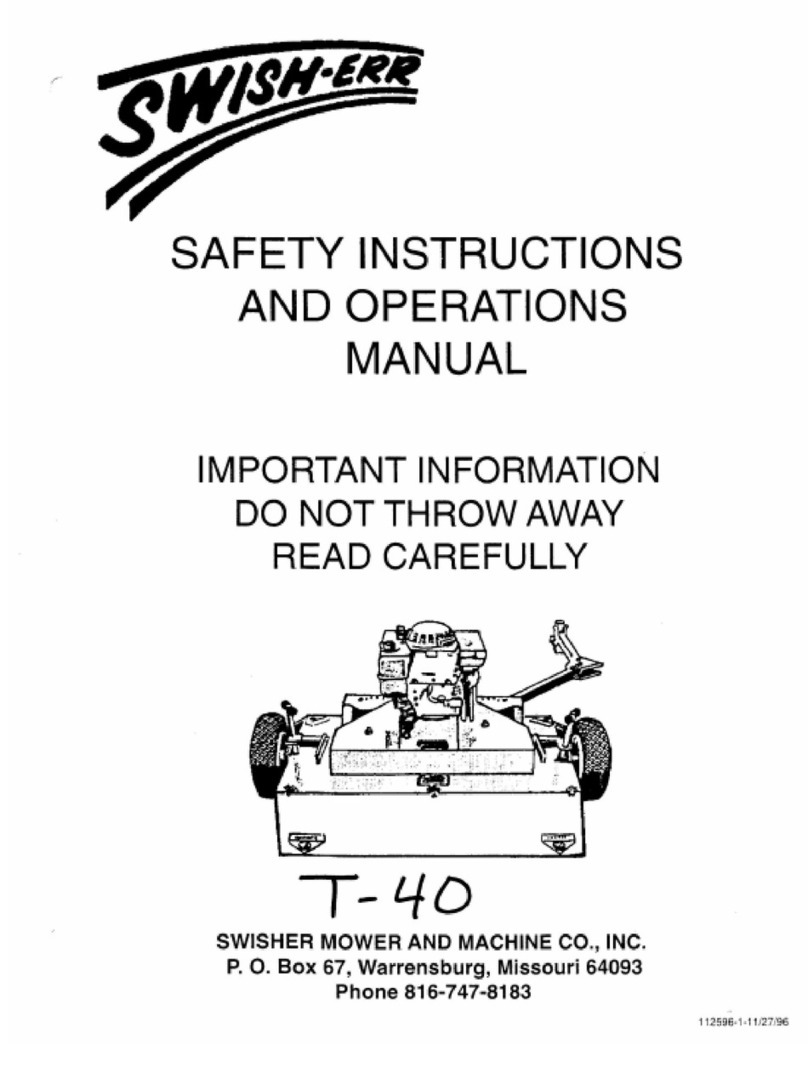
Swisher T-40 Operation and maintenance manual
Swisher
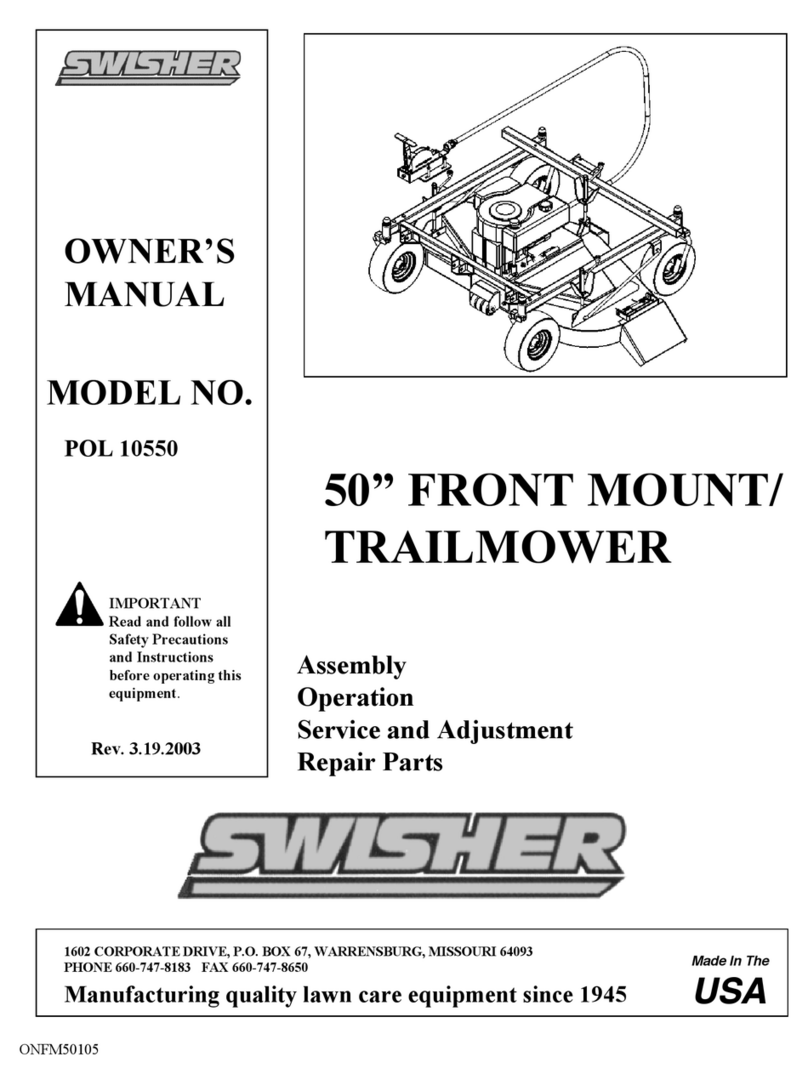
Swisher POL 10550 User manual
Swisher
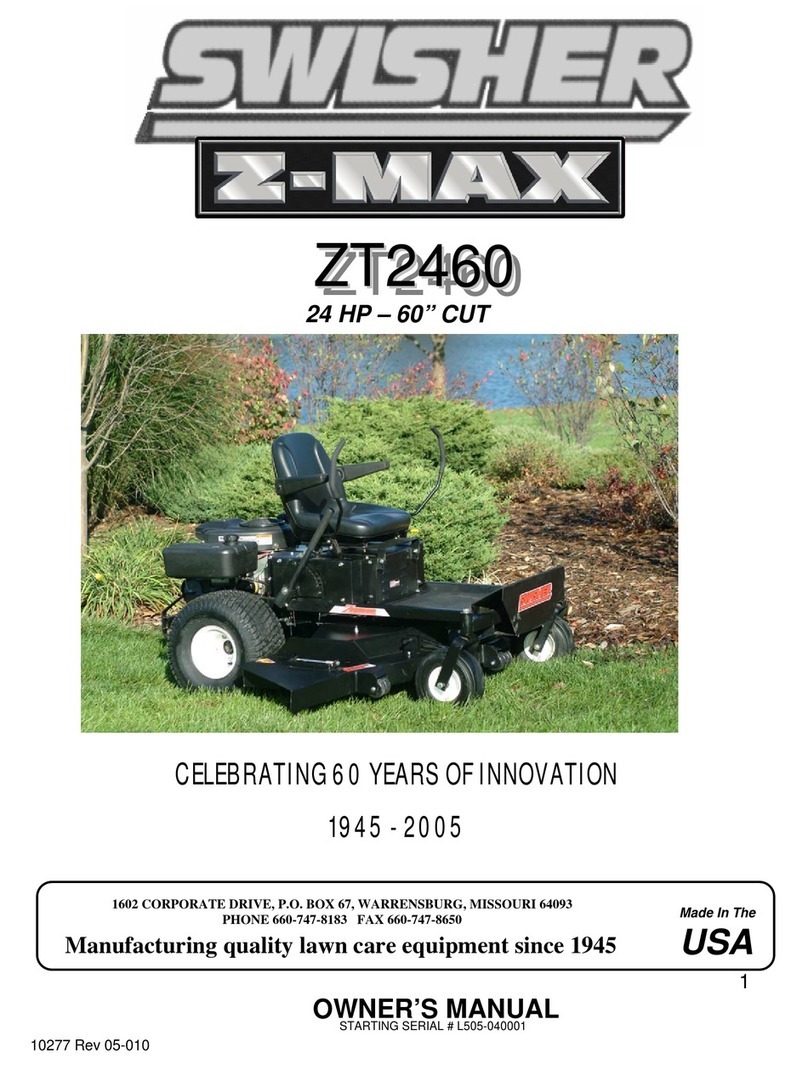
Swisher ZT2460 Z-MAX User manual

Swisher
Swisher ZT2454K User manual

Swisher
Swisher QUADBOSS QBT14560A User manual
Swisher
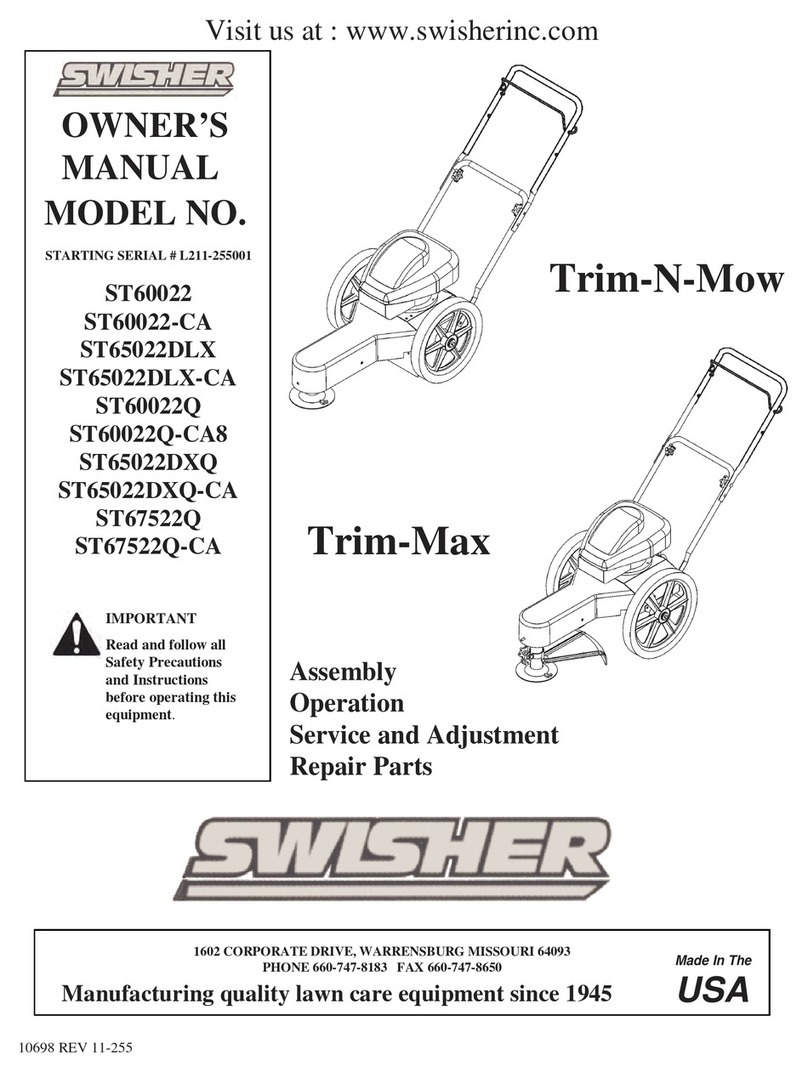
Swisher ST60022 User manual

Swisher
Swisher ST60022Q User manual
Swisher
Swisher QuadBoss QBRT10544 User manual
Swisher
Swisher T1360T User manual

Swisher
Swisher POL10544HD User manual

Swisher
Swisher WB942 User manual
Swisher
Swisher T6012V User manual
Swisher
Swisher ST67522CC User manual
Swisher
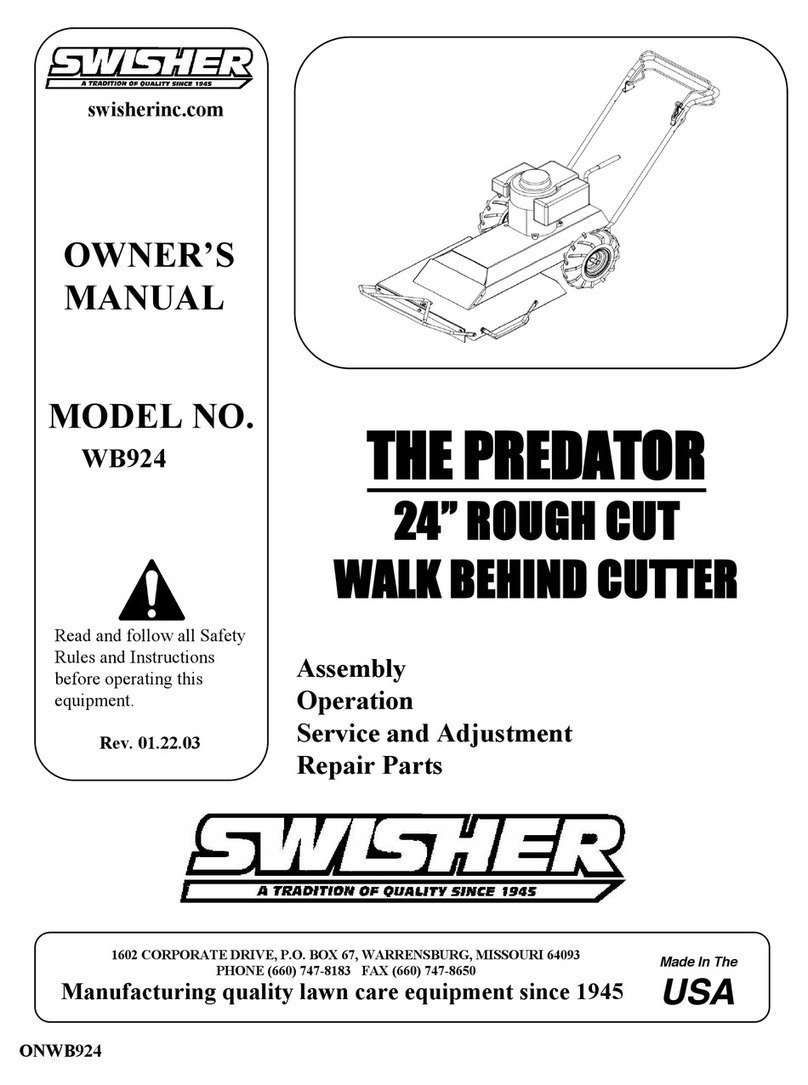
Swisher Predator WB924 User manual

Swisher
Swisher ZT2866A-CA User manual
Swisher
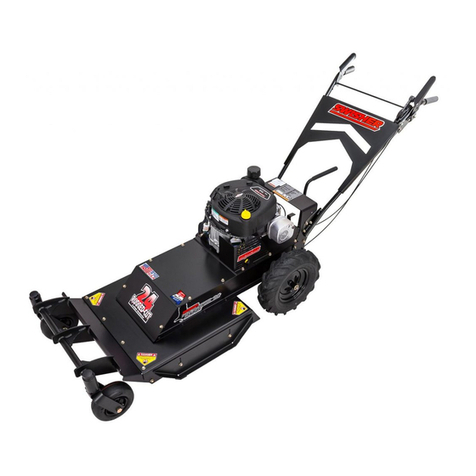
Swisher PREDATOR User manual
Popular Lawn Mower manuals by other brands

DEWEZE
DEWEZE ATM-725 Operation and service manual

Weed Eater
Weed Eater 180083 owner's manual

Husqvarna
Husqvarna Poulan Pro PP185A42 Operator's manual

Better Outdoor Products
Better Outdoor Products Quick Series Operator's manual

Cub Cadet
Cub Cadet 23HP Z-Force 60 Operator's and service manual

MTD
MTD 795, 792, 791, 790 Operator's manual
