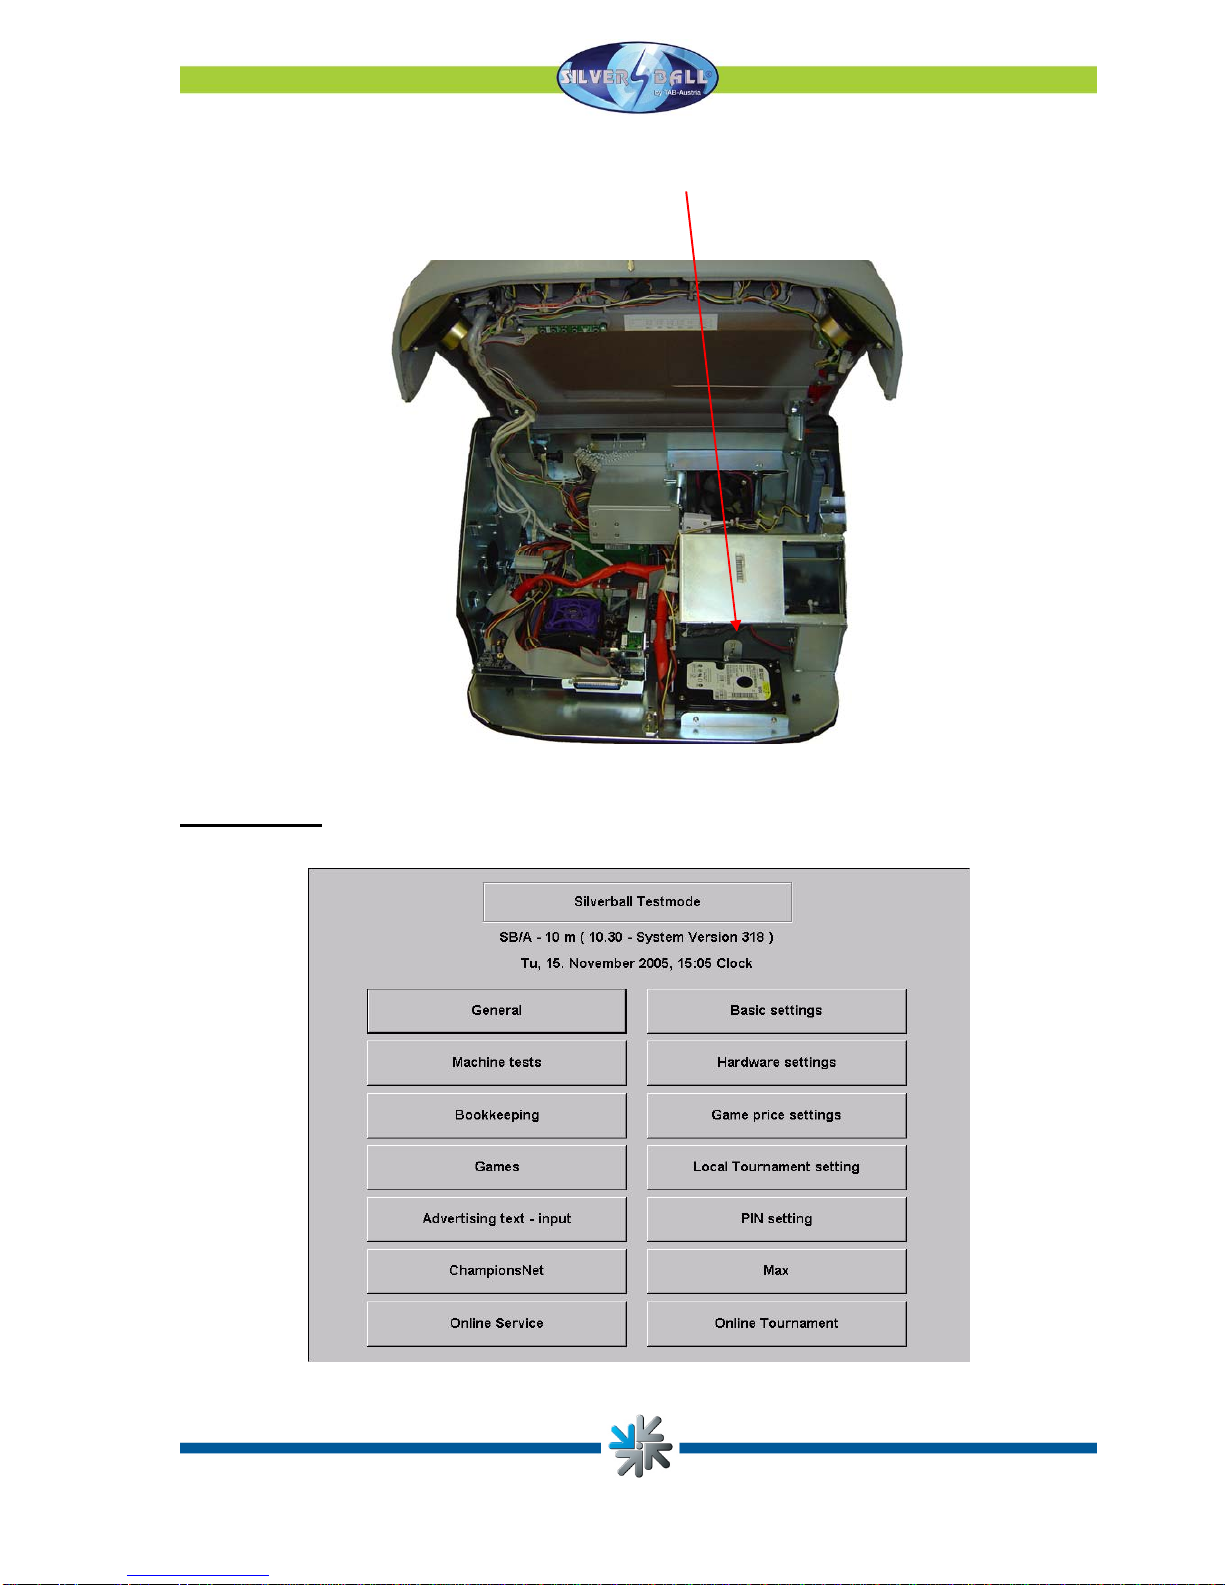
Tab Silverball Cosmo User manual

Manual


Thank you for choosing the
Silverball COSMO
from the many different entertainment machines on the market.
Please read the operating instructions carefully to ensure the satisfactory use of the
Silverball Cosmo.
Please keep this manual at hand so that you may refer to it whenever needed.
Our hotline is available for additional questions.
Call +43 / 7229 / 78040 – 250
Operating instructions Silverball Cosmo machine manual
(MH / SM 14.11.2005)
Great care was taken in the compilation of these texts and images, but errors cannot be
entirely ruled out.
The manufacturer assumes no legal responsibility or any kind of liability for erroneous
information and its consequences.
The manufacturer is grateful for improvement suggestions and for information about errors.
All rights, also those rights pertaining to photo-mechanical reproduction and storage on
electronic or other media, are reserved. The program, manual and all components are
subject to international copyright law.
© 1996-2005 TAB-Austria
A-4052 Ansfelden, Haider Straße 40
Tel. + 43 / 7229 / 78040-0*, Fax + 43 / 7229 / 78660
All rights reserved
Page 3

Setup Pointers
Safety regulations for the user
•The machine may only be operated in dry rooms and connected to a safety plug socket
that complies with the relevant safety standards.
•Before starting the machine, it should be allowed to attain room temperature.
•Check the main voltage before connecting the machine!
•The machine is designed for an alternating voltage of 230 Volt (or 115 Volt if specified
on the type plate), 50 Hz and 210 W power.
•The machine may only be operated with a 3.15 amp fuse.
•In case of breakage to housing parts, protruding wires, machine fires or smashed picture
tubes the machine must be immediately switched off and the main plug disconnected.
•Defective or bare wire cables, especially power cables and plug connecters must be
replaced.
•The recommended ambient temperature is 5 – 35 Degrees on the Celsius scale.
•The monitor standard settings are 100% for Brightness and 90% for contrast
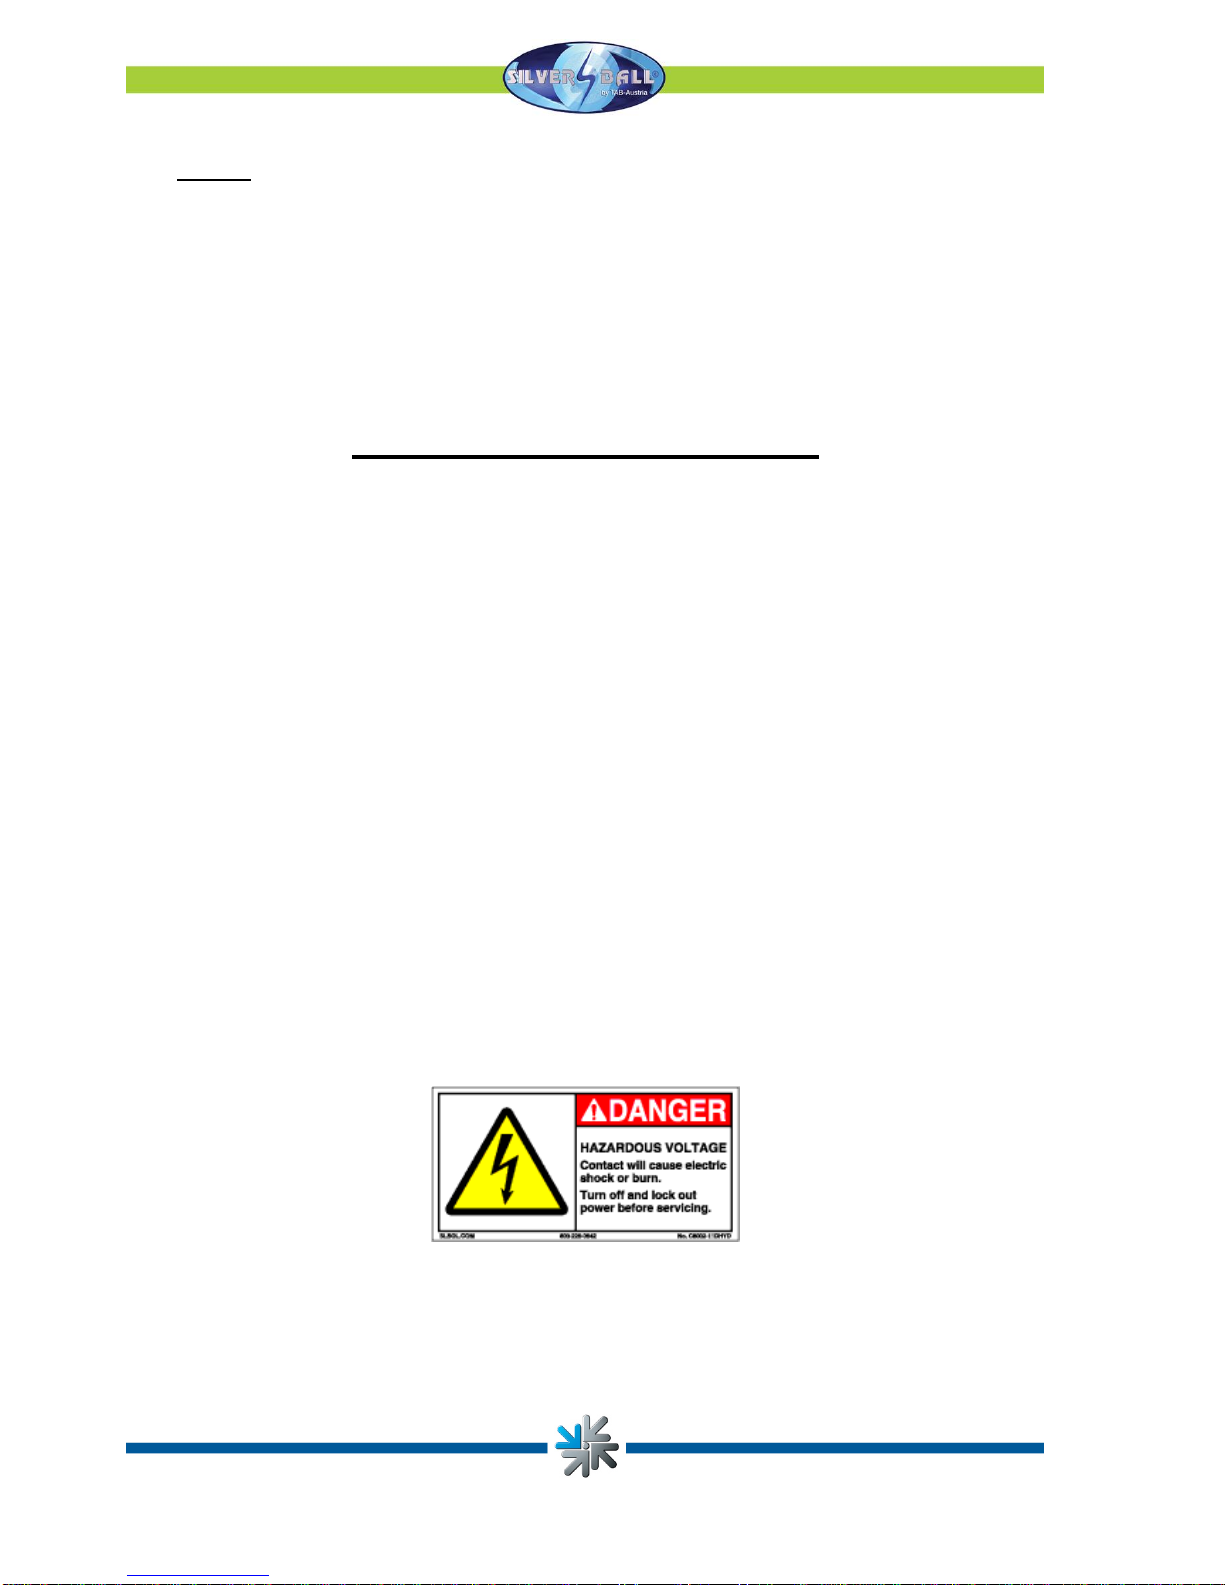
IMPORTANT!
In such cases ensure that any machine contact is avoided and that it cannot be
switched on!
•When positioned alongside other machines, interference in normal operation may occur.
Please pay attention to the licensing terms and conditions of Microsoft.
Disposal of Old Electrical & Electronic Equipment (Applicable in the European Union
and other European countries with separate collection systems
This symbol on the product or on its packaging indicates that this product shall not be treated as
household waste. Instead it shall be handed over to the applicable collection point for the recycling of
electrical and electronic equipment. By ensuring this product is disposed of correctly, you will help prevent
potential negative consequences for the environment and human health, which could otherwise be caused by
inappropriate waste handling of this product. The recycling of materials will help to conserve natural
resources. For more detailed information about recycling of this product, please contact your local city office,
your household waste disposal service or the company where you purchased the product.
Page 4

Page 5
Index
SETUP POINTERS 4
INDEX 5
MACHINE IN CHAMPIONSNET 6
TAKING INTO USE 7
TESTMODE 9
INTERNET 25
TECHNICAL DATA 26
CHAMPIONSNET 27
ONLINE TERMINAL MANAGEMENT 33
COSMO UPDATE 34
KEY OPTIONS 36
MACHINE DESCRIPTION 37
PC SYSTEM COMPONENTS IN THE SILVERBALL COSMO 37
OPTIONAL FEATURES 37
TROUBLESHOOTING 38
ERROR MESSAGES 39
DETAILED DRAWING SILVERBALL COSMO 41
COMPONENT GROUPS 46
CABLE PLAN 48
EC DECLARATION OF CONFORMITY 49
END-USER LICENSE AGREEMENT FOR MICROSOFT SOFTWARE 50
ATTACHMENT 1 54
WARRANTY TERMS BY TAB-AUSTRIA INDUSTRIE UND
UNTERHALTUNGSELEKTRONIK GMBH & CO KG 55
NOTES: 56

This manual describes the assembly and professional installation of the Silverball Cosmo
machine.
Please refer to the FAQ’s on the TAB home page at www.tab.at for information about
current software versions. You may determine the version you are currently using by
switching to Test Mode (see Page 9) or by selecting the TAB logo in the main interface.
Please refer to the last page of this documentation for technical data and sizes.
Machine in Championsnet
Your machine is equipped with an onboard network card, which allows you to connect to
the Championsnet. The following additional features will then be available:
•Internet surfing
•E-mails
•Tournaments
•The creation and management of tournaments
•Online service
By networking your machine with others throughout the world you will be able to stage and
manage individual tournaments for each game.
The correct procedure is described along with more precise data and settings from Page
19!
IMPORTANT:
Switch off the machine and disconnect mains cables before carrying out any work on the
machine. Only qualified staff may carry out work on the machine.
Page 6

Taking into use
All machines are tested at the factory and delivered preset.
We recommend that you wait for 15 minutes to allow the system to reach its operating
temperature. Temperature differences and transport vibrations and so on may cause the
touch screen settings to change. We therefore recommend that you ALWAYS follow the
procedure below when taking the machine into use:
1) Unpack the machine and connect it to the mains (230 V/50 Hz plug socket).
2) Switch on the machine (switch is located on the rear), the machine will start
automatically. You are now in the main menu.
Note:
The Jukebox button is only available with the MAX dongle!
Page 7

Press the TAB LOGO to enter the information overview.
TAB Austria’s telephone – fax number and Internet address, the most recent
Championsnet transmission and your machine’s software version, dongle version and
system version are displayed here.
Page 8

3) Then open the front lid and set the test switch to ON! The Silverball test mode
appears on the screen.
Page 9
Testmode

You may make all the machine’s relevant settings in the test mode. The precise software
version of the Silverball Strato and the dongle version are shown on the top edge of the
screen.
oGeneral
•Touch screen settings
Press the Calibration button and follow the instructions shown on the screen. Then
you may test the screen with Test.
•Volume setting
Game
The game volume may be set in 15 steps with the plus/minus keys.
Stand-by
The stand-by volume may be set in 15 steps with the plus/minus keys.
Activating the “with internal amplifier” option allows you to increase the sound
volume
•Other
You can book test credits to test your games here. Your hard drive will be checked
when you activate the Check Hard Disk at Reboot option.
Page 10

oBasic settings
•Date and time
You may set the current time and date here. The date and time will be set
automatically if the machine is active in the Championsnet. You can then only adjust
the time zones by 30 minutes or one hour.
•Basic language
Her you set the basic language for this machine
•Miscellaneous
Activate or deactivate the Stand-by sound
•Automatically delete high score
You can set here if and when you want to delete the high scores
•Erotic
Activate, deactivate or activate in a special time zone the erotic games and the erotic
backgrounds
•Basic language
This is where the machine’s basic language may be set.
Page 11

oMachine Test
Test if all your input devices, p.e. buttons, coin acceptor,.. , are working properly.
“Test Video” will activate the web cam.
Page 12

oHardware settings
•Currency
Set the programmed currency
•Impuls
Impuls settings for the
•VDAI settings (only for machines with a german dongle)
Settings to the VDAI
•NV7 key
This key is for the initialising of the bill acceptor. If you have to change the bill
acceptor please be sure, that the key here is the same as on the bill acceptor. If not,
change it here!
•Coins and banknotes
Activate, deactivate and set of the channels from the coin- and bill acceptor
•Coinservice
Here you can program the coin acceptor by yourself! Also you can program Tokens!
Page 13

Procedure:
•Choose „Run Coin service“
•You are now in the following options menu
•Change Coin Set
oUpload of some currency tables
•Teach Channel
oProgram coins and Tokens
•Test Coinmech
oTest the coin channels
•Delete Channel
oDelete coin channels
•Exit
oBack to the main options menu
Page 14

The channels 6 up to 15 are free. These channels are ready to get programmed.
•Choose „Teach Channel“ and press “Start”
•Now you are in the following options menu where you have to throw in 15 coins
•Follow the messages on the screen until you get the message “Teach complete”
Page 15

•Select the currency and the value of it. Here you can see the channel 6 has been
programmed with Croatian coins and the value is 1 Kuna = 1 credit. If you program a
channel with token you have to choose „Token“!
•Press „Set“ and the coin channel will be programmed and you can see it in the list of the
coin channels.
•Go „Back“ to the main options menu
•Now switch machine ON and let the machine start
Page 16

•Switch the Testmode to ON
•In the menu „Hardware settings“ you have to choose your programmed currency
In the menu „Machine tests“you are able to test it immediately.
oBookkeeping
Here you find all the relevant informations to the bookkeeping.
At “Bookkeeping2” there is an overview of it.
Page 17

•Bookkeeping visible in the overview test menu
If you activate this option, a Supervisor with his PIN code is allowed to look in here.
oSetting the game price
Page 18

•Setting the game price
This is where you are able to set the credit value. For instance, 50 cents = one credit.
You may change these values using the counter units. This is the setting for
Standard1 (normal). You may set the bonus values in Standard2 (Bonus).
•Free-game mode
Activating the free-game mode will provide endless credits. The machine displays 99
credits.
oGames
This section displays all the games that are available on the machine. You may individually
switch each game ON or OFF, call up separate statistics for each game and modify each
game’s level of difficulty.
Note:
The level of difficulty may only be modified when the machine is NOT in Championsnet.
Page 19

oLocal tournament settings
You can create up to 2 local tournaments here. The tournaments can be played with 1 or 2
games.
Pressing “set games / price” allows you to set the games and the game price for it.
At “Statistic” and “Winner`s list” you can find all the important informations after the
ending of the tournament.
Note:
You can end a local tournament at any time!
Page 20
Table of contents
Popular Game Console manuals by other brands

Sony
Sony SCPH-35004 GT instruction manual

Microsoft
Microsoft Xbox 360 Setting up

GPD
GPD GPD Pocket user manual

Franklin
Franklin Speaking SPELLING BEE SSB-212 user guide

Sony
Sony PlayStation 3 (Uncharted: Drake's Fortune Limited Edition... Safety and support

DLV
DLV Jewel Jackpot Setup and Service Menu Manual