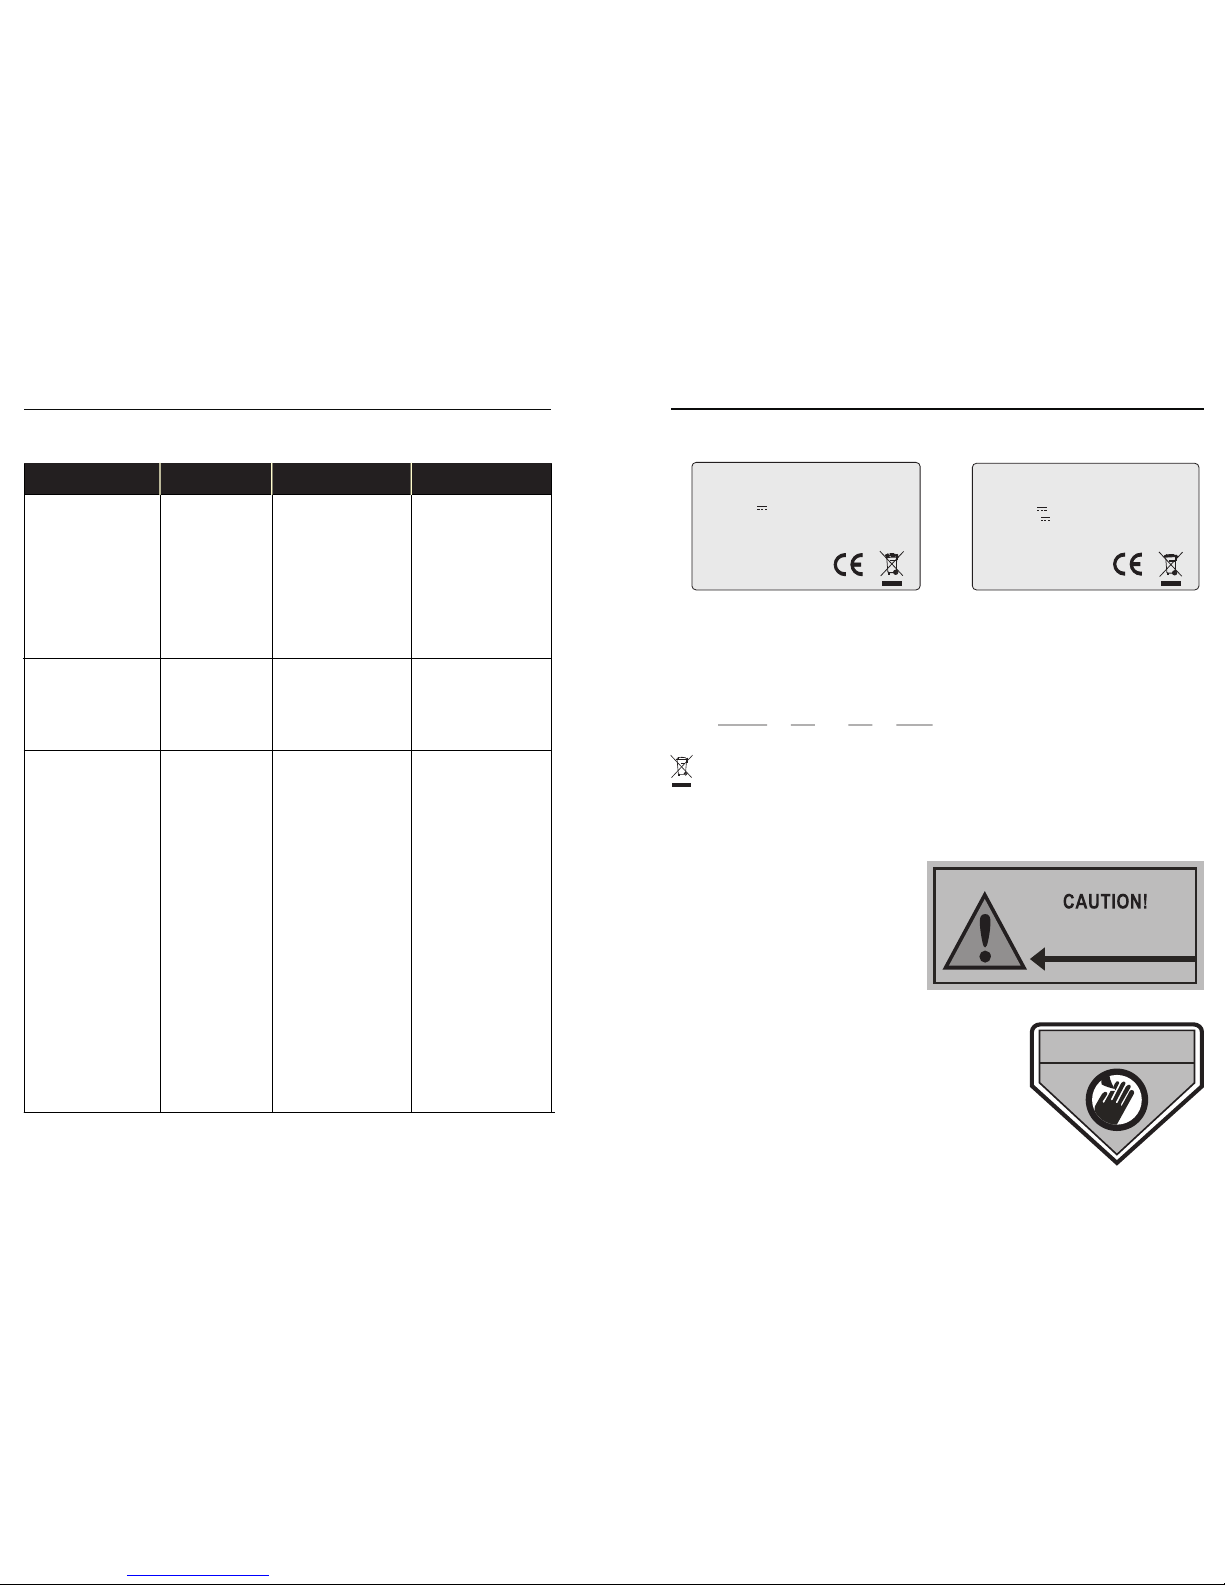
- Use heavy gloves when inspecting or servicing the blades.
- Wear eye protection and use gloves when installing the virtual wire and
driving the wire stakes/pegs. Firmly drive all pegs in order to keep the
wire from becoming a tripping hazard.
- Do not use the charging station power supply with an extension cord.
- Use only the original equipment power pack and power supply/charger
with this mower.
- Do not use the power supply/charger if the cord has become damaged.
- Do not place metal objects in the area of the charging contacts on the
charging station.
- Do not place metal objects across the charging pins of the mower.
- Do no spray water directly into the docking area of the charging station
or onto the operating panel of the charging station.
- The mower has sharp rotating blades! Please care the mower when it is
mowing, in case of serious injury occur.
- Keep the lawn mower in perfect operating conditions by performing the
maintenance procedures outlined by the manufacturer. Good
maintenance
guarantees better performance and longer service life.
- In order not to irreversibly damage electric and electronic parts, do not
wash the robot with water jets at a high pressure and do not plunge it
partially or thoroughly in water, as it is not watertight.
- It is absolutely forbidden to use the robot in explosive and flammable
environments.
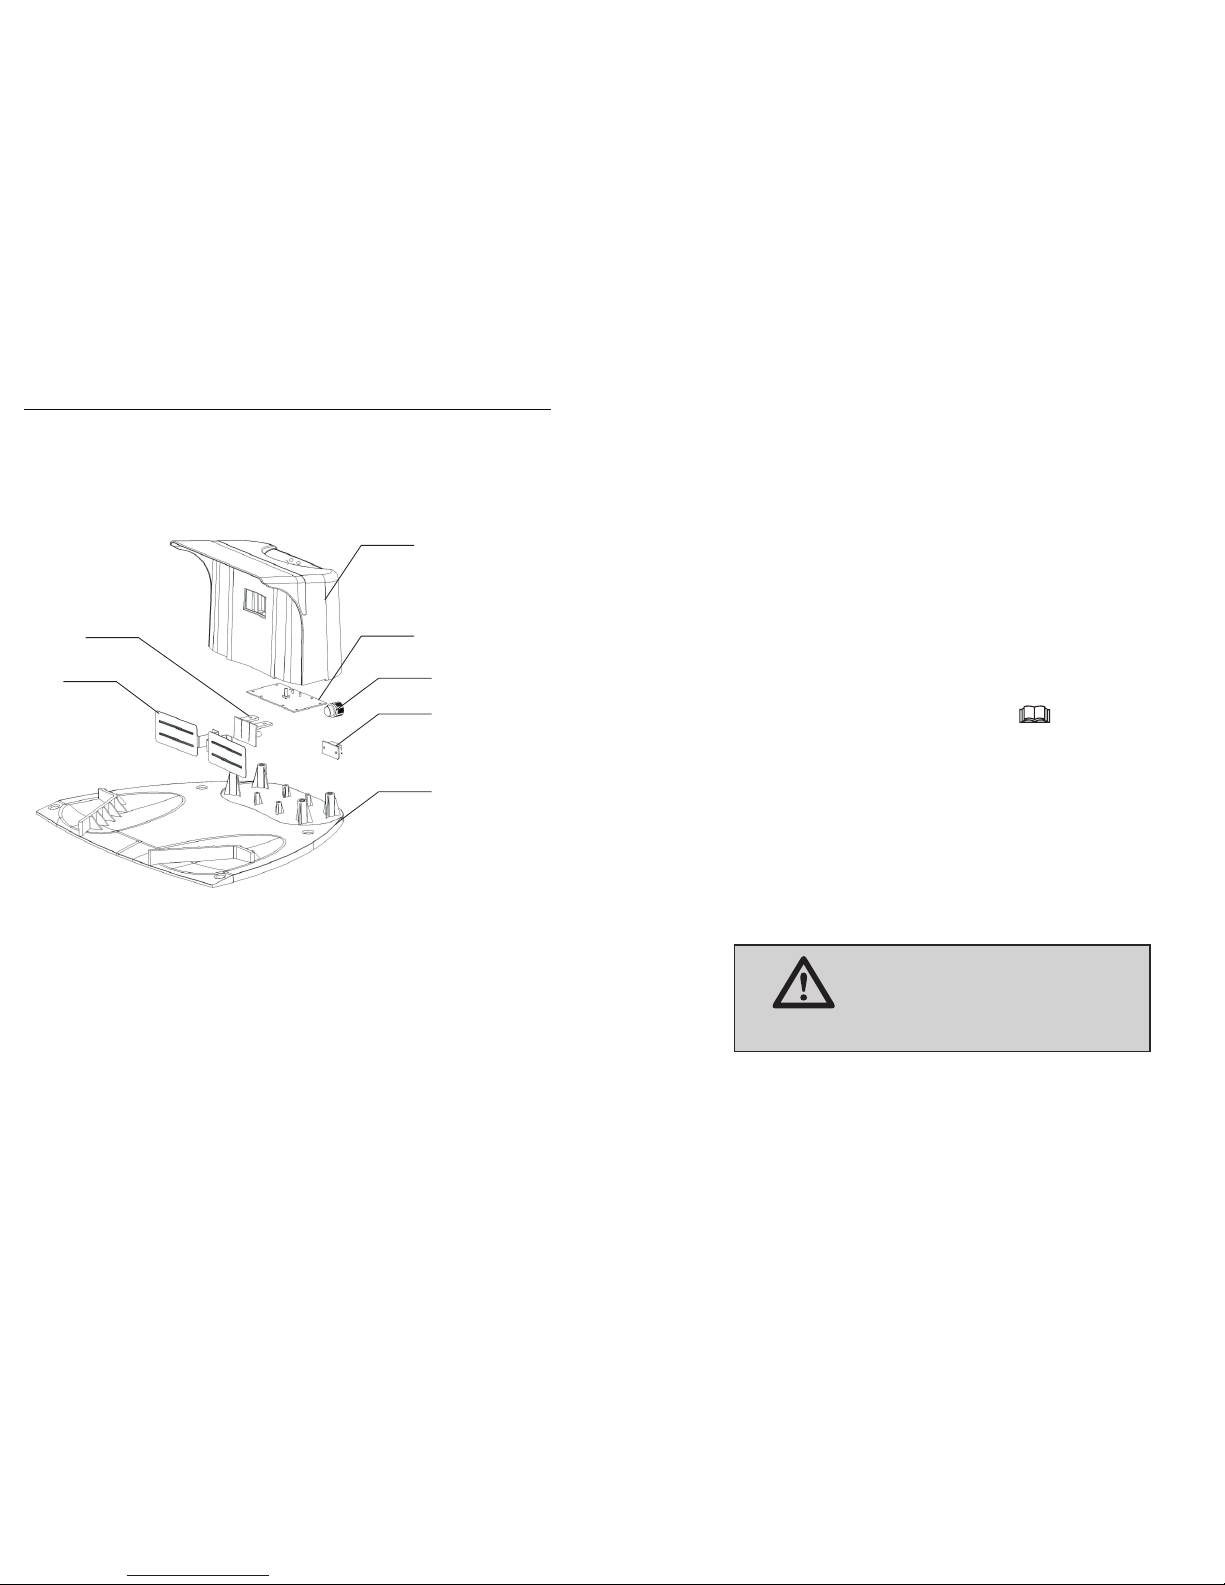
1.INTRODUCTION AND SAFETY
- The operator or user is responsible for accidents or hazards occurring to
other people or their property.
-P6-
Mower stop
working and
beeping.
Mower stop
working and
beeping.
Mower stop
working and
beeping.
Mower is tilted
over than 30
degree from the
ground
Put the mower in
lever ground,
turn off the
mower and
restart it by
enter password
and choose
operate pattern.
1. Cutting height
too low.
2. Blade or
running wheels
strike hard
objects.
3. The mower is
trapped in lawn.
1. Adjust the
cutting height to
suitable height.
2. Clean the
grass and make
sure it is free
from hard
objects.
3. Clear the lawn
where the
mower is
trapped or
restart the
mower in
another place.
Mower is lifted
over 2CM from
the ground.
Put the mower in
lever ground,
turn off the
mower and
restart it.
7. TROUBLE SHOOTING
16°C
TUE
12/ 1 7 0 9:01
FRONT WHEEL LIFT
ALAM
16°C
TUE
12/ 1 7 0 9:01
MOTOR CORRENT IS
ALAM
16°C
TUE
12/ 1 7 09:01
ALAM
TOO LARGE
16°C
FRI
12/17 09: 0 2
ALAM
UP THE GROUND
16°C
TUE
12/17 09:01
ALAM
THE SLOPE IS TOO
16°C
TUE
12/ 1 7 09:01
ALAM
STEEP
-P47-
Problem Display Solutions
Possible reasons