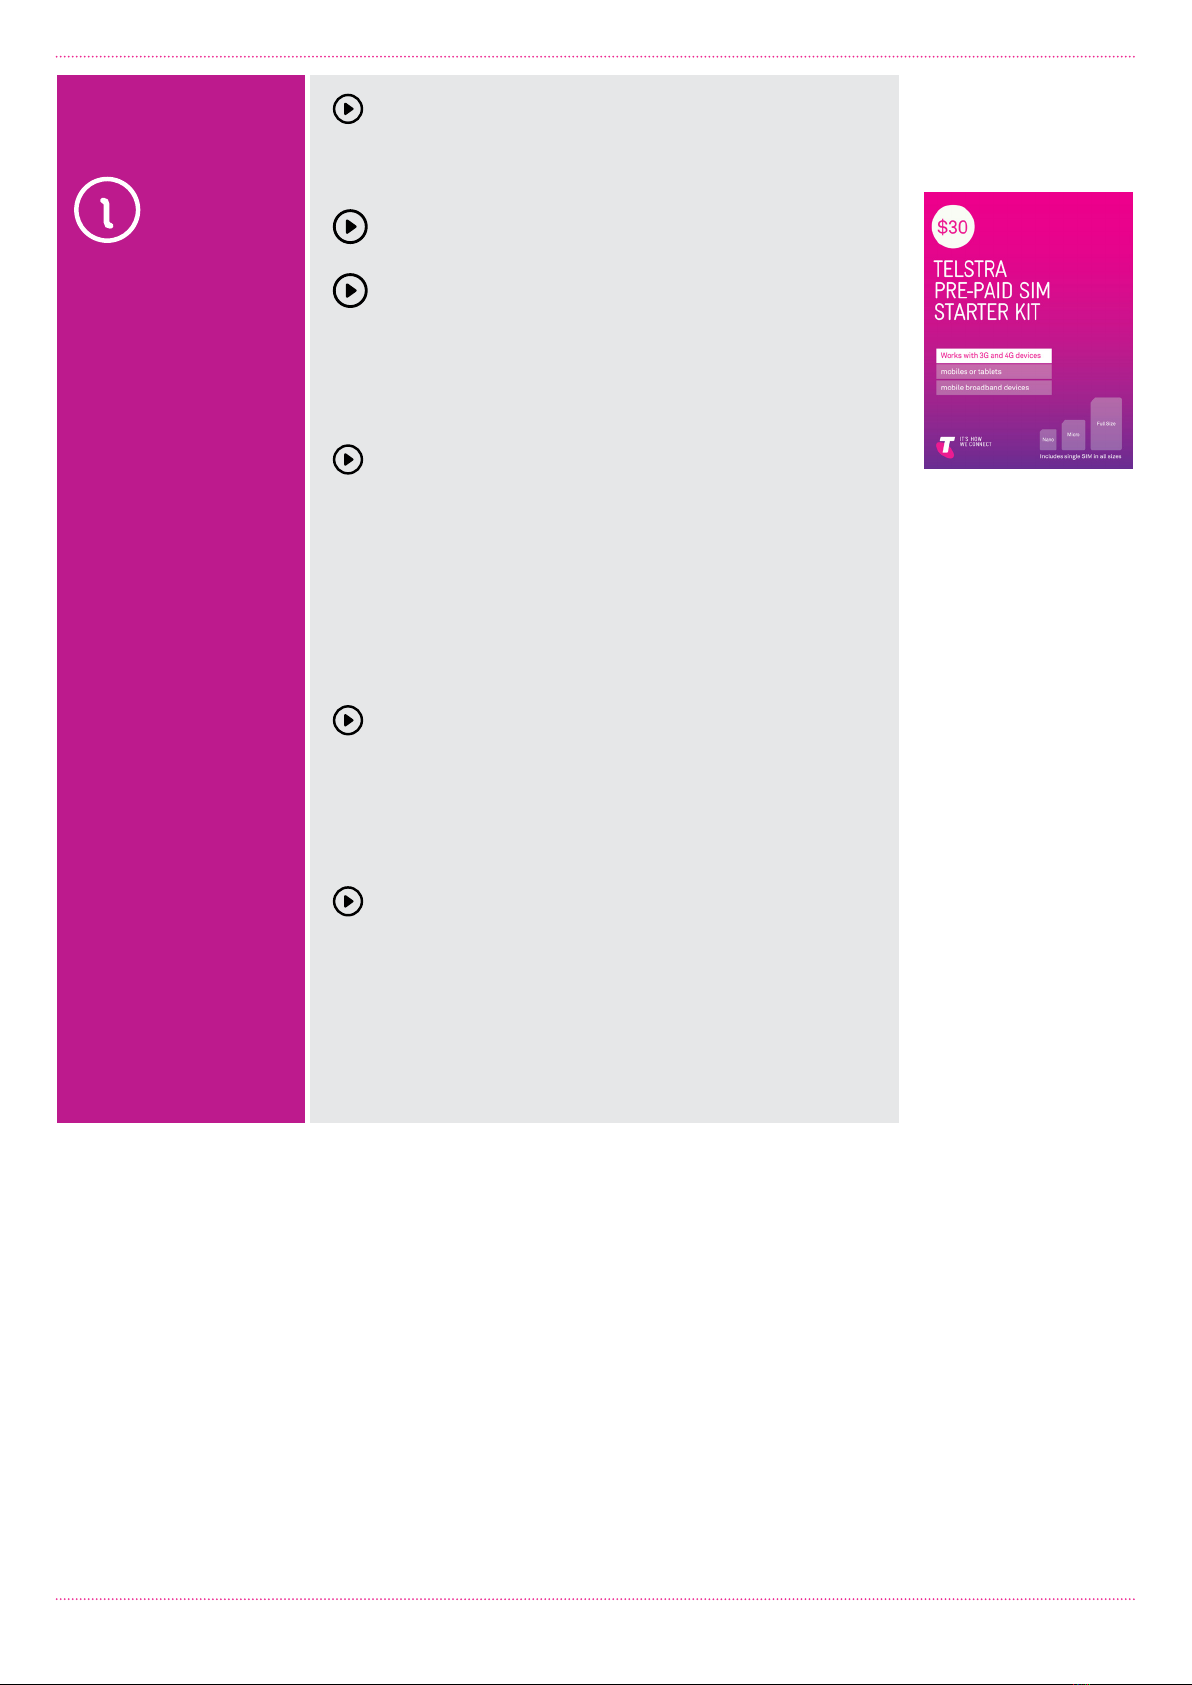
Introduction to Tablets: iPad Page 3
SUBJECT
TIME
TYPES OF
TABLETS
A TOUR OF THE IPAD
15 minutes
Tablets come in a variety of different sizes and shapes
from all different manufacturers. They are typically
defined by two key characteristics:
The screen size, listed in inches. Like television
screens, the screen size is a diagonal measure
of the distance between opposite corners of
the rectangular screen.
The operating system. This is the “base” software
that runs the tablet and controls how it functions.
Different operating systems look and work a little
differently, although there’s also a lot in common
between tablet operating systems.
There are three main operating systems used today
in tablets. The first is iOS, which is used exclusively
by Apple in the Apple iPad line. iPads are the world’s
best selling tablet range.
The second is Android, which is used by a number
of different tablet makers, including Samsung,
Sony, Huawei and others. Different manufacturers
sometimes modify Android a little, but the core
experience is very similar – and indeed very similar to
the iPad. Android itself was created and is managed by
Google.
The third is Windows, which looks and works very
similar to Windows on a desktop or laptop computer.
Windows is currently the least popular of the three
main operating systems for tablets, but there are
a few tablet makers who use it – Dell and Microsoft,
for example.
Throughout this workshop, we’ll be providing guides
for the iPad.
Different aspects
One big difference between the iPad and Android tablets is what is called the
aspect ratio. This is the ratio of the width to the height of the tablet. The iPad
is squarer, like old TV sets, while Android tablets are usually wider or taller,
depending on which way you hold the tablet, like a new flat screen TV.
Each has its pros and cons. The iPad, for example is better for reading, since it
has more of a “book” shape. Android tablets tend to be designed for watching
widescreen movies, which should fit on screen without any black bars.
The three main types
of operating system for
tablets are (from top to
bottom) :iOS (Apple),
Android and Windows
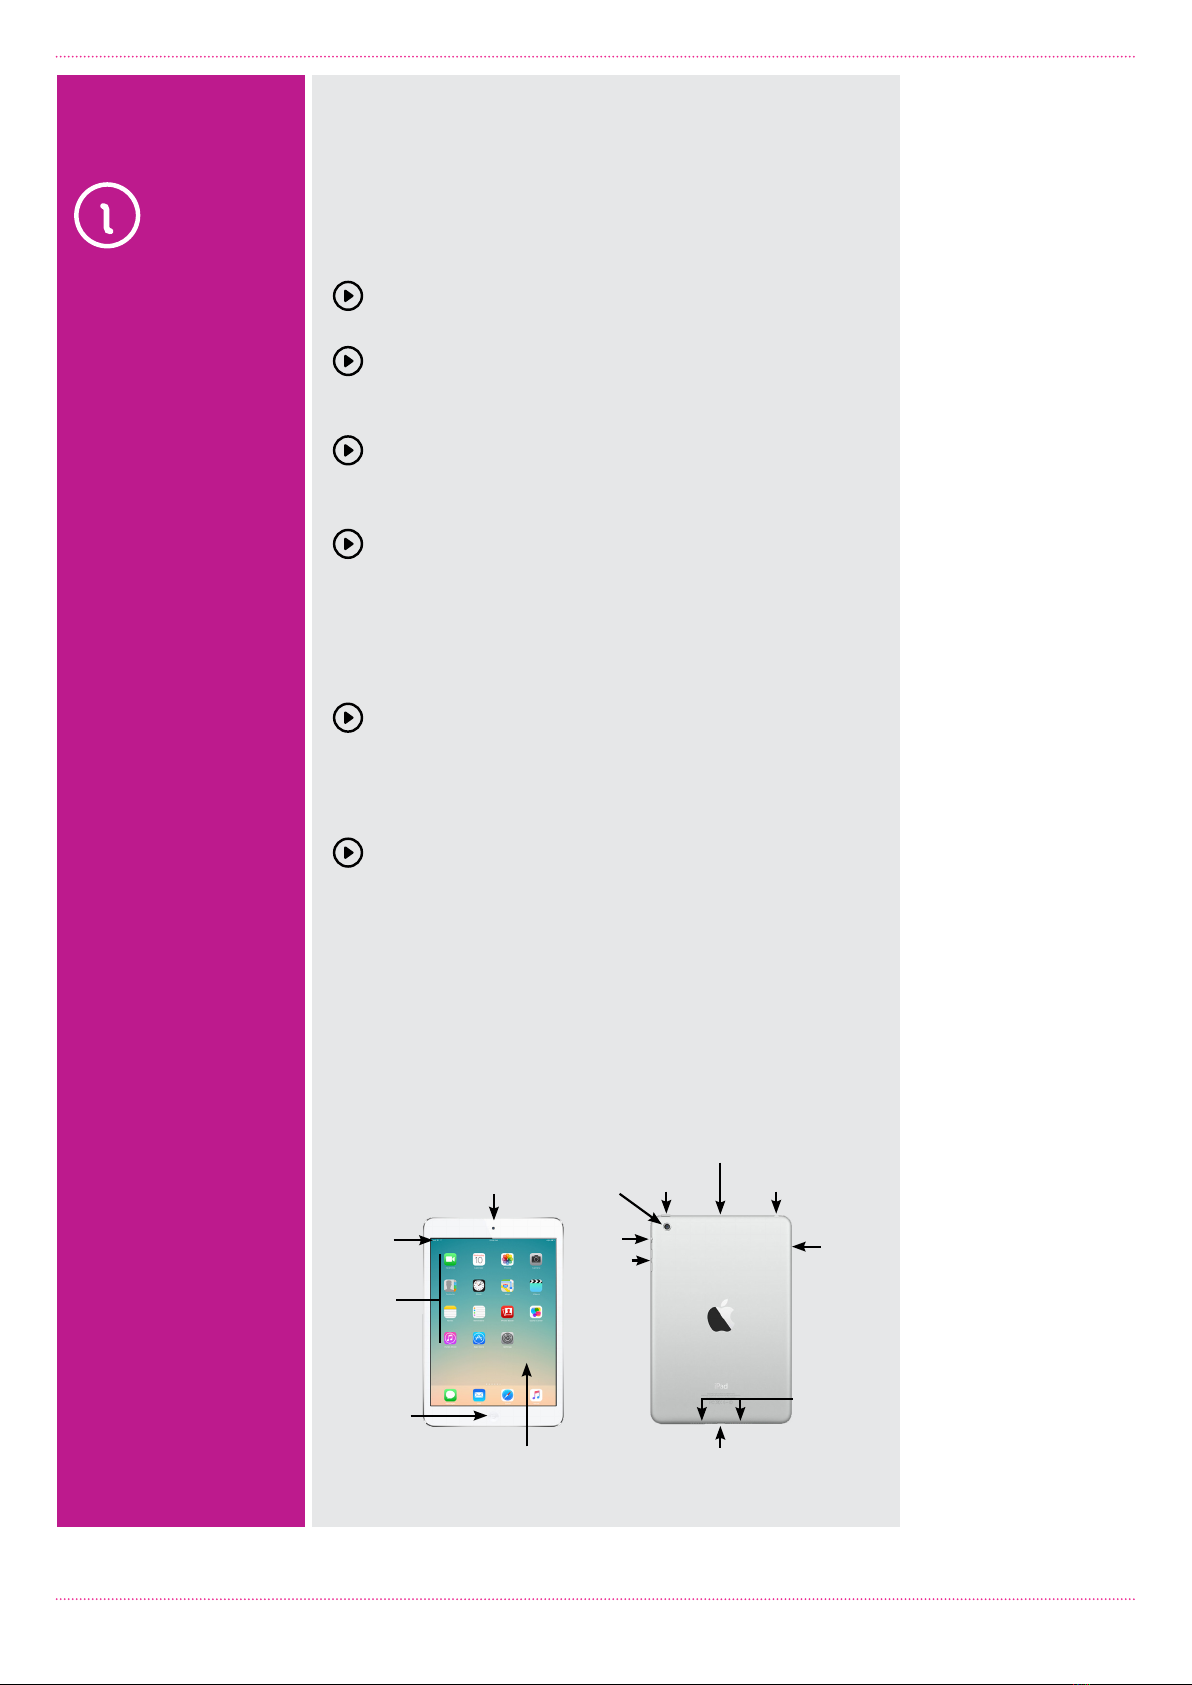
IOS AND
WORKSHOP
TABLETS
The diagrams and
instructions in this
workshop show
Apple iOS12.
If you are using a
different version of
iOS you can update
your tablet by tapping
Settings, General then
Software Updates.
You can also follow
the instructions at
https://support.apple.
com/en-au/ios