The Singing Machine Bratz SMB-634 User manual

SMB-634
CLOCK / CD PLAYER WITH
Am / fm radio
Please read before using this unit.
INSTRUCTION MANUAL

1
WARNING
To prevent fire or shock hazard, do not expose this appliance to rain or moisture.
The apparatus should not be exposed to dripping or splashing and that no objects filled with liquids, such
as vases, shall be placed on the apparatus.
The ventillation should not be impeded by covering the ventilation openings with items, such as
newspapers, table-cloths, curtains, etc.
No naked flame sources, such as lighted candles, should be placed on the apparatus.
The mains plug is used as the disconnect device, the disconnect device should remain readily operable.
In order to disconnect he apparatus from the mains completely, the mains plug should be disconnected
from the mains socket outlet completely.
CAUTION
TO PREVENT ELECTRIC SHOCK, DO NOT USE THIS (POLARIZED) PLUG WITH ANY EXTENSION
CORD, RECEPTACLE OR OTHER OUTLET UNLESS THE PLUG CAN BE FULLY INSERTED WITHOUT
EXPOSING ANY PARTS OF THE BLADES.
IMPORTANT
Since CD circuitry may cause interference with other radio tuners nearby, switch this recorder off when not
in use or move it away from an affected radio tuner.
This device complies with Part 15 of the FCC Rules. Operation is subject to the following two conditions: (1)
This device may cause harmful interference, and (2) this device must accept any interference received,
including interference that may cause undesirable operation.
Warning: Changes or modifications to this unit not expressly approved by the party responsible for compliance
could void the user's authority to operate the equipment.
NOTE:
This equipment has been tested and found to comply with the limits for a Class B digital device, pursuant to
Part 15 of the FCC Rules. These limits are designed to provide reasonable protection against harmful interference in a
residential installation. This equipment generates uses and can radiate radio frequency energy and, if not installed and
used in accordance with these instructions, may cause harmful interference to radio communications. There is no
guarantee that interference will not occur in a particular installation. If this equipment does cause harmful interference
to radio or television reception, which can be determined by turning the equipment off and on, the user is encouraged to
try to correct the interference by one or more of the following measures:
• Increase the separation between the equipment and receiver.
•
Connect the equipment into an outlet on a circuit different from that to which the receiver is connected.
• Consult the dealer or an experienced radio / TV technician for help.
This Class B digital apparatus complies with Canadian ICES-003.
SAFETY CERTIFICATION
This CD player is made and tested to meet safety standards of the FCC, requirements and compliance with
safety performance of the U.S. Department of Health and Human Services, and also with FDA Radiation
Performance Standards 21 CFR Subchapter J.
The lightning flash with
arrowhead symbol, within an
equilateral triangle, is intended
to alert the user to the presence
of uninsulated "dangerous
voltage" within the product's
enclosure that may be of
sufficient magnitude to
constitute a risk of electric shock
to persons.
WARNING: TO REDUCE THE
RISK OF ELECTRIC SHOCK,
DO NOT REMOVE COVER (OR
BACK). NO USER-
SERVICEABLE PARTS INSIDE,
REFER SERVICING TO
QUALIFIED SERVICE
PERSONNEL.
The exclamation point within an
equilateral triangle is intended to
alert the user to presence of
important operating and
maintenance (servicing)
instructions in the literature
accompanying the appliance.
RISK OF ELECTRIC SHOCK
DO NOT OPEN
SMB634 Eng 2032.1.10, 8:09 PM1

2
IMPORTANT SAFETY INSTURCTIONS
- Read before operation equipment
This product was designed and manufactured to meet strict quality and safety standards. There are,
however, some installation and operation precautions which you should be particularly aware of.
1. Read Instructions — All the safety and operating instructions should be read before the appli-
ance is operated.
2. Retain Instructions — The safety and operating instructions should be retained for future refer-
ence.
3. Heed Warning — All warnings on the appliance and in the operating instructions should be
adhered to.
4. Follow Instructions — All operating and use instructions should be followed.
5. Water and Moisture — The appliance should not be used near water – for example, near a
bathtub, washbowl, kitchen sink, laundry tub, in a wet basement, or near a swimming pool, etc.
6. Carts and Stands — The appliance should be used only with a cart or stand that is recom-
mended by the manufacturer.
6A. An appliance and cart combination should be moved with care. Quick stops, excessive
force, and uneven surfaces may cause the appliance and cart combination to overturn.
7. Wall or Ceiling Mounting — The appliance should be mounted to a wall or ceiling only
as recommended by the manufacture.
8. Ventilation — The appliance should be situated so that its location or position does not interfere
with its proper ventilation. For example, the appliance should not be situated on a bed, sofa, rug,
or similar surface that may block the ventilation openings; or, placed in built-in installation, such
as a book case or cabinet that may impede the flow of air through the ventilation openings.
9. Heat — The appliance should be situated away from heat sources such as radiators, heat regis-
ters, stoves, or other appliances (including amplifiers) that produce heat.
10.Power Sources — The appliance should be connected to a power supply only of the type de-
scribed in the operating instructions or as marked on the appliance.
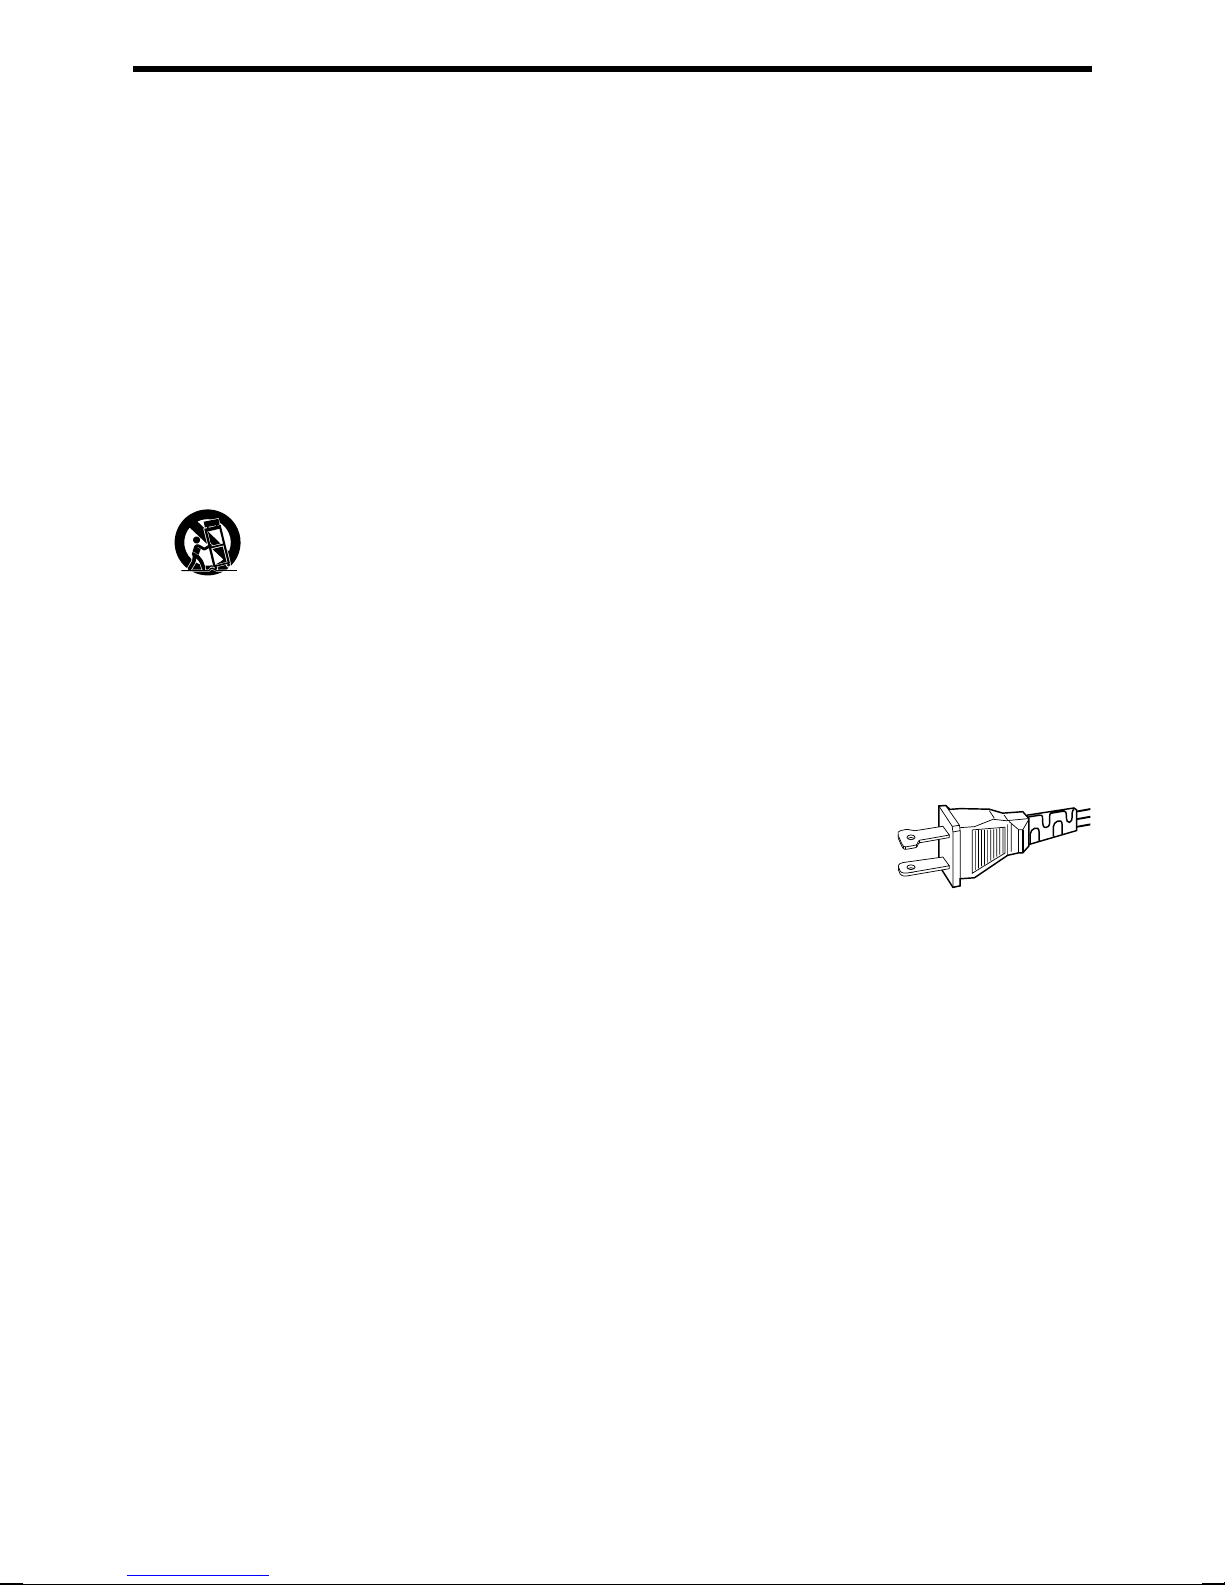
11. Grounding or Polarization — The precautions that should be taken so
that the grounding or polarization means of an appliance is not defeated.
CAUTION: To prevent electric shock, match the wide blade of this plug to
the widle slot, fully insert. Do not use this (polarized) plug with an extension
cord, receptable or other outlet unless the blades can be fully inserted to prevent blade exposure.
12.Power-Cord Protection — Power-supply cords should be routed so that they are not likely to be
walked on or pinched by items placed upon or against them, paying particular attention to cords
at plugs, convenience receptacles, and the point where they exit from the appliance.
13.Cleaning — The appliance should be cleaned only as recommended by the manufacturer.
14.Power Lines — An outdoor antenna should be located away from power lines. DO NOT
CONNECT FM ANTENNA TO OUTDOOR ANTENNA.
15.Nonuse Periods — The power cord of the appliance should be unplugged from the outlet when
left unused for a long period of time.
16.Object and Liquid Entry — Care should be taken so that objects do not fall and liquids are not
spilled into the enclosure through openings.
17.Damage Requiring Service — the appliance should be serviced by qualified service personnel
when:
A.The power-supply cord or the plug has been damaged; or
B.Objects have fallen, or liquid has spilled into the appliance; or
C.The appliance has been exposed to rain; or
D.The appliance does not appear to operate normally or exhibits a marked change in performance;
or
E.The appliance has been dropped, or the enclosure damaged.
18.Servicing — The user should not attempt to service the appliance beyond that described in the
operating instructions. All other servicing should be referred to qualified service personnel.
AC
Polarized Plug
SMB634 Eng 2032.1.10, 8:09 PM2

3
LOCATION OF CONTROLS AND INDICATORS
1. POWER on/off Button
- To switch the CD or RADIO power on/off
and alarm off.
2. FUNCTION/BAND Selector
- To select between FM ST./ FM / AM / CD.
3. CD/CLOCK CONTROL Buttons
4. SNOOZE Button
- Temperaily stop the alarm function and
automatically repeat this function after 6
minutes.
5. ALARM MODE Selector
-BUZZ - to be woken by the Buzzer.
-MUSIC - to be woken by the CD/Radio
(AM/FM/FM ST.).
6. SLEEP Button
- Activating the sleep timer (auto off) at 90,
60 or 30 minutes interval.
7. Lift to Open
8. PROGRAM Indicator
- Flashing during CD tracks programming.
- Light up under CD program play mode.
9. POWER Indicator
- Indicates that POWER is on.
10. PM Indicator (For 12-hour system)
11. ALARM 1 Indicator
- Indicates that alarm 1 is selected.
12. ALARM 2 Indicator
- Indicates that alarm 2 is selected.
13. VOLUME Control
- To adjust the volume level.
14. REPEAT Indicator
-
Flashing to indicate repeat current CD track.
- Light up to indicate repeat all CD tracks.
15. SLEEP Indicator
- Flashing to indicate selecting sleep time.
- Light up to indicate this unit is working in
sleep mode under desired sleep time.
16. FM Stereo Indicator
17. LED Display
- Showing clock, alarm and sleep time.
- Showing CD information.
18. TUNING POINTER
19. TUNING Control
- For station selection.
20. ALARM FUNCTION Selector
-
ALARM OFF :
To disable alarm 1 & alarm 2
-
DUAL ALARM : To enable alarm 1 & alarm 2
-2 ON : To enable alarm 2
-1 ON : To enable alarm 1
-2 ADJ : To adjust alarm 2 time
-1 ADJ : To adjust alarm 1 time
21. FM Wire Antenna
SMB634 Eng 2032.1.10, 8:09 PM3

4
22. AC Voltage Selector (Optional)
23. AC Mains Outlet
24. CD DISPLAY Buttons
- Stop Mode : Show total number of tracks
in the disc for about 3 sec.
- Play Mode : Show playing track number
for about 3 sec.
- Other CD information.
25.
DOWN/FR/CLOCK ADJUST
(MINUTE)
Button
- For CLOCK, MINUTE set in conjunction
with clock adjust button.
- For CD, skip down track and back search.
26. CLOCK ADJUST Button
27. STOP Button
- Terminate play/pause mode and enter the
stop mode.
- Clear all program memories during
Memory Registration mode.
28. PROGRAM Button
- Enter Memory Registration mode from
Stop mode.
- Register a selected track number into
program memory.
- Programme memories up to 20 Tracks.
29. REPEAT 1/ALL Button
- Pressing once to select REPEAT 1 track.
- Pressing twice to select REPEAT ALL
tracks.
- Pressing again to disable REPEAT
function.
30.
UP/FF/CLOCK ADJUST (HOUR)
Button
- For CLOCK, HOUR set in conjunction with
clock adjust button.
- For CD, skip up track and fast search.
31. PLAY/PAUSE Button
- Start playing from Stop mode.
- Start pause during play.
- Return to play mode from a pause.
SMB634 Eng 2032.1.10, 8:09 PM4

5
MAINS SUPPLY
- Check that the power voltage as shown on the type plate (at the base of the set) corresponds
to your local power voltage. If it does not, consult your dealer or service organization.
- Connect the power cord to the wall outlet. The AC power supply is now connected as soon
as you insert the power plug into the wall outlet, the display time with show , this
means that you must set the correct time.
- To disconnect the set from the power, withdraw the power plug from the wall outlet.
CLOCK
Clock Display
- The display shows the time. The display also indicates whether you have selected on the
alarm time. If alarm 1 is selected, then "ALARM 1" indicator lights up in the display. For
alarm 2 "ALARM 2" indicator lights up in the display and for the dual alarm both indicators
light up.
Setting the current time
- Keep CLOCK ADJUST button pressed and at the same time set the correct time by:
• Pressing the
HOUR button to adjust clock hour.
• Pressing the
MINUTE button to adjust clock minute.
- Release the CLOCK ADJUST button. the correct time appears in the display.
Antennas
- For FM reception, there is an antenna wire at the rear of the clock radio. this wire must be
extended and if necessary adjusted slightly in order to obtain good reception.
- The AM antenna is built into the clock radio. To obtain optimum reception, you may have
to adjust the position of the clock radio slightly.
LISTENING TO RADIO
OPERATION
You can use this clock radio solely as a radio.
1. Select the FUNCTION/BAND selector to AM/FM/FM ST.
2. Press the POWER button once.
3. Tune to a radio station using the TUNING control knob.
4. Set the volume using VOLUME control.
5. To switch off the radio, press the POWER button once.
SMB634 Eng 2032.1.10, 8:09 PM5

6
COMPACT DISC OPERATION
CONCERNING COMPACT DISCS
1. Usable compact discs
Use a compact disc bearing the mark as shown.
2. Notes on handling discs
• Removing the disc from its storage case and loading it.
Press the claws at
the center of the case
Lift out without touching
the recorded surface
Insert with the label facing up
Press the disc gently to insert it Incorrect
• Do not touch the rainbow color reflecting recorded surface.
• Do not stick paper or write anything on the label surface.
• Do not bend the disc.
3. Storage
• For storage, be sure to return a disc to its case.
• Do not expose discs to direct sunlight, high temperature such as from a heater, high
humidity and dusty places.
4. Cleaning a idsc
Before operation, wipe off dust, dirt and fingerprints on the surface with a soft cloth. The
disc should be cleaned from inward to outward.
Correct
F
rom the center to the edge
Incorrect
• Never use thinner, benzine, analog record cleaner or antistatic spray.
SMB634 Eng 2032.1.10, 8:09 PM6

7
CD PLAYER OPERATION
1. Set the FUNCTION/BAND selector to CD position.
2. To open the CD compartment, lift the CD door on the edge (marked LIFT TO OPEN).
3. Place a compact disc on the spindle with label side facing upward.
4. To close the CD compartment, push the door down.
- The CD player scans the contents of the CD and the total number of tracks is displayed
for about 3 sec.
5. Press the PLAY/PAUSE button to start playback from track 1 and the display will indicate
the playback track number.
6. Adjust the sound using the VOLUME control.
7. To interrupt playback, press PLAY/PAUSE button.
Press the PLAY/PAUSE button again to continue playback.
8. Press STOP button to stop playback.
9. To switch off the CD, press the POWER button once.
Note: CD playback will also stop when:
- The CD has reached the end.
- The CD door is open.
- The FUNCTION/BAND selector is set to AM / FM / FM ST. position.
SKIP/SEARCH
or
Selecting a different track during playback
- You can jump to the next track by pressing
once. If you want to skip more than one track,
press
more than once until the display shows the desired track number.
- If you want to repeat the tuning track from the beginning, press
once. If you want to
repeat one of the previous tracks, press
more than once until the display shows the
required track number.
Starting with a particular track
1. In the STOP position you can select a desired track using the
or
button.
2. Press PLAY/PAUSE to start playback.
Searching for a passage within a track
You can search for a passage within a track. The CD is played at low volume and at high
speed, however, the sound is still recognizable.
1 Keep the
or
button pressed during playback, and release the button as soon as you
recognize the required passage:
- Normal CD playback will resume from this point.
SMB634 Eng 2032.1.10, 8:10 PM7

8
REPEAT
The REPEAT button allows you to select two different playback modes. Change playback
modes cyclically (REPEAT REPEAT ALL NORMAL)
REPEAT 1
- Press REPEAT key once, then REPEAT indicator is flashing, CD playback plays one track
repeatedly.
REPEAT ALL
- Press REPEAT key twice, then REPEAT indicator is on, CD playback plays all tracks
repeatedly.
PROGRAM
PROGRAMMING TRACK NUMBERS
You may store at most 20 tracks in the memory in the desired sequence.
You may store any track more than once.
Programming track numbers at stop mode
1. Press the PROGRAM button, then PROGRAM indicator is flashing, display shown .
2. Press or
to select the desired track
3. When desired track is display, press PROGRAM button to register. Then next program
no. display change to .
4. Repeat step 2 and 3 to program the order of more tracks up to 20 tracks can be programmed
into memory.
Program Play
Press PLAY/PAUSE button, then PROGRAM indicator is on and starts to play desired
tracks soon.
To clear programmed tracks
- Press stop before program play, or
- Open the CD door.
ALARM
SETTING THE ALARM
Alarm time
You may set two different alarm times with this clock radio. This can be useful if you need to be
woken up at 2 different times with the same day (or within 24 hours).
Setting alarm time 1
- Set alarm time 1 press ALARM FUNTION selector to the ADJ. 1, the clock display shows
ALARM1 time is flashing.
- Press
MINUTE or
HOUR, the alarm time display will change. Release
MINUTE or
HOUR when the desired alarm time appears on the display.
SMB634 Eng 2032.1.10, 8:10 PM8

9
Setting alarm time 2
- Set alarm time 2 press ALARM FUNTION selector to the ADJ. 2, the clock display shows
ALARM2 time is flashing.
- Repeat the above procedure to set the time for ALARM 2.
Setting alarm mode
- Set alarm mode selector to the music or buzz position.
• Buzz – To be woken up by the buzzer.
• Music – To be woken up by the CD / RADIO (AM / FM / FM ST.).
ALARM ON
The clock radio can wake you in two ways : "Wake by buzz" and "Wake by music".
-Wake by buzzer
- Set the ALARM mode selector to the BUZZ position.
- Set the ALARM FUNTION selector to the ALARM 1 ON or ALARM 2 ON or DUAL
ALARM position.
- The respective ALARM indicator lights up on the display.
- When the alarm time coincides with current time, the buzzer will switch on and it will
automatically switch off at 60 minutes later.
-Wake by music (Radio)
- Set the ALARM MODE selector to the MUSIC position.
- Set the FUNCTION/BAND selector to the AM / FM / FM ST.
- Tune to the desired station using TUNING control knob, and switch off the power.
- Make sure the volume of the radio is loud enough to wake you up.
- Set the ALARM FUNTION selector to the ALARM 1 ON or ALARM 2 ON or DUAL
ALARM position.
- The respective ALARM indicator lights up on the display.
- When the alarm time coincides with current time, the radio will switch on and it will
automatically switch off at 60 minutes later.
-Wake by music (CD)
- Set the ALARM MODE selector to the MUSIC position.
- Set the FUNCTION/BAND selector to the CD.
- Insert the audio CD, printed side facing up. To close the CD compartment, push the
door down (The CD player scans the contents of the CD and the total number of tracks
is display) and switch off the power.
- Make sure the volume of the radio is loud enough to wake you up.
- Set the ALARM FUNTION selector to the ALARM 1 ON or ALARM 2 ON or DUAL
ALARM position.
- The respective ALARM indicator lights up on the display.
- When the alarm time coincides with current time, the CD will switch on and it will
automatically switch off at 60 minutes later.
Notes:
Playback stops when the CD disc reaches the end.
SMB634 Eng 2032.1.10, 8:10 PM9

10
ALARM OFF
You can switch off the alarm function in three ways:
Switching off the alarm temporarily
- Press the SNOOZE button, the alarm will temporarily switch off. 6 minutes later, the
alarm (music or buzzer) will sound again. This sequence may be repeated several
times. The following day, the alarm will sound again at the same alarm time setting.
Switching off the alarm completely
- Set the ALARM FUNCTION selector to the off position, or
- Press the POWER button once.
Switching off the alarm for 24 hours
- Press the POWER button to switch off the alarm.
• The alarm is now switched off for 24 hours and will sound again the next day at the
same time.
SLEEP
The clock radio has built-in sleep function. This function enables you to listen the CD / RADIO
(AM / FM / FM St.) at bedtime without having to get up to switch off. The CD / RADIO will
automatically switch off at the desired sleep time.
SLEEP time
The period, which you continue to listen to the CD / RADIO before you fall asleep, is called the
sleep time. The clock radio has built-in 3-mode time, change sleep time cyclically (-- 90 60
30). If you wish to set the sleep time for 90 minutes, proceed as follows:
- Press the SLEEP button twice. 90 will appear on the display indicating and SLEEP indicator
is flashing, after 3 sec SLEEP indicator is on that you have a sleep time of 90 minutes.
POWER FAILURE
If power failure occurs, the unit will switch off. As soon as the power supply returns,
displays, indicating that you must reset the correct time.
BATTERY BACK-UP SYSTEM
A 9 volt, E-block type 6F22/006P battery or equivalent (not
supplied) can be fitted into the battery compartment. It will, in
the event of a power failure, provide sufficient power to maintain
the Time/Alarm, memory. The display will not illuminate but when
the power is restored the time and alarm time will have been
retained and so will not require resetting.
• Before inserting the battery, connect the power plug to the
mains.
• Place the battery in the compartment on the underside of the
CD compartment.
• Replace the battery once year. The service of the battery depends on how often and for
how long the power supply fails. This varies from a region to another.
Note: Always notice the time and reset if necessary after a power-failure.
9V
BATTERY
SMB634 Eng 2032.1.10, 8:10 PM10

11
BATTERY CAUTION:
Follow these precautions when using batteries in this device:
1. Do not attempt to recharge, short-circuit, disassemble, heat or throw the batteries into a
fire.
2. If the device is not to be used for a long period of time, remove the batteries to prevent
damage or injury from possible battery leakage.
3. Do not try to recharge batteries not intended to be recharged; they can overheat and
rupture. (Follow battery maufacturer’s directions.)
4. Dispose of batteries properly in accordance with local laws.
PERIODIC MAINTENANCE
EXTERNAL CARE
Periodically wipe the cabinet with a soft cloth damped in diluted soapy solution, then wipe with
a dry cloth. Do not use harsh cleansing chemicals, they
may damage or discolor the cabinet finish. Do not allow
liquids or foreign objects to enter the CD compartment.
COMPACT DISC PLAYER
The accumulation of dust particles on the laser pickup lens
may cause skipping or track jump. Use a camera lens brush/
blower to blow clean. Do not touch the pickup lens.
Fingerprints will also cause the player to malfunction.
See your authorized dealer/service center for further
information regarding maintenance of the CD pickup system.
SPECIFICATION
RADIO SECTION
Frequency Range FM: 88 - 108 MHz
AM: 540 - 1700 kHz
CD SECTION
Sampling Frquency 44.1 kHz
Frequency Response 80 Hz - 16 kHz
GENERAL
Speaker 57mm 8 ohms
Power output 1W + 1W
Weight Approx. 1.8kgs./ 4.0 lbs.
Dimension (LxWxH) 288 x 233 x 123 mm / 11.3 x 9.2 x 4.8 inches
POWER SOURCES
Mains Operation AC 120V ~ 60Hz
Clock Standby System DC 9V x1 (IEC6F22/006P or equivalent) (not included)
Power Consumption 15W in AC operation
* Design and Specification are subject to change without notice.
L
ens
Blower
SMB634 Eng 2032.1.10, 8:10 PM11

12
WARNING
Under no circumstances should you try to repair the set yourself, as this would void the warranty.
PROBLEM
NO SOUND
POSSIBLE CAUSE
- Power not turn on
- Volume is too soft
POOR RADIO
RECEPTION
- Weak radio aerial signal
SOLUTION
• Press POWER button once.
• Adjust volume.
• Aim the aerial for best
reception:
- FM: adjust aerial position.
- AM (MW): rotate the entire
set.
- Interference caused by
closely located electrical
equipment like TVs, video
recorders, computers,
thermostats, fluorescent
lamps (TL), engines etc.
- Keep the set away from
electrical equipment.
CD PLAYBACK DOES
NOT WORK
- CD is badly scratched or
dirty
- No CD inserted
- CD inserted upside
down
- Laser lens is steamed up
• Replace or clean the CD,
see maintenance.
• Insert CD.
• Insert CD with printed side
facing up.
• Wait until lens has
acclimatized.
SMB634 Eng 2032.1.10, 8:10 PM12

www.bratz.com
TM & © MGA Entertainment, Inc.
All Right Reserved. Used under license by
The Singing Machine Co., Inc.
6601 Lyons Road, Bldg. A7, Coconut Creek, FL33073-9902, USA.
TEL:(954) 596-1000 FAX:(954) 596-2000
The Singing Machine Company, Inc.
PRINTED IN CHINA
VISIT OUR WEBSITE www.singingmachine.com
634-0707-ENG01
Table of contents
Other The Singing Machine CD Player manuals

The Singing Machine
The Singing Machine SML505BTBK User manual

The Singing Machine
The Singing Machine Bratz SMB-635 User manual

The Singing Machine
The Singing Machine Bratz SMB-637 User manual

The Singing Machine
The Singing Machine STVG-535 User manual

The Singing Machine
The Singing Machine SML505 User manual

The Singing Machine
The Singing Machine Bratz SMB-623 User manual