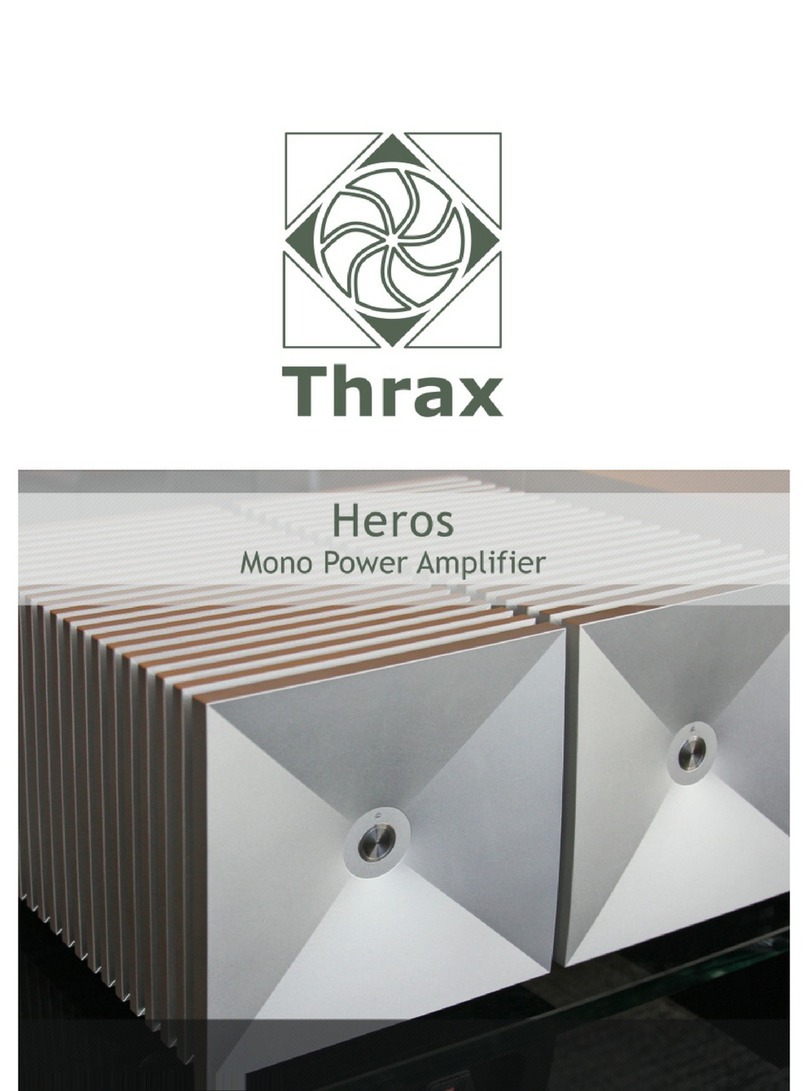
Thrax Audio Teres User manual

Teres
Mono Power Amplifier
by Thrax Audio
Operating Manual
Manual issued 30/11/2014
CAUTION
THE UNIT CONTAINS NO USER SERVICEABLE PARTS. DO NOT REMOVE THE COVERS. LETHAL
VOLTAGES ARE PRESENT WITHIN THE CHASSIS.
NEVER OPERATE THE AMPLIFIER WITH THE CHASSIS COVERS REMOVED.
DO NOT OPERATE THE UNIT IF WET OR NEAR WATER.
THE AMPLIFIER IS FAIRLY HEAVY. BE SURE TO USE PROPER LIFTING TECHNIQUES TO AVOID
BACK STRAIN AND INJURY. BE CERTAIN TO INSTALL IT IN A SECURE LOCATION FROM WHICH
IT CAN NOT FALL OR TIP OVER.
WARNING: Do not allow anything to touch the tube in normal operation – it becomes very
hot. Take care to keep everyone, especially children and pets, from being able to reach
and touch the tube, which becomes extremely hot and may cause serious injury. Never
touch a tube if the glass is broken. The internal structures carry high voltage and could
present a serious, possibly lethal shock. If a tube breaks, unplug the amplifier and wait 30
minutes, then remove the tube. Keep flammable objects away from the amplifier.
TIME SPENT FAMILIARIZING YOURSELF WITH THIS MANUAL WILL BE WELL REWARDED.

1. Important Safety Instructions …...................………….................................... 3
2. Introduction ………........................................................................................… 4
3. Specification ……..........................................................................................… 4
4. Unpacking and Installation
- Unpacking ……....................................................................................… 5
- Installation ……....................................................................................… 5
5. Front Panel ……..............................................................................................… 6
6. Back Panel
- Inputs …..…...........................................................................................… 7
- Speaker outputs ………......................................................................… 7
- AC Fuse …….........................................................................................… 7
- Battery ……...........................................................................................… 8
7. Operation ………...........................................................................................… 9
8. Tube replacement ………..........................................................................… 10
CONTENTS
2

READ ALL INSTRUCTIONS: All the safety and operating instructions of your Thrax Audio
equipment should be read before power is applied to the equipment.
RETAIN OWNER'S MANUAL: These safety and operating instructions should be retained
for future reference.
HEED WARNING: All warnings on the unit and in the operating instructions should be
adhered to.
FOLLOW INSTRUCTIONS: All operating and use instructions should be followed.
CLEANING: Unplug the unit from the wall outlet before cleaning. The unit should be
cleaned only as recommended by the manufacturer.
VENTILATION: Do not block any ventilation openings. Do not install near any heat sources
such as radiators, heat registers, stoves, or other apparatus (including amplifiers). The unit
should not be installed in a built-in location such as a bookcase or rack unless proper
ventilation is provided.
GROUNDING: Do not defeat the safety purpose of the grounding-type plug. A
grounding-type plug has two blades and a third grounding prong. The third prong is
provided for your safety. If the provided plug does not fit into your outlet, consult an
electrician for replacement of the obsolete outlet.
POWER CORD PROTECTION: Protect the power cord from being walked on or pinched
particularly at plugs, convenience receptacles and the point where they exit from the
apparatus.
LIGHTNING: Unplug this apparatus during lightning storms or when unused for long
periods of time.
SERVICING: Refer all servicing to qualified service personnel. Servicing is required when
the apparatus has been damaged in any way, such as if the power-supply cord or plug is
damaged, liquid has been spilled inside the appliance or it has been exposed to
moisture, the appliance does not operate normally, or has been dropped.
DO NOT OPEN THE CABINET: There are no user serviceable components inside this
product. Opening the cabinet may present a shock hazard, and any modification to the
product will void your warranty.
WARNING: To reduce the risk of fire or electric shock, do not expose this apparatus to rain
or moisture.
IMPORTANT SAFETY INSTRUCTIONS
3

Teres is a two stage hybrid power amplifier, a true high end audio product, a bridge
between solid-state power and vacuum tube finesse and resolution. The input stage
employs the legendary Siemens C3g tube with battery bias for super low noise and
extreme linearity. The output stage uses JFET/MOSFET cascodes in same polarity with
inverted phase and floating power supplies.
Signal path simplicity and zero feedback design brings unprecedented clarity and tone
richness with power to spare.
Features
2 inputs – one unbalanced on RCA and one balanced on XLR
Inside you get
Inside you get: Separate constant current PSU for the input tube and separate PSU for
the output stage. The input stage uses a property choke input rectifier and shunt
regulator power supply solution for super low noise and stability. The power supply uses a
new breed of rectifier diodes made of a new material called Silicon Carbide that have no
reverse current and switching loses.
INTRODUCTION
4
• Inputs
- 1 pair unbalanced RCA connector
- 1 pair balanced XLR connectors
• Output ………………...................................................….. 250W/8 Ω, 350W/4Ω
• Power supply ………………..................................................... …….. 115 or 230 V
• Power consumption …………….......................................................…….. 250W
• Dimensions ………………....................................…….. 230W x 400D x 340H mm
• Weight ………………............................................................................…….. 25Kg
• Finish ……..........................................…….. Black or Silver anodized aluminum
• Tube compliment :
- 1x C3g amplification
SPECIFICATION

Unpacking
Teres is shipped with the vacuum tube installed. Unpack carefully, keep in mind the unit
weights 25 kg. All Thrax Audio shipping boxes have been specially designed to protect
their contents and special care has been taken to prevent damage under normal
shipping conditions. Mishandling should be evident upon inspection of the shipping
container. Carefully remove your new component from its packing and examine it
closely for signs of shipping damage. We strongly recommend saving all original packing
to protect your component from damage should you wish to store it or ship it at a later
date.
Instalation
• Provide adequate ventilation. Do not operate on carpet or any other surface that
might block air flow. The chassis will become warm in normal use!
• Do not allow the chassis to touch any metal parts, such as the frame of an equipment
rack. This might create a parallel ground path that could degrade the sound of your
system.
• Input connection is via single ended RCA jacks or XLR jacks (which can be from
balanced or unbalanced sources).
• Connect the input and speaker cables.
• Connect the power cable from the power supply to the power amplifier.
• Connect the power supply to the power source indicated on the voltage selector
card (visible by the main fuse), either 115 or 230 volts AC. The voltage may be select by
means of the removable selector card located behind the fuse in the power connectors.
Remove the cards and reinstall so that the desired voltage may be read; be certain to
change the fuse to the correct value. Connect the power supply to the power source
indicated on the rear panel. Avoid power conditioners that float the ground pin.
ALWAYS connect power cord to component before plugging it into an AC outlet, and
make sure that unit's power switch is set to the "OFF" position before making the final
connection. For best performance, try to route the power cord away from signal cables.
• Power requirements are approximately 250 watts per channel. Pay close attention to
power quality, and be aware that different power cords can alter the sound.
• Set the input type switch to XLR or RCA, to match the source and cables.
WARNING: Do not allow anything to touch the tubes in normal operation - they become
very hot. Take care to keep everyone, especially children and pets, from being able to
reach and touch the tubes, which become extremely hot and may cause serious injury.
Never touch a tube if the glass is broken. The internal structures carry high voltage and
could present a serious, possibly lethal shock. If a tube breaks, unplug the amplifier and
wait 30 minutes, then remove the tube. Keep flammable objects away from the amplifier.
UNPACKING AND INSTALLATION
5

"ON/OFF" Button
– Switches the unit on and off. See OPERATION SECTION for details.
LED Indicator
- Red light indicates stand-by mode, green light – operation mode. Green light
flashes during warm-up time.
FRONT PANEL
Status LED ON/OFF
Button
6

BACK PANEL
Inputs
RCA (single ended) connection normally is made to the RCA jack. The "INPUT SELECT"
switch is set to “RCA” (up) position.
A XLR jack is provided for balanced connection to a pre-amplifier. The "INPUT SELECT"
switch should be set to the "XLR" (down) position.
NOTE: Do not remove and connect input cables or speaker cables while the amplifier is
running. Doing so risks damage to your loudspeakers or the amplifier.
Do not operate the amplifier without a loudspeaker.
Speaker output
The speaker cables connect to the Speaker Connectors. Either banana jacks, bare
wires or spade plugs can be used. If bare wire is used, be careful that no stray strands
get loose that could cause a short-circuit. The “Common” or “Ground” lead connects
to the black jack. The “Hot” lead goes to red jacks. Bare wires and spade plugs must
be tighten by rotating the ratchet screw clockwise.
A/C Fuses and Mains switch
There are fuses located in the IEC power connector on the back panel. For 220 volt
operation 4 amperes "slow blow" fuses are used. For 110 volt operation the fuses should be
8 amperes. If power does not come on, contact your authorized service representative or
consult the factory for more information.
IEC Power Connector
BATTERY
Teres
410104
Tube C3g
XLR/RCA
Selector
Battery
7

BACK PANEL
Bias Battery
The battery supplies a fixed grid bias to the C3g input tube. As far no current is drawn from
the battery, it will last as long as its “shelf-life” (typically 5 years or more). Replace the
battery if it measure 3.0 volts or less. Symptoms of weak battery are distortion and the C3g
running hotter than normal. Replace only with type “CR2032” 3 volt lithium battery. Make
sure that the battery is installed properly in line with the +/- marks as shown on the picture
below.
8

For initial power up press the main switch located on the back panel. The LED on the front
panel lights red indicating the unit is now in stand by mode.
To switch the power amplifier on press the “ON/OFF” button located on the front panel.
The LED indicator flashes green whilst warming up for about 2 minutes. Red LED turns to
green when your Teres is ready for use.
To turn the power amplifier off press the "ON/OFF" button. However if you are not going to
use the amplifier for a long period we recommend turning it off, using the power switch on
the back panel, to save power.
As with all high fidelity products, the sound characteristic changes somewhat as it warms
up. Best sound will be achieved after about 15 minutes of operation.
Any time that the Teres power amplifier has not been used for a few weeks the sound may
be different. This is also normal for high resolution audio equipment. Optimum sound
should return after a few hours of operation, preferably with an audio signal.
Note that although your Thrax Audio System has been run for 72 hours at the factory, it will
continue to "break in" for approximately 150 hours. Also be aware that many components
display the need for a new break in period after being transported in unheated cargo
aircraft.
OPERATION
9

Your Teres comes with the tube pre-installed. The Siemens C3g tube is an ultra durable
German Post grade tube with working time minimum 10 000 hours. When tube
replacement is due, we strongly advise you to order replacement tubes from your
Thrax Audio dealer, before the sound quality starts to deteriorate.
Before replacing the tube, all power must be turned off. Unplug the power cord from the
wall, and remove all audio interconnect cables. Wait 15 minutes before removing the
tube.
When removing the tube, handle it carefully, whit minimum twists.
Install the new tube firmly in the socket, noting the location of holes in the socket and pins
of the tube, taking care to make sure that pin pattern corresponds to holes in tube socket.
TUBE REPLACEMENT
10

NOTES
Table of contents
Other Thrax Audio Amplifier manuals

