•Before operating a machine with roll over
protection be certain the seat belts are attached
and seat is latched to prevent the seat from
pivoting forward.
•Use only Toro-approved attachments. Warranty
may be voided if used with unapproved
attachments.
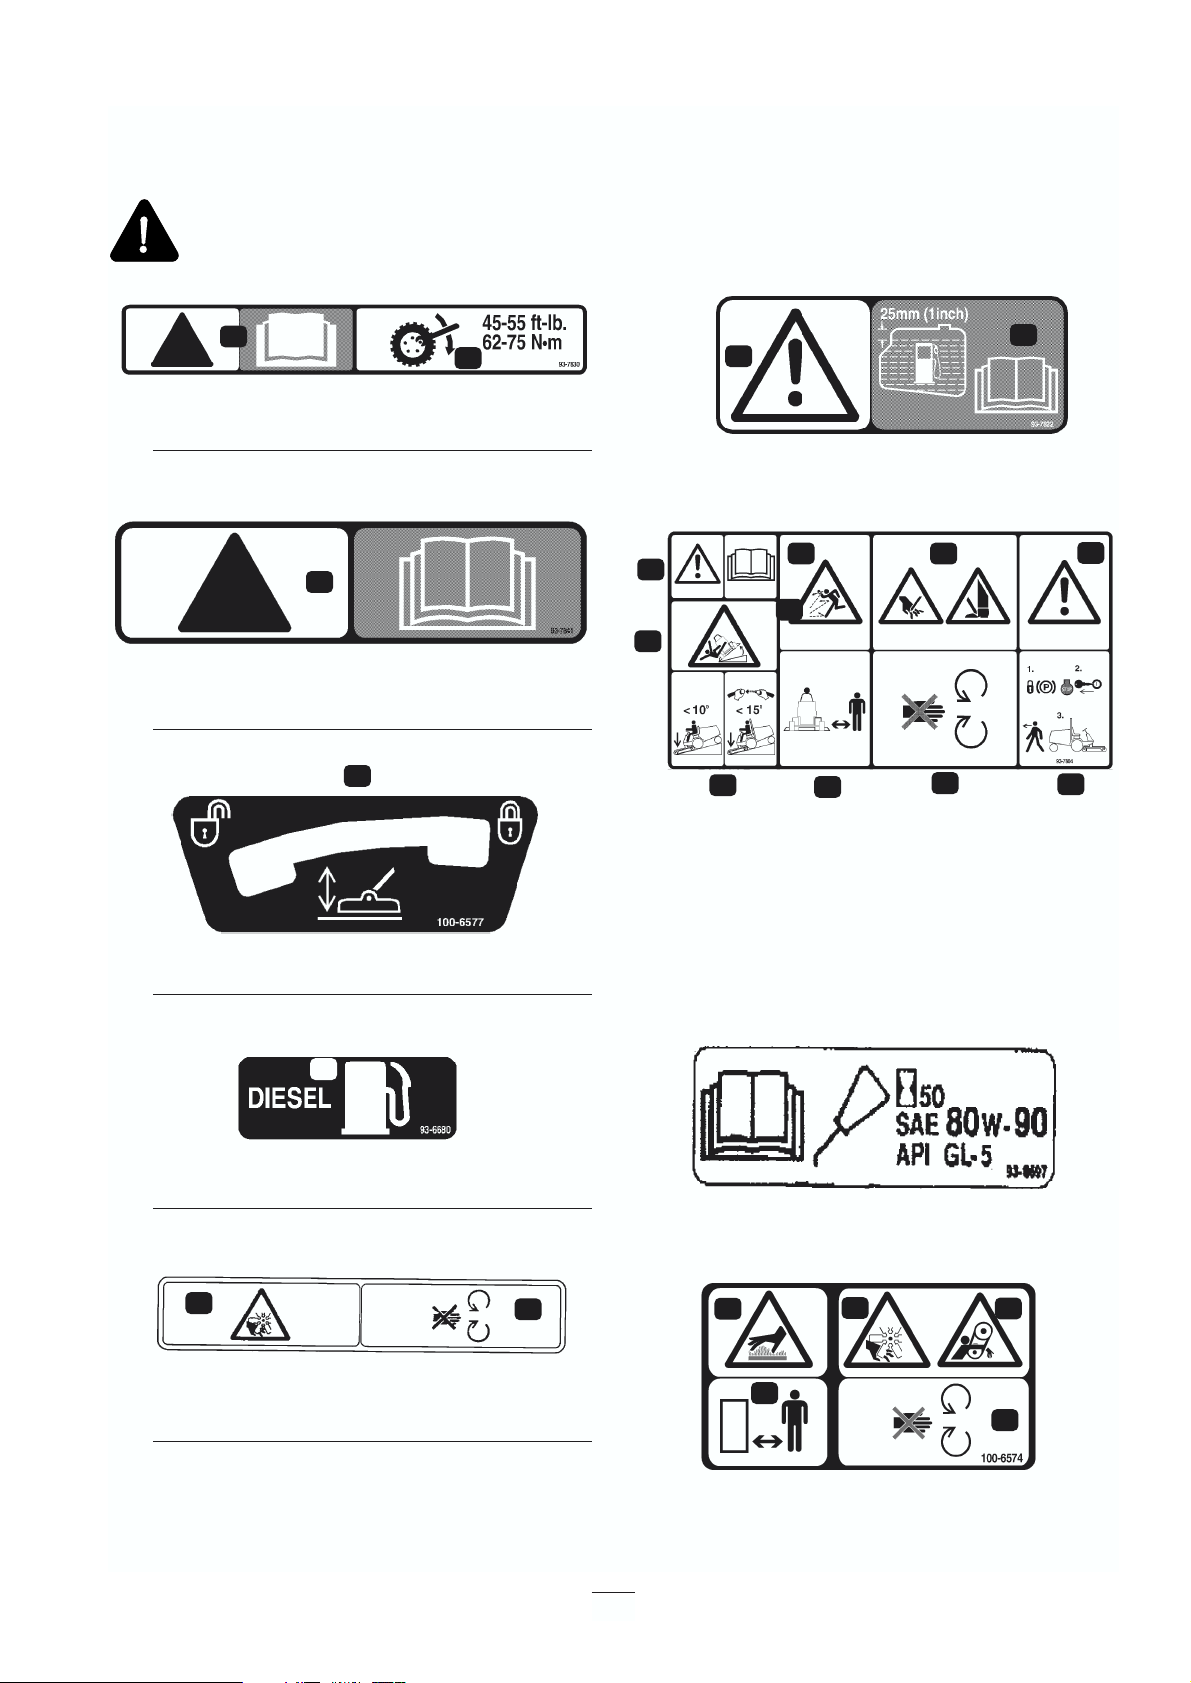
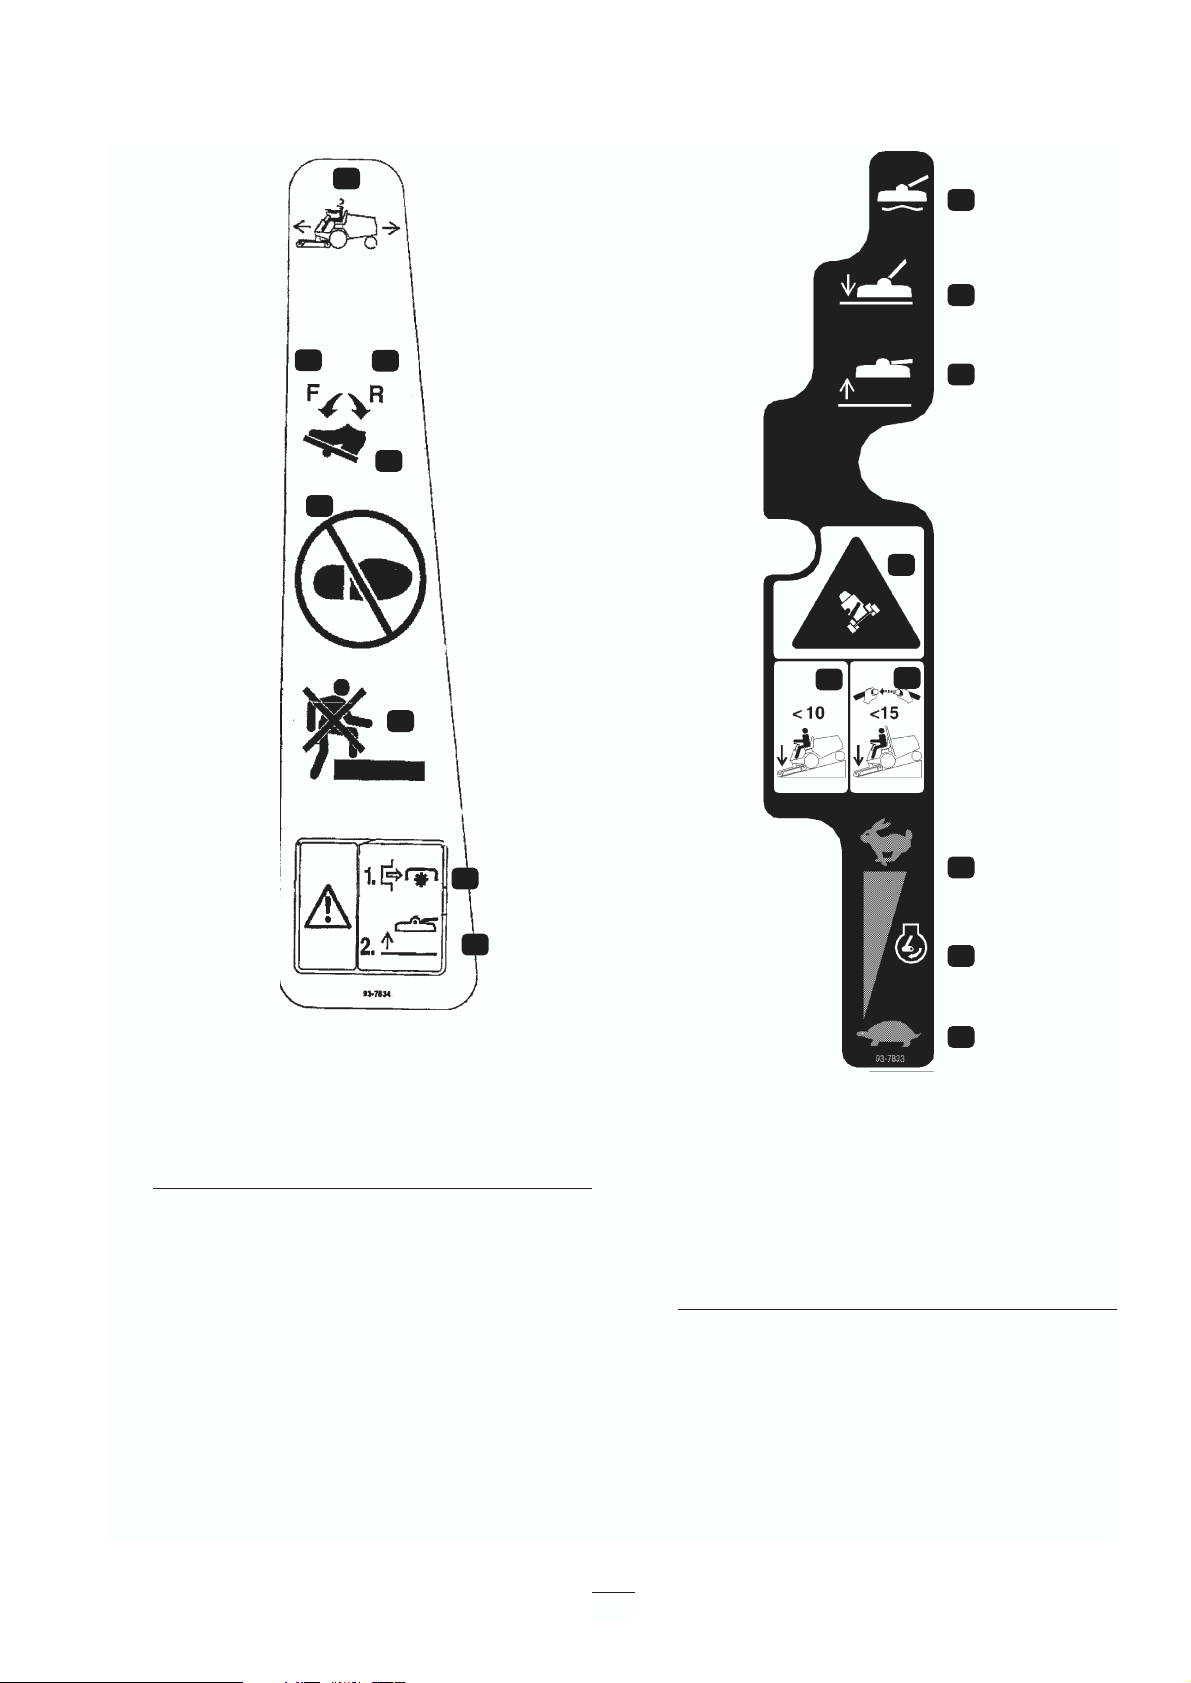
Slope Operation
Slopes and ramps are a major factor related to loss-of-
control and tip-over accidents, which can result in
severe injury or death. All slopes and ramps require
extra caution. If you cannot back up the slope or if
you feel uneasy on it, do not mow it.
DO
•If you must ascend a steep slope, back up the hill,
and drive forward down the hill, keeping the
machine in gear.
•Remove obstacles such as rocks, tree limbs, etc.
from the mowing area. Watch for holes, ruts or
bumps, as uneven terrain could overturn the
machine. Tall grass can hide obstacles.
•Use slow speed so that you will not have to stop
while on the slope.
•Follow the manufacturer’s recommendations for
wheel weights or counterweights to improve
stability.
•Use extra care with other attachments. These can
change the stability of the machine.
•Keep all movement on slopes slow and gradual.
Do not make sudden changes in speed or
direction.
•Avoid starting or stopping on a slope. If the tires
lose traction, disengage the blades and proceed
slowly straight down the slope. Avoid raising the
side decks on a slope.
•When operating the machine on slopes, banks or
near drop offs, always have roll-over protection
installed.
•When operating a machine with roll-over
protection always use seat belt.
•Be certain that the seat belt can be released
quickly if the machine is driven or rolls into
ponds or water.
•Check carefully for overhead clearances (i.e.,
branches, doorways, electrical wires) before
driving under any objects and do not contact
them.
DO NOT
•Do not mow slopes exceeding 15 degrees.
•Avoid turning on slopes. If you must turn, turn
slowly and gradually downhill, if possible.
•Do not mow near drop-offs, ditches, or
embankments. The machine could suddenly turn
over if a wheel goes over the edge of a cliff or
ditch, or if an edge caves in.
•Do not mow on wet grass. Reduced traction
could cause sliding.
•Do not try to stabilize the machine by putting
your foot on the ground.
Service
•Never store the machine or fuel container inside
where there is an open flame, such as near a
water heater or furnace.
•Keep nuts and bolts tight, especially the blade
attachment bolts. Keep equipment in good
condition.
•Never tamper with safety devices. Check safety
systems for proper operation before each use.
•Use only genuine replacement parts to ensure
that original standards are maintained.
•Check brake operation frequently. Adjust and
6