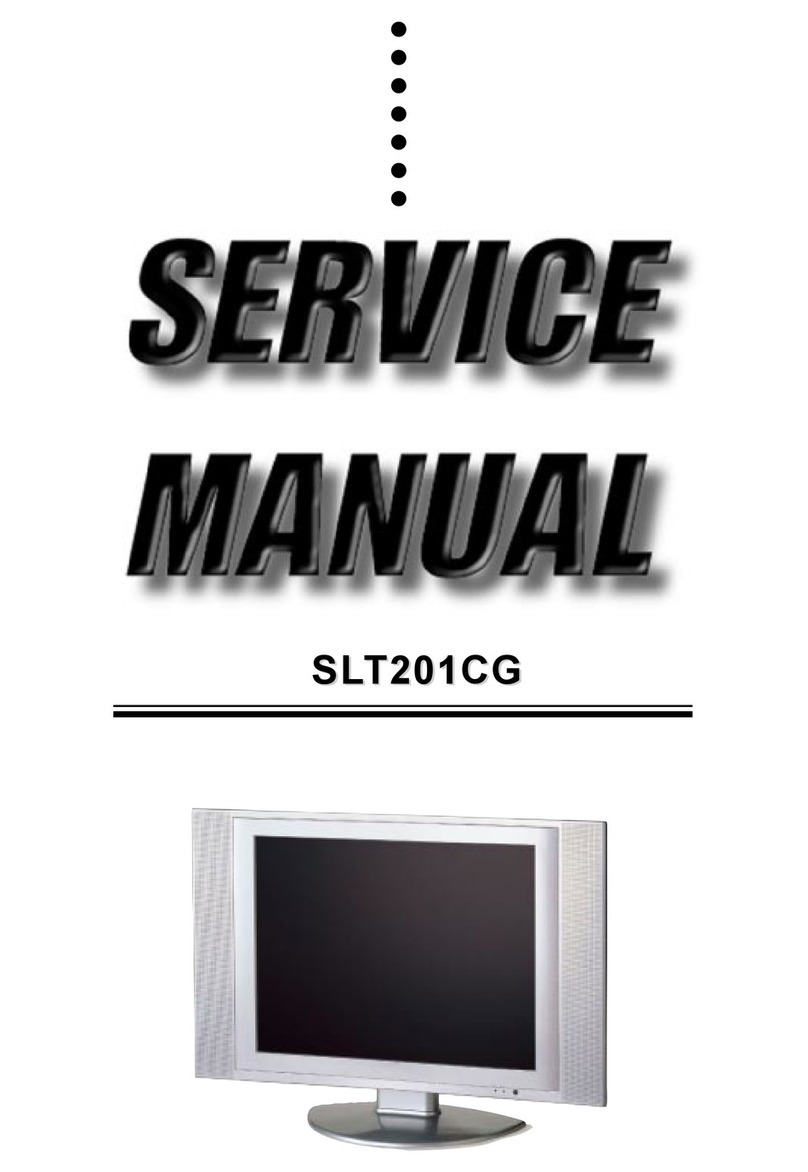
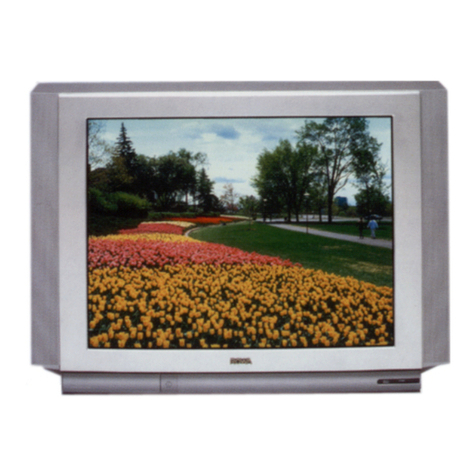
Tosaki EKTVM14 User manual

IMPORTANTSERVICE SAFETYINFORMATION
Operating the receiver outside of its cabinet or with its back removed involves ashock hazard. Work on these
models should onlybe performed bythose who are thoroughlyfamiliar with precautions necessarywhen working on
high voltage equipment.
Exercise care whenservicing this chassis with power applied. ManyBplus and high voltage RFterminals are
exposed which, if carelesslycontacted, can cause serious shock or result in damage to the chassis. Maintain
interconnecting ground lead connections between chassis, escutcheon, picture tube dag andtuner whenoperating
chassis.
These receivers havea polarized”AC line cord. The AC plug is designedto fit into standard AC outlets in one
direction only.The wide blade connects to the ground side”and the narrow blade connects to the hot side”of theAC
line. This assures that the TVreceiver is properlygrounded to the house wiring. Ifan extension cord must be used,make
sure it is of the polarized”type.
Since the chassis of this receiveis connectedto one sideof the AC supplyduring operation, service should not be
attempted byanyone not familiar with the precautions necessarywhen working on these types of equipment.
When it is necessaryto make measurements or tests with AC power applied to the receiver chassis, an Isolation
Transformer must be used as asafetyprecaution and to prevent possible damage to transistors. The Isolation
Transformer should be connected between the TVline cord plug and the AC power outlet.
Certain Highvoltage (HV) maybe cause X-rayradiation. Receivers should not be operated with HVlevels
exceeding thespecified rating for their chassis type. Higher voltage mayalso increase the possibilityof failure in the HV
supply.
Itis important to maintain specified values of all components in the horizontal and highvoltage circuits and
anywhere else in the receivethat could cause arise in highvoltage, or operating supplyvoltages. No changes should be
made the original design of the receiver.
Components shown in theshadedareas onthe schematic diagramand/or identified byin the replacement parts list
should be replaced onlywith exact factoryrecommended replacement parts. The use of unauthorized substitute parts
man creats maycreate shock, fire, X-rayradiation, or other hazards.
Todetermine the presence of high voltage, use anaccurate high impedance HVmeter connected between the
second anode leadand he CRTdag grounding device. When servicing the High Voltage Systemremovestatic charges
fromit byconnecting a10KOhmresistor in series Wan insulated wire(such as test probe) between thepicture tube dag
and 2nd anode lead(HaveAC line corddisconnected fromAC supply).
The picture tubeuse in this receiver employintegral implosion protection. Replace with atubeof the sametype
number for continued safety.Do not lift picture tube bythe neck. Handle the picture tube onlywhen wearing
shatterproof goggles and after discharging the high voltage completely,Keep others without shatter proof goggles away.
Before returning thereceiver to the user, performthe following safetychecks:
1. Inspect all lead dress to make certain that leads are not pinched or that hardware is not lodgedbetween the
chassis and other metal parts in the receiver.
2. Replace all protectivedevices such as non-metallic control knobs, insulating fishpapers, cabinet backs,
adjustment and compartment covers of shiedls, isolation resistor-capacitor networks, mechanical insulators etc.
3. Tobesure that not shock hazard exists, acheck for the presence of leakagecurrent shouldbe made at each
exposed metal part having areturn path to the chassis (antenna, cabinet metal, screw heads knobsand/or shafts,
escutcheon, etc.) in the following manner.
Plugthe AC line corddirectlyinto a120V,AC receptacle. (Do not usean Isolation Transformer during these
checks.) All checks must be repeated with the AC line cord plug connectionreversed. (Ifnecessary,anonpolarized
PDF 件以 "PDF 制作工厂" 试用版创建 http://www.fineprint.com

adapter plug must be used onlyfor the purpose of completing these checks.)
If available, measure current using an accurate leakagecurrent tester.Anyreading of 0.35mAor more is excessive
and indicates a potential shock hazard which must be corrected before returning the receiver to owner.
Ifareliable leakage current tester is not available, this allernate method of measurement should be used. Using
two clip leads, connect a1500Ohm,10 watt resistor paralleled bya0.15MFcapacitor in series with aknown earth
ground, such as awater pipe or conduit and themetal part to be checked. UseaVTVM or VOM with 1000 Ohmsper
Volt, or higher,sensitivityto measure this AC voltage drop across the resistor,. Anyreading of 0.35volt RMS of more is
excessive and indicates potential shock hazard whichmust be corrected before returninghe receiver to the owner.
ALIGNMENTPROCEDURES
PLEASE READ BEFOREATTEMPTINGSERVICE
1. Use anIsolation Transformer when performing anyservice on this chassis.
2. Never disconnect anyleads while receiver is in operation.
3. Disconnect all power before attempting an repairs.
4. Do not short anyposition of the circuit while the power is on.
5. Forsafetyreasons, replacing anycomponents should be according with identical replacement parts (SEE
PARTS LIST).
6. Before testing, warmup the TVfor at least 30 minutes and demagnetize the CRTwith an external degaussing
coil.
7. When removing aPCB or related component, after unfastening or changingawire, be sureto put the wire back
in its original position.
8. Inferior silicon grease can damage IC’sand transistors. When replacing IC’sand transistors, use onlyspecified
silicon grease,. Remove all old silicon when applying new silicon.
9. Before removing the anode cap, discharge eiecticitybecause it contains high voltage.
TESTEQUIPMENT
1. Oscilloscope
2. Multi-meter (Internal resistance: DC≥20kΩ/V AC≥5kΩ/V)
3. High voltmeter 35kV
4. Ammeter (0.5 rating, at DC 3mA position)
5. Degaussing coil
6. PT5820 signal generator
PDF 件以 "PDF 制作工厂" 试用版创建 http://www.fineprint.com

Factory menu
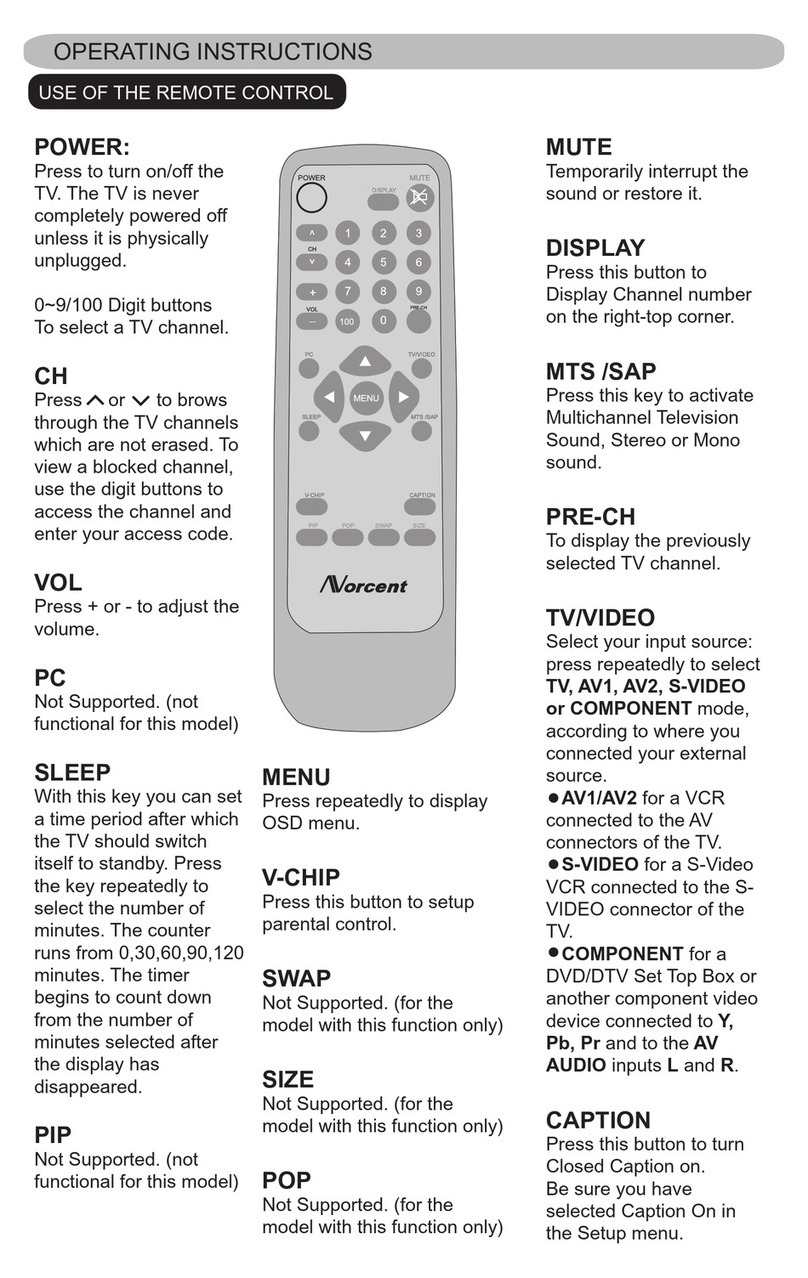
1. Press MUTE, TIMER, PICTURE buttons continuously in two seconds to enter
into factory menu.
2. Press P+, P- buttons to select the item to adjust.
3. Press VOL+、VOL- buttons to adjust the selected item or enter into the
submenu.
4. Press MENU button to return the super menu.
5. Under main menu mode, press MENU button to exit factory menu.
Factory menu settings please see the following: (* marked before the item
presents adjustable item, and the value in the bracket is default value)
AC power supply checkand +B DC adjustment
1.Check AC power supply is normal or not (120V, 60Hz and Sine Wave are normal)
2.Receive Television broadcast signal, set PICTURE to standard mode
3.Adjust RP950 so that voltages at two ends of C960 are +B, the voltage of
+B please see BOM
Highvoltage check and bulb voltage check
1. Make sure AC power supply and +B are within pointed range before
calibrating high voltage.
2. Connect high voltmeter to anode (G4) of CRT.
3. Turn on the receiver, set the BRIGHTNESS and CONTRAST to the minimum (zero
beam current).
4. High voltage must be measured below 27.5kV.
5. Bulb voltage must be measured within the range of 6.3±0.2Vrms by virtual
value meter
Picture IF setting
Receive any signal, enter into VCJVCO ADJ VIFVCO AUTOADJmenu
under factorymode, then press VOL+/- button, when END”displayson the screen, that
means intermediate frequencyhas been adjusted to 45.75M in ICautomatically.
RFAGC adjustment
1. Receive VH signal (Channel 7 or channel 10), apply 60dBμV gray scale
signal
2. Enter VDJ ADJ RF DELAY ADJ and press VOL+/- button to adjust it until
picture noise is just disappeared
PDF 件以 "PDF 制作工厂" 试用版创建 http://www.fineprint.com

FOCUS adjustment
1. Receive five circles pattern, adjust the pattern to standard mode
2. Adjust focus potentiometer (horizontal output transformer) so that the
center and four corners of pattern are the best focus.
Horizontal scanning,vertical scanning and geometry correctionadjustment
1. Receive five circles pattern signal, enter RASTER ADJ menu to adjust the
following parameters:
1.V POSITION Vertical Position
2.V SIZE Vertical Size
3.H POSITION Horizontal Position
Gridvoltage adjustment and WhiteBalance adjustment
1. Enter factory menu firstly and set PICTURE to STANDARD.
2. Enter into factory mode to set the following parameters:
PICTURE ADJ menu:
SUB BRIGHTNESS 160
SUB CONTRAST 80
CRT ADJ menu:
CUT OFF-R 127
CUT OFF-G 127
CUT OFF-B 127
DRIVE R 63
DRIVE B 63
Enter into CRT ADJ menu, press 0button to display one horizontal light
line on the screen, adjust grid potentiometer until this light line is just
appeared. Press 0 button again to exit the horizontal light line status.
Insert the plug for automatic adjustment, running white balance test
program (WB37150.EXE)
ReceiveA69 signal when you finish abovesteps, if grayscale could not reach seven and half cases,
just adjust PICTUREADJ—SUB BRIGHTNESSitemto meet this requirement.
Set USER MENU RESETOFFto initialize user menu after all test steps finishing, so that all menu
settings coincide with each other before the production leaving the factory.
(Ifyou haveset password in P.LOCKsubmenu, user menu initialization must be operated
following the abovesteps after you exiting P.LOCKmenu to clear the password in P.LOCK
submenu.)
PDF 件以 "PDF 制作工厂" 试用版创建 http://www.fineprint.com
Table of contents


