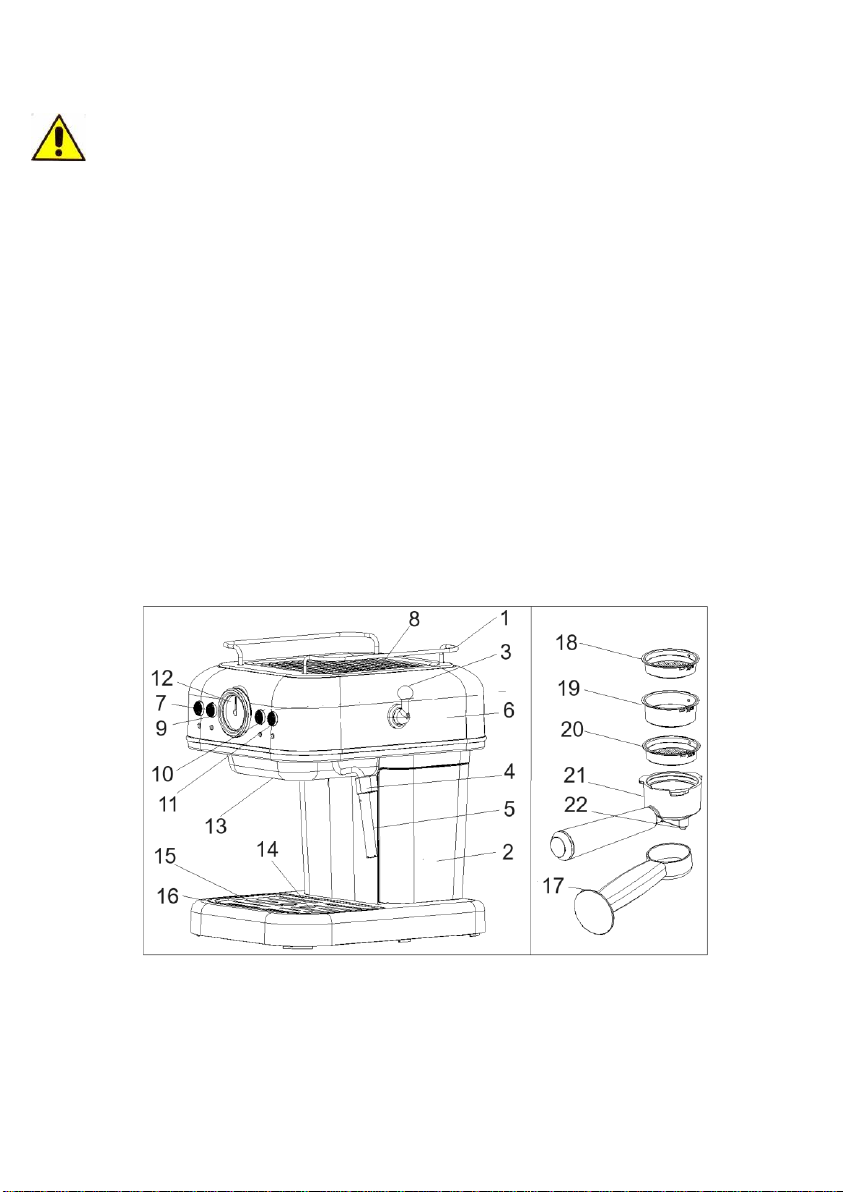
-Montare il portafiltro (21) nella sua sede (13). Inserire il portafiltro in corrispondenza del simbolo e
ruotare in senso orario fino al simbolo .
-Appoggiare una o due tazzine sotto agli ugelli di uscita caffè (22)
-Premere il tasto (9 - ) per una tazza di espresso o il tasto (10 - ) per due tazze.
-Il tasto premuto lampeggia. Vi è una breve fase di caricamento acqua e poi caffè viene erogato.
-Raggiunta la quantità desiderata premere nuovamente il tasto che lampeggia per fermare l’erogazione.
ATTENZIONE: non togliere il portafiltro durante l’erogazione. Al termine dell’erogazione attendere 10
secondi prima di rimuovere il portafiltro. Rimuovere lentamente il portafiltro per evitare schizzi.
-Al termine dell’erogazione le spie rimangono accese e si può fare un altro caffè.
-Se l’utilizzo è terminato, spegnere la macchina con il tasto (7).
ATTENZIONE: terminato l’utilizzo, non lasciare il portafiltro (21) inserito nella sua sede (13) per non
deteriorare la guarnizione presente nella sede del portafiltro.
FARE IL CAFFE’ CON CIALDE
-Inserire la spina nella presa elettrica e premere il tasto di accensione (7). Le spie dei tasti lampeggiano per
indicare che la macchina si sta scaldando, e poi rimangono accese fisse quando la macchina è pronta.
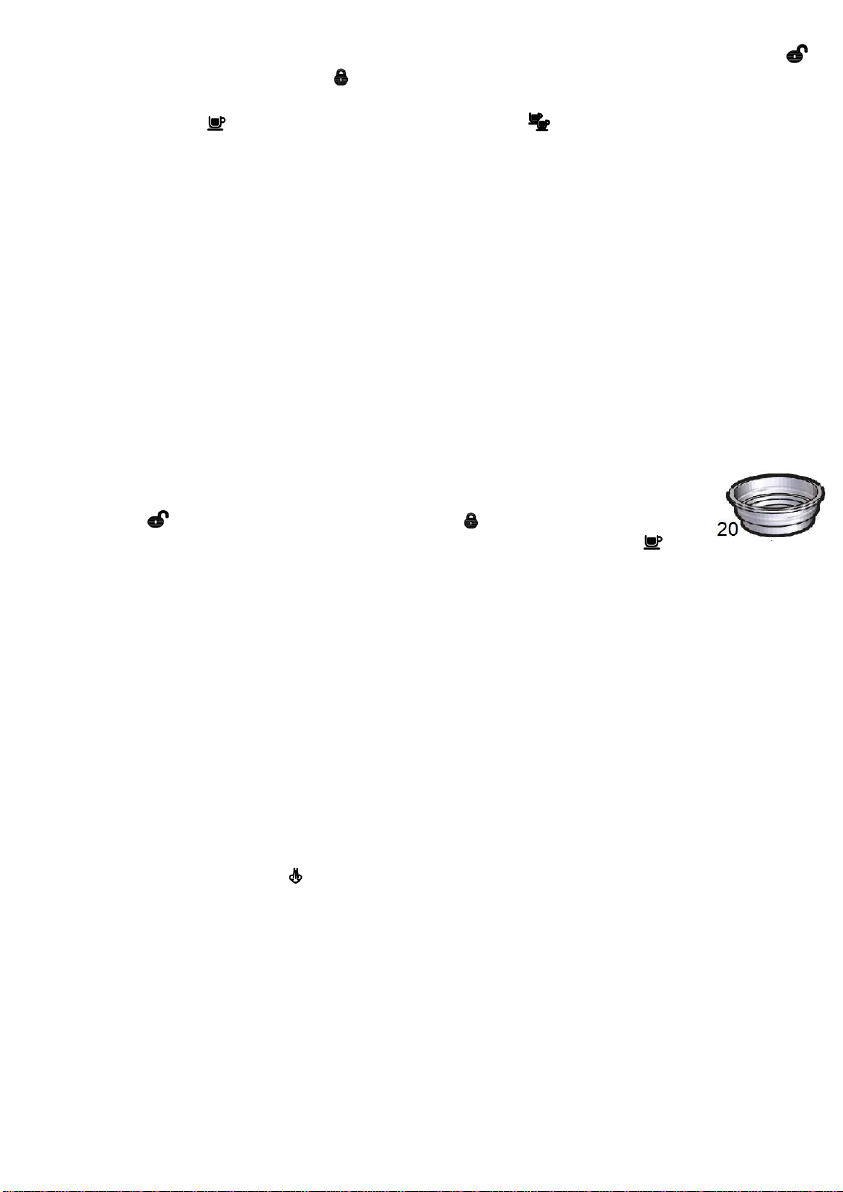
-Scegliere il filtro POD (20), ed inserirlo nel portafiltro (21).
-Mettere una cialda nel filtro, e spingerla con le dita verso l’interno. La cialda deve essere ben centrata e
premuta a fondo nel filtro. Se le parti esterne in carta fuoriescono dal filtro, piegarle verso l’interno.
ATTENZIONE: Se la cialda non è correttamente inserita, o se le parti esterne di carta non sono ben
ripiegate, il portafiltro potrebbe non serrarsi, e delle gocce potrebbero uscire dal portafiltro.
-Montare il portafiltro (21) nella sua sede (13). Inserire il portafiltro in corrispondenza
del simbolo e ruotare in senso orario fino al simbolo .
-Appoggiare una tazzina sotto agli ugelli di uscita caffè (22). Premere il tasto (9 - ).
-Il tasto premuto lampeggia. Vi è una breve fase di caricamento acqua e poi caffè viene erogato.
-Raggiunta la quantità desiderata premere nuovamente il tasto che lampeggia per fermare l’erogazione.
ATTENZIONE: non togliere il portafiltro durante l’erogazione. Al termine dell’erogazione attendere 10
secondi prima di rimuovere il portafiltro. Rimuovere lentamente il portafiltro per evitare schizzi.
-Al termine dell’erogazione le spie rimangono accese e si può fare un altro caffè.
-Nel togliere il portafiltro, la cialda potrebbe rimanere attaccata alla sede d’aggancio del portafiltro (13).
Per toglierla inclinare verso il basso il portafiltro, o staccarla delicatamente con un coltello.
-Se l’utilizzo è terminato, spegnere la macchina con il tasto (7).
ATTENZIONE: terminato l’utilizzo, non lasciare il portafiltro (21) inserito nella sua sede (13) per non
deteriorare la guarnizione presente nella sede del portafiltro.
PREPARARE LA SCHIUMA DI LATTE PER IL CAFFE’
-Preparare il caffè come descritto in precedenza, utilizzando una tazzina nel caso in cui si voglia preparare
un caffè macchiato, o una tazza nel caso si voglia un cappuccino.
-Mettere del latte intero in un bricco in acciaio inox, riempiendo per un terzo della capienza.
-Premere il tasto vapore (11 - ). La spia del vapore lampeggia per indicare che la macchina si sta
scaldano, e poi rimane fissa quando la macchina è pronta.
ATTENZIONE, Pericolo di ustioni: in erogazione vapore non direzionare il getto verso di sé o verso
altre persone. Impugnare il tubo erogatore solo dalla parte in gomma: non toccare parti metalliche.
-Dirigere il tubo di erogazione vapore (5) in un contenitore vuoto, ruotare la manopola (3) in senso
antiorario: verrà rilasciata un po’ di acqua e poi vapore. Fermare il vapore ruotando la manopola su “0”.
-Dirigere il tubo di erogazione vapore (5) nel bricco, immergere a fondo il tubo nel latte.
-Ruotare la manopola (3) in senso antiorario: il tubo comincerà ad erogare vapore.
-Durante l’erogazione del vapore, muovere e ruotare il bricco in modo che il getto raggiunga tutto il latte.
-Quando si vede la schiuma nel bricco, il latte è montato. Fermare il vapore ruotando la manopola su “0”.
-Versare la schiuma nella tazza di caffè preparata in precedenza.
ATTENZIONE: dopo ogni utilizzo del tubo (5), erogare vapore per alcuni secondi in modo da pulirlo da
residui di latte, e pulire il tubo con un panno umido.