8
Chain Tension
Air Powered Chain Saw
Air Saws • Gas Saws • Pipe Saws • Concrete Saws • Hydraulic Saws
Diamond Blades • Abrasive Blades • Diamond Wire • Electroplated Blades
Quality Saws, Blades, and Services
1 866 987 7297
Visit our website at www.ussaws.com
3317 W. Warner Avenue 11 High Street 8004B E Broadway Ave
Santa Ana, CA 92704 Sufeld, CT 06078 Tampa, FL 33619
Local 714 434 7297 Local 860 668 2402 Local 813 621 8015
Fax 714 434 7299 Fax 860 668 2404 Fax 813 621 7125
01312013
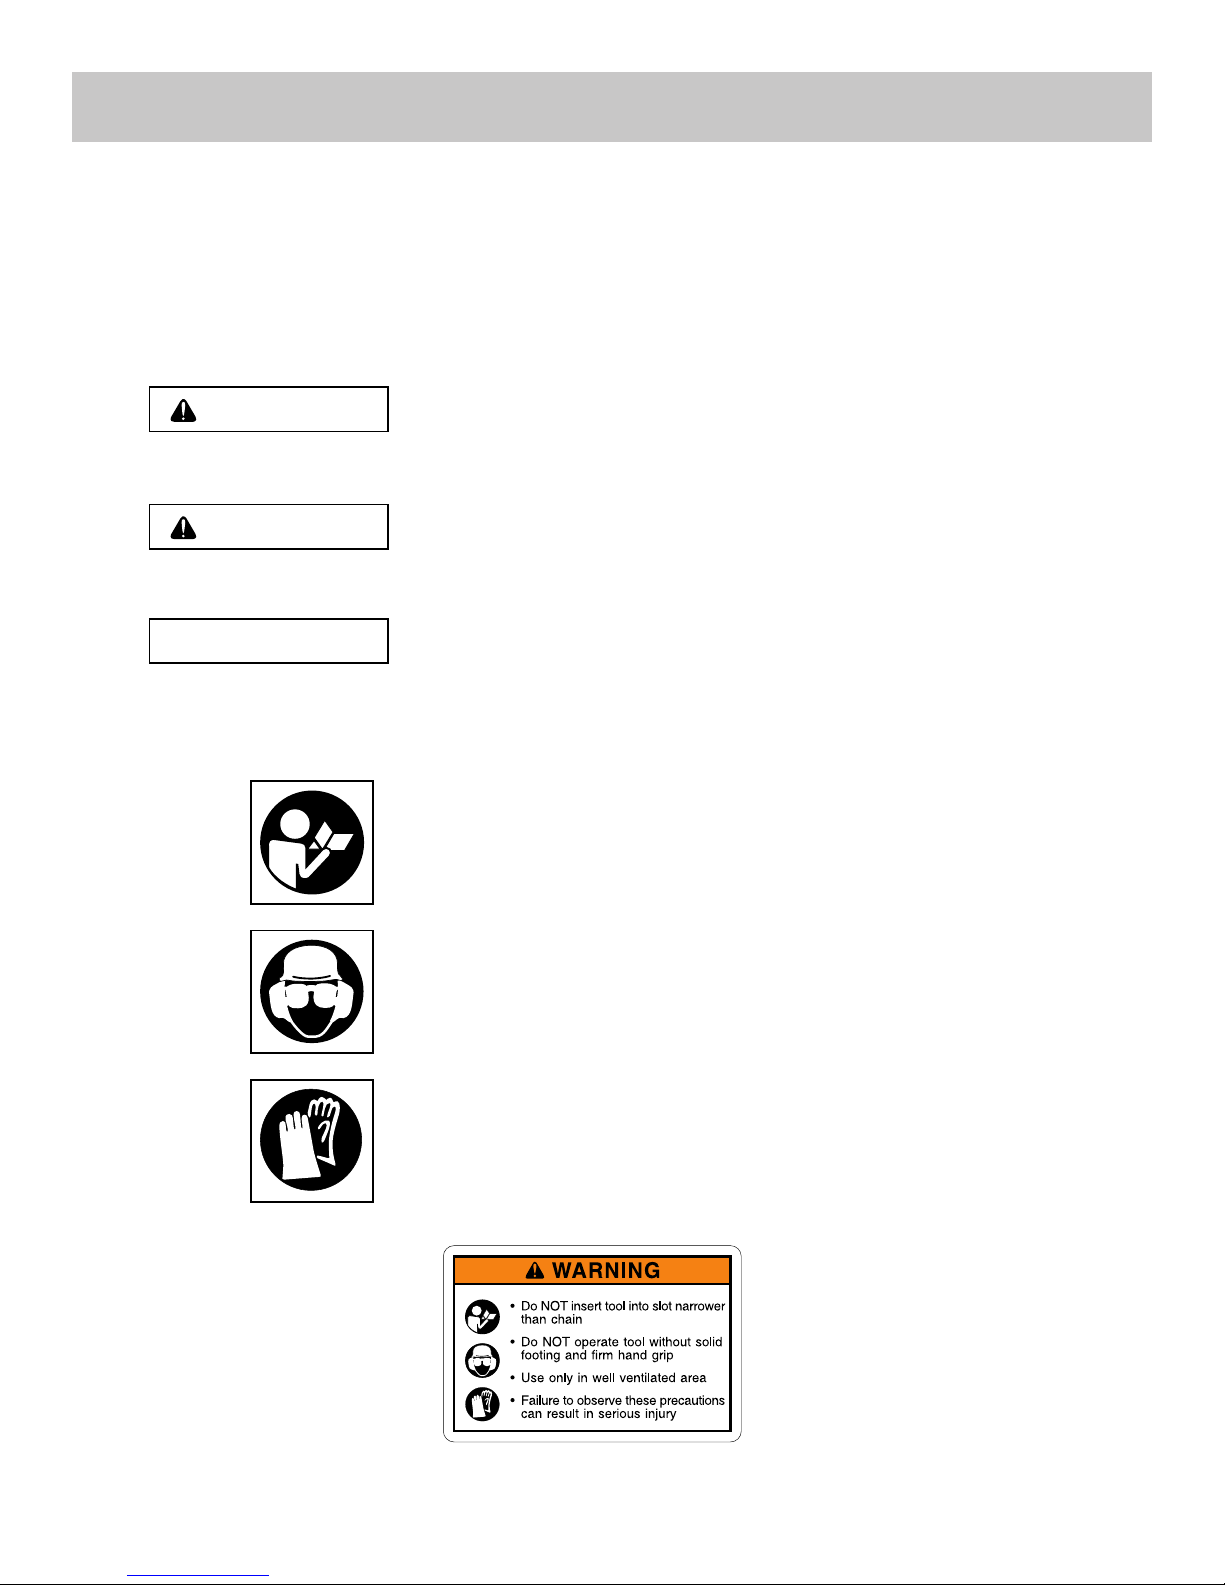
IMPORTANT
A properly tensioned chain will optimize cutting performance. The tensioning rule of thumb for
a concrete cutting chain saw is that a properly tensioned diamond chain must not be bowstring
tight and can be pulled freely around the guide bar by hand easily without binding.
PROPER CHAIN TENSION
If the chain is too loose, it could come off the bar, or it will allow the drive
sprocket to spin without turning the chain, which can chew up the chain drive
links. If the chain is too tight, a lot of the saw’s power goes into turning the
chain rather than into the cut. In extreme over-tightened cases, the saw may not
be able to turn the chain at all. In addition, damage can occur to the bar nose
and premature stretch may occur.
HOW TO CHECK
Before cutting, check for proper tension by pulling the chain around the bar
by hand. If you cannot easily pull by hand, the chain is too tight and needs to
be loosened.
WHEN TO TENSION
All chains have a tendency to stretch when used. Diamond chains stretch
more than wood cutting chains because of the abrasive materials they are
cutting. When a chain stretches to a point where the drive links are hanging
approximately 1/2 in- 3/4 in (12 - 18 mm)below the bar, it’s time to tension
the chain.
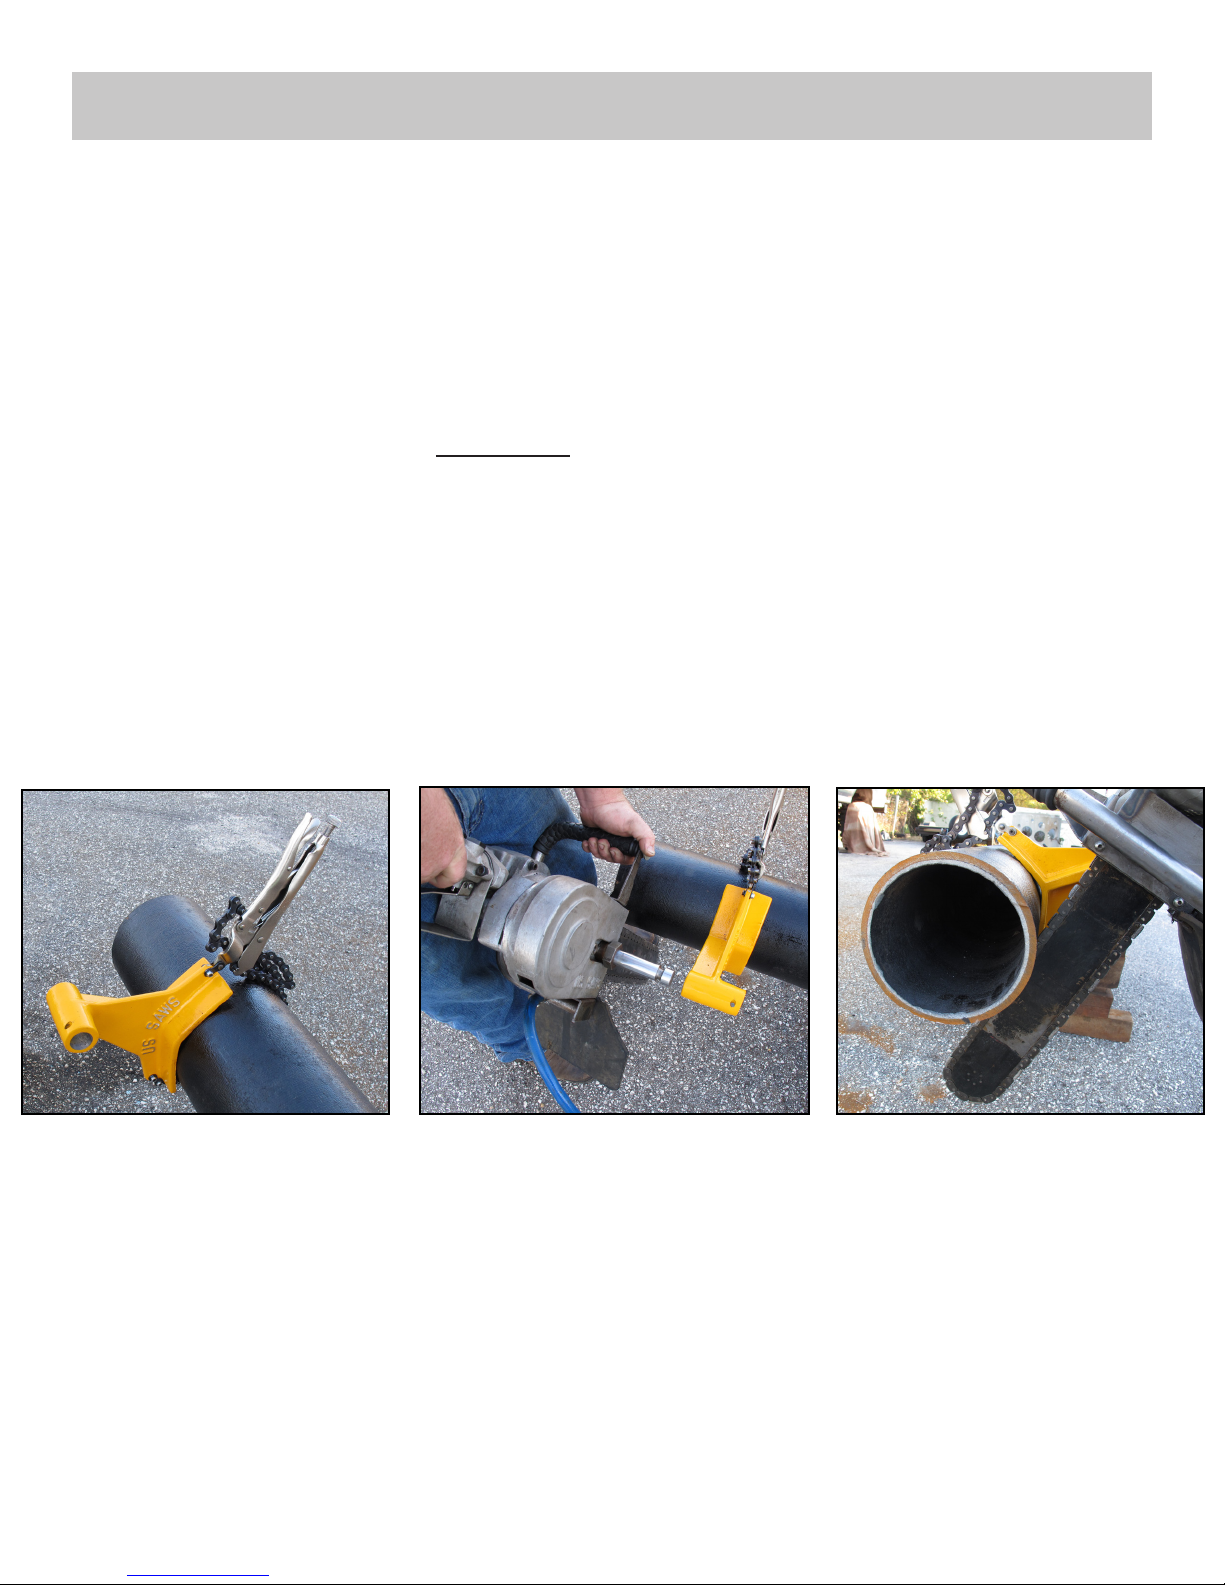
HOW TO TENSION
To tension the chain, first loosen the side cover nuts, then while holding the nose of
the bar up, use a screw driver to turn the tensioning screw clockwise until the chain
drive links hanging below the bar are just beginning to enter the bar groove. Continue
to hold up on the nose of the bar and firmly tighten the side cover nuts, (20 ft-lbs,
27 Nm). And remember, it’s the side cover nuts that hold the bar in position.
HOW TO PREVENT CHAIN TENSIONER BREAKAGE
Do not attempt to adjust the tensioner without first loosening the side cover nuts. Do
not use the saw without making sure the side cover nuts are tight. If the side cover nuts
are not tight, the bar can slip backwards during cutting and break the tensioner pin.
correct chain tension
chain chain
too loose too tight
Proper Chain Tension
If the chain is too loose, it could come off the bar, or it will
allow the drive sprocket spin without turning the chain
which can damage the chain drivel inks. If the chain is
too tight, much of the saw’s power goes into turning the
chain rather than into the cut. In extreme over-tightened
cases, the saw may not be able to turn the chain at
all. In addition, damage can occur to the bar nose and
premature chain stretch may occur.
How To Check
Before cutting, check for proper tension by pulling the
chain around the bar by hand. If you cannon easily pull by
hand, the chain is too tight and needs to be loosened.
When to Tension
All chains have a tendency to stretch when used.
Diamond chains stretch more than wood cutting chains
because of the abrasive materials they are cutting. When
a chain stretches to a point where the drive links are
hanging approximately 1/2 inch to 3/4 inch below the
bar, it’s time to tension the chain.
How to Tension
To tension the chain, rst loosen the side cover nuts, then
while holding the nose of the bar up, use a screwdriver to
turn the tensioning screw clockwise until the chain drive
links hanging below the bar are just beginning to enter
the bar groove. Continue to hold up on the nose of the bar
and rmly tighten the side cover nuts. And remember, it’s
the side cover nuts that hold the bar in position.
How to Prevent Chain Tensioner Breakage
Do not attempt to adjust the tensioner without rst
loosening the side cover nuts. Do not use the saw without
making sure the side cover nuts are tight. If side cover
nuts are not tight, the bar can slip backwards during
cutting and break the tensioner pin.
Air Saws • Gas Saws • Pipe Saws • Concrete Saws • Hydraulic Saws
Diamond Blades • Abrasive Blades • Diamond Wire • Electroplated Blades
Quality Saws, Blades, and Services
1 866 987 7297
Visit our website at www.ussaws.com
3317 W. Warner Avenue 11 High Street 8004B E Broadway Ave
Santa Ana, CA 92704 Sufeld, CT 06078 Tampa, FL 33619
Local 714 434 7297 Local 860 668 2402 Local 813 621 8015
Fax 714 434 7299 Fax 860 668 2404 Fax 813 621 7125
01312013
IMPORTANT
A properly tensioned chain will optimize cutting performance. The tensioning rule of thumb for
a concrete cutting chain saw is that a properly tensioned diamond chain must not be bowstring
tight and can be pulled freely around the guide bar by hand easily without binding.
PROPER CHAIN TENSION
If the chain is too loose, it could come off the bar, or it will allow the drive
sprocket to spin without turning the chain, which can chew up the chain drive
links. If the chain is too tight, a lot of the saw’s power goes into turning the
chain rather than into the cut. In extreme over-tightened cases, the saw may not
be able to turn the chain at all. In addition, damage can occur to the bar nose
and premature stretch may occur.
HOW TO CHECK
Before cutting, check for proper tension by pulling the chain around the bar
by hand. If you cannot easily pull by hand, the chain is too tight and needs to
be loosened.
WHEN TO TENSION
All chains have a tendency to stretch when used. Diamond chains stretch
more than wood cutting chains because of the abrasive materials they are
cutting. When a chain stretches to a point where the drive links are hanging
approximately 1/2 in- 3/4 in (12 - 18 mm)below the bar, it’s time to tension
the chain.
HOW TO TENSION
To tension the chain, first loosen the side cover nuts, then while holding the nose of
the bar up, use a screw driver to turn the tensioning screw clockwise until the chain
drive links hanging below the bar are just beginning to enter the bar groove. Continue
to hold up on the nose of the bar and firmly tighten the side cover nuts, (20 ft-lbs,
27 Nm). And remember, it’s the side cover nuts that hold the bar in position.
HOW TO PREVENT CHAIN TENSIONER BREAKAGE
Do not attempt to adjust the tensioner without first loosening the side cover nuts. Do
not use the saw without making sure the side cover nuts are tight. If the side cover nuts
are not tight, the bar can slip backwards during cutting and break the tensioner pin.
correct chain tension
chain chain
too loose too tight