VistaQuest DV-580HD User manual

Digital Video Camcorder
DV-580HD
User’s Manual

2
For customers in North and South America
For customers in USA
This device complies with Part 15 of the FCC rules. Operation is subject to the following two
conditions:
(1) This device may not cause harmful interference.
(2) This device must accept any interference
received, including interference that may cause
undesired operation.
For customers in Canada
This Class B digital apparatus meets all the requirements of the Canadian
Interference-Causing Equipment Regulations.
For customers in Europe
“CE” mark indicates that this product complies
with the European requirements for safety,
health, environment and customer protection.
“CE” mark cameras are intended for sales in
Europe.

3
Contents Page
Notice 4
Accessories 4
Components 5
Function Keys 6
Quick Guide 7
• Installing the Battery 7
• Charging the Battery 7
• Inserting/Taking out an SD card (Required) 8
• Starting the Camcorder 8
Recording and Photographing 8
• Record Mode 8
• Photograph Mode 9
• TV-IN Mode 10
Playback mode 10
Menu 11
• Menu mode 11
• Playback menu 14
•System Menu
Important Functions 16
•Record Mode 16
• Photograph Mode 18
Data Transmission to PC 20
ArcoSoft Media Impression 21
Organize 22
Present 23
Photo and video editing 24
Share 26
Protect 27
Specifications 28

4
Notice:
This digital camcorder has similar operations as a PC. If it has no
response during operation, please take the following steps:
1. Take out the battery.
2. Reinstall the battery.
3. Restart the device.
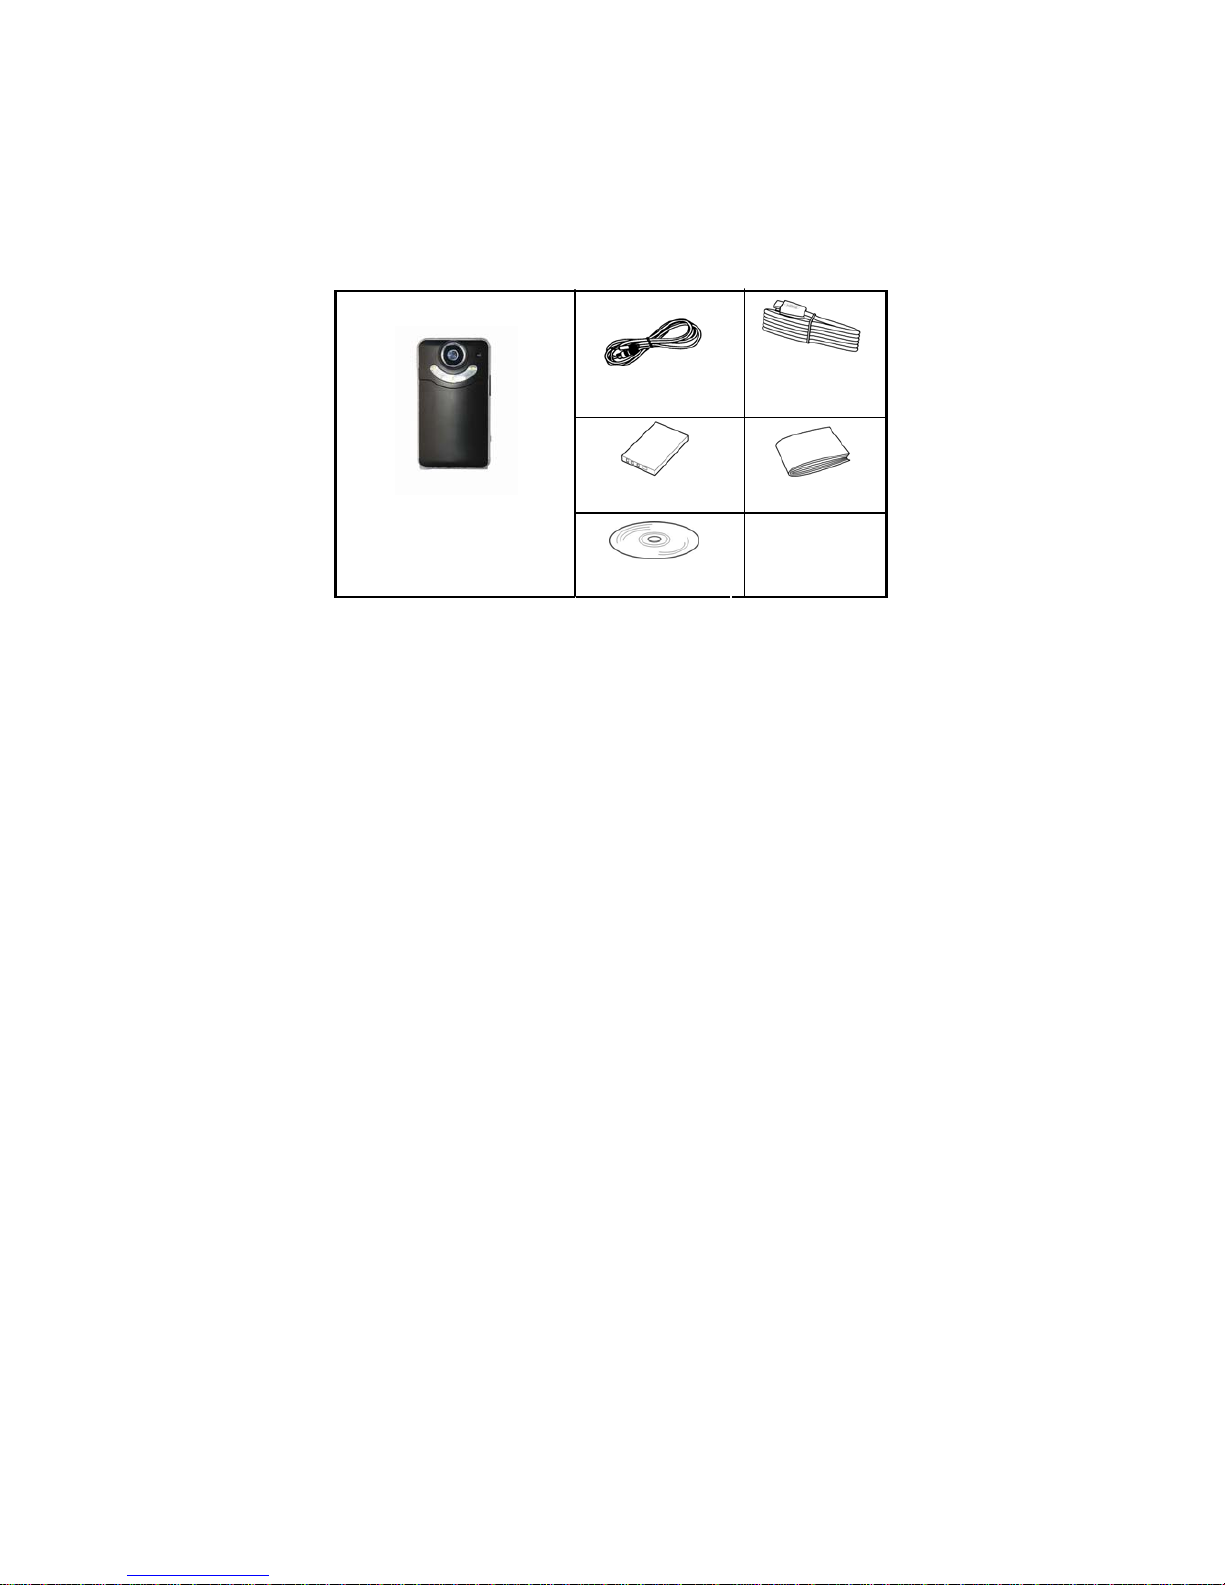
Accessories
•TV cable
•HDMI cable
• Lithium lon battery
•Digital Camcorder
• Installation CD
• User’s manual

5
Components

6
Function Keys:
Power Switch: Slide it to power on/off the camcorder.
Mode Key: Switch among record mode, camera mode and TV IN mode, or exit
from playback mode.
Battery Door
Release: Slide it to open the battery door.
Record Key: Start/ stop recording or photographing; switch among the settings in a
menu; start/pause playing video under playback mode; switch from
multiple playback to single playback under playback mode
Left Key: Press it for shrink function of digital zoom in Record and Photograph
Mode; skip to the previous option in a menu interface; page up under
playback mode; fast backward while playing a video under playback
mode
Right Key: Press it for enlargement function of digital zoom in Record and
Photograph Mode; skip to the next option in a menu interface; page
down under playback mode; fast forward while playing a video under
playback mode
Menu Key: Press it to enter/quit a menu under photograph, record or playback
mode
Playback Key: Press it to enter playback mode under photograph or record mode;
quit a menu in a menu interface; enter multiple playback under
playback mode

7
Quick Guide
Installing the Battery
1. Slide the battery door release to open it as shown in the picture on the
right.
2. Install the battery properly according to its polarities.
3. Close the battery cover.
Charging the Battery
(1) Press down and then push the USB interface release in the direction
indicated in the picture below to withdraw the connector.
(2) Connect the USB connector of the camcorder to a USB port of a PC.
(3) Slide the Power Switch to power on the camcorder. After powering it on,
the LED lamp around the lens will flash a blue light to indicate charging until the charging is
finished.
Note: If the device cannot be powered on as it is not used for a long time, connect it to PC for
10 minutes before powering it on.

8
Inserting/Taking out an SD card (Required)
1. Insert an SD card into the SD card slot as shown in the picture.
2. The device has no memory itself, without an SD card, the record function,
the record function in TV-IN and the photograph function in photograph
mode will not be applicable.
3. Push the SD card slightly inwards before taking it out.
Starting the Camcorder
1. Slide the Power Switch in the direction indicted on it as shown in the picture on
the right.
2. After startup, the LED lamp around the lens will give off blue light and the
screen will enter record mode by default.
Recording and Photographing
Record Mode: enter this mode by default after startup
1. Press the Left Key for the shrink function of digital zoom; press the Right Key for
enlargement function of digital zoom.
Note: When the record size is 1920*1080, digital zoom is not supported.
2. Press once the Record Key to start recording, and press it again to stop recording.
3. Press the Menu Key to enter the menu under record mode, and press it again to quit

9
the menu and return to the interface under record mode.
4. Press the Playback key to enter playback mode, and after entering, press the Mode
Key to quit playback mode.
5. Press the Mode Key to switch among record mode, photograph mode and TV-IN
mode.
Photograph Mode: press once the Mode Key after startup to
switch to this mode
1. Press the Right Key for the enlargement function of digital zoom; press the Left Key
for the shrink function of digital zoom.
2. Press the RecordKey to take photos.
3. Press the Menu Key to enter the menu under photograph mode, and press it again to
quite the menu and return to the interface under photograph mode.
4、Press the Playback Key to enter playback mode, and after entering, press the Mode
Key to quit playback mode and enter record mode.
5. Press the Mode Key to switch among record, photograph and TV IN modes.

10
TV IN Mode: after startup, press the Mode Key twice to switch to
TV IN mode, start the DVD player, and connect the camcorder to the DVD
player as shown in the following picture.
1. Press the Record Key to start recording, and press it again to stop recording.
2. Press the Playback Key for mute, and press it again to enable voice.
3. Press the Mode Key to quit TV IN mode.
Playback mode: after startup, press the Playback Key to enter this
mode
1. Under this mode, press the Playback Key to browse multiple files, press the Left/Right
Key to select a photo or record file, and press the Record Key to quit the mode of
multiple file browsing and return to playback mode.
2. When the current file is a Video file, press the Record Key to start playing video,
and press it again to pause. When playing a video, press the Right/Left Key for fast
forward/backward, press the Menu Key to return to playback mode, or press the

11
Playback key to return to the mode of multiple file browsing.
3. Press the Mode Key to quit playback mode.
Menu
Menu mode: press the Menu Key to enter the menu interface.
1. Press the Left Key to skip to the previous option, or press the Right Key to skip to the
next option.
2. Press the Record Key to switch among different settings of the menu items.
3. Press the Menu Key or the Playback key to quit the menu and enable the menu
setting.
4. Take the following steps to enter the menu of system settings.
(1) Press the Left Key to skip to the first option of the menu as shown in the following
picture.

12
(2) Press again the Left Key , and the blue option bar will disappear as shown below.
(3) Press the Record Key to skip to the menu of system settings as shown below.

13
(4) Press the Right Key to skip to the first item of the menu of system setting as shown
below.

14
Note: When adjusting the time, use the Record Key to set time, and use the
Playback Key to switch between the date and time.
Playback menu:
1. After entering playback mode, press the Menu Key to enter the playback menu, or
press the Left Key orRight Key to select DELETE or SLIDE SHOW function.
2. The DELETE function includes three options:
“yes”- delete a single file, “DELETEALL”- delete all files and “no”- do not delete
3. The SLIDE SHOW function includes four options:
“no”- do not use slides, “5 SECONDS”- slide shows with 5-second intervals, “3 SECONDS” -
slide shows with 3-second intervals and “1 SECOND” - slide shows with 1-second intervals

15
System Menu:
1. The Volume item is for setting the keystroke volume, which includes six grades.
0- mute 1- lowest volume 2- grade-2 volume
3- grade-3 volume 4- grade-4 volume 5- grade-5 volume
2. The LANGUAGE item is for setting a language environment for the system, which includes
four options.
ENGLISH- English language environment
Japanese- Japanese language environment
Traditional Chinese- Traditional Chinese environment
Simplified Chinese- Simplified Chinese environment
3. The DATE item is for setting the date.
Press the Record Key to increase the option values, or press the Playback Key
to select a different number item.
4. The Clock item is used for setting the time.
Press the Record Key to increase the option values, or press the Playback Key
to select a different number item.
5. The FORMAT item
Select YES to format the device, and all the content in the memory will be lost.

16
Select No to avoid the above operation.
6. SYS.RESET
Select YES to reset the system, and all the factory settings will be recovered.
Select No to avoid the above operation.
7. TheAUTO OFF item is for setting the time of auto shutdown, which includes 4 options:
OFF- manual shutdown 5 MINS- shutdown after 5 minutes
3 MINS- shutdown after 3 minutes 1 MINS- shutdown after 1 minute
8. The LIGHT FREO item has 2 options: 50HZ 和60HZ.
9. The STAMP item is for the setting of the display of date and time in records and photos.
Select ON to enable the display.
Select OFF to disable the display.
10. The VERSION item is for the display of the system version and date.
Important Functions
Record Mode
The record menu includes the following items and functions.
1. The SIZE item includes four options:
(1) 1920×1080 (2) 1280×720 (3) 848×480 (4).640×480
2. The EV item includes 13 options:

17
+0, -0.3 -0.7 -1
-1.3 -1.7 -2 +2
+1.7 +1.3 +1 +0.7
+0.3
The value can be adjusted according to the ambient brightness.
3. The WHITE B (white balance) item includes 5 options:
(1). AUTO- automatic adjustment
(2). FLUORESCENT- for fluorescent light
(3). TUNGSTEN- for tungsten lights
(4). CLOUDY- for cloudy weather
(5). SUNNY- for under sunlight
4. The CONTRAST item includes 3 options:
STANDARD SOFT HARD
5. The SHARPNESS item includes 3 options:
STANDARD SOFT HARD

18
6. The EFFECT item includes 6 options:
(1) OFF (2) VIVID (3) MONOCHROME
(4) NEGATIVE (5) SEPIA (6) ART
7. The LED item includes 2 options:
OFF- turn off the LED lamp ON- turn on the LED lamp
Photograph Mode
The photograph menu includes the following items and functions.
1. The SIZE item includes three options: 3 M, 5 M and 8 M.
2. The EV item includes 13 options:
+0, -0.3 -0.7 -1
-1.3 -1.7 -2 +2
+1.7 +1.3 +1 +0.7
+0.3
The value can be adjusted according to the ambient brightness.
3. The QUALITY item includes:
(1). GOOD (2) FINE (3) NORMAL
4. The WHITE B (white balance) item includes 5 options:

19
(1). AUTO- automatic adjustment
(2). FLUORESCENT- for fluorescent light
(3). TUNGSTEN- for tungsten lights
(4). CLOUDY- for cloudy weather
(5). SUNNY- for under sunlight
5. The CONTRAST item includes 3 options:
STANDARD SOFT HARD
6. The SHARPNESS item includes 3 options:
STANDARD SOFT HARD
7. The EFFECT item includes 6 options:
(1) OFF (2) VIVID (3) MONOCHROME
(4) NEGATIVE (5) SEPIA (6) ART
8. The SELFTIMER item includes:
YES- enable timed photograph function
NO- disable timed photograph function
9. The BURST item includes:
(1). NO- no burst
(2). 5PICS- 5 pictures in burst mode

20
(3). 3PICS- 3 pictures in burst mode
10. The LED item 2 includes:
OFF- turn off the LED lamp ON- turn on the LED lamp
Data Transmission to PC
(1). Press down and then push the USB interface release in the direction
indicated in the picture below to withdraw the connector.
(2) Connect the USB connector of the camcorder to an USB port of a PC.
(3) Slide the Power Switch to power on the camcorder.
(4) Double click on "My computer" on the PC desktop to open it, and two drive letters of
removable disks will be displayed: one for the memory device of the camcorder, and the other
for the SD card.
Table of contents
Other VistaQuest Camcorder manuals

VistaQuest
VistaQuest Digital Video Camcorder User manual

VistaQuest
VistaQuest VQ DV5 User manual

VistaQuest
VistaQuest VQ-DV7 User manual

VistaQuest
VistaQuest VQ-DV7 User manual

VistaQuest
VistaQuest VQ DV8 User manual

VistaQuest
VistaQuest DV820HD User manual

VistaQuest
VistaQuest DV500 User manual

VistaQuest
VistaQuest 7 Mega Pixel Digital Camcorder w/2.0" Color TFT LCD Display DQ... User manual

VistaQuest
VistaQuest DV900HD User manual