1 BY ONE BEAUTURAL 719NA-0002 User manual
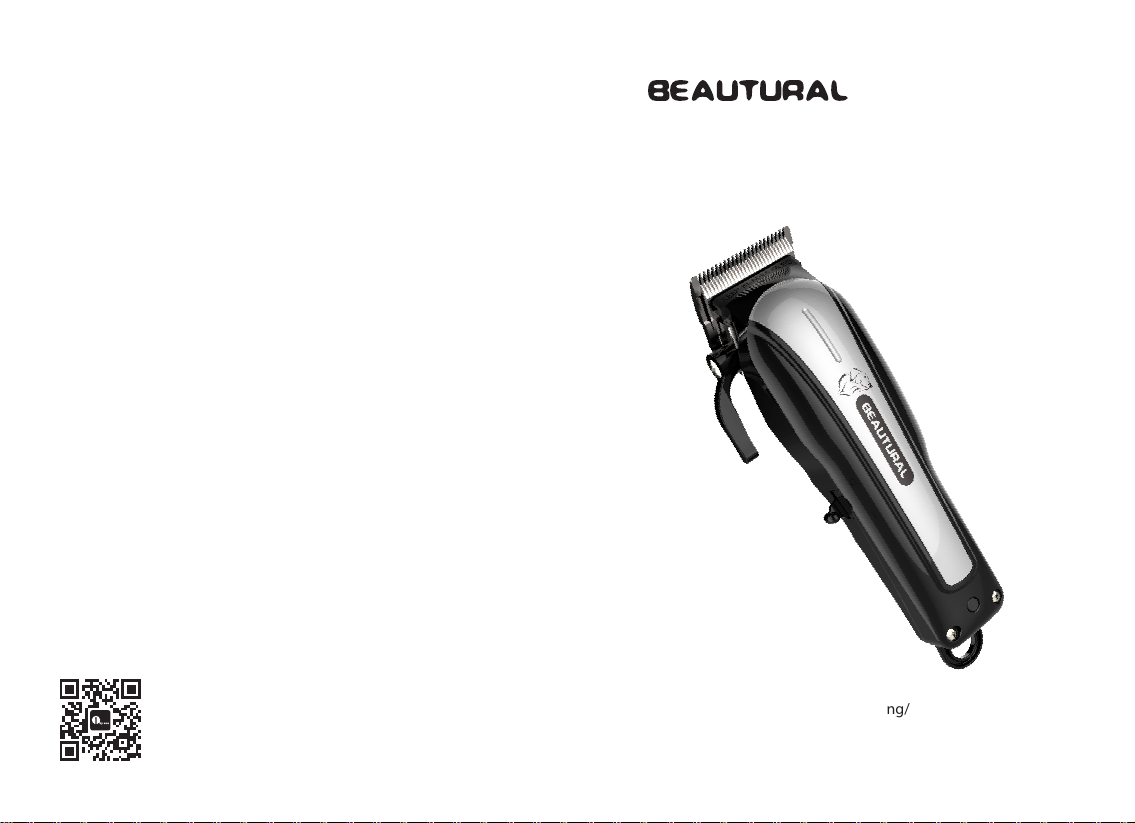
Professional Pet Grooming Kit
1byone Products Inc.
1230 E Belmont Street, Ontario, CA 91761
Customer Service: +1 909-391-3888
www.1byone.com
Instruction Manual/ Bedienungsanleitung/ Manuel d'instructions/
Manual de instrucciones/ Manuale di istruzioni

-1-
EN
DE
FR
ES
IT
SAFETY INSTRUCTIONS
READ ALL INSTRUCTIONS BEFORE USING THIS PRODUCT AND
SAVE THESE INSTRUCTIONS.
When using an electric product, especially when children are
present, basic safety precautions should always be followed.
DANGER:
As with most electric appliances, electric parts are electrically
live even when the appliance is switched OFF. To reduce the
risk of injury or death by electrical shock:
• Do not reach for a product that has fallen into water. Unplug
it immediately from wall power.
• Do not use while bathing or in a shower, tub or sink.
• Do not place or store the product where it can fall or be
pulled into a tub or sink. Do not place in or drop into water
or other liquids.
• Always unplug the product from the electrical outlet
immediately after using (except when charging).
• Always unplug the product before cleaning.
WARNING: KEEP APPLIANCE DRY. KEEP AWAY FROM WATER.
To reduce the risk of burns, electrocution, re or injury to
persons:
• Do not crush, disassemble, heat above 100°C (212ºF), or
incinerate the clippers.
• The grooming kit should not be used by children or persons
with reduced physical, sensory or mental capabilities unless
provided instruction and supervision.
• Children should be supervised to ensure that they do not
play with this grooming kit.
• This product should never be left unattended when plugged
in.

-2- -3-
EN
DE
FR
ES
IT
EN
DE
FR
ES
IT
• Close supervision is necessary when this product is used by,
on or near children or people with special needs.
• Use this grooming kit only for its intended use of cutting
hair. Do not use attachments not recommended by the
manufacturer.
• Never operate this grooming kit if it is not working properly,
if it has been dropped and/or damaged, or if it has been
dropped into water. Contact customer service or get it
serviced and repaired by a qualied technician.
• Keep the power cord away from heated surfaces. Do not
wrap the cord around the product.
• Never drop or insert any objects into the product's openings.
• Insert only the charging adapter into the product's charging
port.
• Use only the charger supplied by the manufacturer to
recharge the product.
• Do not use outdoors or operate where aerosol (spray)
products are being used, where oxygen is being
administered, or near ammable liquids, such as certain
ammable blade lubricants or cleaning agents.
• Do not use these grooming clippers with a damaged or
broken attachment comb nor with teeth missing from the
blades, as injuries may occur.
• Always attach the charging cable into the grooming clippers
rst before plugging the charging adapter into the electrical
outlet. To disconnect, turn all controls to“OFF”then remove
the adapter from the outlet.
• During use, do not place or leave the grooming kit where
it may be damaged by a pet or exposed to extreme
temperatures or weather.
• Never operate the grooming clippers with the air vents
blocked or while placed on a soft surface, such as a bed and
couch, where the ventilation openings may be blocked.
Keep the air vents free of lint, hair, and other substances.
• Never allow the power cord to be pulled, jerked, strained,
twisted, or severely bent, especially at its connection points.
SAVE THESE INSTRUCTIONS
RECHARGING
1. Remove the grooming clippers, power adapter and
accessories from the packaging.
2. Fully charging the grooming clippers will take 1 to 1.5 hours.
Please fully charge the grooming clippers before using them
for the rst time. During charging, the charging indicator will
illuminate blue. The charging indicator will shut o when
fully charged.
3. Plug the power adapter into any convenient electrical outlet
at the correct voltage. Turn the grooming clippers o when
charging is in progress.
4. When the clippers are not in use, they may be connected
to the power adapter and plugged into an outlet to assure
maximum power is available when next used. This power
adapter is designed to charge the clippers' battery without
overcharging.

-4- -5-
EN
DE
FR
ES
IT
EN
DE
FR
ES
IT
TROUBLESHOOTING
If your grooming clippers do not seem to be charging when
plugged into the adapter and outlet, please check the
following:
1. Conrm the outlet is working properly by plugging in
another appliance.
2. If the outlet is connected to an on/o switch, make sure the
switch is turned on.
3. Be sure the grooming clippers are properly connected to the
power adapter, and that all connections are secure. Conrm
the grooming clippers’ switch is in the on position.
4. If your electricity is connected to a master power switch, we
suggest disconnecting the clippers from the charger when
the master switch is o as leaving clippers plugged into a
dead outlet will drain the clippers’battery.
5. If the grooming clippers do not work even when completely
charged, turn the clippers o and pinch and push the blades
using your ngers as oil may have dried between the blades
causing them to become temporarily stuck together.
CLIPPER DISPOSAL AND RECYCLING
• When disposing of the grooming clippers, do not attempt
to remove the internal battery. Lithium-Ion batteries can
explode, catch re, and/or cause burns if disassembled,
damaged, or exposed to water or high temperatures.
• Lithium-Ion batteries may be subject to local disposal
regulations. Many locations prohibit disposal in standard
waste receptacles. Check your local laws and regulations.
• For recycling information, contact a government recycling
agency or your local waste disposal service.
INSTRUCTIONS FOR THE USE AND CARE OF THE CLIPPERS
• It is normal for the grooming clippers to become somewhat
warm during normal use.
• To clean the grooming clippers, use a clean, dry or
dampened cloth. DO NOT use benzine or thinner to clean
the clippers.
• Do not store the grooming clippers in a wet or moist
environment.
• Do not touch any of the internal mechanisms. If the
grooming clippers need repair, do not repair them yourself.
Only allow certied technicians to repair the clippers.
• Be careful not to drop the clippers or“nick” the blades.
• Always use the blade protective cover when the clippers
are not in use. This will help prevent accidental damage and
blade dulling.
• Run the clippers through hair and fur only as fast as it is able
to completely cut. Moving the clippers too fast may wedge
hair clippings between the blades, making proper clipping
more dicult.
• Avoid pressing the blades strongly against the skin and be
especially careful around the ears.
• Keep the clipper blades sharp. Clip only clean animals.
Foreign particles are the major cause of dull blades.

-6- -7-
EN
DE
FR
ES
IT
EN
DE
FR
ES
IT
OIL
The grooming clipper blades should be
oiled every few uses. Simply place a few
drops of clipper oil on the teeth of the
blades. Due to the high speed of the
blades, the correct type of oil must be
used. Do not use hair oil, grease or any oil
mixed with kerosene or any solvent, as the
solvent will evaporate and leave thick oil,
slowing down the blades. Please purchase
clipper oil which is natural and doesn’t
contain solvents.
CORD CARE
The cord should not be used to pull the grooming clippers.
Since freedom of movement needs to be maintained, care
should be used to keep the cord untwisted and unobstructed.
When stored, the cord should be coiled and the unit placed in
the original box, away from children.
PRODUCT DESCRIPTION
1
2
3
5 6 7
8 9
10
11 12
13-20
21
4
1. Blades 2. Taper Lever
3. On/O Switch 4. Grip
5. Protective Blade Cover 6. Cleaning Brush
7. Stainless Steel Scissors 8. Styling Apron
9. Durable Storage Case 10. Power Adapter
11. Left Taper 12. Right Taper
13. Attachment Comb #1 1/8” (3mm) cutting length
14. Attachment Comb #2 1/4”(6mm) cutting length
15. Attachment Comb #3 3/8” (9mm) cutting length
16. Attachment Comb #4 1/2” (13mm) cutting length
17. Attachment Comb #5 5/8”(16mm) cutting length
18. Attachment Comb #6 3/4” (19mm) cutting length
19. Attachment Comb #7 7/8” (22mm) cutting length
20. Attachment Comb #8 1” (25mm) cutting length
21. Comb
Table of contents
Languages:


