3 Squares tim3 machin3 3RC-3010S Guide
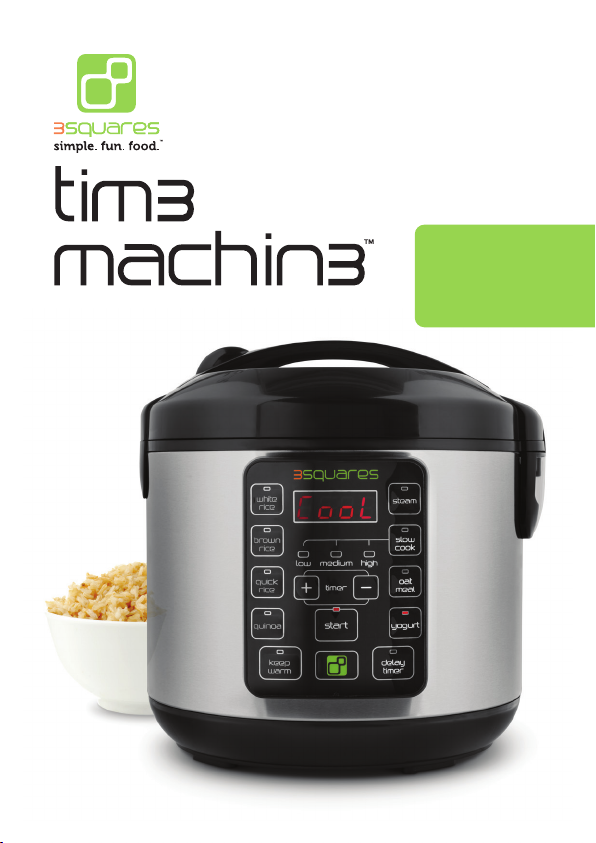
3RC-3010S
care & use manual
rice cooker
slow cooker
food steamer
yogurt maker

Published by:
Sherwood Marketing LLC
11417 West Bernardo Ct, Suite M
San Diego, CA 92127
© 2015 Sherwood Marketing LLC
We really appreciate you
bringing 3 Squares into
your kitchen.
That’s what
appliances are really
all about. We design
our products to bring
the best out of what
you put into them.
You don’t need to be a
chef to enjoy good home-
cooked food. Our products
make it easy for anyone to
make a delicious meal.
Eating is fun.
Cooking… well
not all of it. Our
products make
it easier to get
to the fun while
taking work off
your plate.
TM

You just bought a time machine.
Seriously.
How awesome is that?
Okay, so you can’t go back and make sure your parents get married.
Andyoucan’tgoforwardandseewhatyearwenallygetying
cars and hoverboards. But you know what you can do with it?
Make more time.
Because, unlike those as-yet-to-be-invented time machines
(c’mon science), this is actually a machine that makes time…
for you! Need a great meal for your family? Throw some quick
ingredients in, hit “white rice” and the ’ll make it
happen. Tired of breakfast being a cold bar of “fruit”? Add some
oatmeal and water at night and wake up with a nice hearty start
to your day. Want a healthy snack for the kids? Make your very
own organic yogurt with a couple button presses and not much
else. And that’s not even half the buttons on this thing!
So read on for more on how this machine can give you more
timeandgreatmeals—nouxcapacitornecessary.
Have a question on your product? Want tips on getting your
three squares? Just want to talk? Either way, look us up!
@Get3Squares FB/Get3Squares @Get3Squares
email: support@get3squares.com

Basic safety precautions should always be followed when
using electrical appliances, including the
following:
01. Important: read all instructions.
02. Do not touch hot surfaces. Use handles or knobs.
Use pot holders or another form of heat protection
when removing hot containers and parts.
03. To protect against the risk of electrical shock, do not
immerse cord, plug or base in water or any other
liquid.
04. Close supervision is necessary when any appliance is
used by or near children.
05. Unplug from outlet when not in use. Unplug and allow
to cool before putting on or taking off parts, and
before cleaning.
06. Do not operate any appliance with a damaged cord or
plug or after the appliance malfunctions, has been
dropped or damaged in any manner. Contact
3 Squares customer support for information on
examination,repairoradjustment.
07. The use of accessory attachments not recommended
by 3 Squares may cause injuries or damage to the
product.
08. Do not use outdoors.
09. Do not let cord hang over the edge of the table or
counter or touch hot surfaces, including the stove.
10. Do not place on or near a hot gas or electric burner
or in a heated oven.
11. Extremecautionmustbeusedwhenmovingthe
appliance containing hot oil, food, water or other
hot liquids.
12. To disconnect, press the power button ( );
IMPORTANT SAFEGUARDS
SAVE THESE INSTRUCTIONS
1

short cord instructions
A short power-supply cord is provided to reduce the risks
resulting from becoming entangled in or tripping over a
longercord.Longerextensioncordsareavailableand
maybeusedifcareisexercisedintheiruse.
Ifalongextensioncordisused,themarkedelectrical
ratingoftheextensioncordshouldbeatleastasgreatas
the electrical rating of the appliance, and the longer cord
should be arranged so that it will not drape over the
countertop or tabletop where it can be pulled on by
children or tripped over.
polarized plug
This appliance has a polarized plug (one blade is wider
thantheother).Asasafetyfeature,thisplugwilltina
polarizedoutletonlyoneway.Iftheplugdoesnottfully
intheoutlet,reversetheplug.Ifitstilldoesnott,contact
aqualiedelectrician.Donotattempttodefeatthissafety
feature.
FOR HOUSEHOLD USE ONLY
IMPORTANT SAFEGUARDS
then remove plug from wall outlet.
13. Do not use the appliance for other than its intended
use.
14. Lift and open cover carefully to avoid scalding from
escapingsteam.Allowanyexcesswatertodripinto
the cooker.
15. CAUTION: Risk of electric shock. Cook only in the
provided removable cooking pot.
16. Do not place the appliance directly under cabinets
when operating as this product produces large
amounts of steam. Avoid reaching over the product
when in operation.
2

6
4
3
7
2
1
parts identification
under the lid
3
5

01. Control Panel
02. Digital Display
03. Lid
04. Lid Release
05. Steam Vent (Includes Silicone
Gasket)
06. Handle
07. Condensation Collector
08. Cooking Pot
09. Steam Tray
10. ™Silicone Utensil
8109
7
parts identification
4
white rice
Uses 3 Squares’ advanced Fuzzy Logic 2.0™to cook
perfect rice every time.
brown rice
Specially programmed Fuzzy Logic 2.0™softens this
hard-to-cook whole grain.
quick rice
Short on time? This setting cooks rice as fast as possible.
quinoa
Tiredofbland,mushyquinoa?Thistoastsitrsttobring
outadeliciousnuttyavor.
5
what do all these buttons do?

keep warm
Well it keeps things warm… automatically switches to this
mode when cooking is done.
steam
Program the time for your food to steam. It won’t
countdown until the water boils.
slow cook
Low, medium or high settings work the same as an
advanced digital slow cooker.
oatmeal
Steel cut, rolled or quick, this will do the trick.
yogurt
Smoothest way to make yogurt at home. Heats milk.
Holds it. Cools it. Tells you when to add culture. Cooks it.
delay timer
Program when your rice or oatmeal will be done cooking–
leaving you with one less thing to worry about.
+
Adds more time for steam and delay timer.
-
Subtracts time for steam and delay timer.
start
The blast-off button to get your meal cooking.
Power button. Turns the machine on and off. We like
the look of our logo, so we used it.
6

01. Read all instructions and important safeguards.
02. Remove all packaging materials and check that all
items have been received in good condition.
03. Tear up all plastic bags. They can pose a risk
to children.
04. Wash the steam vent, cooking pot and all
accessories in warm, soapy water. Dry thoroughly
before adding back to rice cooker.
There may be an odor or bit of smoke that appear
duringrstuse.Thisisfromthemanufacturing
process and should dissipate quickly. We
recommendllingthecookingpotwithwater
to the “steam water line” and setting to steam for
10 minutes to quickly dissipate the odor.
Find recipes, accessories and more great 3
Squares products online at
www.Get3Squares.com.
Have a question? Email us at
support@Get3Squares.com or give us a call at
1-877-393-8936.
7
before first use

8
what’s the deal with the
lines in the pot?
We know, usually there are a bunch of little lines in
rice cooker cooking pots. They’ve always bugged us.
They’re tough to see. They can be confusing. They’re
pretty one dimensional. Our ™does
so much, we didn’t want to bog things down with lines
all over the place. So we’ve added simple quart
measurementlines.The4quartlineisthemaximum
capacity while cooking.
So how much water do I use for rice (or
quinoa)?
Whether you’re cooking white rice, brown rice or
quinoa, the water used should be the same.
One cup water for every one cup grain; then top with
an additional half cup of water.
Cooking 2 cups brown rice? Add 2 and a half cups
water. 10 cups white rice? Add 10 and a half cups
water. 6 cups quinoa? Add 6 and a half cups water.
There’s also a nifty chart on page 14 that goes over
this in more detail.

9
There are a few steps you’ll go through to turn your rice
cooker on. We could list them each time, but that gets
really boring… and manuals are already boring enough.
So here’s what you’ll do no matter what function you use.
01. Connect the power cord to the rice cooker. Plug it in
to an available outlet. It won’t do you much good
with out power.
02. Make sure the condensation collector is attached (the
little clear plastic thingy on the right side). If it’s not, it
should snap right into place. Check that the steam
vent and silicone gasket are in place on the underside
of the lid as well.
03. Once the ingredients are all added to the cooking pot,
put it in the rice cooker.
04. Close the lid so it snaps securely shut.
05. Turn the rice cooker on by pressing the button.
It’ll beep and the screen will blink until you select
a function.
So, what are you cooking?
Jump ahead to that section for the rest:
white, brown or quick rice page 10
quinoa page 11
steam page 15
slow cook page 17
oatmeal page 18
yogurt page 19
delay timer page 22
getting started

01. Measure out the rice to be cooked using the included
measuring cup. Cook between 2 and 10 cups of rice.
It will roughly double once cooked.
02. Rinse the rice. This is super important, so RINSE
THERICE.You’llwanttoremovealltheexcessstarch
from your rice before cooking or you’ll never get the
best taste. You can do this directly in the cooking pot
by swirling water around and pouring it out. Or you
can use a mesh colander. Or you can even get a
specialized rice rinser.
03. With rinsed rice in the cooking pot, add water. Our
formula is one cup water for every one cup grain,
then top with an additional half cup of water. So 3
cups rice, 3-1/2 cups water.
Tip:Usebrothinsteadofwaterforextraavor!
04. Assuming your machine is now on and ready to go
(page 9), press the white rice, brown rice or quick rice
button, based on what you’re cooking. It won’t start
cooking yet.
Note: If you’re cooking brown rice with “Quick Rice”
function, you’ll need to add an additional 1 cup water
more, i.e. 4 cups brown rice and 5-1/2 cups water.
White rice is the regular ratio still.
05. Press the start button to begin cooking. The display
will show a “chasing” pattern while it cooks.
white, brown and quick rice
10

quinoa
01. Measure out the quinoa to be cooked with the
included measuring cup, between 2 and 10 cups.
02. RINSE IT!There’s a bitter coating on the outside of
quinoa that needs to be rinsed away. Don’t skip this
step or you’ll regret it. You can rinse it using the
cookingpotoranemeshstrainer.
11
Tip: How long will your rice take to cook? Check
out the “grain cooking times” chart on page 13.
06.Thedigitaldisplaywillcountdownthenal10minutes
of cook time.
07. When rice is ready, the machine will “beep” and
automatically switch to keep warm. The display will
show how long it has been on keep warm, we don’t
recommend keeping food warm longer than 12 hours.
08. When done serving, turn the machine off by pressing
the button. Unplug it.
Tip: Looking for recipe and meal ideas? Go to
www.Get3Squares.com. Or just ask us at
@Get3Squares or www.facebook.com/get3squares!

03. Have the rinsed quinoa in the cooking pot, in the
™and have it on and ready to go
(page 9).
Note: Don’t add water yet!
04. Press the quinoa button. It won’t start cooking yet.
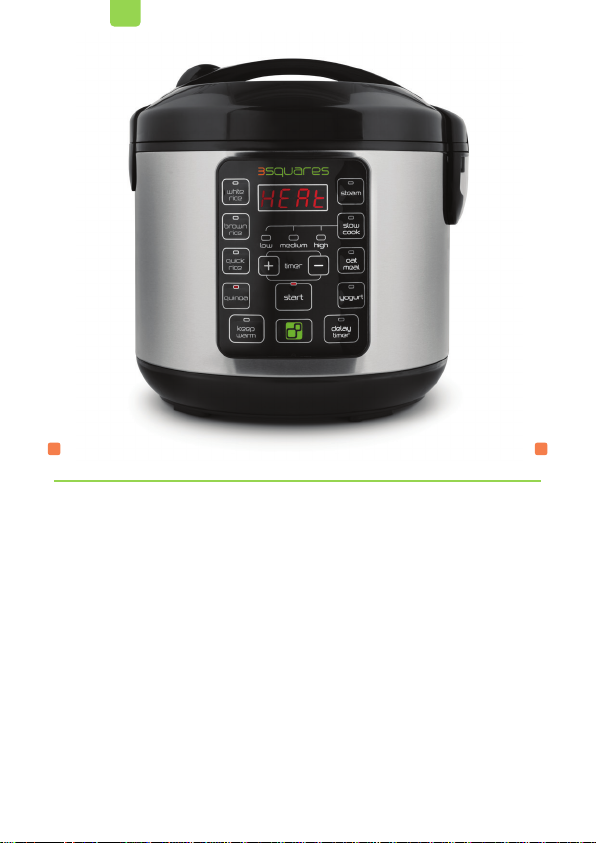
05.Pressthestartbuttontobegintoasting.Therststep
in quality quinoa is toasting it. The display will show
“heat” during this phase.
06. Stir the quinoa continuously with the included
™as it toasts.
07. Once the moisture is evaporated, the machine will
“beep” and the display will change to “add.” It’s now
time to add the water to cook.
08. Add water. Our formula is one cup water for every one
cup quinoa, then top with an additional half cup of
water. So 5 cups quinoa, 5-1/2 cups water.
Tip:Usebrothinsteadofwaterforextraavor!
09. Close the lid and press the start button to begin
cooking. The digital display will show a chasing
pattern while it cooks.
Tip: How long will your quinoa take to cook?
Check out the “grain cooking time” chart on page 13.
12

cups white
rice
cook
time
brown
rice cook
time
quinoa
cook
time
quick
(white)
rice cook
time
quick
(brown)
rice cook
time
2-3 27-32
min.
42-47
min.
29-34
min.
22-27
min.
37-42
min.
4-5 32-37
min.
45-50
min.
35-40
min.
27-32
min.
40-45
min.
6-7 35-40
min.
55-60
min.
45-50
min.
30-35
min.
42-47
min.
8-10 38-43
min.
60-65
min.
48-53
min.
32-37
min.
48-53
min.
grain cooking times
13
10.Thedigitaldisplaywillcountdownthenal10minutes
of cook time.
11. When quinoa is ready, the machine will “beep” and
automatically switch to keep warm. The display will
show how long it has been on keep warm. We don’t
recommend keeping food warm longer than 12 hours.
12. When done serving, turn the machine off by pressing
the button. Unplug it.
Tip: Looking for recipe and meal ideas? Go to
www.Get3Squares.com/food. Or just ask us at
@Get3Squares or www.facebook.com/get3squares!

14
cups of
uncooked
grain
cups of water
white
rice
quick
(white)
rice
brown
rice
quick
(brown)
rice
quinoa
2 2-1/2 2-1/2 2-1/2 3-1/2 2-1/2
3 3-1/2 3-1/2 3-1/2 4-1/2 3-1/2
4 4-1/2 4-1/2 4-1/2 5-1/2 4-1/2
5 5-1/2 5-1/2 5-1/2 6-1/2 5-1/2
6 6-1/2 6-1/2 6-1/2 7-1/2 6-1/2
7 7-1/2 7-1/2 7-1/2 8-1/2 7-1/2
8 8-1/2 8-1/2 8-1/2 9-1/2 8-1/2
9 9-1/2 9-1/2 9-1/2 10-1/2 9-1/2
10 10-1/2 10-1/2 10-1/2 11-1/2 10-1/2
grain/ water ratio

01. Fill the cooking pot with water to the “steam water
line.”
02. Add food into the steam tray.
03. Put the cooking pot into the machine. Set the steam
tray into the cooking pot (it rests at the top).
04. Assuming your machine is now on and ready to go
(page 9), press the steam button. It won’t start
cooking yet.
05.Thedigitaldisplaywillshowaashing“0:10”forten
minutes of steam time. Adjust the time up (+) and
down (-) based on the recipe. It won’t start counting
down until water boils, so it’s the real time for
steaming versus a general countdown.
06. When the steaming time is set, press the start button
tobeginsteaming.Thedisplaywillstopashing.
07. Once water reaches a boil, the display will countdown
the cooking time.
08. When the cooking time has elapsed, the machine
will “beep” and switch to keep warm. The display will
now show how long it’s been on keep warm.
09. Remove the food as soon as possible and serve.
Turn off the machine by pressing the button and
unplug it.
steam
15

Tip: Looking for recipe and meal ideas? Go to
www.Get3Squares.com/food. Or just ask us at
@Get3Squares or www.facebook.com/get3squares!
16
Everyone’s tastes vary a little. The times here offer a range of suggested
cooking time. Like your food a bit crunchier? Go for the lower end of the
range. Like it soft and well-cooked? The upper end of the range is for
you.
Steaming meat is a great, healthy way to cook. Make sure your meat is
well-cooked before serving. Slightly undercooked asparagus is great…
chicken, not so much.
food time food time
asparagus 7-13 min peas 2-4 min
broccoli 5-10 min potatoes, whole 15-20 min
carrots 7-10 min spinach 3-5 min
celery 4-9 min sweet potatoes 8-12 min
corn on the cob 7-10 min Swiss chard 3-5 min
kale 4-7 min zucchini 5-8 min
meat cook time safe serving temperature
beef 25-30 min 160F
chicken 20-25 min 165F
sh 15-20 min 140F
pork 20-25 min 160F
steaming time suggestions
veggies
meat

01. Add food to be cooked to the cooking pot. Do not ll
past the 4 quart line of the pot.
02. Assuming your machine is now on and ready to go
(page 9), press the slow cook button. It won’t start
cookingyet.Aashing“8:00”willshowonthescreen
for the low setting.
03. Toggle between the low (8 hours), medium (6 hours)
and high (4 hours) settings by pressing the slow cook
button.
Note: Slow cook times are specially programmed
to slowly increase in temperature to the simmer point
over the set time. For best results when slow cooking
meat, we recommend using low.
Tip: What if I won’t be ready to eat at those
times? The machine will automatically switch to
keep warm after, so your food will be kept hot
and tasty until you are ready to serve it.
04. Press the start button to begin cooking. The machine
will “beep” and the display will turn solid.
05. The machine will countdown the cooking time in
minutes.
06.Whenthecookingtimeisnished,themachinewill
“beep” and automatically switch to keep warm.
The display will now show how long it has been on
keep warm.
slow cook
17
Table of contents


