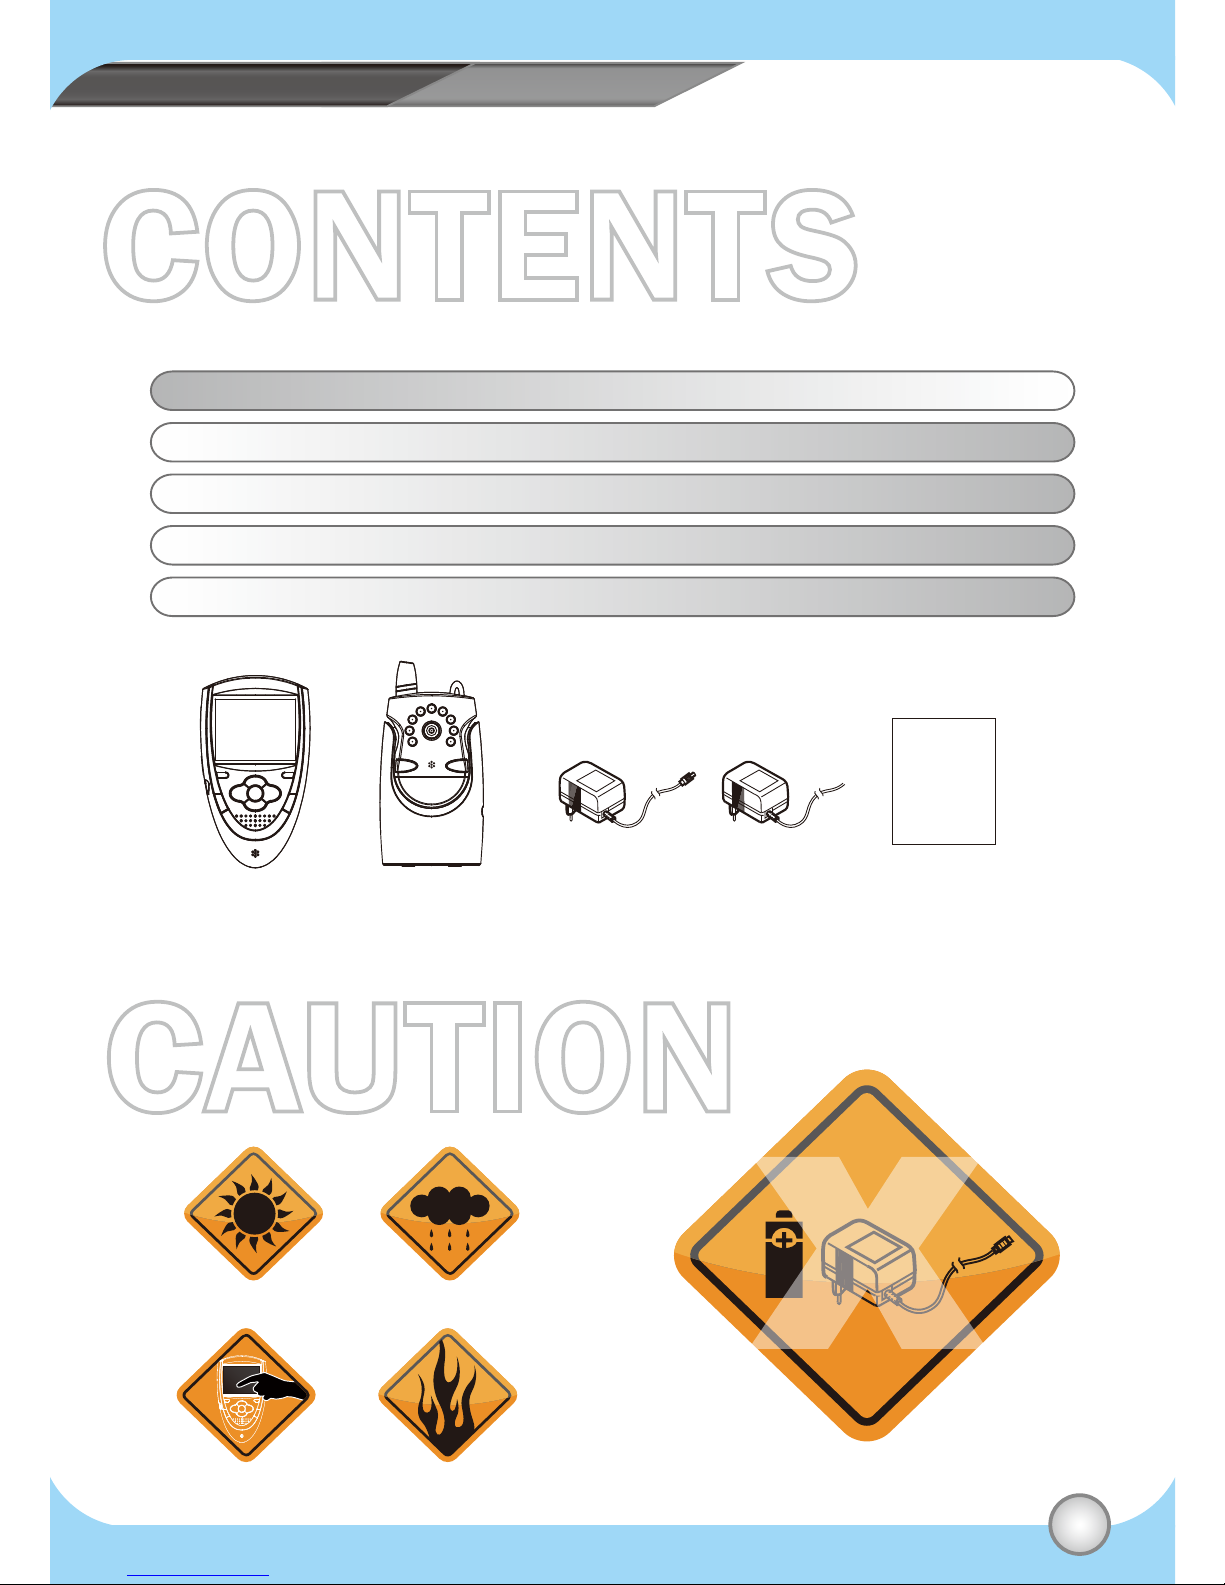
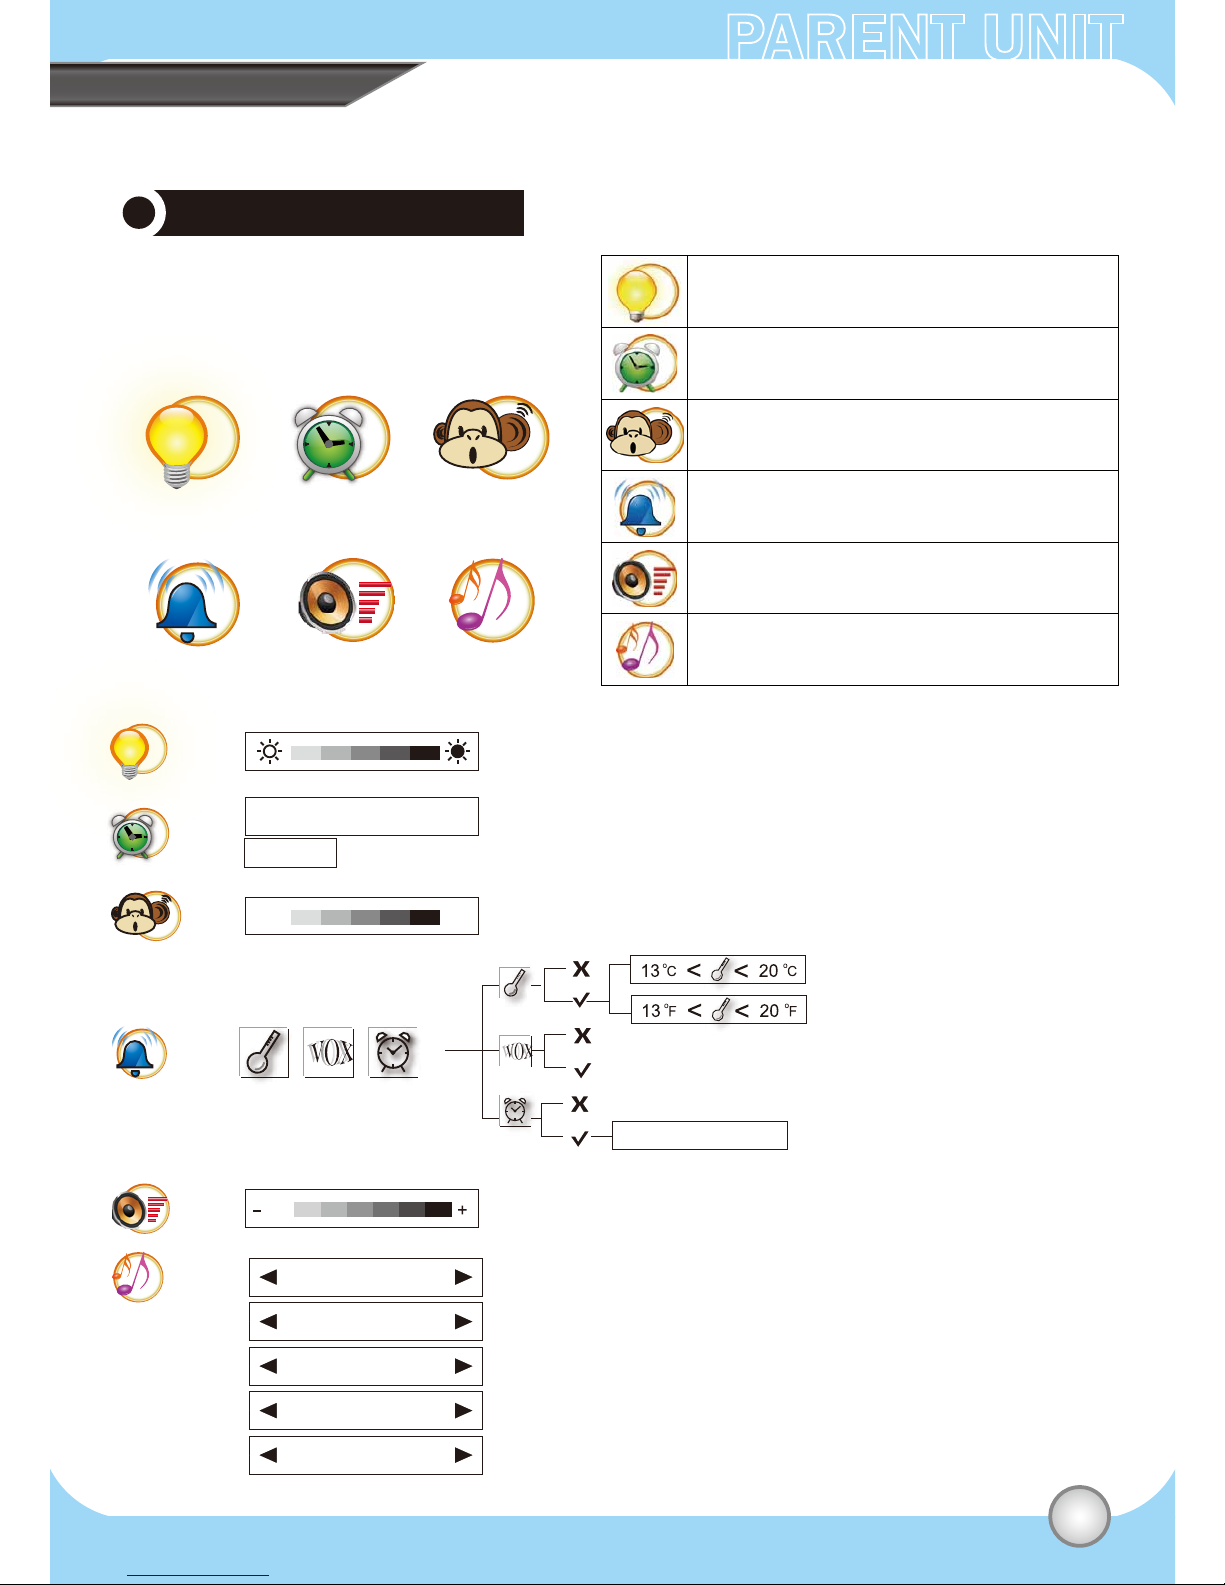
CONTENTPARENT UNIT
04
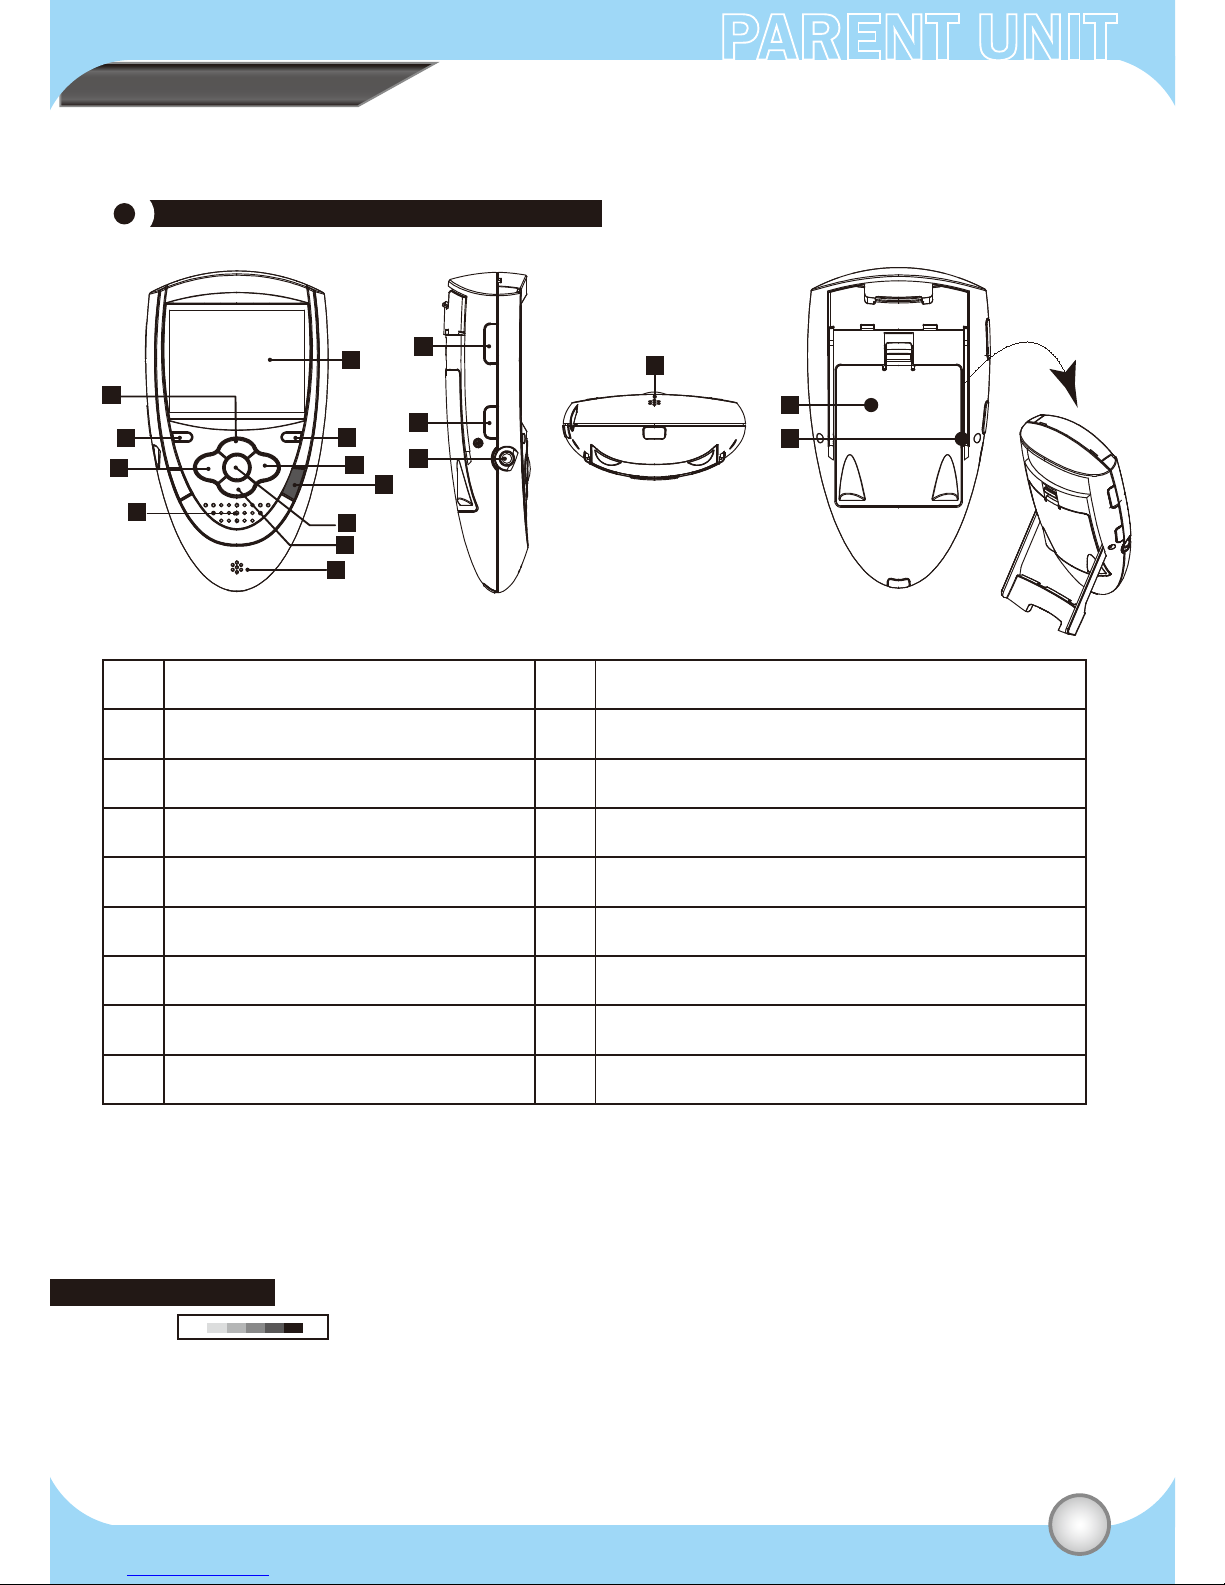
Control (PU)
A
B
C
D
E
F
G
H
I
J
K
L
M
N
P
Q
UP
Volume +
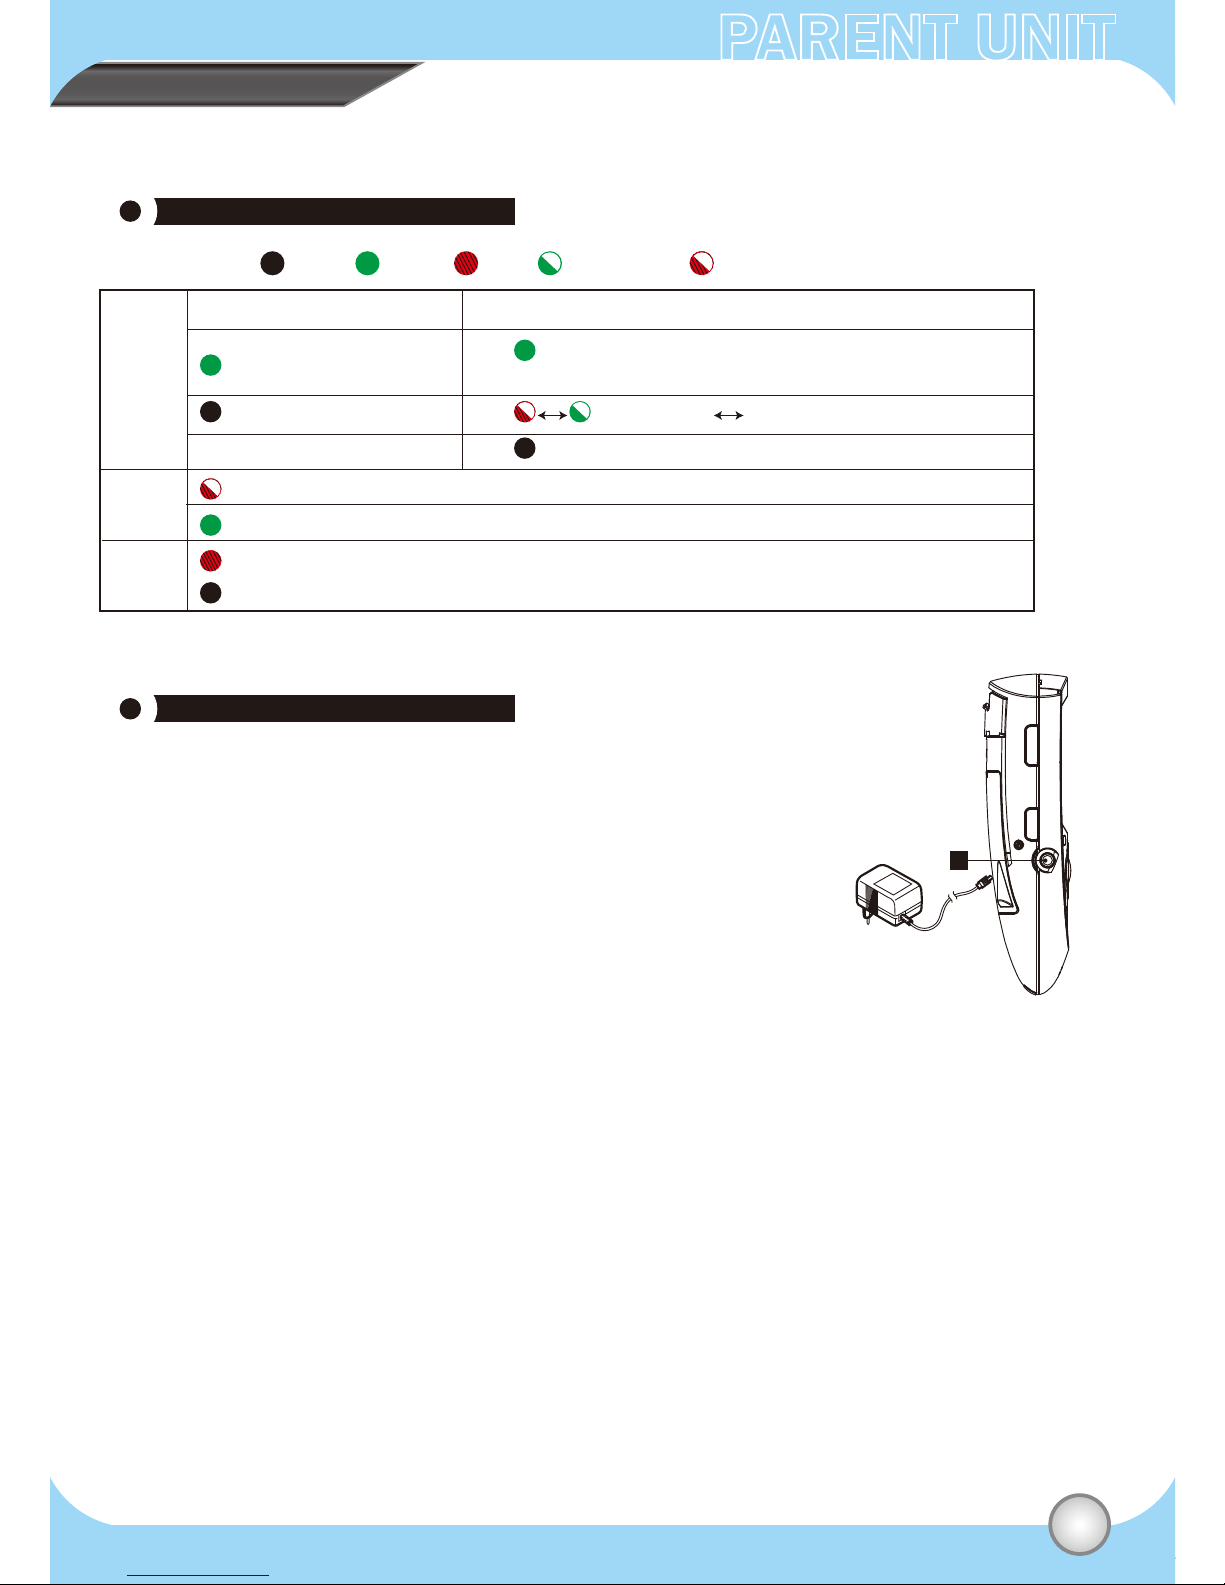
Power LED
Matching light
LEFT
Zoom
Speaker
Panel
VOX LED
RIGHT
VOX
Menu
Quit
ENTER
Matching
DOWN
Volume –
Microphone
Walkie Talkie
Power
DC Jack
Battery container
Parent holder
UP: In Menu mode,press “UP” to choose function.
Volume: In Video mode, press “Vol +” to increase volume.
Power LED: Show the power status (please refer to the page 5).
Matching light: It will flash when matching with Baby unit.
LEFT: In Menu mode,press “LEFT” to choose function.
Zoom: Press it for zooming in twice, press it again back to
Normal size.
Can hear the baby crying sound.
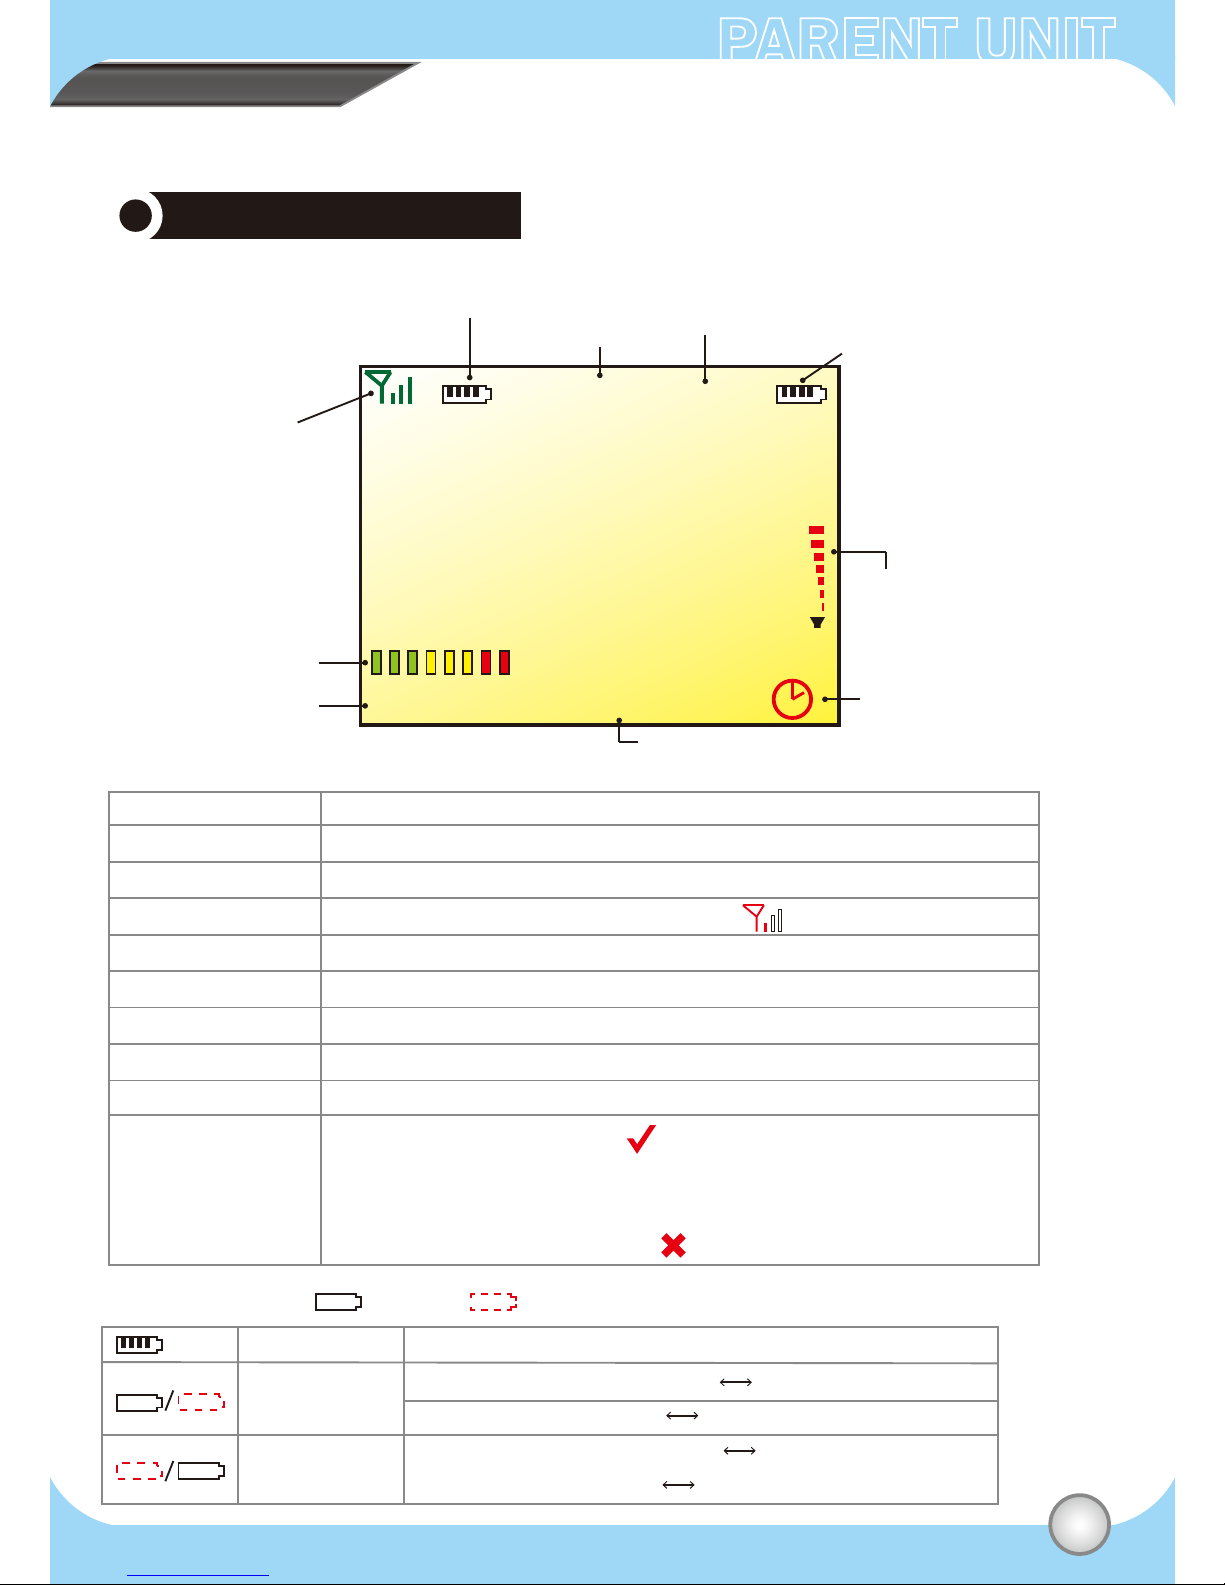
Panel active area: It shows the status of volume, Temperature,
RF Link Quality, Countdown, Power for PU and BU and Main Menu.
LED ON / OFF => The function is open / close.
RIGHT: In Menu mode,press “RIGHT” to choose function.
VOX :Press VOX for 3 seconds for opening or closing this function.
Menu mode: A= UP, C= LEFT, I= ENTER, G= RIGHT, J= DOWN
(When entering into the second level, press “H” go back to the first level)
Out of Menu mode:
A= Volume +, C=Zoom, I= Maching , G= VOX ,J= Volume –
Quit: exit and back to the previous page
Enter: In menu mode, choose the function then press
“ENTER” to next page.
Matching: press it for 2 seconds,then matching light
will flash until the matching work is finished.
Down: In Menu mode,press “DOWN” to choose function.
Volume -: In Video mode, press “Vol -” to decrease volume.
Microphone: can talk to Baby unit.
Press it to talk to Baby unit.
(Walkie Talkie can’t work during matching, and it also can’t talk
without finishing matching.)
Press it to power on the device.
Plug the power adaptor .
Put the triple A batterties 2 pcs to the container.
Rotate it to a proper angle to stand.
Item Description