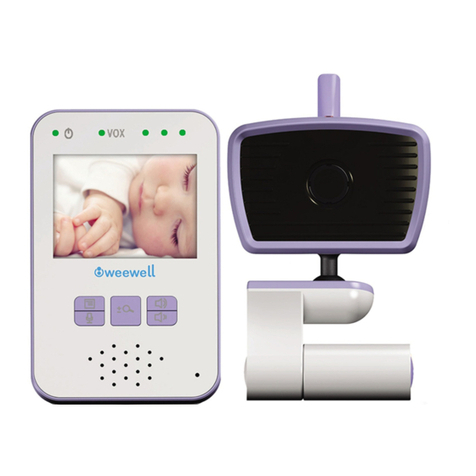
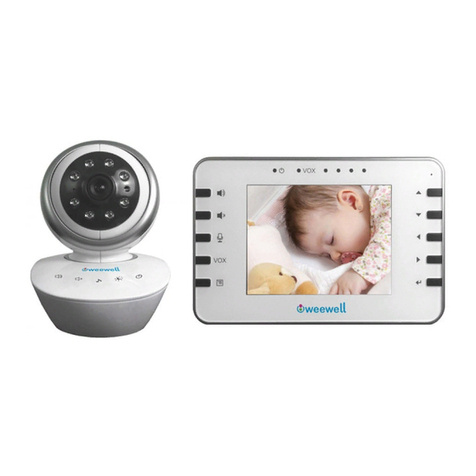
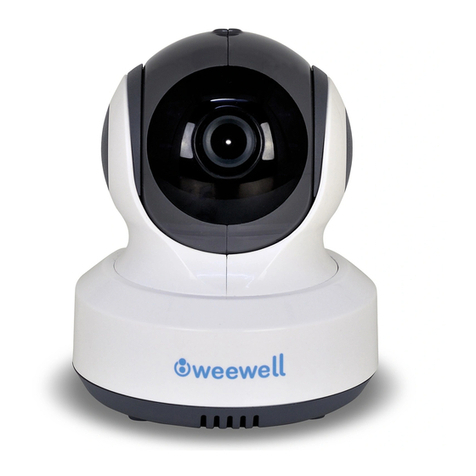
weewell WMV870R User manual

www.weewell.com
User Manual EN
Kullanım Kılavuzu
WMV870R Sphera Dual Watch
Digital Baby Monitor
Dijital Bebek İzleme Cihazı
Ev İçi Dinleme ve İzleme Cihazları TR

CONTENTS
2 │WMV870R USER MANUAL
Congratulations!
Warning
1. Package Contents
2. Product Layout
3. Setup
3.1. Camera Setup
3.2. Monitor Setup
3.3. Hot Key Options
3.4. Menu Options
3.5. Status Information
3.6. Internet Viewing
4. Troubleshooting
5. Technical Specifications

WMV870R USER MANUAL │3
WARNING
• Keep all parts and accessories out of children’s reach.
cloth to wipe off the lens.
corrode electronic circuits.
circuit boards.
accessory.
shocks.
CONGRATULATIONS
Dear Stakeholder,
We congratulate you on hav�ng one of the Weewell products wh�ch are safely preferred all over the World
and becom�ng a part of the Weewell fam�ly. We are pleased to serve you w�th our carefully des�gned
products that appeal to bab�es such as v�deo mon�tor, aud�o mon�tor, thermometer, nurs�ng and feed�ng
group products.
Please read the user manual carefully before us�ng the product. Th�s gu�de has been met�culously
prepared to get the most out of your purchased product. You can call our call center to get all k�nds of
�nformat�on about the dev�ce and to contr�bute to our fam�ly w�th your suggest�ons and op�n�ons. If you
face w�th any problems or malfunct�ons, you can contact Weewell author�zed serv�ce. For safety of
yourself and other persons, read the SAFETY INSTRUCTIONS before us�ng the dev�ce.
Best Regards,
Weewell Turkey Team.

4 │WMV870R USER MANUAL
2. PRODUCT LAYOUT
Camera (Baby Unit)
Note:
1. PACKAGE CONTENTS
Two power adapters
One screw an done Wall anchor
WMV870R Sphera Dual Watch Baby Camera (Baby Unit)
WMV870R Sphera Dual Watch Monitor (Mother Unit)
1 Light sensor
2Microphone
3Lens
4Infrared LEDs
5Speaker
6Power adapter plug
7Pairing button (connect camera to router)
8Antenna
9Temperature sensor
10 Power indicator LED
11 Monitor pairing button (connect camera to monitor)

WMV870R USER MANUAL │5
Monitor (Mother Unit)
1
2
3
5
6
7
8 9 10 11
12
13
4
1 LCD screen
2Volume indicator LEDs
3VOX indicator LED
4Power indicator LED
5Volume up button
6Volume down button
7 Microphone
8 Power ON/OFF switch
9Antenna
10 Menu button
11 Talk back button
12 Speaker
13 Power adapter plug

6 │WMV870R USER MANUAL
3. SETUP
3.1. Camera Setup
Power Supply – Using AC Power
Note:
Fine Tuning
Night Vision
Room Temperature Measurement
1
2

WMV870R USER MANUAL │7
3.2. Monitor Setup
Power Supply – Using AC Power
current.
Note:
2. Slide the Power switch to “ON”.
Note1:
Note2:
12
3
Fig. 4

8 │WMV870R USER MANUAL
Talk Back Function
Volume Setting
3.3. Hot Key Options
then be displayed on the screen.
1. Tap the screen and the Hot Key will
display on the right side of the screen.

You can play the music with the camera
(ten pieces of music). Tap the music icon ,
the camera will play music.
WMV870R USER MANUAL │9
Audio Only Mode
Zoom in Function
Tap the Zoom in icon on monitor once
for a 2X zoom of image and tap again to
change back to normal view.
Music Function
Tap icon to enable audio mode.
This will turn off video in 10 seconds and
audio is still playing. You can touch screen
to wake it up for 10 seconds.

10 │WMV870R USER MANUAL
Monitor Remote Control Function Tilt
Pan
Temperature Setting (Temp. Setting)
3.4. Menu Options
1. Press the menu button on the
monitor unit to display the main menu on
the screen.
2. The main menu contains 5 submenus.
The monitor can control the movement of the
camera. The camera head has the ability to
rotate up , down , right and left. Tap
the up or down icons on screen to move the
camera up or down. Tap the left or right icons
on screen to move the camera left or to the right.
Note: The audio will be muted when the motor rotates.

WMV870R USER MANUAL │11
Brightness Setting (Brightness)
In this submenu you can adjust brightness
of the screen.
This submenu lets you choose the VOX
(voice activation) sensitivity level.
When the level set to high, the screen will
turn on by lower sounds.
In this submenu you can select between
multiple cameras if the cameras have
been paired. Also, you can tap the auto-scan
icon for auto-scan function. An auto-scan
feature will display images from each camera
in eight-second intervals.
VOX Sensitivity (VOX Sensitivity)
Camera Selection (Camera Select)

1. All cameras are NOT connected to Wi-Fi router.
1.1 Choose which number of cameras (#2/#3#4) you want to add, and then add the
camera icon
1.2 Use a small object or a pin to press the monitor pairing button on the bottom of camera
for 3 seconds.
1.3 If you want to delete a paired camera, please choose which number of cameras you
want to delete, and then select delete camera icon to delete the camera.
2. All cameras are connected to the same Wi-Fi router.
2.1 First, you need to connect the camera 1 to your Wi-Fi router via smartphone/tablet.
Refer to the Section 6 of “Internet Viewing” below.
2.2 Second, pairing the camera 1 to monitor unit “Cam#1” by referring to Step 1.1 & 1.2
above.
2.3 Follow the Step 2.1 & 2.2 for the Cam#2 & Cam#3 & Cam#4 pairing.
Note: 1. All cameras should be connected to the same router.
2. The “Cam#1” location of monitor unit should be paired first.
3. If the connection between monitor and camera is lost after Internet. Viewing
setting. Try to repair it as step 1.1 and 1.2.
12 │WMV870R USER MANUAL
Camera Setting (Camera Setting)
The system comes with a camera unit that has already been paired with the monitor unit. The
“Camera Setting” function gives each camera unit the same channel on the monitor unit.
There are two usage scenarios for configuring additional camera units:

WMV870R USER MANUAL │13
3.5. Status Information
The status bar will be displayed on the top of the screen.
1Signal strength indicator
2Selected camera indicator
3Temperature alert on/off indicator
4Room temperature indicator
5 Zoom in indicator
6Multi camera indicator
7Music indicator
8Mute indicator
9Talkback indicator
10 Battery status / Charging indicator

14 │WMV870R USER MANUAL
3.6. Internet Viewing
Watch the things that matter to you anytime and anywhere
Download and run the APP
Android: Go to Google Play Store to search “Sphera Duo” and install.
iOS: Go to App Store to search“Sphera Duo” and install.
Add and connect camera wirelessly with your router
1.
2.
3.
4.
5.
Before you start you need
Weewell Sphera
Dual Watch
Weewell Sphera
Dual Watch
or Android tablet

WMV870R USER MANUAL │15
Note 1: If your monitor is on, the monitor will disconnect and reconnect in 5 seconds.
Note 2: If camera was paired previously, pair the camera again will overwrite the preriously
registration.
iOS:
b. Turn on
6. Android: a. Press “ ” go to “Setting”
b. Turn on Wi-Fi
c. Tap the name of camera “Weewell Sphera Dual Watch-XXX” and join > back to App.

16 │WMV870R USER MANUAL
7. The camera will scan for available WiFi networks in
range. Select your WiFi network, and enter the
password of your WiFi router if necessary. (See A5)
a. If you select “Yes”, the camera will scan for available
Wi-Fi networks in range. Tap the name of your Wi-Fi
network, and enter the password of your Wi-Fi router if
necessary. Then the first-time setup is done.
Note: Please make sure you enter the correct
password of WiFi network otherwise connection error
may occur.
b. It will take a few minutes for the camera to connect
to your WiFi network. Tap camera on the list to watch
live video. (See A6-A7)
Note: If your monitor is on, the monitor will disconnect
and back in 10 seconds.
Android: The APP will automatically search for
camera. Wi-Fi network otherwise connection error may
occur.
b. It will take a few minutes for the camera to connect
to your WiFi network.
Tap camera on the list to watch live video. (See A6-A7)
Note: If your monitor is on, the monitor will disconnect
and back in 10 seconds.
UID
Once the camera is connected to the Wi-Fi router with Internet
access. The other smartphone/tablet can add the camera by UID and
password. Refer to the steps as below.
a. Tap “Add camera by unique ID” icon
b. Input the camera name UID (14 characters) and password you
assigned, then Save it. ( See U1)
U1
Camera List
1. Camera’s name
2. Connecting status
3. Setting
4. Refresh
5. Quit
6. Add camera
7. APP information

1. Back: Tap icon and go back to last page.
2. Temperature measure: It will display below the
liveview.
3. Photo: Tap icon to save a photo on your
Smartphone or tablet.
4. Video: Tap icon to start / stop recording.
(3 minutes limitation per each recording)
Note: Photo and Video will be stored on the
internal memory of your Smartphone or tablet.
5. Camera Album: Tap icon to view and manage
photos / videos. Tap and hold to delete for Android,
press “Edit” for iOS.
6. Volume: Tap icon to adjustment volume.
7. Pan and tilt: Tap up and down icon to
tilt, the left and right icon to pan.
8. Two-way talk: Tap icon to talk, tap again to stop
talking.
WMV870R USER MANUAL │17
Function of the APP (See A8)
Camera setting
Tap icon on the page. (See A9)
A8
A9

18 │WMV870R USER MANUAL
LED indicator (Camera)
Indication Status
Blinking Green Camera is ready for pairing
Solid Green Camera is linked to the internet
Solid Orange Losing connection to the Internet
Solid Red
1. Name: Camera’s name, tap icon to change camera’s name.
2. Password: Enter the correct password to access the camera. (See A10)
3. UID: Each camera has a unique ID (UID) and you can share live video with your
friend by UID.
4. Temperature: Tap icon to change °C/°F.
5. Notification: Tap icon to activate Sound and Temperature. You will receive push
notification once the sound reaches the level that you have set on Monitor.
6. Delete camera: Tap icon to delete camera.
7. Change password: User can change the camera password in local area network (LAN).
The camera default password is “12345678”, it is strongly recommend to change the default
password after the setting. (See A11)
A10 A11

WMV870R USER MANUAL │19
4.TROUBLESHOOTING
No Video (Monitor)
Noise interference on your monitor
Camera connecting status continues (APP)
LTE network.
Video issues (APP)
• No video play:
• Video streaming is not smooth:
bandwidth or interference.
Camera’s LED indicator is in solid red
please unplug power adapter and replug.
again.
o the WiFi router and try again.
Forgot your password
6

5. TECHNICAL SPECIFICATIONS
Camera
Monitor
Lens
IR LED 8 pcs
Weight 223g
Power Adapter
Operating
Display
Display colors
Brightness
VOX
Weight
Power Adapter
Battery 1.0A
Operating
0o o o o
0o o o o
20 │WMV870R USER MANUAL
Table of contents
Languages:
Other weewell Baby Monitor manuals

weewell
weewell WMA420 User manual

weewell
weewell WMV630 User manual

weewell
weewell WMV911 Sphera User manual

weewell
weewell WMV870 Sphera Dual Watch User manual

weewell
weewell WMV860 User manual

weewell
weewell WMA420 User manual

weewell
weewell WMV815 User manual

weewell
weewell WMA235-236 User manual

weewell
weewell WMA500 User manual

weewell
weewell WMV812 User manual