8
Edit the Channel
To manually select a channel, when the display reads “EDIT CHANNEL” press
the “p” or “q” buttons to select one of the 7 NOAA broadcast channels.
Press “OK” to conrm your selection.
Edit Time & Date Preferences
To edit the time zone, DST preference, Time and/or Date, enter into the “EDIT
TIME/DATE” menu. Use the navigation buttons to adjust each selection and
press “OK” to conrm your selections.
Edit Alerts
Enter into the “EDIT ALERTS” menu to remove or add ADVISORY and WATCH
alert messages. While each alert type scrolls across the display, press the “p”
button to turn the alert ON ( bell icon displayed) or OFF ( no bell icon).
The “Alert Descriptions” on page 11 provide additional details on the alerts
available. Note: Warnings cannot be turned off or edited.
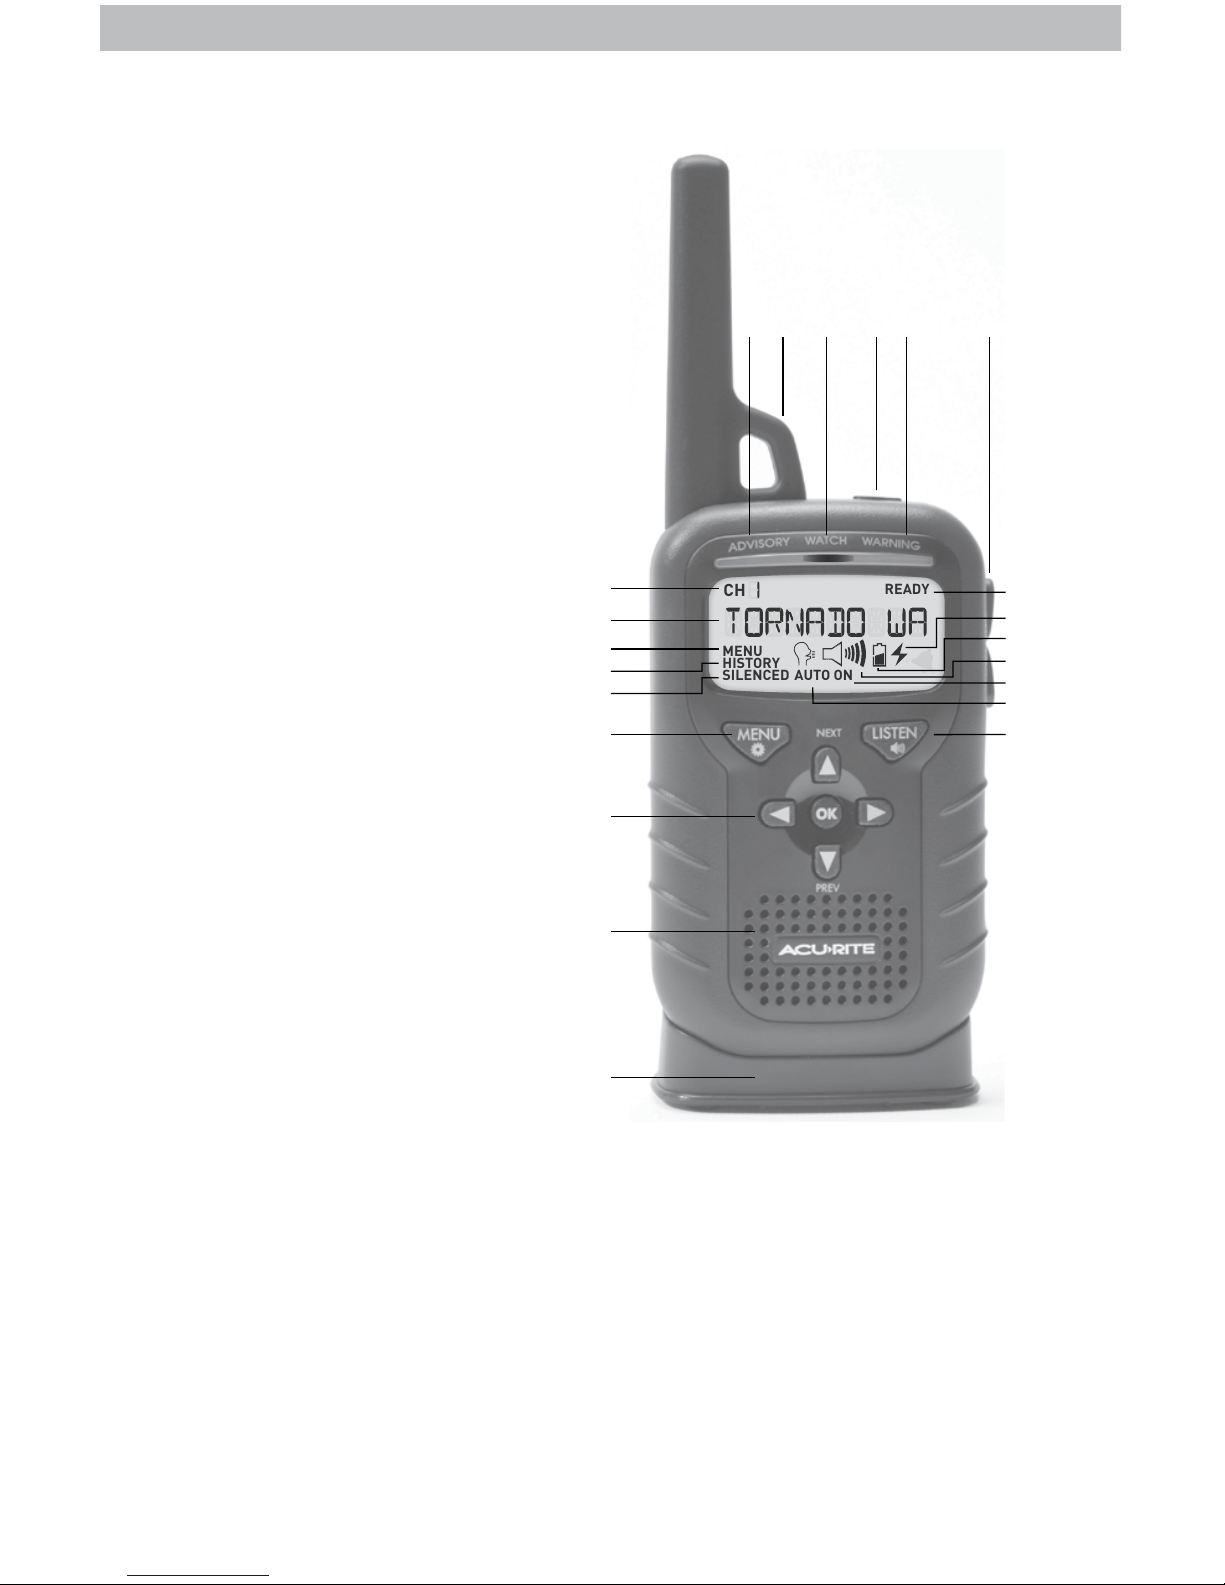
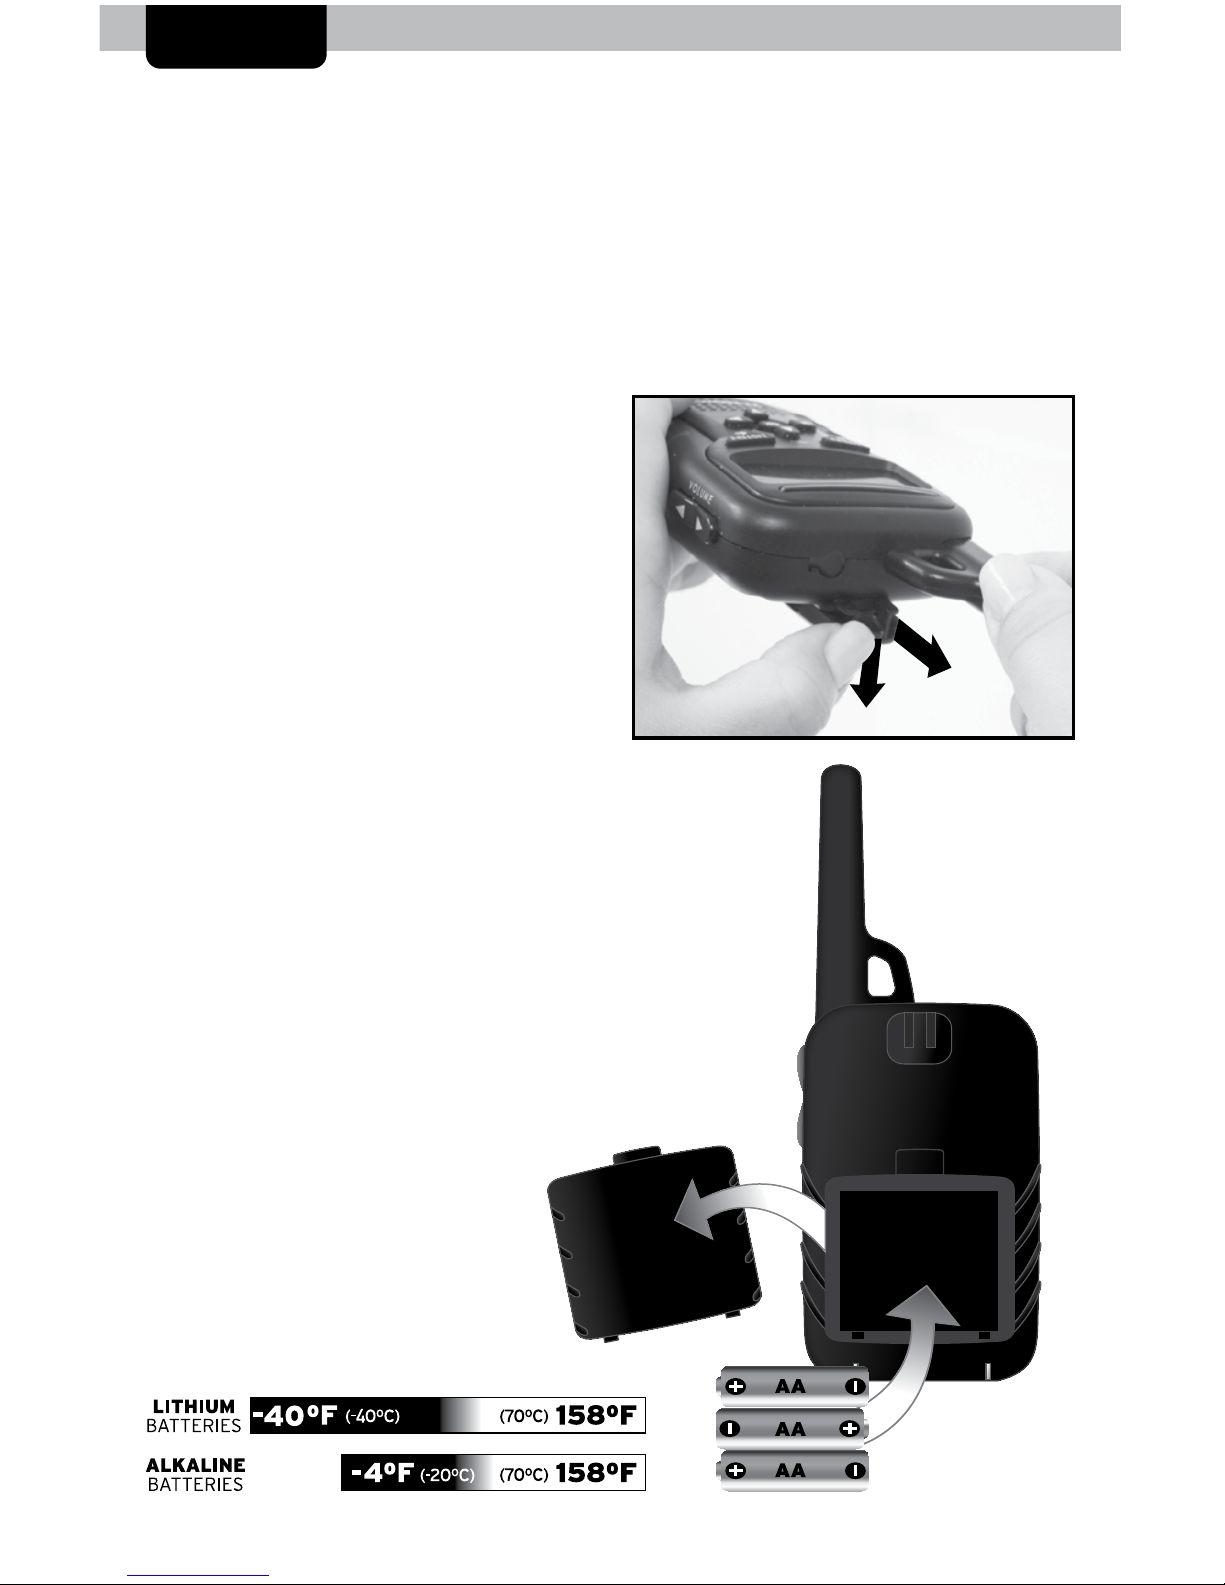
Placement Guidelines
Place the radio in a location you are most likely to hear the alert tone or see
the alert indicator lights. It is critical to choose a location where the radio can
receive the emergency alert signal broadcast. The radio and power dock are
designed for tabletop placement on a level, dry surface away from moisture.
Keep the radio away from sources of electronic interference, such as computer
monitors and TV’s, other radios, motors, microwaves, etc.
The display reads “READY” when radio reception is optimal. Press the
“LISTEN” button to verify your reception. If you do not have good reception,
relocate the radio near a window and away from objects that may limit the
radio signal.
TEST YOUR SIGNAL RECEPTION PRIOR TO RELYING ON THIS DEVICE
IN AN EMERGENCY. Verify radio reception during the National Weather
Service (NWS) Required Weekly Test (RWT). This test typically occurs every
Wednesday between 11:00 AM and 12:00 PM (CT), when weather permits.
The test consists of the RWT SAME code, a short tone and message explaining
the test. If adverse weather prevents the test from being broadcasted on Wed.,
it is postponed until the next day with good weather. If the test is not conducted
by Friday, it is postponed until the following Wednesday.
You can verify the test time with your local station.