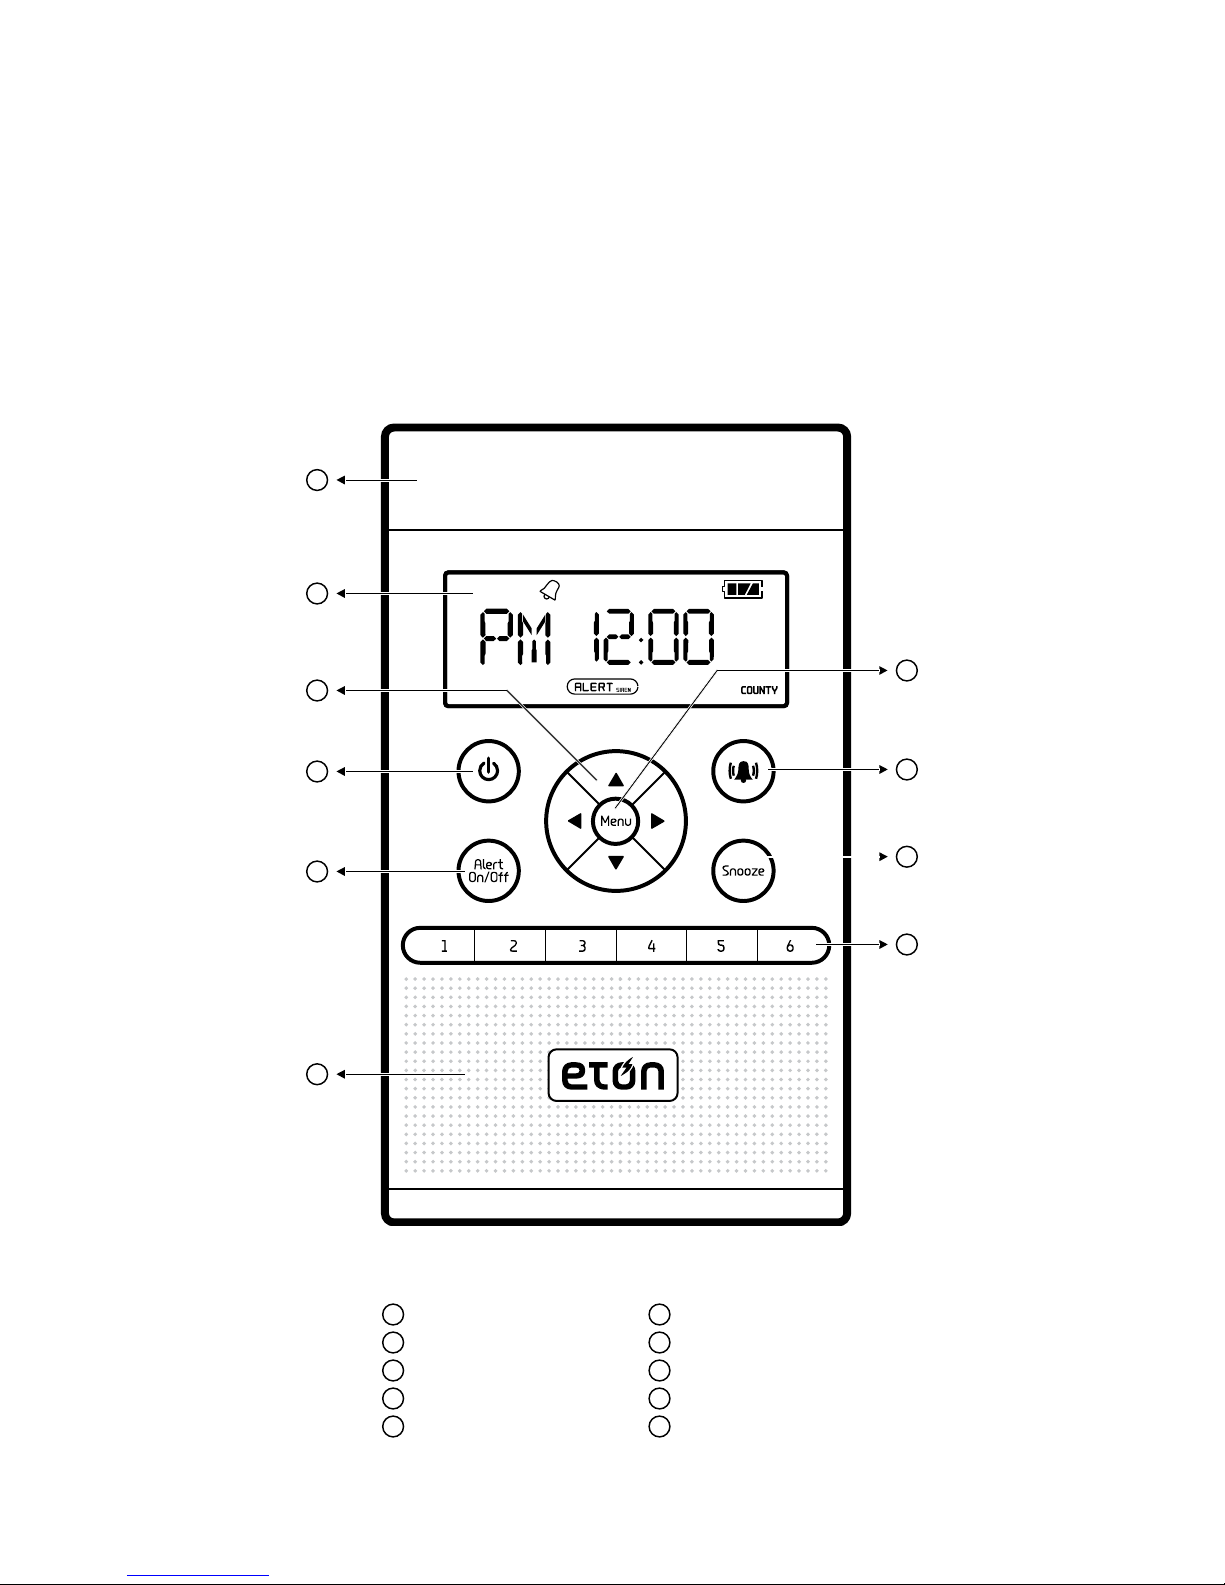
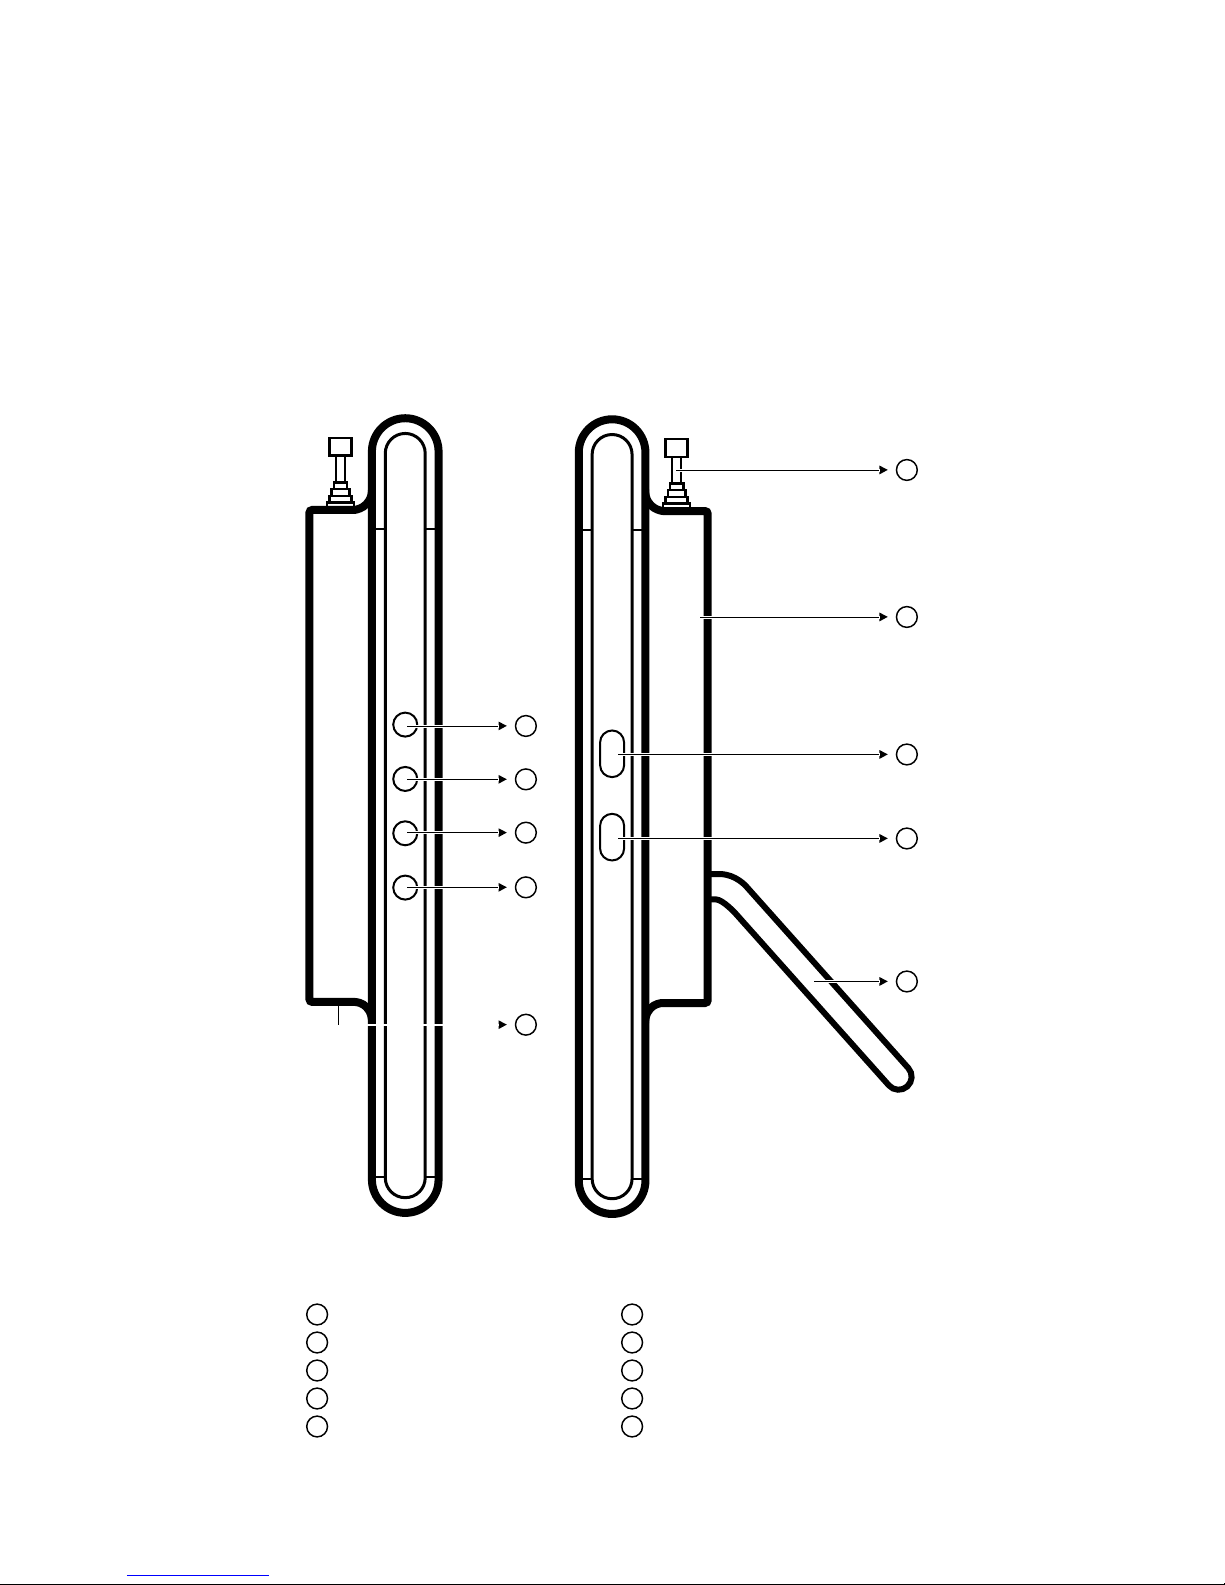
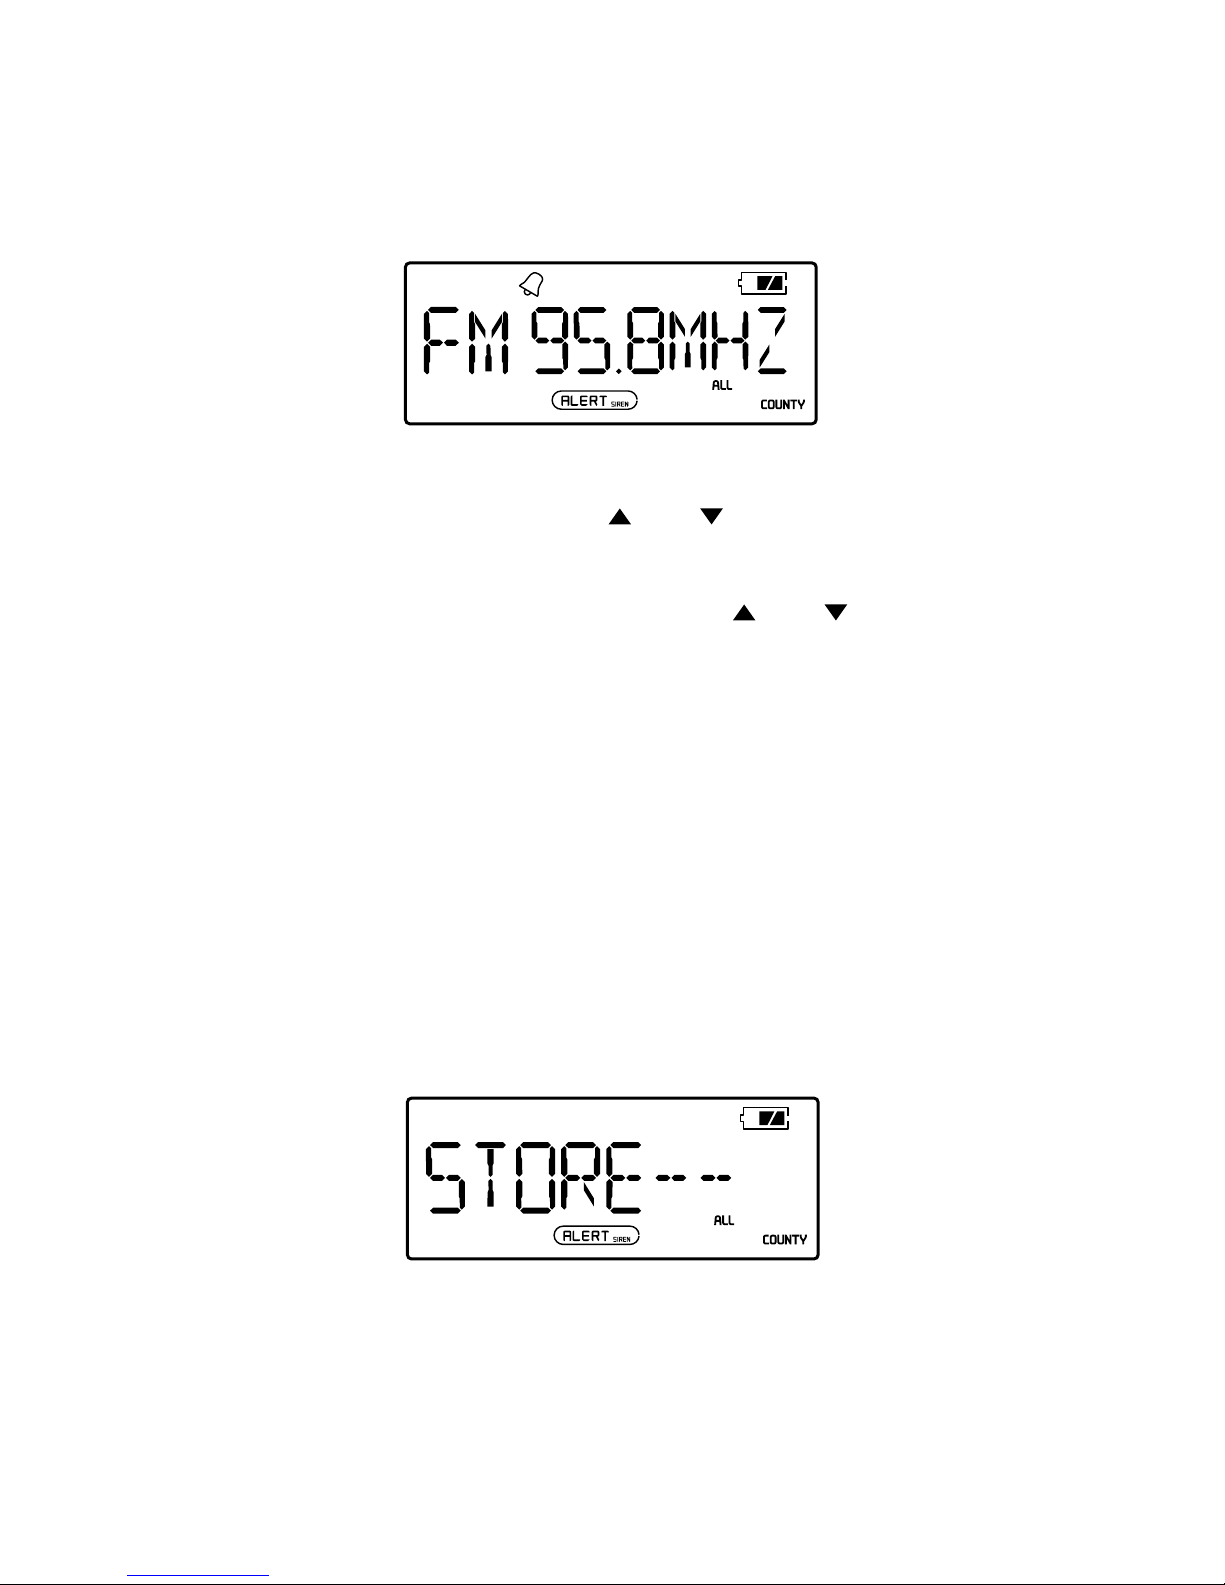
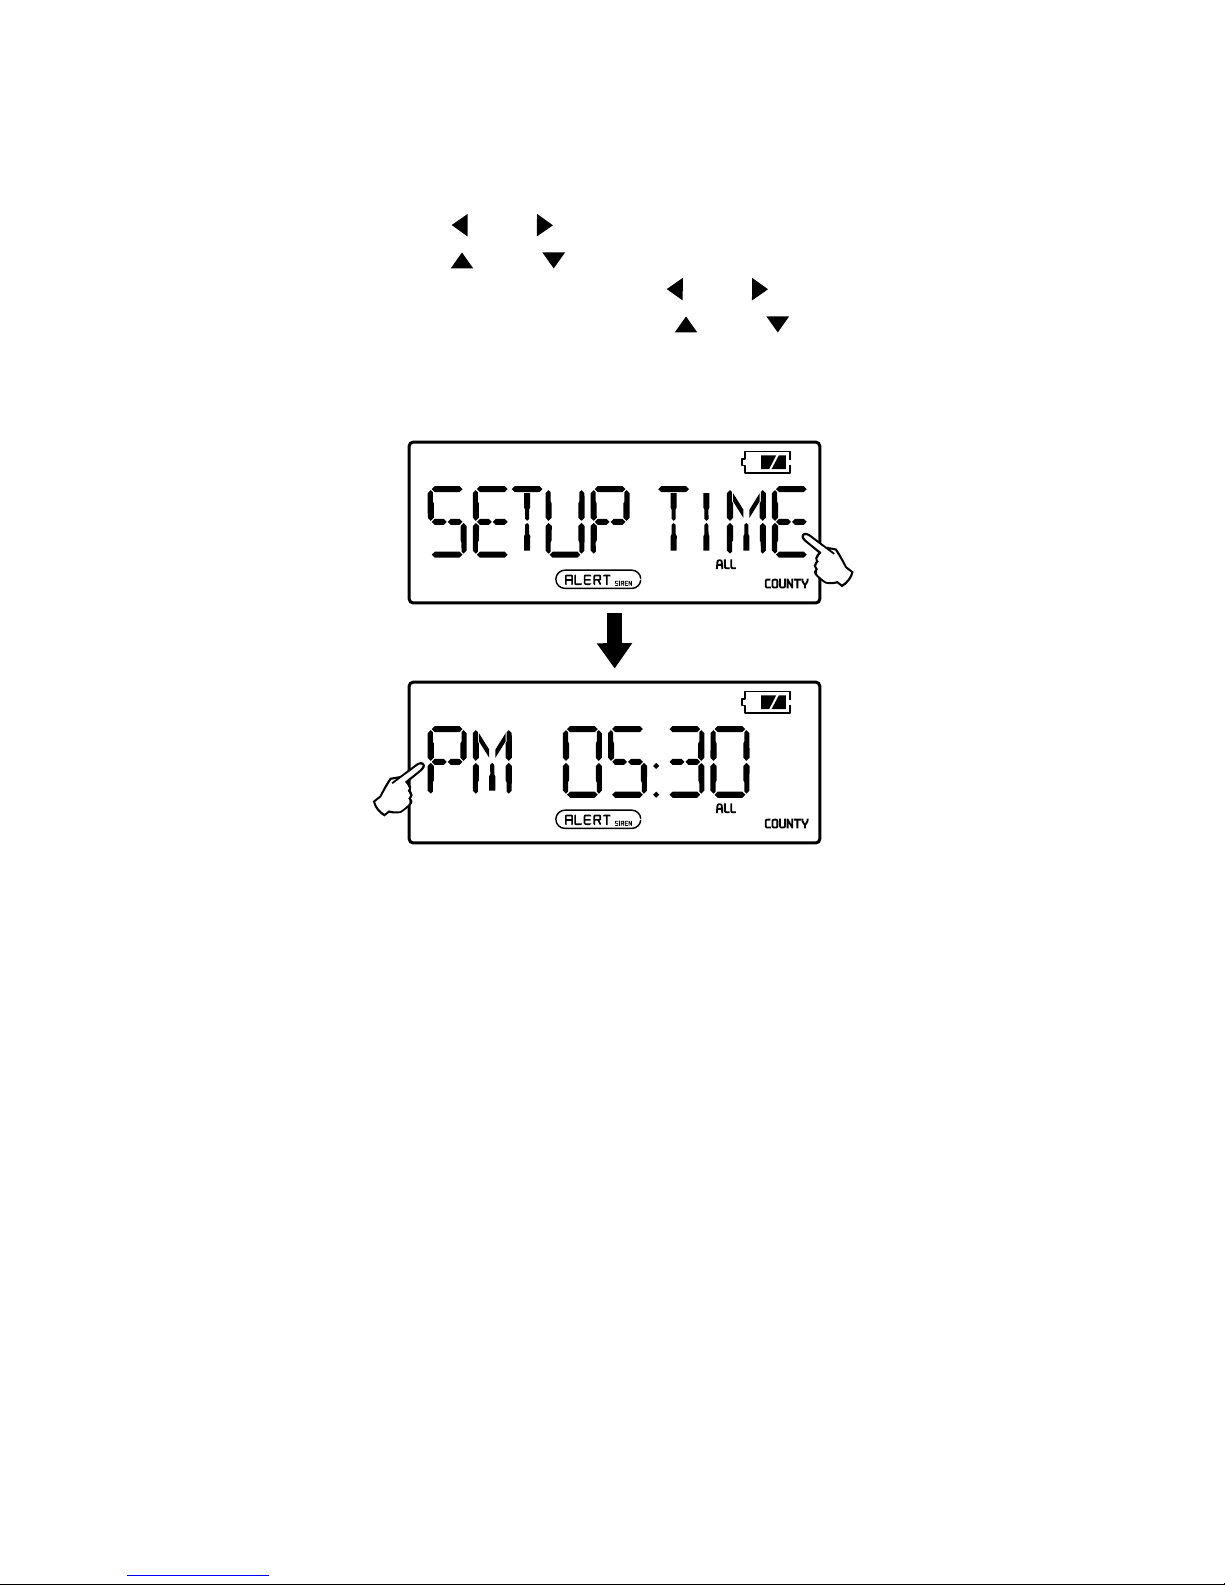
Eton ZoneGuard+ User manual
Other Eton Weather Radio manuals

Eton
Eton SOLARLINK FR600 RDS User manual

Eton
Eton TurboDyne Series User manual

Eton
Eton FRX5 User manual

Eton
Eton MICROLINK FR160 User manual

Eton
Eton American Red Cross FR350 User manual

Eton
Eton Microlink ARCFR160WXR RED User manual

Eton
Eton ZoneGuard+ User manual

Eton
Eton SOLARLINK FR600 RDS User manual

Eton
Eton ROVER - User manual

Eton
Eton SolarlinkFR600RDS User manual


Popular Weather Radio manuals by other brands


Texas Instruments
Texas Instruments WR-25 user manual

First Alert
First Alert WX-67 quick start guide

La Crosse
La Crosse 810-163TWR quick guide
Vector
Vector Stormtracker Series User's manual & warranty information

Oregon Scientific
Oregon Scientific WR102 instruction manual

Radio Shack
Radio Shack Weather Radio owner's manual