manuals.online logo
Brands
  1. Home
  2. •
  3. Brands
  4. •
  5. ADTRAN
  6. •
  7. VoIP
  8. •
  9. ADTRAN NetVanta 7100 User manual

ADTRAN NetVanta 7100 User manual

Other manuals for NetVanta 7100

4

Other ADTRAN VoIP manuals

ADTRAN NetVanta 7100 Service manual

ADTRAN

ADTRAN NetVanta 7100 Service manual

ADTRAN TOTAL ACCESS 600R User manual

ADTRAN

ADTRAN TOTAL ACCESS 600R User manual

ADTRAN NetVanta 7000 Series User manual

ADTRAN

ADTRAN NetVanta 7000 Series User manual

ADTRAN 850 DSX-1 Instruction Manual

ADTRAN

ADTRAN 850 DSX-1 Instruction Manual

Popular VoIP manuals by other brands

Minitar MVA11A user manual

Minitar

Minitar MVA11A user manual

Fanvil D800 Quick installation guide

Fanvil

Fanvil D800 Quick installation guide

ZyXEL Communications FMG3024-D10A Series user guide

ZyXEL Communications

ZyXEL Communications FMG3024-D10A Series user guide

Avaya Communication Manager Administrator's guide

Avaya

Avaya Communication Manager Administrator's guide

Quintum Tenor DX Product guide

Quintum

Quintum Tenor DX Product guide

Linksys SPA 2102 ATA Setup & troubleshooting

Linksys

Linksys SPA 2102 ATA Setup & troubleshooting

RTS RVON-16 user manual

RTS

RTS RVON-16 user manual

Allied Telesis AT-VP504E FXS Administration manual

Allied Telesis

Allied Telesis AT-VP504E FXS Administration manual

Talkswitch 240 Configuration guide

Talkswitch

Talkswitch 240 Configuration guide

Net2Phone MAX 4 quick start guide

Net2Phone

Net2Phone MAX 4 quick start guide

iPECS eMG80 installation guide

iPECS

iPECS eMG80 installation guide

NetComm V210 Setup guide

NetComm

NetComm V210 Setup guide

NetComm NB16WV Setup guide

NetComm

NetComm NB16WV Setup guide

D-Link DVG-5004S user manual

D-Link

D-Link DVG-5004S user manual

NETGEAR WGR615VV2 manual

NETGEAR

NETGEAR WGR615VV2 manual

Hubbell GAI-TRONICS RED ALERT 393-710 manual

Hubbell

Hubbell GAI-TRONICS RED ALERT 393-710 manual

ZyXEL Communications VOP1372G-61 user guide

ZyXEL Communications

ZyXEL Communications VOP1372G-61 user guide

Alcatel-Lucent VoIP for Enterprise brochure

Alcatel-Lucent

Alcatel-Lucent VoIP for Enterprise brochure

manuals.online logo
manuals.online logoBrands
  • About & Mission
  • Contact us
  • Privacy Policy
  • Terms and Conditions

Copyright 2025 Manuals.Online. All Rights Reserved.

NetVanta IP Telephony Course L2-1
NetVanta 7100 Exercise
Basic Installation and Call Handling
This exercise begins with the “Out of the Box” configuration of the NetVanta 7100. You
will create two SIP users, a door phone user account, modify the current voice
configuration, and then place calls following a typical call flow where inbound calls go to
the auto attendant. In the second call flow example, you will create a ring group and then
have inbound calls ring all phones that are members of that ring group.
CONNECTIONS

An ADTRAN IP 712 is connected to your NetVanta 7100 eth 0/1

A Polycom SoundPoint IP601 is connected to NetVanta 7100 eth 0/2

Analog trunk #1 is connected to NetVanta 7100 FXO 0/1

Analog trunk #2 is connected to NetVanta 7100 FXO 0/2.

IP/SIP trunk is connected to eth 0/0
* Only Analog trunk #1 will be used in this lab
NetVanta 7100
PSTN FX
O
0/
1
NetVanta 7100 Exercise – Basic Installation and Call Handling
L2-2
NetVanta IP Telephony Course
NETVANTA IP TELEPHONY COURSE AUTO ATTENDANT
This lab includes OPTIONAL trunk calls into YOUR configured student NetVanta 7000
lab equipment. When you see the symbol, this represents a call made from YOUR
OWN PHONE (cell phone, business phone, etc…) into the NetVanta IP Telephony
Course Auto Attendant.
Based on the lab exercise, you will be asked to select one of four call choices from within
the NetVanta IP Telephony Course Student Auto Attendant:
- 1for inbound call to your first analog trunk
- 2for inbound call to your second analog trunk
- 3for inbound call to user 2003 on your configured T1/PRI
- 4for inbound call on your configured SIP trunk
Enter Student Passcode
NetVanta IPT Course Auto Attendant
Enter Trunk Selection
Student Auto Attendant
T1/PRI
1/1
FXO
0/2
FXO
0/1 SIP
(
-IP-
)
PSTN
1 2 3 4
256-665-9214
“NOTICE”
This is a phone call to Huntsville, Alabama. Long distance charges may apply.
Passcode will be
provided by your
instructor
Student NetVanta 7100
NetVanta 7100 Exercise – Basic Installation and Call Handling
NetVanta IP Telephony Course L2-3
ACCESSING LAB NETVANTA 7100 - COMMAND LINE INTERFACE (CLI)

Log in to www.adtran.com and then navigate to your student web page
(www.adtran.com/training/vilt_ipt).
This link is on your CD and in your course information

From the student web page, navigate down to the Virtual Labs section
Wednesday
9am - 3pm(CT)
Lab 2
CLI: Basic Installation and Call Handling
GUI: Basic Installation and Call Handling

Select CLI as shown above for Command Line Interface
* The Password will be provided by your instructor
1. Press <Enter> on the keyboard and the access prompt should appear.
2. Enter your AOS password to log into the unit.
3. Enter into Enable Mode by typing ‘enable’ and then using your AOS
password.
NetVanta 7100 Exercise – Basic Installation and Call Handling
L2-4
NetVanta IP Telephony Course
ACCESSING LAB NETVANTA 7100 – GRAPHICAL USER INTERFACE (GUI)

Log in to www.adtran.com and then navigate to your student web page
(www.adtran.com/training/vilt_ipt).
This link is on your CD and in your course information

From the student web page, navigate down to the Virtual Labs section
Wednesday
9am - 3pm(CT)
Lab 2
CLI: Basic Installation and Call Handling
GUI: Basic Installation and Call Handling

Select GUI as shown above for the Graphical User Interface and login to the NetVanta
7100 management interface.
* The Password will be provided by your instructor
admin
iptxxxx
1) Type in the username/
password* for your unit
2) Click OK to login
NetVanta 7100 Exercise – Basic Installation and Call Handling
NetVanta IP Telephony Course L2-5
DEFAULT YOUR LAB NETVANTA 7100
Before you begin this lab, prepare your student NetVanta 7100.
Access the CLI of your NetVanta 7100
Enter into Enable Mode by typing ‘enable’ and then using your AOS password
Enter the following commands to return this unit to “LAB DEFAULTS”
NV7100# erase cflash Polycom/*0004*
NV7100# erase cflash ADTRAN/*00a0*
NV7100# copy flash ipt-config startup-config
NV7100# erase dynvoice-config
NV7100# reload
Enter <n> for ‘no’ when asked if wanting to save system configuration
Enter <y> for ‘yes’ when asked if wanting to reboot system
ACCESS YOUR LAB NETVANTA 7100
GUI Management Interface
- Access and login to the GUI interface of your Netvanta 7100
CLI Connection
- Re-establish the CLI connection and log back in to the Enable Mode
- If needed, see ACCESSING LAB UNIT (CLI) for instructions
If needed, see ACCESSING LAB
UNIT (GUI) for instructions
NetVanta 7100 Exercise – Basic Installation and Call Handling
L2-6
NetVanta IP Telephony Course
OBTAIN MAC ADDRESS OF IP PHONES

Navigate to the Data / Switch / MAC Forwarding screen.
From this screen, you can see the MAC addresses of connected devices and the physical
ports that they are connected to.

Note the MAC addresses associated with Ethernet ports 0/1 and 0/2. *
Write MAC addresses below for use during voice user creation:
ADTRAN IP 712 eth 0/1
00:A0:C8:___:___:___
Polycom SoundPoint IP 601 eth 0/2
00:04:F2:___:___:___
*
If you do not see eth 0/1 and eth 0/2 in the MAC Forwarding table, complete the
following:
1. Navigate to the Data / Switch / Power over Ethernet screen.
2. Cycle the power of Eth 0/1 and Eth 0/2 from AUTO to OFF.
3. Cycle the power of Eth 0/1 and Eth 0/2 from OFF to AUTO.
4. Return to the Data / Switch / MAC Forwarding screen as shown above and
obtain MAC addresses after phones have booted.
ADTRAN Phone – Eth 0/1
Polycom Phone – Eth 0/2
NetVanta 7100 Exercise – Basic Installation and Call Handling
NetVanta IP Telephony Course L2-7
CREATE SIP VOICE USERS 2003 and 2004
1. Select Voice / Stations / User Accounts from the NetVanta 7100 menus.
2. Enter SIP User #1’s extension, name, and Phone Type.
3. Select the New Address option and then enter the MAC address of the ADTRAN IP
712 phone.
4. Change the Phone Model to ADTRAN IP 712
5. Click Apply and Add Another User.
Clicking “Apply and Add Another User” creates the configured voice user but leaves you
on the Voice / Stations / User Accounts screen instead of the New Voice User Edit screen.
SIP User 1
Extension: 2003
First Name: Your
Last Name: Choice
Phone Type: SIP
Phone Model: ADTRAN IP 712
Phone config files
can only be created
for recognized
phone models.
Select New Address
and then enter Phone
MAC Address of your
ADTRAN phone
NetVanta 7100 Exercise – Basic Installation and Call Handling
L2-8
NetVanta IP Telephony Course
6. From the Voice / Stations / User Accounts screen, complete the steps below:
7. Enter SIP User #2’s extension, name, and Phone Type.
8. Select the New Address option and then enter the MAC address of the
ADTRAN/Polycom SoundPoint IP 601.
9. Change the Phone Model to ADTRAN/Polycom SoundPoint IP 6xx and then click
Apply.
Q: What information must be entered to create a new SIP user for a known phone model?
____________________________________________________________________
Q: Where are phone configuration files created by the NetVanta 7100 stored?
____________________________________________________________________
SIP User 2
Extension: 2004
First Name: Your
Last Name: Choice
Phone Type: SIP
Phone Model: SoundPoint IP 6xx
Select New Address
and then enter Phone
MAC Address of your
Polycom phone
NetVanta 7100 Exercise – Basic Installation and Call Handling
NetVanta IP Telephony Course L2-9
CYCLE POWER OF PoE PORTS
The ADTRAN and Polycom SIP based phones load configuration files at boot. If the
voice user was created after the phone had already been plugged in, removing power to the
port that the phone is connected to is one way to force the IP phone to reboot.
10. Navigate to the Data / Switch / Power over Ethernet screen.
11. Cycle the power of Eth 0/1 and Eth 0/2 from AUTO to OFF.
12. Cycle the power of Eth 0/1 and Eth 0/2 from OFF to AUTO.
CHECK REGISTRATION STATUS OF SIP USERS
After phones have had enough time to boot (allow about 2 ½ minutes), one location where
the status of SIP phones can be displayed is on the following screen:
13. Navigate to the Voice / Stations / User Accounts screen.
If SIP user has registered with the NetVanta 7100, a line displays below the word SIP.
If SIP user has not registered with the NetVanta 7100, a line displays though the word SIP.
The MAC address entered for this phone can also be seen by hovering cursor of
?
bubble.
Click Apply after
making change
NetVanta 7100 Exercise – Basic Installation and Call Handling
L2-10
NetVanta IP Telephony Course
ACCESS VOICEMAIL
Newly created voice users are given access to Voicemail by default. When a voice user
accesses voicemail for the first time, the Voicemail Setup Wizard runs. The user will be
prompted to record a name, greeting, and to change their voicemail password.
In the following steps, you will set up voicemail for user 2003. Next you will call and
leave a message for 2003. Finally, you will listen and delete the message.
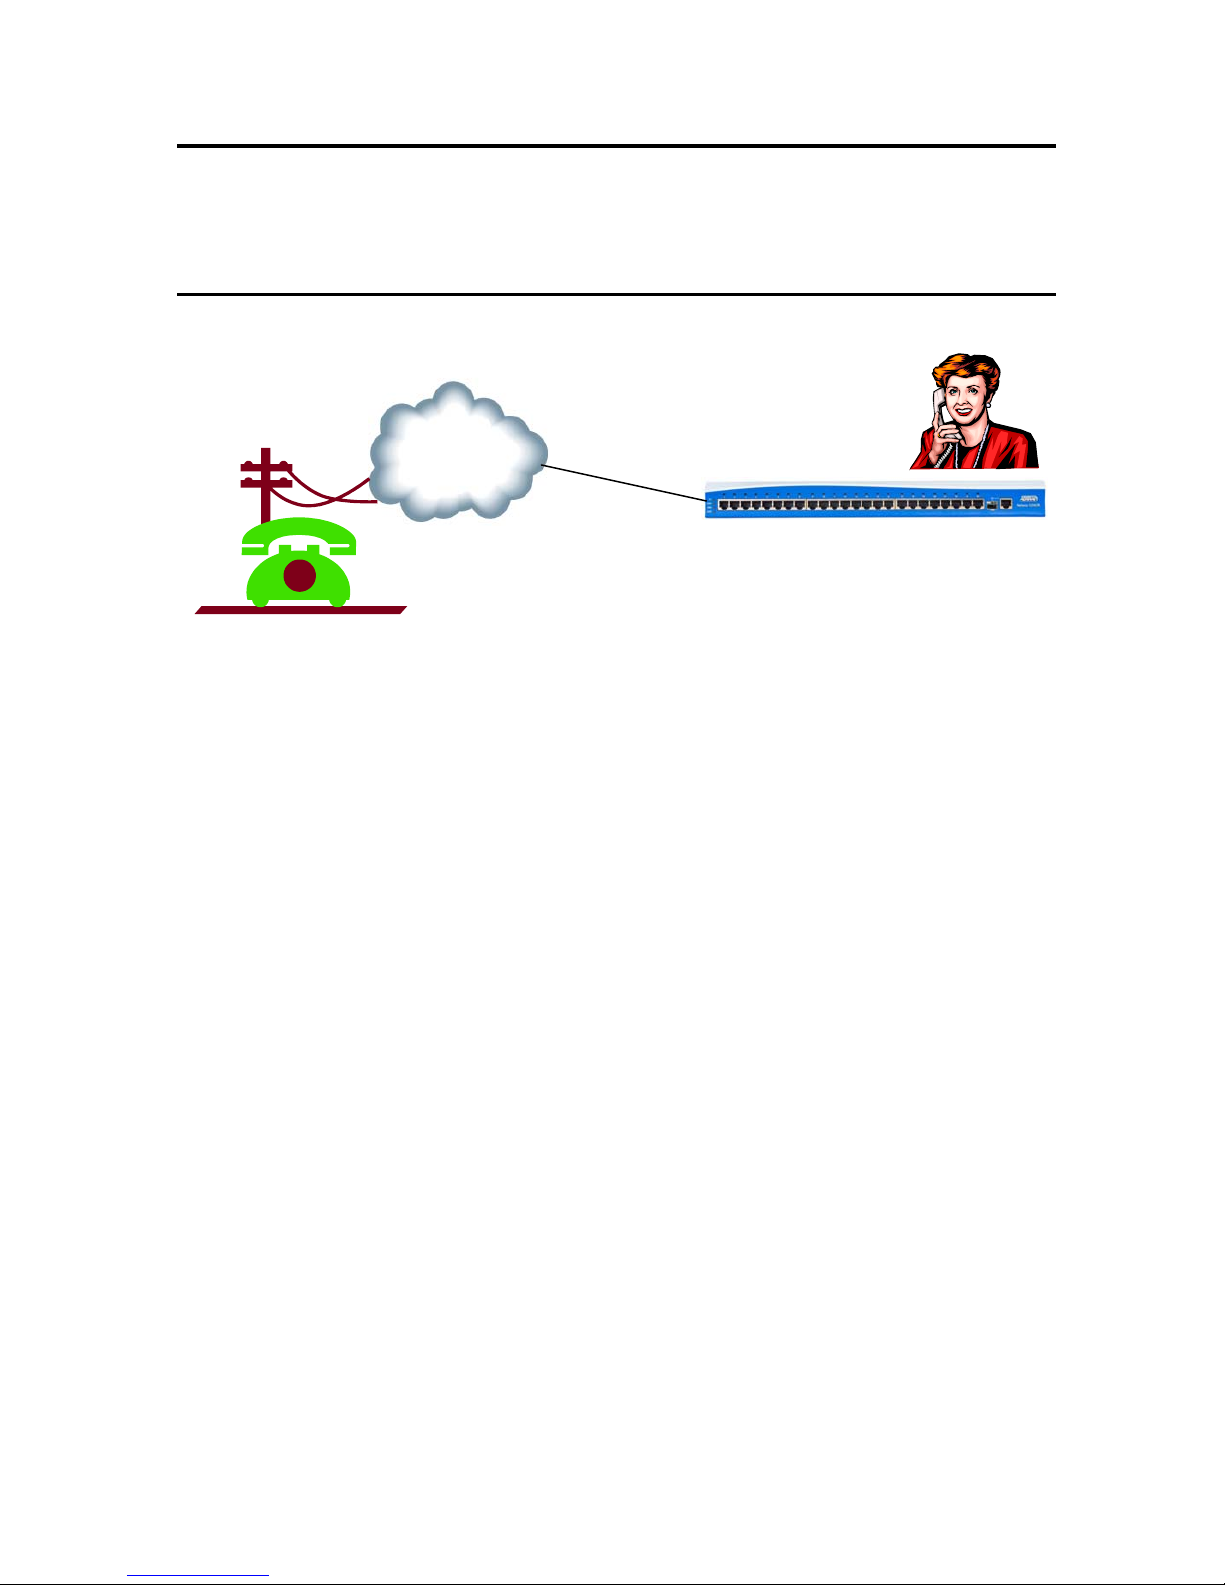
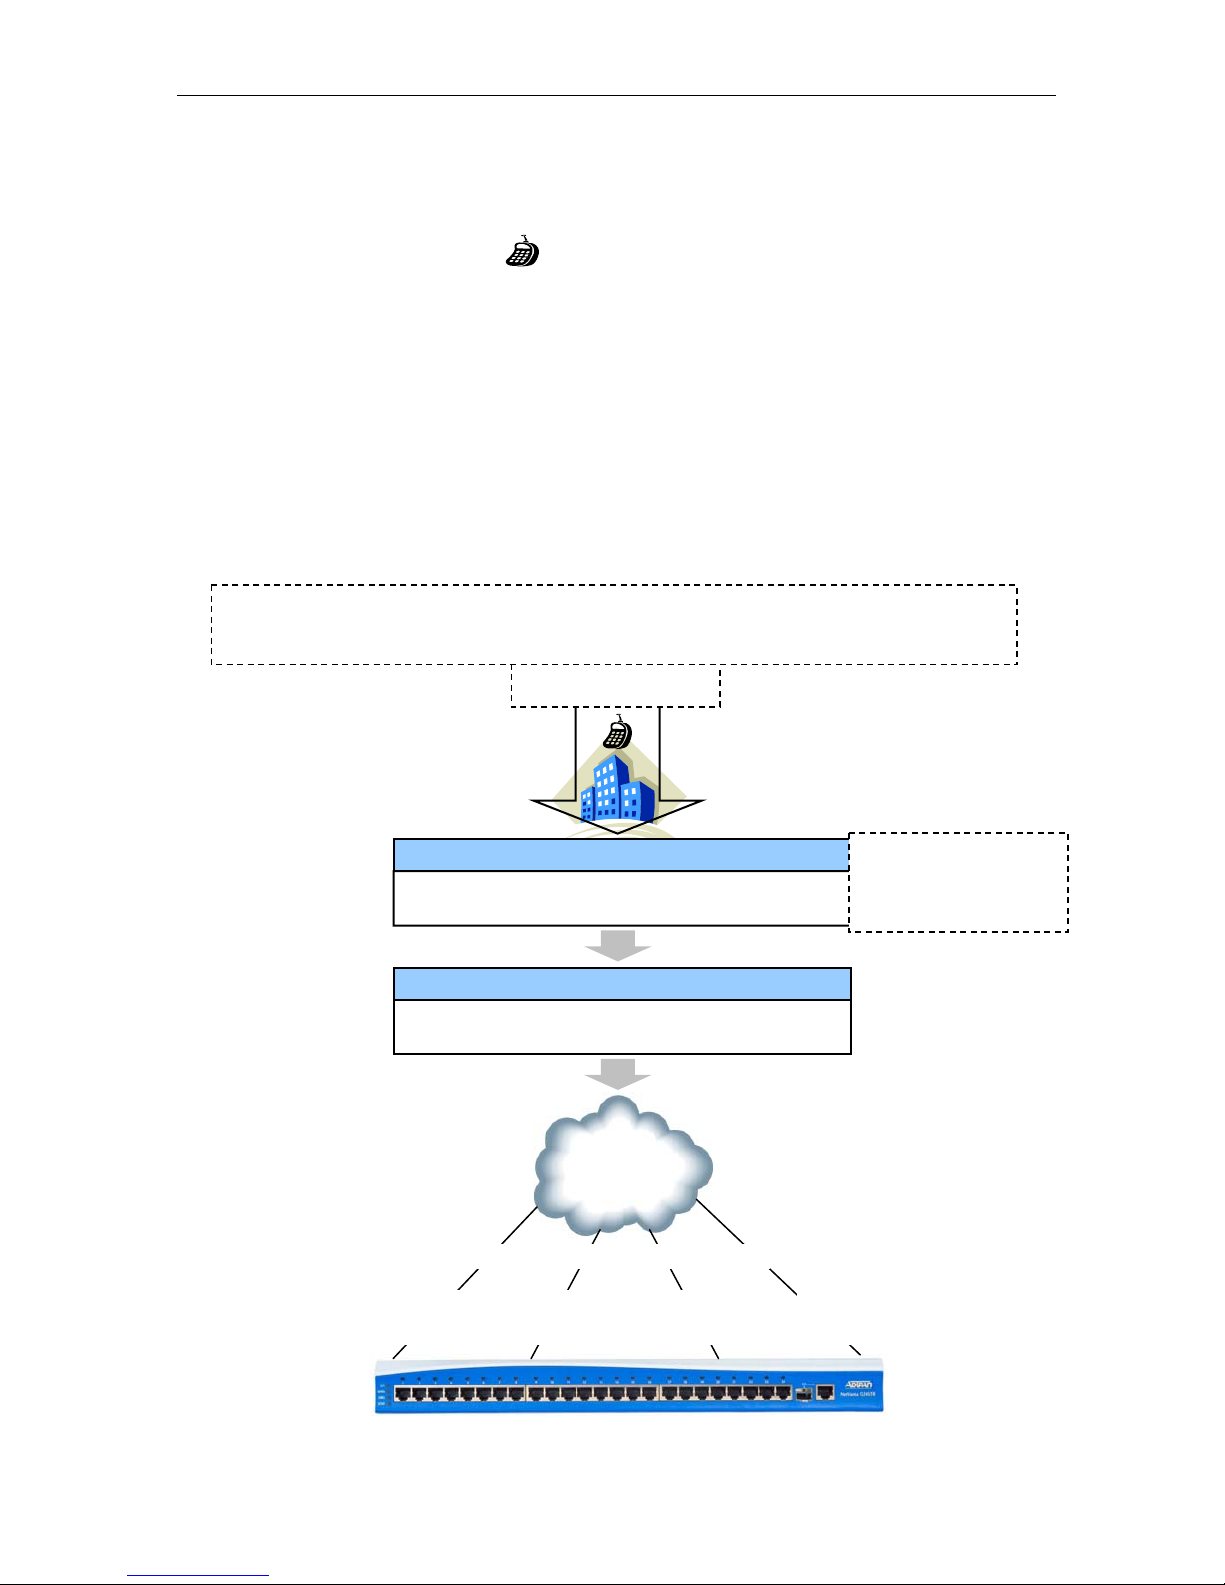
The symbol represents a call made from your own phone into the NetVanta IP
Telephony Course Auto Attendant.
14. Set up Voicemail for voice user 2003.
1. Dial 1-256-665-9214
2. Enter Pass Code for Student Auto Attendant (your 4 digit passcode)
3. Press 1 to place call into your first Analog Trunk
Call is initiated inbound on the first Analog trunk to the Auto Attendant (8200)
4. Enter 8500, for Voicemail, when asked to enter extension
Mailbox? Enter 2003 followed by #
Password? Enter 1234 followed by #
5. Follow the prompts to record your name, greeting, and a new voicemail
password of “1111”. Hang up when complete.
15. Call your IPT lab site and leave message for voice user 2003.
1. Dial 1-256-665-9214
2. Enter Pass Code for Student Auto Attendant (your 4 digit passcode)
3. Press 1 to place call into your first Analog Trunk
Call is initiated inbound on the first Analog trunk to the Auto Attendant (8200)
4. Enter 2003 when asked for extension.
Call is sent to voice user 2003. Call coverage is configured to “Go to
Voicemail” after 4 rings.
5. Leave message and then hang up when complete.