AEB 725A Installation guide

1 - 10 IS725AN-1 Rev. 110908-0
Manuale Istruzioni di Montaggio
Commutatore con avviamento BENZINA
Codice 725A
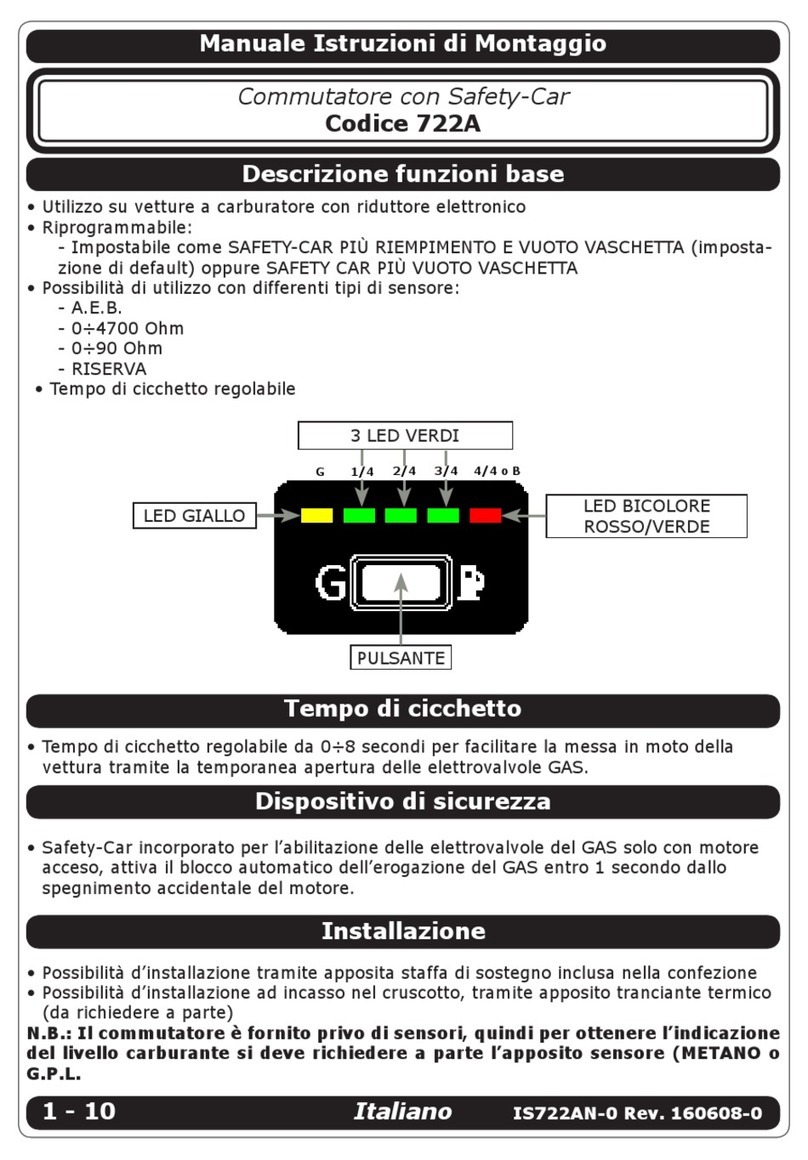
Descrizione funzioni base
Italiano
Dispositivo di sicurezza
PULSANTE
LED GIALLO LED BICOLORE
ROSSO/VERDE
3 LED VERDI
G 1/4 2/4 3/4 4/4 o B
Utilizzo su vetture ad iniezione con riduttore elettronico• Riprogrammabile:• - Impostabile con avviamento a benzina e cambio in DECELERAZIONE (Impostazione
di default) o cambio in ACCELERAZIONE
- Possibilità di utilizzo con differenti tipi di sensore:
- A.E.B.
- 0÷4700 Ohm
- 0÷90 Ohm
- RISERVA
- Riferimento giri per il cambio modificabile
N.B.: se il commutatore viene installato su di una vettura dove è presente il
Variatore d’Anticipo cod. 549N, è necessario collegare il filo MARRONE del
commutatore con il filo NERO del Variatore d’Anticipo.
Safety-Car incorporato per l’abilitazione delle elettrovalvole del GAS solo con motore• acceso, attiva il blocco automatico dell’erogazione del GAS entro 1 secondo dallo
spegnimento accidentale del motore.
Installazione
Possibilità d’installazione tramite apposita staffa di sostegno inclusa nella confezione• Possibilità d’installazione ad incasso nel cruscotto, tramite apposito tranciante termico• (da richiedere a parte)
N.B.: Il commutatore è fornito privo di sensori, quindi per ottenere l’indicazione
del livello carburante si deve richiedere a parte l’apposito sensore (METANO o
G.P.L.
IS725AN-1.indd 1IS725AN-1.indd 1 11/09/2008 9.11.0011/09/2008 9.11.00

Avvertenze Generali
Caratteristiche Tecniche
Tensione d’alimentazione 10÷16 Vdc
Corrente nominale uscita GAS (filo BLU) 5 A max.
Corrente nominale uscita BENZINA (filo GIALLO) 5 A max.
Fusibile a norme DIN 72581 5 A max.
Ingombri scatola Commutatore altezza 24 mm
profondità 77 mm
larghezza 35 mm
Il prodotto è conforme alle seguenti normative: regolamento R 67/01
regolamento R 110/00
direttiva 2006/28/CE
Contenuto dell’Imballo
La confezione è composta da:
N° 1 commutatore
N° 1 staffa per il fissaggio del commutatore
N° 1 sacchetto accessori con cablaggio, fusibile, portafusibile e minuteria
N° 1 istruzione di montaggio
Questo manuale potrà essere modificato in qualsiasi momento per essere aggiornato
con ogni variazione o miglioramento tecnologico, qualitativo ed informativo
Per evitare malfunzionamenti del commutatore si consiglia di:
- passare i fili del commutatore il più lontano possibile dai cavi dell’alta tensione.
- Fare delle buone connessioni elettriche evitando l’uso dei “rubacorrente”.
Si tenga presente che la migliore connessione elettrica è la saldatura
debitamente isolata.
- Si sconsiglia vivamente di sostituire il fusibile da 5 A con fusibili di amperag-
gio maggiore o non conforme alle norme DIN 72581, ciò può provocare danni
irreparabili.
- Non aprire per nessun motivo la scatola del Commutatore, soprattutto con il
motore in moto o il quadro inserito.
Si declina ogni responsabilità per danni a cose e persone, derivati dalla
manomissione delproprio dispositivo da parte di personale non autorizzato e
dall’inosservanza delle avvertenze.
IS725AN-1.indd 2IS725AN-1.indd 2 11/09/2008 9.11.1611/09/2008 9.11.16

SCHEMA DI MONTAGGIO
BIANCO
NERO ROSSO BLU GIALLO
MASSA + 12 VOLT
SOTTO CHIAVE ELETTROVALVOLE GAS
( *) COLLEGARE AL CONTAGIRI O AL NEGATIVO BOBINA
FUSIBILE
MAX 5 A
VERDE
MASSA
SENSORI STANDARD A.E.B.
SENSORI STANDARD A.E.B.
TIPO 1050 E RISERVA TIPO
MASSA
MASSA
VERDE
BIANCO
BIANCO
BIANCO
VERDE NON COLLEGARE
SENSORI STANDARD 0÷4700 OHM
BIANCO
VERDE MASSA
SENSORI STANDARD 0÷90 OHM
VERDE NON COLLEGARE
USCITA +12 VOLT
MODO BENZINA
NOTA:
NON COLLEGARE
SE SI INSTALLA
UN EMULATORE O
UN TIMING RELAY
( ∗) MARRONE
IS725AN-1.indd 3IS725AN-1.indd 3 11/09/2008 9.11.1611/09/2008 9.11.16

4 - 10 IS725AN-1 Rev. 110908-0
1. Assicurarsi che il commutatore sia connesso e la chiave sia posi-
zionata su OFF.
2. Tenere premuto il pulsante sul commutatore.
3. Girare la chiave d’accensione su ON e avviare l’autovettura.
4. Led bicolore (Rosso/Verde) lampeggiante.
5. MantenerepremutoilpulsantefinoaquandoilledlampeggiasoloRosso
6. Rilasciare il pulsante; il led lampeggia Verde.
PROGRAMMAZIONE TIPO SENSORE DI LIVELLO:
1. Premere il pulsante più volte fino ad ottenere la programmazione
del sensore di livello desiderata.
LED GIALLO ACCESO:• Sensore A.E.B
LED VERDE 1/4 ACCESO:• Sensore 0÷4700 Ohm
LED VERDE 2/4 ACCESO:• Sensore 0÷90 Ohm
LED VERDE 3/4 ACCESO:• Sensore RISERVA
2. Tenere premuto il pulsante per 3 secondi per memorizzare e passare
al successivo settaggio.
Programmazione
Italiano
G 4/4
G 4/4
G B
4/4 o B
PROGRAMMAZIONE TIPO CAMBIO (ACCELERAZIONE/DECELERAZIONE)
1. Led bicolore acceso VERDE.
2. Premere il pulsante fino ad ottenere la programmazione desiderata.
LED GIALLO ACCESO:• Commutatore programmato per cambio in
DECELERAZIONE
LED VERDE 1/4 ACCESO:• Commutatore programmato per cambio
in ACCELERAZIONE
3. Tenere premuto il pulsante per 3 secondi per memorizzare e passare
al successivo settaggio.
PROGRAMMAZIONE RIFERIMENTO GIRI PER IL CAMBIO
1. Led bicolore acceso ROSSO
2. Portare il motore al livello di giri desiderato (800-1200) mantenendo
costante tale valore.
3. Premere una volta il pulsante per memorizzare la soglia giri mo-
tore raggiunta come riferimento; ad ogni pressione del pulsante i giri
motore (purchè non siano nulli) vengono memorizzati come nuovo
riferimento per il cambio.
4. Portare il motore al minimo, controllando lo stato del led GIALLO.
LED GIALLO LAMPEGGIANTE:• Giri motore inferiori al riferimento
LED GIALLO ACCESO:• Giri motore superiori al riferimento
5. Tenere premuto il pulsante per 3 secondi fino a quando il led bicolore
lampeggia ROSSO/VERDE.
6. Girare la chiave d’accensione su OFF.
N.B.: Per portare a termine la programmazione in modo corretto, i
passaggi elencati devono essere eseguiti in sequenza.
G B
1/4 4/4
4/4 o B
IS725AN-1.indd 4IS725AN-1.indd 4 11/09/2008 9.11.1611/09/2008 9.11.16

5 - 10
IS725AN-1 Rev. 110908-0
Funzionamento
Led• GIALLO lampeggiante
Led• VERDI indicano la quantità di GAS
Passaggio da BENZINA a GAS in• DECELERAZIONE dopo il supe-
ramento del numero di giri impostato
Led• GIALLO lampeggiante
Led• VERDI indicano la quantità di GAS (se in riserva si ha solo
l’indicazione del led giallo)
Passaggio da BENZINA a GAS in• ACCELERAZIONE al superamento
del numero di giri impostato
FUNZIONAMENTO A BENZINA
LED BICOLORE acceso ROSSO.•
FUNZIONE EMERGENZA
(la vettura parte direttamente a GAS)
Inserire il sotto chiave senza accendere l’autovettura• - Tenere premuto il pulsante per 3 secondi
- Led GIALLO
Led• VERDI indicano la quantità di GAS (se in riserva si ha solo
l’indicazione del led giallo)
Avviare la vettura che partirà direttamente a GAS•
N.B.: nel caso in cui il commutatore sia programmato per
funzionare con un sensore RISERVA, s’accenderanno solo il
LED GIALLO e il LED VERDE 1/4.
Italiano
G 1/4
B
G
1/4 2/4 3/4 4/4
G
1/4 2/4 3/4 4/4
G
1/4 2/4 3/4 4/4
PROGRAMMATO COME AVVIAMENTO A BENZINA CON PASSAGGIO AUTOMATICO
A GAS IN DECELERAZIONE
PROGRAMMATO COME AVVIAMENTO A BENZINA CON PASSAGGIO AUTOMATICO
A GAS IN ACCELERAZIONE
Ad ogni pressione del pulsante si passa dal funzionamento GAS a BENZINA e viceversa
FUNZIONAMENTO A GAS
IS725AN-1.indd 5IS725AN-1.indd 5 11/09/2008 9.11.1711/09/2008 9.11.17

6 - 10
IS725AN-1 Rev. 110908-0
Assembly Instruction Manual
Switch with FUEL engine cranking
Code 725A
Description of basic functions
English
Safety device
BUTTON
YELLOW LED TWO-COLOUR
RED/GREEN LED
3 GREEN LEDS
G 1/4 2/4 3/4 4/4 o B
Use on injection vehicles with electronic reduction gear• Reprogrammable:• - Can be set with fuel cranking and changeover during DECELERATION (default set-
ting) or changeover during ACCELERATION
- Possibility to be used with different sensor types:
- A.E.B.
- 0÷4700 Ohm
- 0÷90 Ohm
- RESERVE
- Rev reference for the modifiable changeover
NOTE: if the switch is installed on a vehicle having the Timing Advance Proces-
sor code 549N, it is necessary to connect the BROWN switch wire to the BLACK
Timing Advance Processor wire.
Built-in Safety-Car device for enabling the GAS solenoid valves only with the engine• running, activates automatic GAS delivery blocking within 1 second from the accidental
switching off of the engine.
Installation
Can be installed using the support bracket included in the package• Can be installed flush-mounted in the dashboard using the heat cutter (to be requested• separately)
NOTE: The switch is supplied without sensors, so in order to get indication of
the fuel level you have to request the relevant sensor (METHANE or LPG) sepa-
rately.
IS725AN-1.indd 6IS725AN-1.indd 6 11/09/2008 9.11.1711/09/2008 9.11.17

7 - 10 IS725AN-1 Rev. 110908-0
General Warnings
Technical Characteristics
Power supply voltage 1 0÷16 VDC
GAS output (BLUE wire) rated current 5 A max.
FUEL output (YELLOW wire) rated current 5 A max.
Fuse compliant with DIN 72581 5 A max.
Switch box overall dimensions 24 mm height
77 mm depth
35 mm width
The product is compliant with the following regulations: R 67/01 regulations
R 110/00 regulations
directive 2006/28/EC
Package Contents
The package contains:
1switch
1switch fixing bracket
1bag of accessories, with wiring harness, fuse, fuse holder and small parts
1assembly instruction manual
This manual can be modified at any time in order to be updated with all technological,
quality and information changes or improvements
In order to avoid switch malfunctions:
- Lay the switch wires as far as possible from the high voltage cables.
- Make good electrical connections without using cable clamps.
Remember that the best electrical connection is duly insulated solder-
ing.
- Do not replace the 5A fuse with fuses of higher amperage or non-compliant
with the DIN 72581 standards. This can cause irreparable damage.
- Do not open the switch box for any reason whatsoever, especially with the engine
running or with the panel on.
The manufacturer declines all responsibility for damages to things and injuries
to people caused by unauthorised personnel tampering with the device and by
non-observance of the warnings.
IS725AN-1.indd 7IS725AN-1.indd 7 11/09/2008 9.11.1711/09/2008 9.11.17

ASSEMBLY DIAGRAM
( *) CONNECT TO THE REVOLUTION COUNTER OR TO THE COIL NEGATIVE POLE
WHITE
BLACK RED BLUE YELLOW
GROUND + 12 VOLT
IGNITION GAS SOLENOID VALVES
FUSE
MAX 5 A
GREEN
GROUND
A.E.B. STANDARD SENSOR
A.E.B. STANDARD SENSOR TYPE
1050 AND RESERVE TYPE 1051
( ∗) BROWN
GROUND
GROUND
GREEN
WHITE
WHITE
WHITE
GREEN DO NOT CONNECT
0÷4700 OHM STANDARD SENSOR
WHITE
GREEN GROUND
0÷90 OHM STANDARD SENSOR
GREEN DO NOT CONNECT
+12 VOLT OUTPUT
PETROL MODE
WARNING:
IF YOU INSTALL
AN EMULATOR OR
ATYMING RELAY
DO NOT CONNECT
IS725AN-1.indd 8IS725AN-1.indd 8 11/09/2008 9.11.1711/09/2008 9.11.17

9 - 10
IS725AN-1 Rev. 110908-0
1. Make sure the switch is connected and the key is positioned on OFF.
2. Keep the button on the switch pressed down.
3. Turn the ignition key to ON and start the vehicle.
4. Two-colour LED (Red/Green) blinking.
5. Keep the button pressed down until the LED blinks Red only
6. Release the button; the LED now blinks Green.
TYPE OF LEVEL SENSOR PROGRAMMING:
1. Press the button several times until you get the desired level sen-
sor programming.
YELLOW LED ON:• A.E.B. sensor
1/4 GREEN LED ON:• 0÷4700 Ohm sensor
2/4 GREEN LED ON:• 0÷90 Ohm sensor
3/4 GREEN LED ON:• RESERVE sensor
2. Keep the button pressed for 3 seconds in order to save and go on
to the next setting.
Programming
English
G 4/4
G 4/4
G B
4/4 o B
TYPE OF CHANGEOVER PROGRAMMING (ACCELERATION/DECELERATION)
1. Two-colour LED with GREEN on.
2. Press the button until you get the desired programming.
YELLOW LED ON:• Switch programmed to change over during
DECELERATION
1/4 GREEN LED ON:• Switch programmed to change over during
ACCELERATION
3. Keep the button pressed for 3 seconds in order to save and go on
to the next setting.
REV REFERENCE FOR CHANGEOVER PROGRAMMING
1. Two-colour LED with RED on.
2. Run the engine at the desired rpm level (800-1200) while keeping
this value constant.
3. Press the button once to store the engine rpm threshold as reference;
every time the button is pressed, the engine rpm (provided they are
not null) are store as a new reference for the changeover.
4. Take the engine to idle speed while checking the status of the
YELLOW LED.
YELLOW LED BLINKING:• Engine rpm lower than reference
YELLOW LED ON:• Engine rpm higher than reference
5. Keep the button pressed for 3 seconds until the two-colour LED
blinks RED/GREEN.
6. Turn the ignition key to OFF.
NOTE: The steps listed above must be followed in sequence in
order to complete programming correctly.
G B
1/4 4/4
4/4 o B
IS725AN-1.indd 9IS725AN-1.indd 9 11/09/2008 9.11.1711/09/2008 9.11.17

10 - 10 IS725AN-1 Rev. 110908-0
Operation
YELLOW• LED blinking:
GREEN• LEDs indicate the quantity of GAS
Changeover from FUEL to GAS during• DECELERATION after the
set rpm has been passed
YELLOW• LED blinking:
GREEN• LEDs indicate the quantity of GAS (if in reserve, there is
only the yellow LED indication)
Changeover from FUEL to GAS during• acceleration after the set
rpm has been passed
FUEL OPERATION
TWO-COLOUR LED with RED on.•
EMERGENCY FUNCTION
(the vehicle starts directly with GAS)
Insert the sub key without starting the vehicle• - Keep the button pressed for 3 seconds
- YELLOW LED
GREEN• LEDs indicate the quantity of GAS (if in reserve, there is
only the yellow LED indication)
Start the vehicle, and it will start directly with GAS•
NOTE: if the switch has been programmed to operate with
a RESERVE sensor, only the YELLOW and 1/4 GREEN LEDs
will turn on.
English
G 1/4
G
1/4 2/4 3/4 4/4
G
1/4 2/4 3/4 4/4
PROGRAMMED AS FUEL CRANKING WITH AUTOMATIC CHANGEOVER TO GAS
DURING DECELERATION
PROGRAMMED AS FUEL CRANKING WITH AUTOMATIC CHANGEOVER TO GAS
DURING ACCELERATION
Operation changes over from GAS to FUEL and vice versa every time the button is pressed
GAS OPERATION
B
G
1/4 2/4 3/4 4/4
IS725AN-1.indd 10IS725AN-1.indd 10 11/09/2008 9.11.1711/09/2008 9.11.17
Table of contents
Languages:
Other AEB Switch manuals
Popular Switch manuals by other brands
Extron electronics
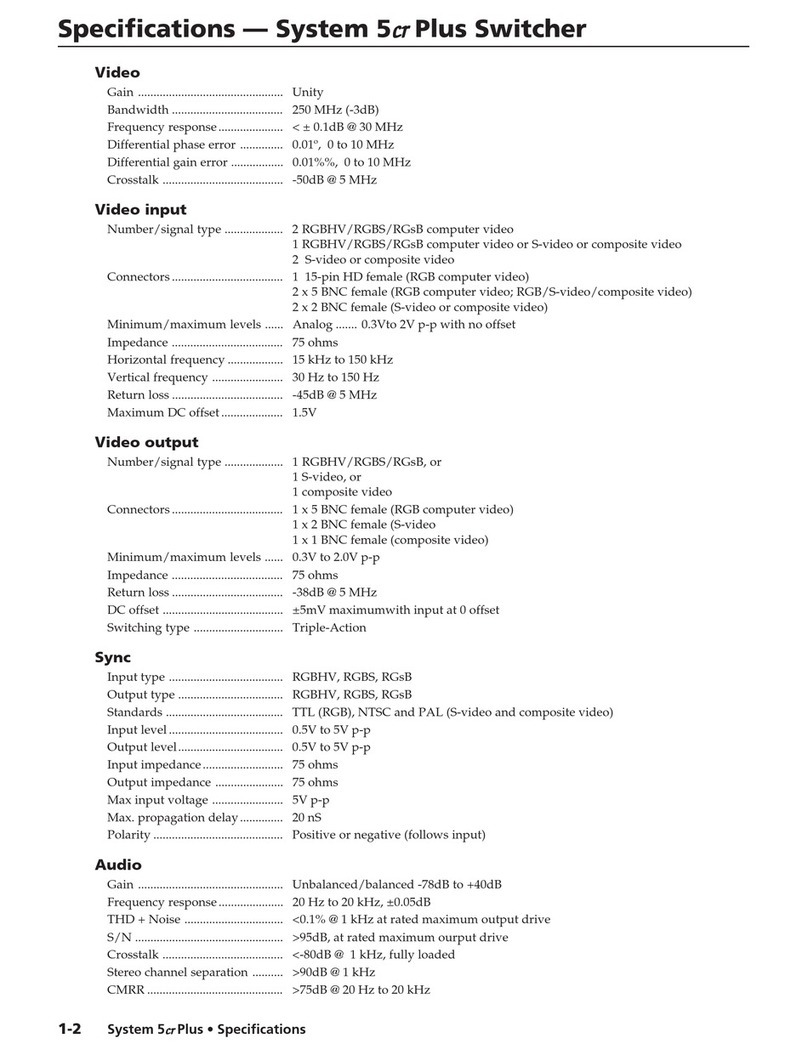
Extron electronics System 5cr Plus Specifications
Power integrations
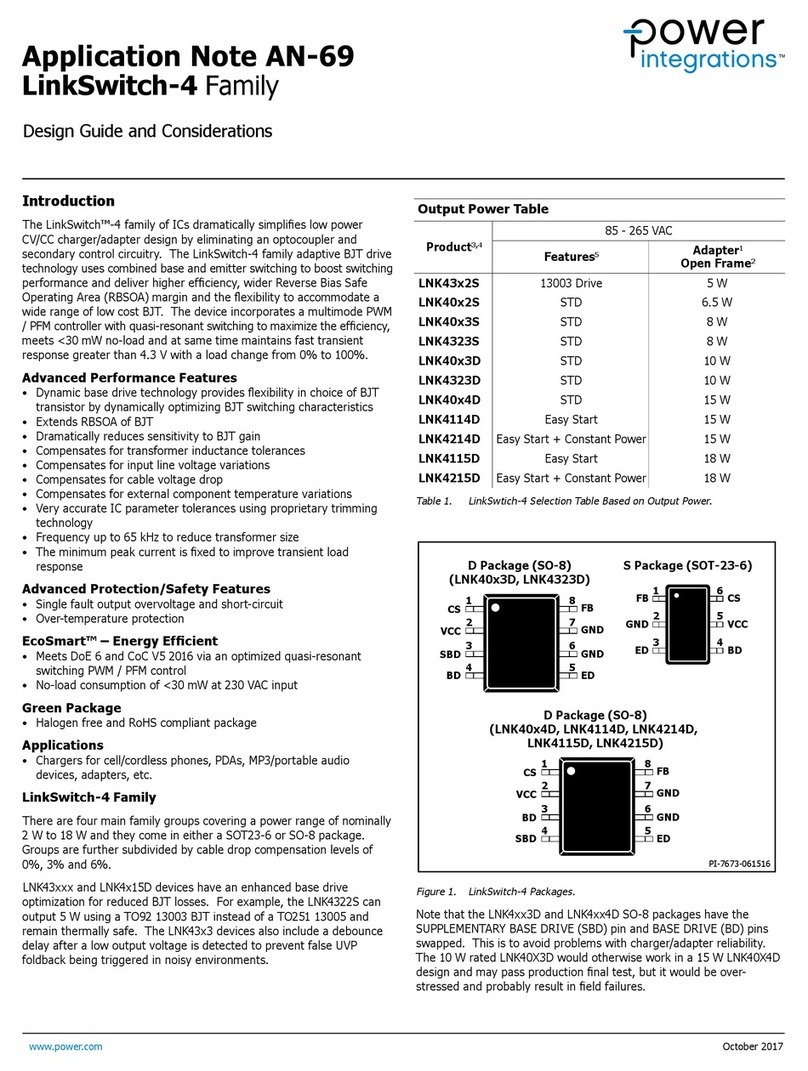
Power integrations LinkSwitch-4 LNK4*15D Series Application note
Agilent Technologies
Agilent Technologies Switch/Measure user guide

NoiseKen
NoiseKen ISS-7650 instruction manual
Kinivo
Kinivo 301BN user manual
NETGEAR
NETGEAR GS108PE installation guide
