Other manuals for MICROMAT DUO 220
2
This manual suits for next models
1
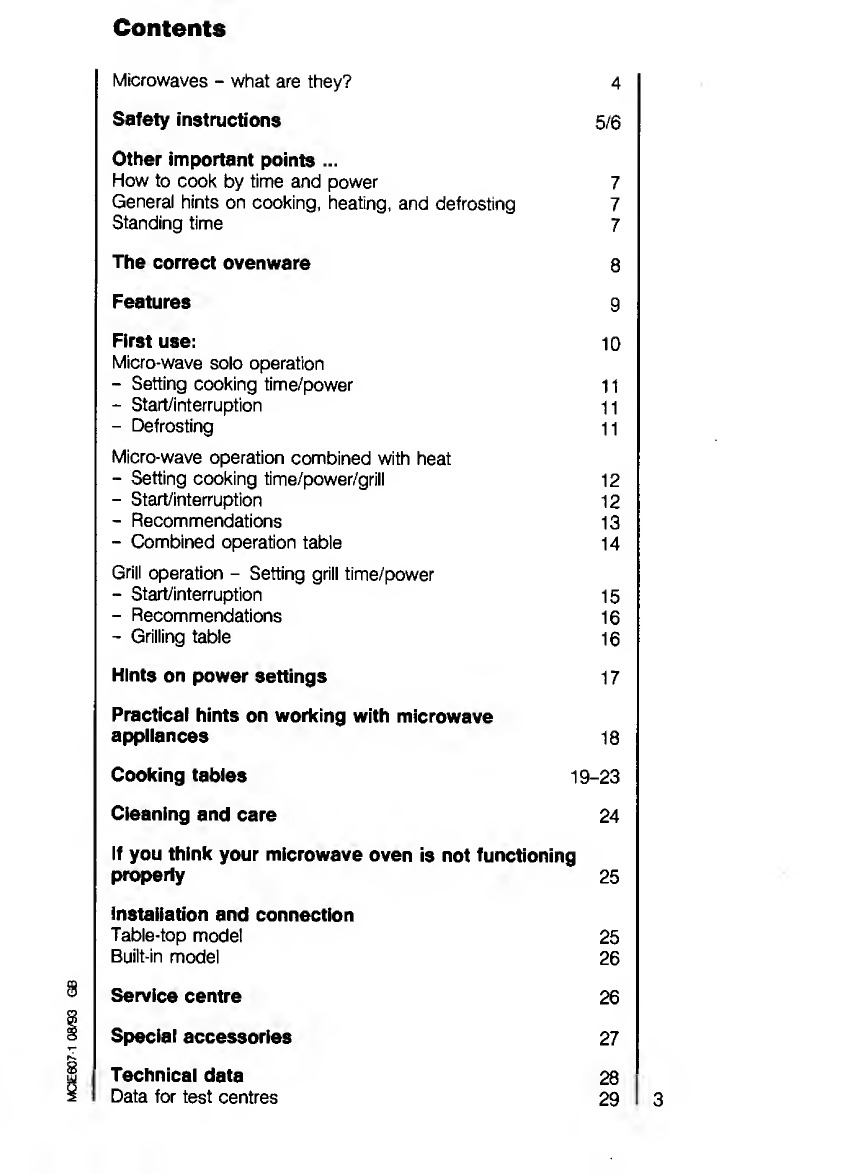
Table of contents
Other AEG Microwave Oven manuals
AEG
AEG MSB2548C-M User manual
AEG KME768080T User manual
AEG KMK868000B User manual
AEG KME968000M User manual
AEG MFB29522S-MB User manual
AEG KMK561000M User manual
AEG U03007 MICROMAT 625 User manual
AEG MC1751E User manual
AEG MSK2542DM User manual
AEG MFD2025S User manual
AEG MCC2580E-m User manual
AEG KMK721880M User manual
AEG KME561000M User manual
AEG MC2664E User manual
AEG MCD2664E User manual
AEG Micromat 725 E User manual
AEG KMK761000M User manual
AEG KM5473101 User manual
AEG MICROMAT 21T-d/w User manual
AEG FX22 Z User manual
AEG MICROMAT DUO 230 User manual
AEG KME768080M User manual
AEG MC2660E User manual
AEG EX 30 Z Assembly instructions
Daewoo
Daewoo KOG-574R0S Service manual
LG
LG MH7040SS instruction manual
Sharp
Sharp R-895(AL)M Service manual
Dometic
Dometic DOTRM13W installation instructions
Sanyo
Sanyo EM-X680 instruction manual
Sharp R-393M quick start guide
KitchenAid
KitchenAid KMCX4510 Use and care
Smeg
Smeg S45MCX1 Instructions for use
Russell Hobbs
Russell Hobbs RHM2044 user guide
Sunbeam
Sunbeam SMW759 owner's manual
Bosch
Bosch CEG732X.1B User manual and installation instructions
Dometic Roadmate 230 operating manual
Samsung
Samsung SJ0396W Owner's instructions
Sanyo EM-P494WS Supplement of service manual
Sharp R-240 Operation manual
Electrolux
Electrolux EMS2840 user manual
Daewoo KOC-984T2S13 Service manual
Impecca
Impecca CM07M2 user manual


M Service manual")


