11
Specications and Need-to-Know Information
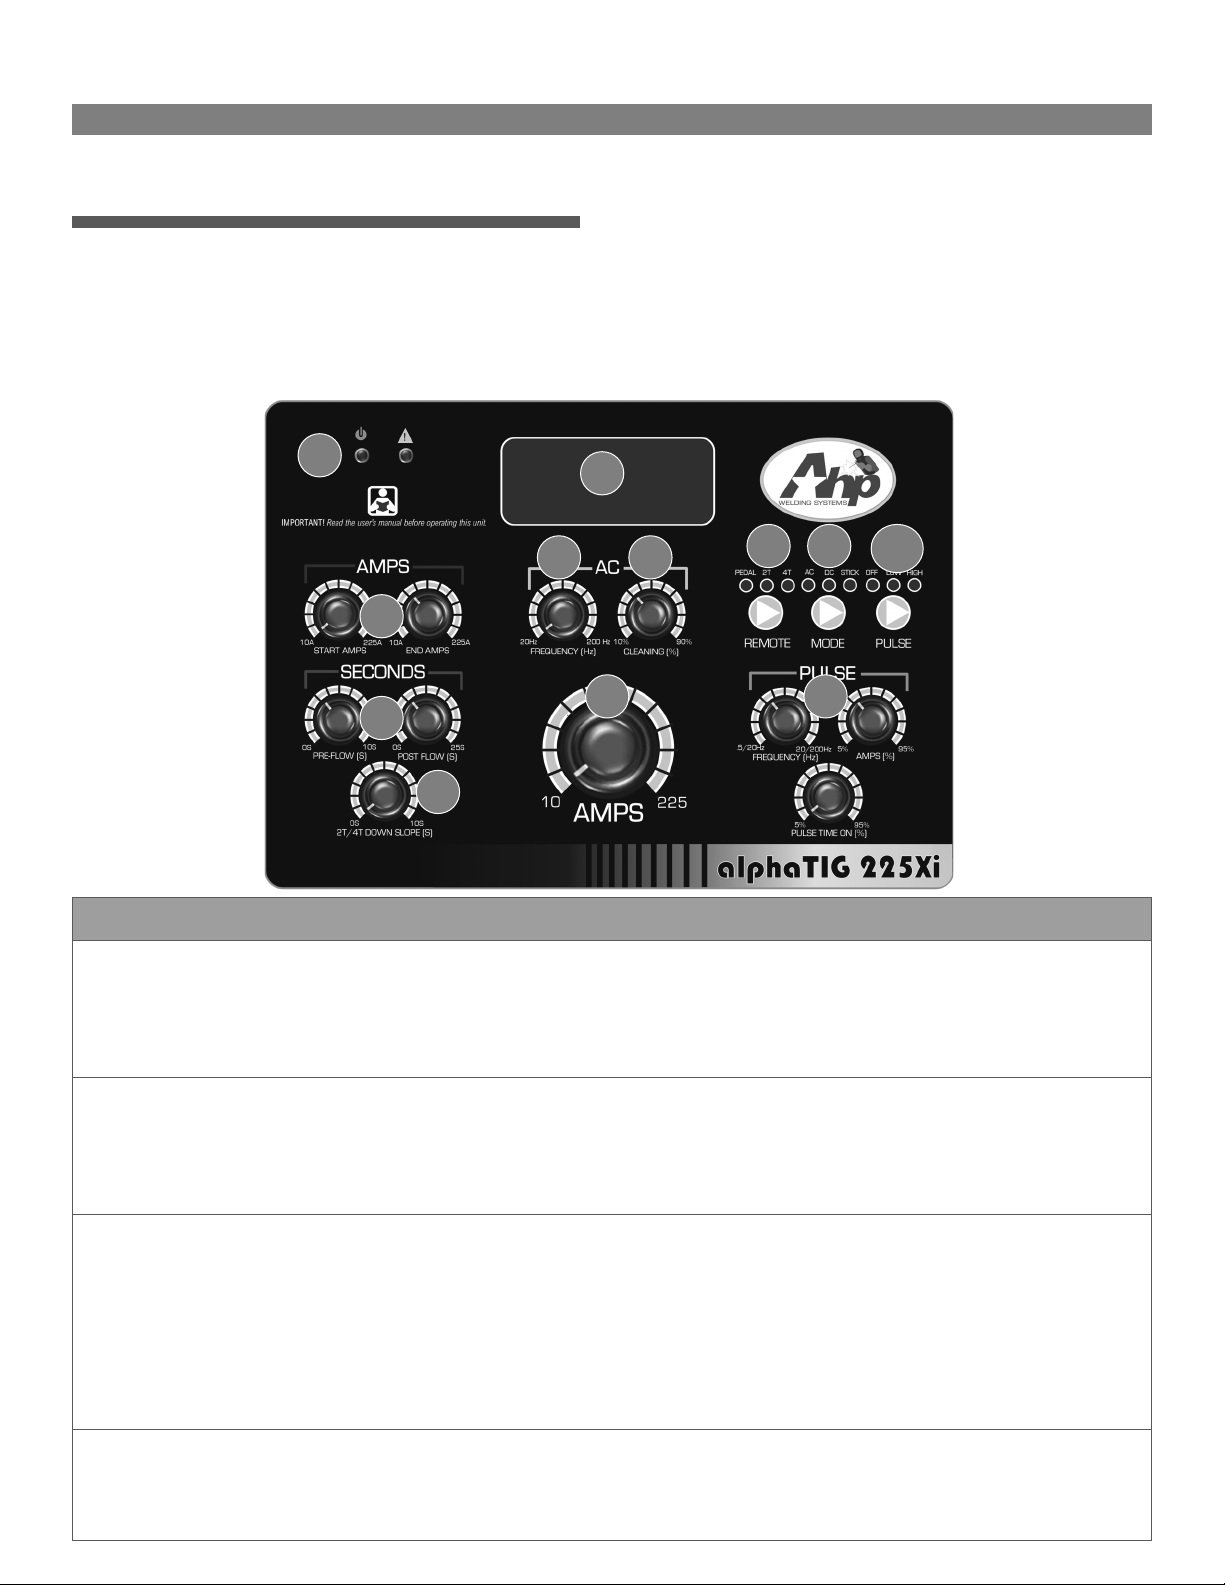
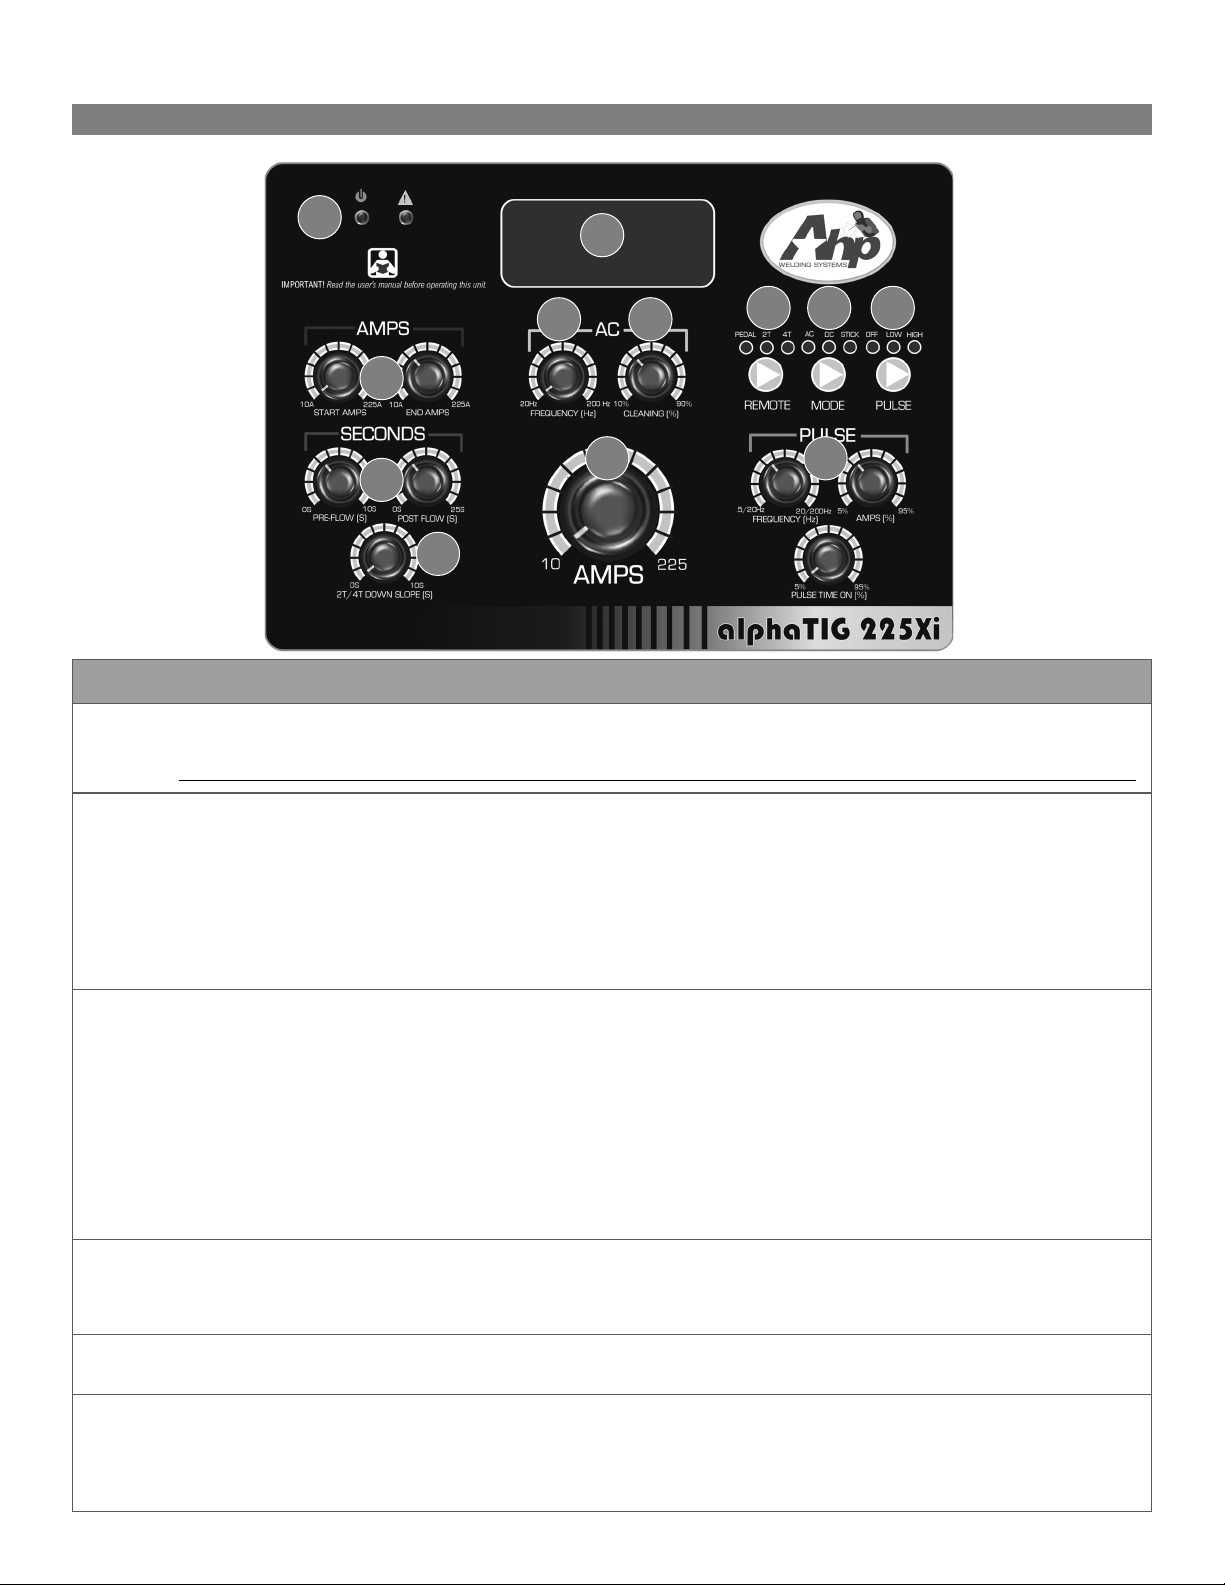
alphaTIG 225Xi
Generator Operation Information
This unit may be used with any clean power rated 240V
generator with a 9000 Surge Watt rating. Clean Power is
defined as 5% or less Total Harmonic Distortion (THD).
This means the generator produces a clean sine wave simi-
lar to what is produced by power companies. Due to the po-
tential high inrush amp demand (42A) while operating on 120V, oper-
ation with 120V only generators is not recommended.
NOTICE: Operation on generators not rated by its manufacturer as a
“clean power” source is prohibited and will void the warranty. Many
manufacturers produce a version or series of their generators that
produce clean power. This is usually stated up front. If not, consult
the manufacturer of the generators to confirm THD. Clean power
generators are made in both inverter types and conventional types of
generators. Do not assume all inverter type generators produce
clean power unless the manufacturer states it. Clean power is need-
ed for most electronic equipment to prevent damage.
Duty Cycle Performance
The TIG Duty Cycle of this machine has been established at
35% @ 225A (40 C) while operating on 240V. While operat-
ing on 120V, the duty cycle has been established at 60% @
150A (40 C).
Duty Cycle is the amount of time, out of a solid 10 minute block of
time that the unit may operate at the rated setting. For the example
of 35% @ 225A, this means the unit may be operated up to 3.5
minutes continuously, or intermittently out of 10 minutes of time
before overheating. The balance of time remaining in the 10 minutes
(6.5 minutes in this example) should be while the unit is left to rest,
while continuing to run. As amps are lowered, or as the ambient tem-
perature decreases below the 40 C testing benchmark, duty cycle will
increase.
It is not necessary to try to keep up with the duty cycle exactly by
timing it or recording it. The unit is equipped with a thermal sensor
which will trigger an interruption of operation if the temperature has
been exceeded. Keep in mind this is not a timed feature. A duty cycle
statement is based on time welding at a particular amperage, but
because so many variables exist, and ultimately the unit’s tempera-
ture is the regulating concern, duty cycle is determined by a preset
operating temperature threshold, rather than a timed one.
If you have triggered the duty cycle interrupt on this machine, allow
the unit to cool for a full 15 minutes. The unit should automatically
reset during this time, but allow a few more minutes so the machine
can cool sufficiently so as not to overheat quickly. If it does not reset
during this time, turn the machine off and back on to reset it.
Even though this unit is equipped with a duty cycle safety feature,
intentionally and repeatedly surpassing the duty cycle will shorten
the lifespan of the unit. Routine overheating damage will usually
leave signs that can be determined during warranty repair. Damage
caused by intentional abuse of the duty cycle will not be covered un-
der warranty.
If you find that you are constantly running into duty cycle issues, it is
likely you will need a bigger machine, or need to adjust your welding
strategies to comply with the duty cycle limits of this machine.
To assure maximum lifespan of the unit, never block the cooling vents
in the rear, sides, or front. Keep the unit 16” away, on all sides, from
any obstacle to free air flow such as a wall or partition.
Required Routine Maintenance
Most places where a welder is in operation floating and
flying debris is a factor. Dust, dirt and sparks are often
present in the air. The machine will draw these contami-
nants in during operation and they can be deposited inside
the machine onto critical components. These particles can
conduct electricity and create new circuit paths, not only causing poor
operation, unit lock up, but it can also cause long term damage. For
this reason, the machine should be opened up and cleaned with dry,
compressed air on a regular basis, once every month in heavy use,
and ever 3 to 6 months under light use. If the unit remains stored
most of the time, dust still will accumulate, and this should be done
at least every 6 months. When not in use, keep the machine covered.
Failure to do so constitutes neglect and may void the warranty.
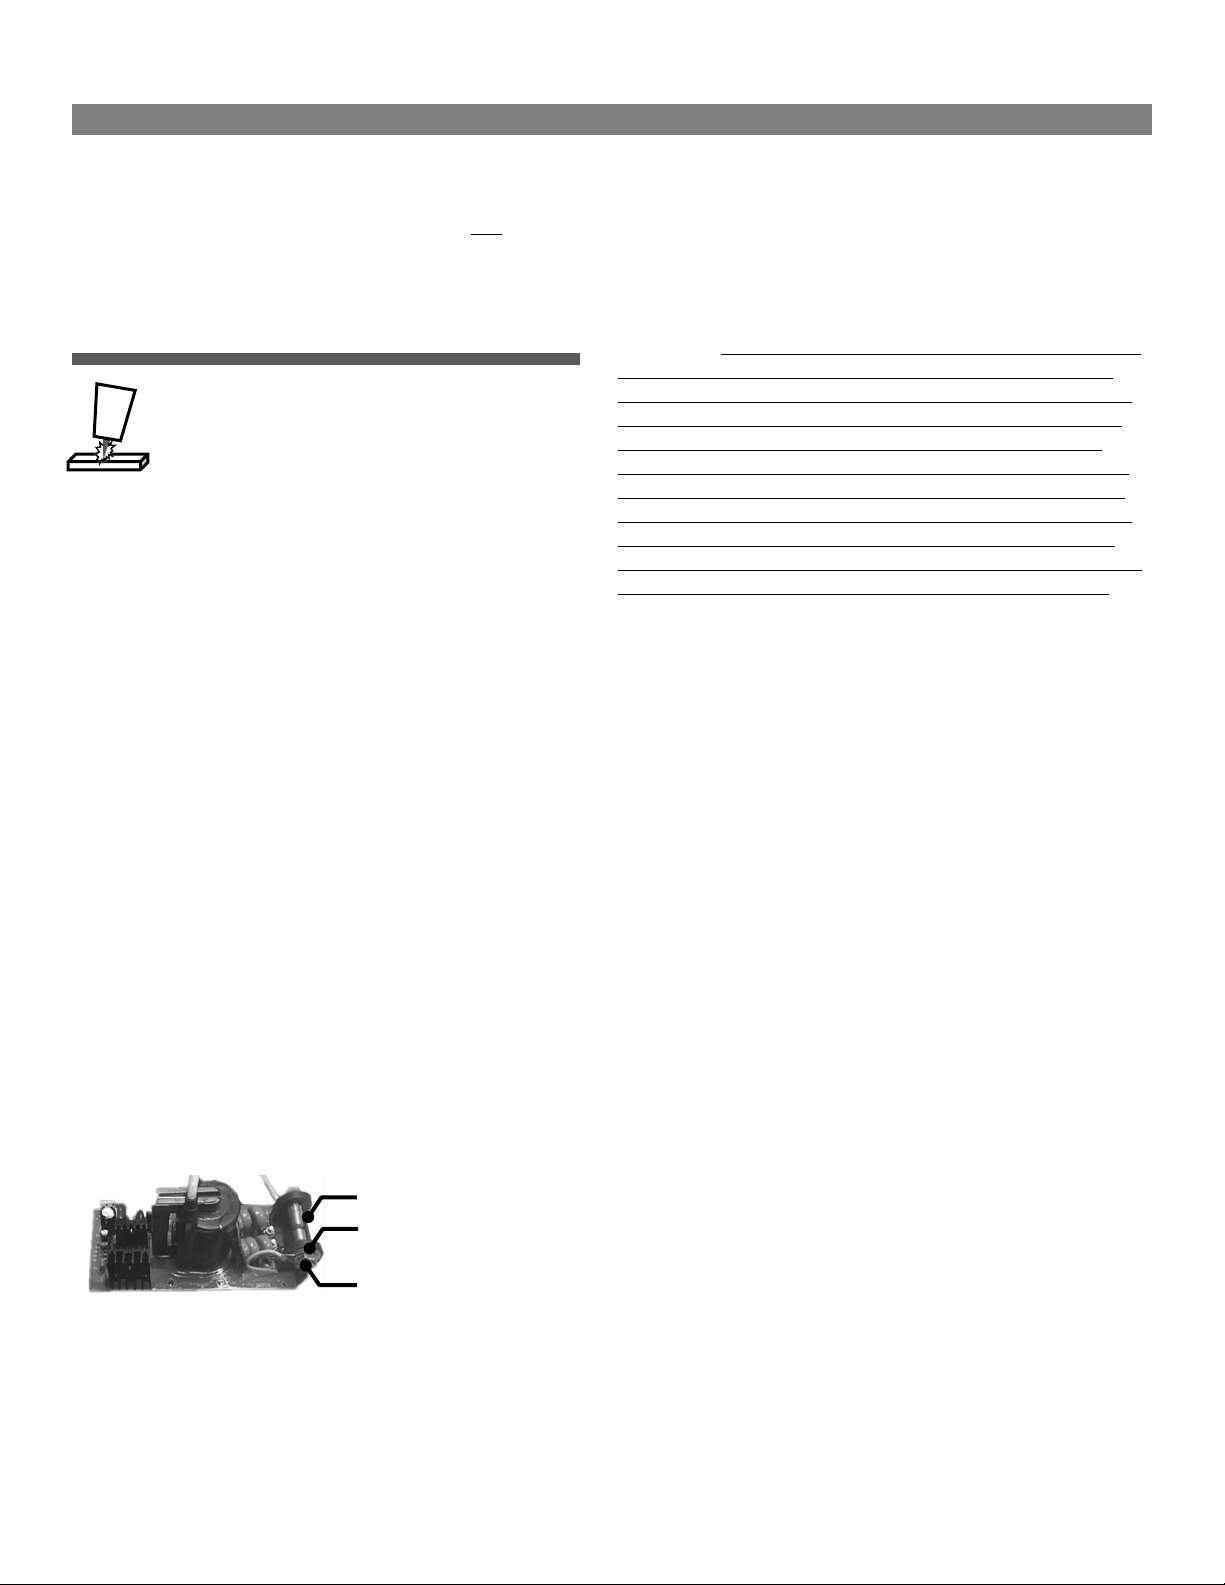
To clean and service this welder:
1. Unplug the welder. Wait 10 minutes for the capacitors to dis-
charge. (To prevent electrical shock or electrocution.)
2. Put on a pair of safety glasses to prevent debris from blowing
into your eyes during this operation.
3. Remove the rear cover screws. Keep in mind there are 3 screws
on the bottom of the unit that hold the cover on as well. Do not
remove any other screws on the bottom.
4. Remove the rear cover and top handle.
5. Remove the steel cover screws.
6. Pull the yellow steel rear cover up and to the rear while carefully
watching for wires that may catch on the louvered vents of the
cover.
7. Check all wires and connections to make sure they are seated
and/or tight.
8. Use dry compressed air (or “canned” air) to blow off dirt and
debris off of the connections, boards, and fittings. If the unit is
particularly dirty, unseat the affected connectors themselves,
and blow out the connections as well.
9. Reassemble the unit. Do not forget the handle!
NOTICE:
Opening the unit to clean and check connections will not
void the warranty. In fact it is required to maintain your in-warranty