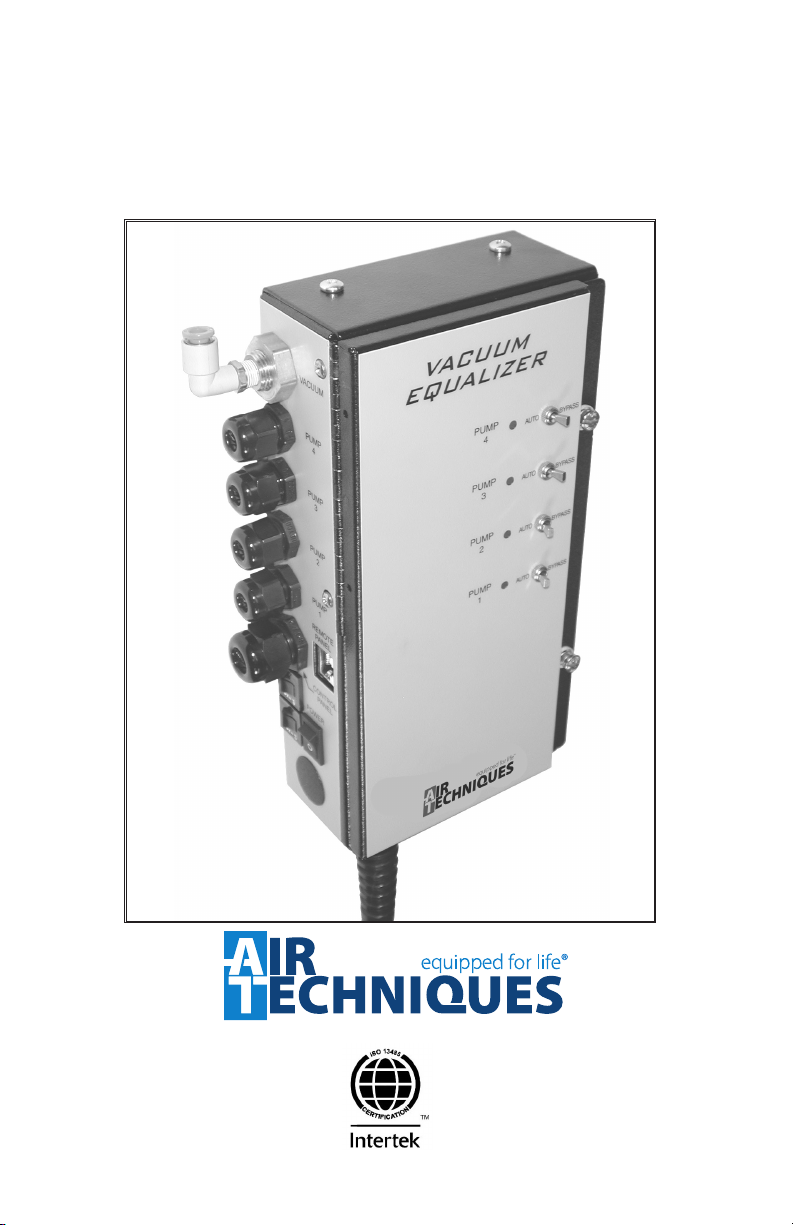
9
Instructions for using the Vacuum Equalizer with VacStar & STS units:
1. The vacuum relief valve on all units controlled by the Vacuum Equalizer
must be set to the same vacuum level. Set vacuum relief valve on each
unit using the same vacuum gauge.
2. The vacuum relief valve on the pumps must be set higher than the
high vacuum setting of the Vacuum Equalizer. (i.e. if the high setting
on the Vacuum Equalizer is set to 9 in-Hg the vacuum relief valve on
the pumps should be set to 10 In-Hg).
3. The low vacuum setting on the Vacuum Equalizer can be set to 6, 7 or
8 in-Hg, depending on what the end user requires.
4. The delay on and delay off time settings of the Vacuum Equalizer can
be set to their lowest values for the greatest electric and water savings.
Note that if a pump turns “ON” and “OFF” three times within an
hour it will stay powered on for an additional hour before returning to
normal operation. If this happens repeatedly it may be beneficial to
increase the delay off time to prevent this from happening.
Instructions for using the Vacuum Equalizer with VacStar NEO units:
1. Up to four VacStar 20 NEO or four VacStar 40 NEO or two VacStar
50 NEO or two VacStar 80 NEO unit can be controlled by the Vacu-
um Equalizer.
2. All the units must be the same. Do not mix VacStar NEO models.
3. The vacuum settings on all the VacStar NEO pumps must be set to the
same value.
4. The vacuum setting on the VacStar NEO pumps must be set to 1
in-Hg higher than the high vacuum setting of the Vacuum Equalizer.
(i.e. if the high setting on the Vacuum Equalizer is set to 9 in-Hg the
vacuum setting on the VacStar NEO should be set to 10 In-Hg).
5. The low vacuum setting on the Vacuum Equalizer can be set to 6, 7 or
8 in-Hg, depending on what the end user requires.
6. The delay on and delay off time settings of the Vacuum Equalizer can
be set to their lowest values for the greatest electric and water savings.
Note that if a pump turns “ON” and “OFF” three times within an
hour it will stay powered on for an additional hour before returning to
normal operation. If this happens repeatedly it may be beneficial to
increase the delay off time to prevent this from happening.
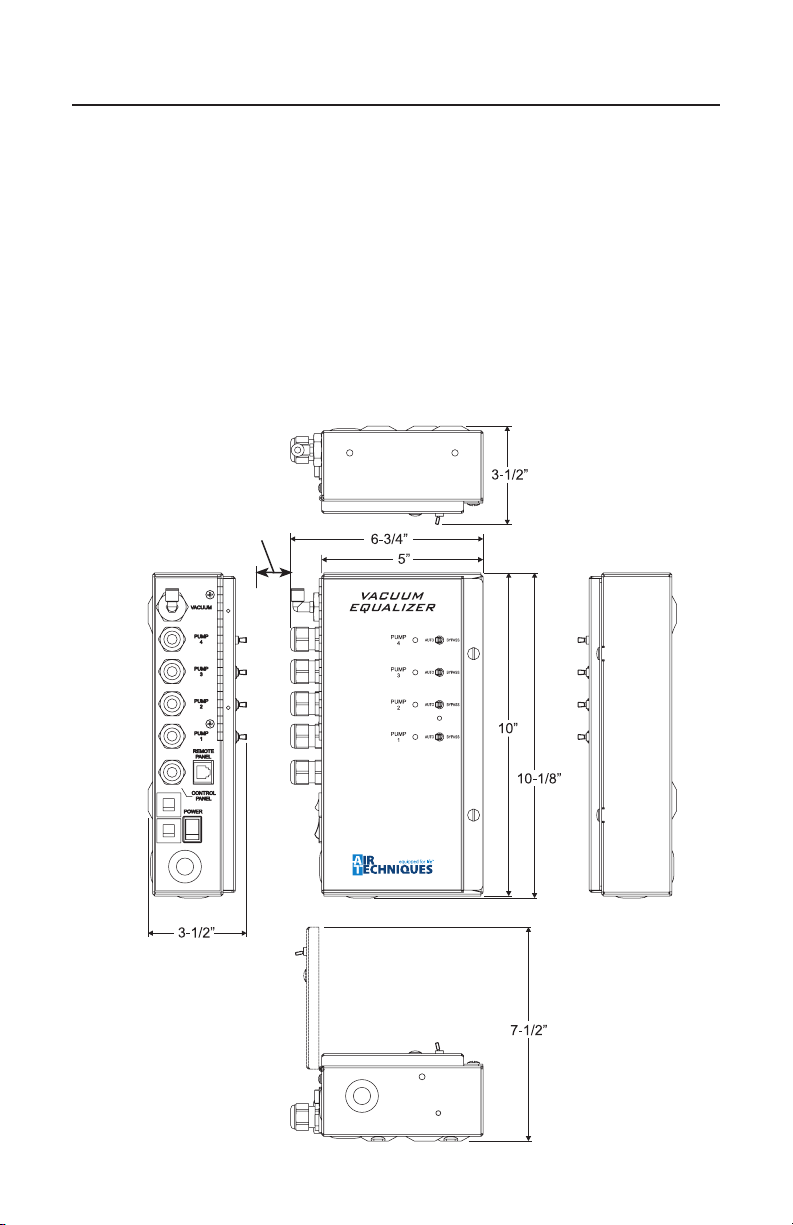
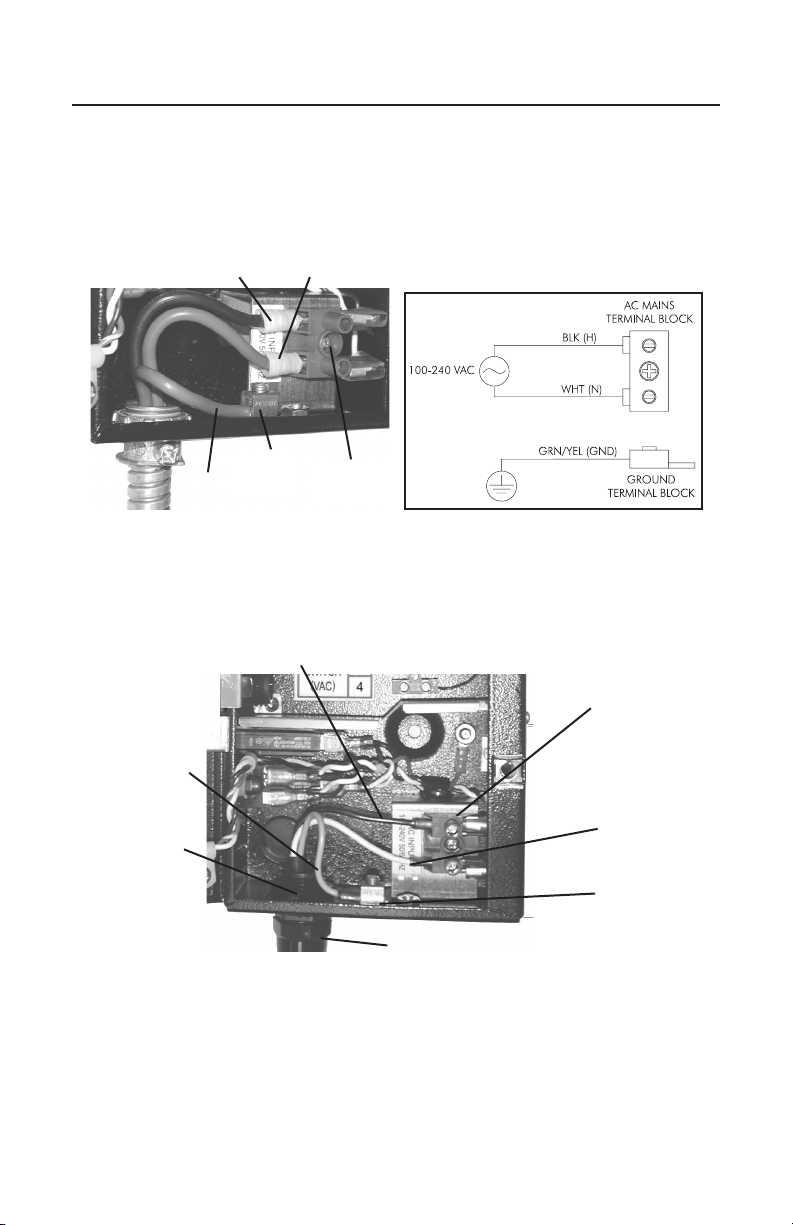
INSTALLATION INFORMATION