- 4 -
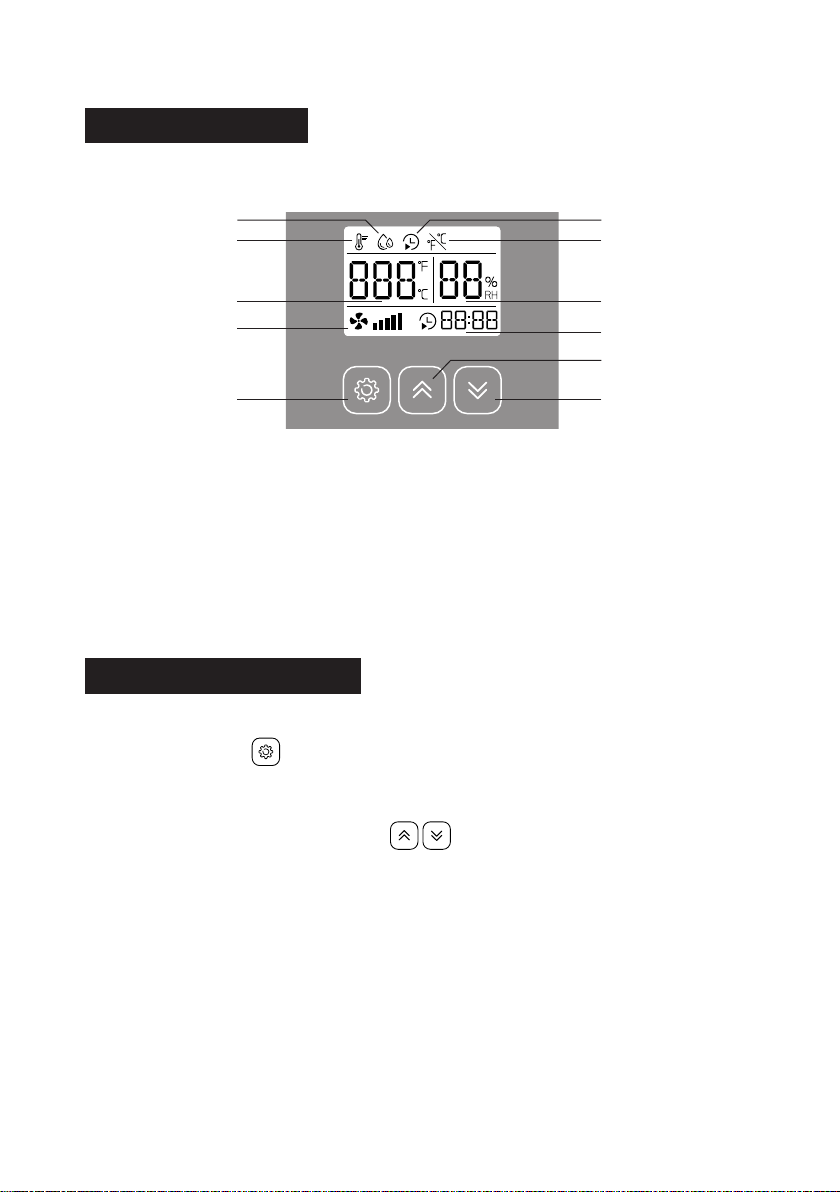
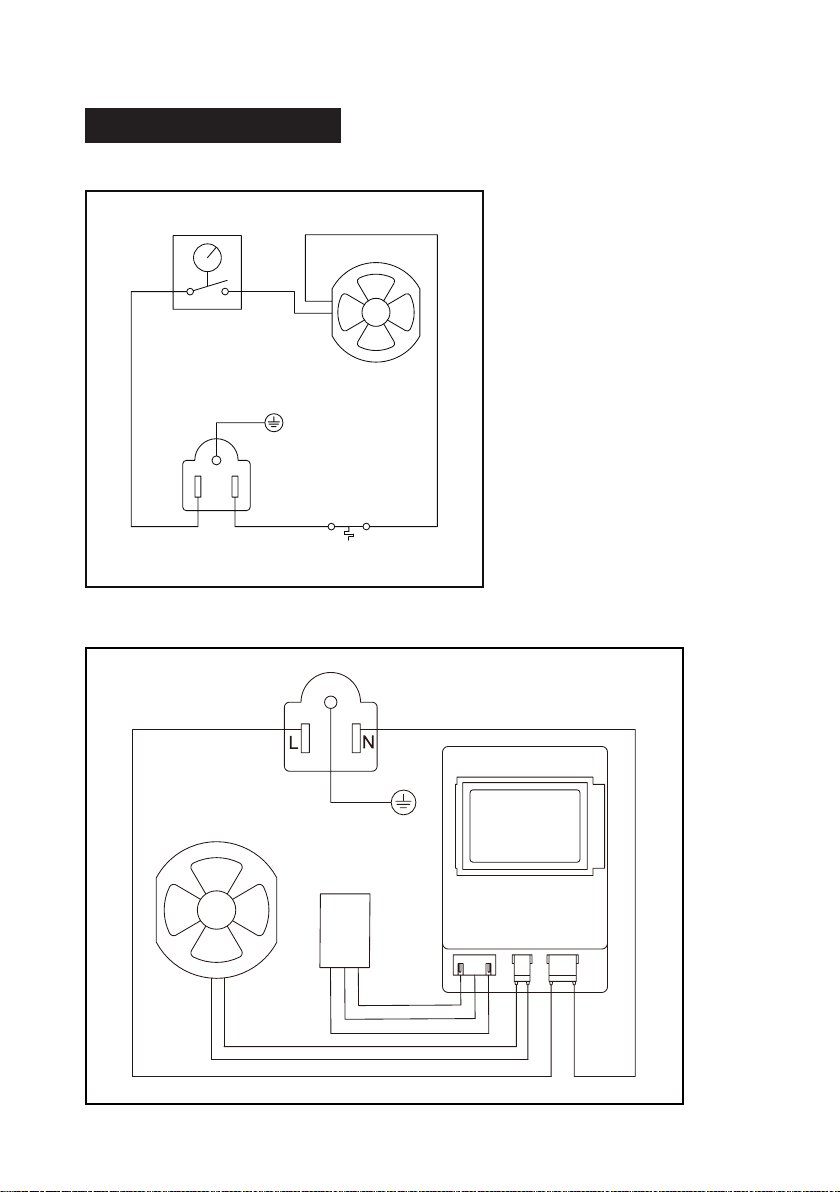
PROGRAM SETTINGS
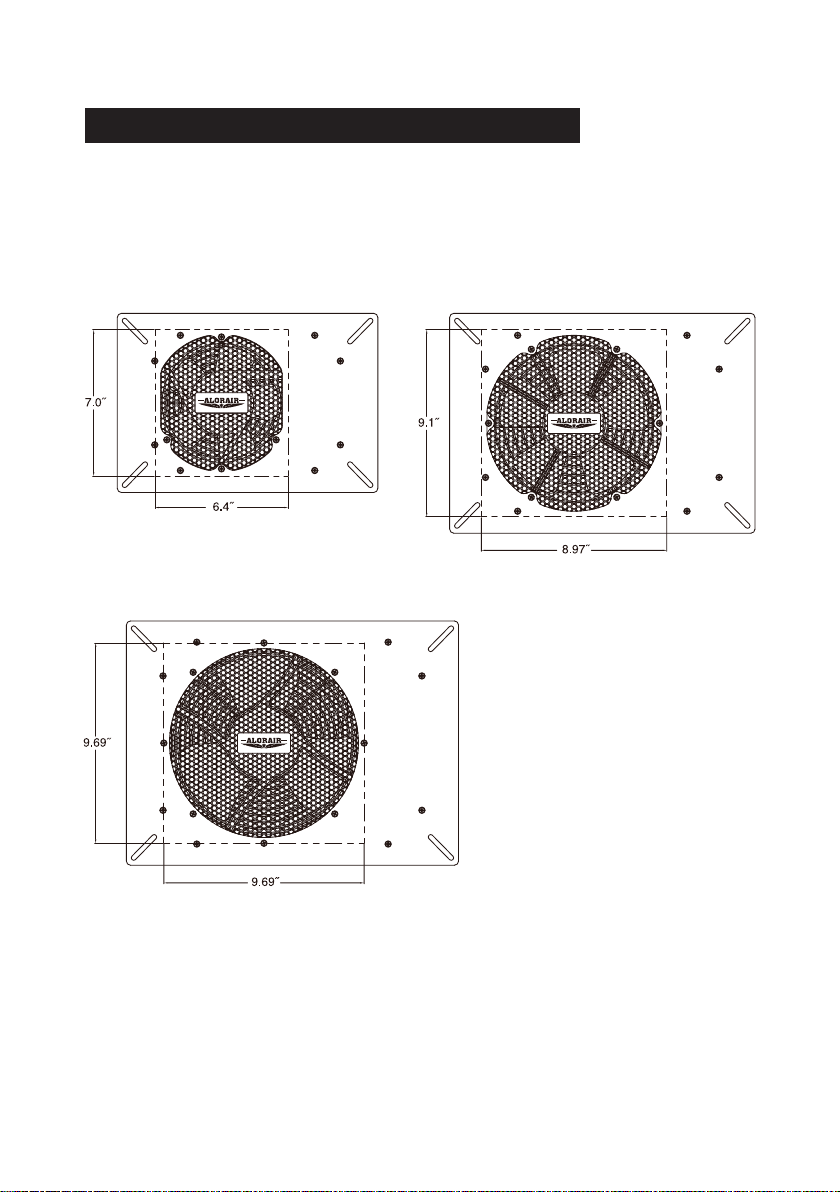
For VentirMax 300SD / 570SD / 780SD
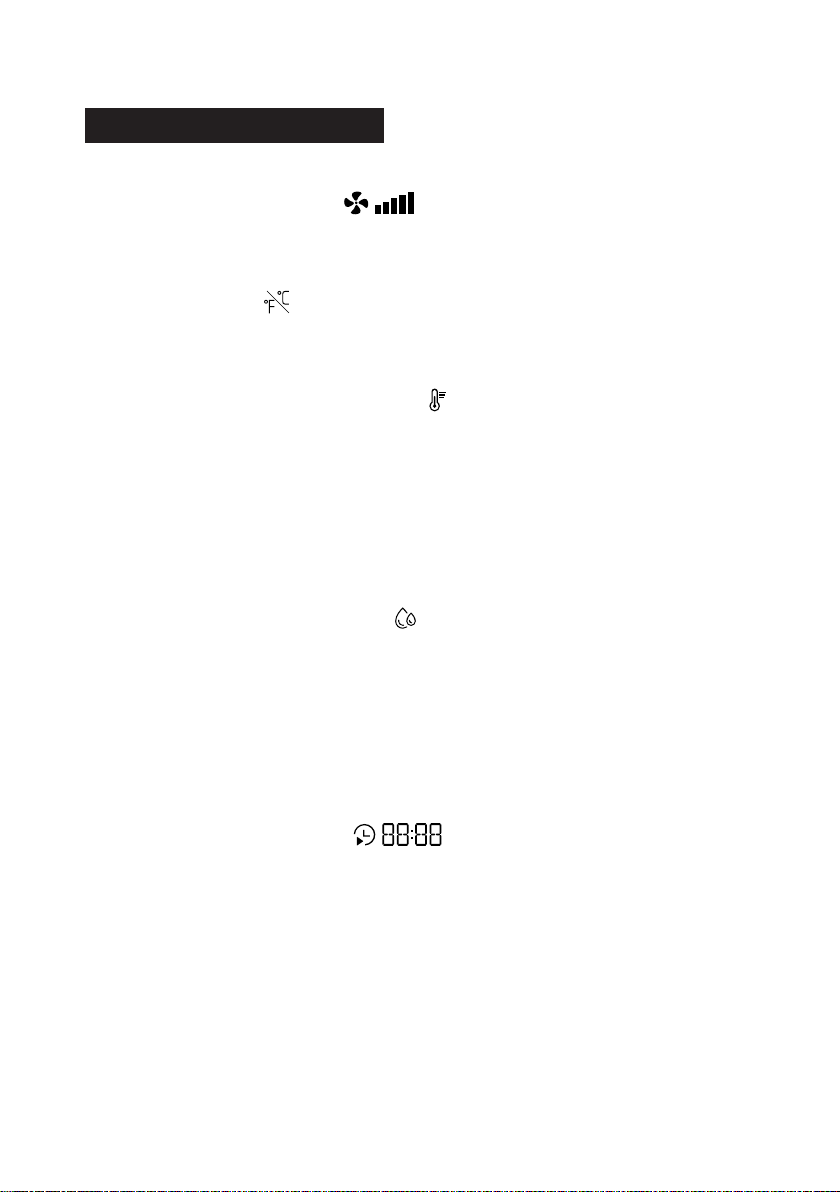
1. Setting the Air Volume:
If the menu option isn't selected, the air volume can be adjusted with the "Increase" and
"Decrease" buttons, and the gears 0-5 are switched in sequence.
2. Unit Switching:
Press the "Menu" button to select the "Unit Conversion" option, and press the "Increase" or
"Decrease" button to switch between Celsius(°C) and Fahrenheit(°F).
3. Setting the Temperature Trigger:
Toggle the "Menu" button to select the "Temperature Setting" option, and press the
"Increase" and "Decrease" buttons to set the temperature value. If the ambient temperature
is higher than the set value, the fan will turn on automatically.
Setting range: 37 °F ~ 158 °F / 3 °C ~ 70 °C / "OFF". Each time you press the "Increase" or
"Decrease" button, the value will be increased or decreased by 5 °F / 1 °C. This function is
turned off when "OFF" is displayed.
The factory preset temperature is 86°F.
4. Setting the Humidity Trigger:
Press the "Menu" button to select the "Humidity Setting" option, and press the "Increase"
and "Decrease" buttons to set the humidity level. When the humidity is higher than the set
value, the fan will turn on automatically.
Setting range: 1 ~ 99% / "OFF," each time you press the "Increase" or "Decrease" button,
the value will be increased or decreased by 1%, and it can be quickly adjusted if you press
and hold the button. This function is turned off when "OFF" is displayed.
The factory preset humidity level is 50%.
5. Setting the Timing Cycle:
Press the "Menu" button to select the "Timing Cycle" option, and press the "Increase" and
"Decrease" buttons to set the desired cycle time.
Notice:
1. If the "Temperature" and "Humidity" modes are activated at the same time and either or
both of the modes reach the set threshold, the fans will start.
2. When the "Temperature," "Humidity," and "Time Cycle" modes are activated at the same
time, the fan will automatically turn on and follow the time cycle set in the "Time Cycle"
program when the ambient temperature and humidity are above the set threshold. The
fan stops running when both levels are below the set threshold.