manuals.online logo
Brands
  1. Home
  2. •
  3. Brands
  4. •
  5. Alphacool
  6. •
  7. Water Pump
  8. •
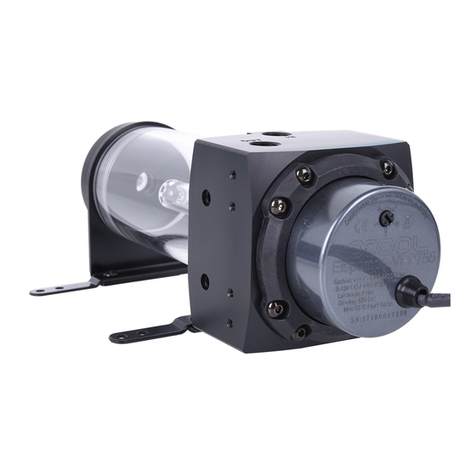
  9. Alphacool DDC User manual

Alphacool DDC User manual

ACCESSORIES ZUBEHÖR ACCESSOIRES
ALPHACOOL RISE FLAT RESERVOIR
DDC/D5/VPP
Lisez les instructions de sécurité avant de commencer l‘installation.
FR
!
DE Lesen Sie die Sicherheitshinweise, bevor Sie mit der Installation beginnen.
!
EN Read the safety instructions before starting the installation.
!
4x
Screw Plug/
Schraubverschluss/
Bouchons
2x
Bracket/Halterung/
Supports
2x
Bracket Extended/
Erweiterte Halterung/
Support étendu
1x
Holder/Halterung/
Support
D5/VPP-Version
4x
M3x5
Screw/Schrauben/Vis
8x
M4x12
Screw/Schrauben/Vis
D5/VPP-Version
4x
M4x20
Screw/Schrauben/Vis
DDC-Version
1x
Tool/Werkzeug/Outil
1x
Digital-RGB adapter
1x
O-Ring 53x3,5
D5/VPP-Version
EN DE FR
SIZE IN MM MAßE IN MM MENSURE EN MM
BRACKETS HALTERUNGEN SUPPORTS
1.
1x
Stop plug/
Anschlagsstopfen/
Bouchon de butée
1x
Digital-RGB LED
4x
M3x6
Screw/Schrauben/Vis
4x
M4x6
Screw/Schrauben/Vis
1x
Hexagon
FLAT RESERVOIR - DDC
FLAT RESERVOIR - D5/VPP
EN DE FR
Mount the DDC pump on the expansion tank
with the 4 M4x20 screws as shown. Montieren Sie die DDC Pumpe mit den 4
M4x20 Schrauben, wie dargestellt auf dem
Ausgleichsbehälter.
Montez la pompe DDC sur le vase d'expansion
avec les 4 vis M4x20 comme indiqué.
PUMP ASSEMBLY PUMPENMONTAGE MONTAGE DE POMPE2.
EN DE FR
Mount the D5 pump on the expansion tank
with the 8 M4x12 screws as shown.
Alternatively, you can also mount the VPP
pump.
Montieren Sie die D5 Pumpe mit den 8
M4x12 Schrauben, wie dargestellt auf dem
Ausgleichsbehälter. Alternativ können Sie
ebenfalls die VPP Pumpe montieren.
Montez la pompe D5 sur le vase d'expansion
avec les 8 vis M4x12 comme indiqué. Vous
pouvez également monter la pompe VPP.
FLAT RESERVOIR - D5/VPP
CASE MOUNTING GEHÄUSEMONTAGE MONTAGE DU BOÎTIER3.
FLAT RESERVOIR - DDC/D5/VPP
EN DE FR
Select the appropriate bracket according to
the planned installation situation (see 1&2).
Fasten the bracket with the 4 M3x5 screws.
There are 2 different rows of holes available
on the container for mounting, depending on
the required distance. (3)
Screw the reservoir with the 4 M4x6 screws at
the desired position in the housing. (4)
Wählen Sie die passende Halterung
entsprechend der geplanten Einbausituation
aus (vrgl.1&2)
Befestigen Sie die Halterung mit den 4 M3x5
Schrauben. Für die Montage stehen Ihnen
am Behälter 2 verschiedene Lochreihen zur
Verfügung, je nach benötigtem Abstand. (3)
Verschrauben Sie das Reservoir mit den 4
M4x6 Schrauben an der gewünschten
Position im Gehäuse. (4)
Choisissez le support approprié en fonction
de la situation de montage prévue (cf. 1&2).
Fixez le support avec les 4 vis M3x5. Pour le
montage, vous disposez de 2 séries de trous
différentes sur le réservoir, en fonction de la
distance nécessaire. (3)
Vissez le réservoir avec les 4 vis M4x6 à la
position souhaitée dans le boîtier. (4)
1.
2.
4.
Example/Beispiel/Exemple
3.
FLAT RESERVOIR - DDC
RADIATOR MOUNTING RADIATORMONTAGE MONTAGE DU RADIATEUR4.
EN DE FR
First mount the bracket (1.) or the extended
bracket (3.) to the radiator with the 4 M3x6
screws.
Then position your reservoir (2. or 4.) between
the brackets. Now screw the reservoir to the
side with the 4 M3x5 countersunk screws. For
further options, please refer to the above case
mounting (Page 4).
Montieren Sie als erstes die Halterung (1.)
oder die erweiterte Halterung (3.) mit den 4
M3x6 Schrauben an dem Radiator fest.
Positionieren Sie anschließend Ihr Reservoir
(2. oder 4.) zwischen den Halterungen.
Verschrauben Sie nun mit den 4 M3x5
Senkkopfschrauben seitlich das Reservoir.
Weitere Möglichkeiten entnehmen Sie der
obigen Gehäusemontage (Seite 4).
Montez d'abord le support (1.) ou le support
étendu (3.) sur le radiateur à l'aide des 4 vis
M3x6.
Positionnez ensuite votre réservoir (2. ou 4.)
entre les supports. Vissez maintenant le
réservoir sur le côté à l'aide des 4 vis à tête
fraisée M3x5. Vous trouverez d'autres
possibilités dans le montage du boîtier ci-
dessus (page 4).
Example/Beispiel/Exemple
1. 2.
3. 4.
FLAT RESERVOIR - D5/VPP
Example/Beispiel/Exemple
FLAT RESERVOIR - DDC/D5/VPP
FILLPORT FILLPORT FILLPORT5.
EN DE FR
You can use the inlets as shown to ll the
expansion tank as desired. Screw in the screw
plugs with the provided tool.
Sie können die Einlässe wie gezeigt, zum
Befüllen des Ausgleichsbehälters nach
Belieben nutzen. Drehen Sie die
Schraubverschlüsse mit dem beiliegenden
Werkzeug ein.
Vous pouvez utiliser les entrées comme
indiqué pour remplir le vase d'expansion
comme vous le souhaitez. Vissez les
bouchons à l'aide de l'outil fourni.
FLAT RESERVOIR - DDC/D5/VPP
STOP PLUG ANSCHLAGSSTOPFEN BOUCHON DE BUTÉE6.
TUBE ASSEMBLY SCHLAUCHMONTAGE MONTAGE DE TUYAUX7.
EN DE FR
Mount its connections to IN and OUT as
shown. Montieren Sie ihre Anschlüsse wie
dargestellt an IN und OUT. Montez ses connexions à IN et OUT comme
indiqué.
FLAT RESERVOIR - DDC/D5/VPP
IN
OUT
Example/Beispiel/Exemple
DIGITAL RGB ASSEMBLY DIGITAL RGB MONTAGE MONTAGE DIGITAL RGB8.
FLAT RESERVOIR - DDC/D5/VPP
EN DE FR
Carefully insert the provided A-RGB strip into
the groove. Make sure that no components
are damaged in the process. This applies to
all types of the Rise Flat Reservoirs.
Führen Sie Vorsichtig den A-RGB - Streifen in
die dafür vorgesehene Nut ein. Achten Sie
darauf, dass keine Komponenten dabei
beschädigt werden. Dies gilt für alle
Behältervarianten.
Mènent délicatement la bande A-RGB dans la
rainure prévue à cet effet. Veillez à
n'endommager aucun composant. Ceci est
valable pour tous les types de montage du
Alphacool Rise Flat Reservoir.
EN DE FR
To control the digital - RGB lighting, connect
the included adapter to the 3-Pin female
connector and plug it to a digital - RGB
controller (e.g. Alphacool Aurora Eiscontrol,
Art.: 15360, not included). You can connect
additional digital - RGB LED´s to the remaining
3-Pin male connector.
Um die Digital - RGB Beleuchtung zu steuern,
schließen Sie den beiliegenden Adapter an
den 3-Pin female Stecker an und verbinden
Sie diesen mit einem Digital - RGB Kontroller
(z.B. Alphacool Aurora Eiscontrol, Art.:
15360, nicht im Lieferumfang enthalten). An
den übrigen 3-Pin male Stecker können Sie
zusätzliche Digital - RGB LED´s anschließen.
Pour contrôler l'éclairage Digital - RGB,
connectez l'adaptateur fourni au connecteur
femelle à 3 broches et branchez-le à un
contrôleur Digital - RGB (par ex. Alphacool
Aurora Eiscontrol, Art.: 15360, non inclus).
Vous pouvez connecter des LEDs Digital - RGB
supplémentaires au connecteur mâle à 3
broches restant.
Digital RGB Controller
Add more Digital RGB LEDs
Alphacool International GmbH
Marienberger Str. 1
D-38122 Braunschweig
Germany
Support: +49 (0) 531 28874 - 0
Fax: +49 (0) 531 28874 - 22
E-Mail: [email protected]
Internet: https://www.alphacool.com
General Managers: Andreas Rudnicki, Fabian Noelte
WEEE-Reg.-Nr.: DE 54464644
Trade Register: Amtsgericht Braunschweig HRB 202390
VAT.ID.Nr.: DE270458421
Tax number: 13/207/02047
V.3.00-03.2022

This manual suits for next models

6

Other Alphacool Water Pump manuals

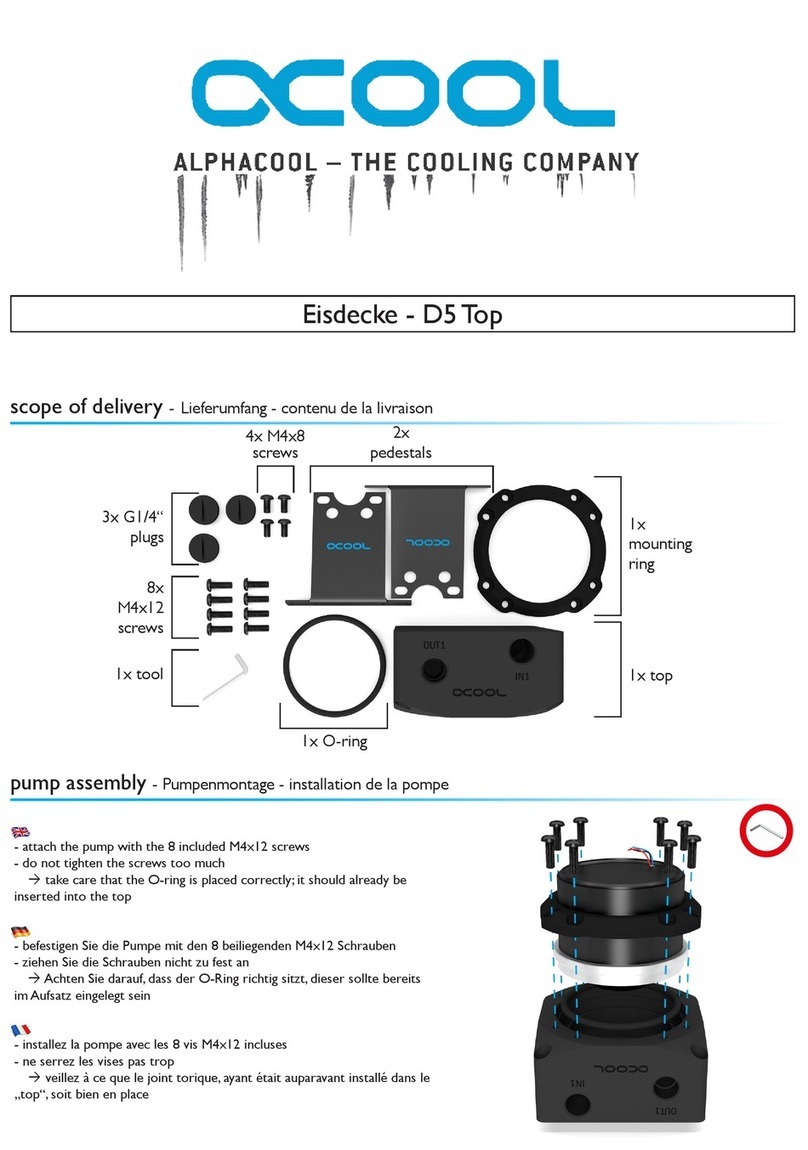
Alphacool Eisdecke D5 Top User manual

Alphacool

Alphacool Eisdecke D5 Top User manual

Alphacool DUAL LAING D5 User manual

Alphacool

Alphacool DUAL LAING D5 User manual

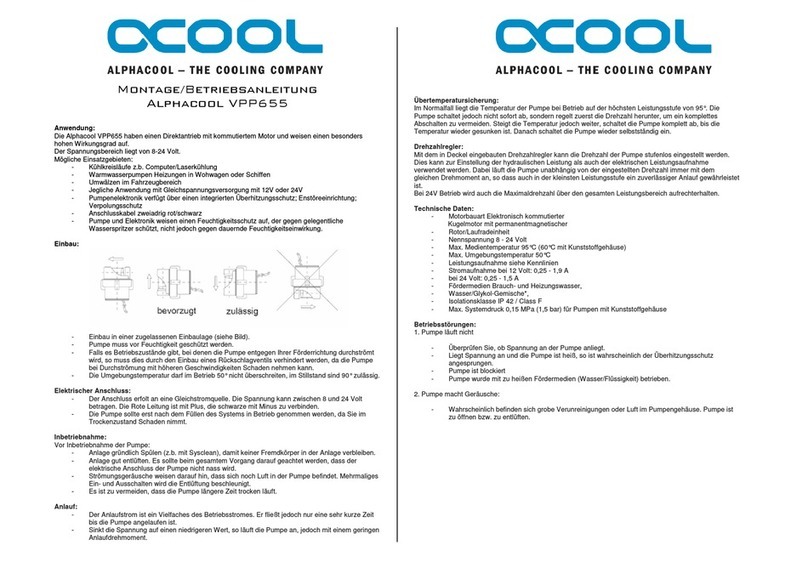
Alphacool VPP655 Installation instructions

Alphacool

Alphacool VPP655 Installation instructions

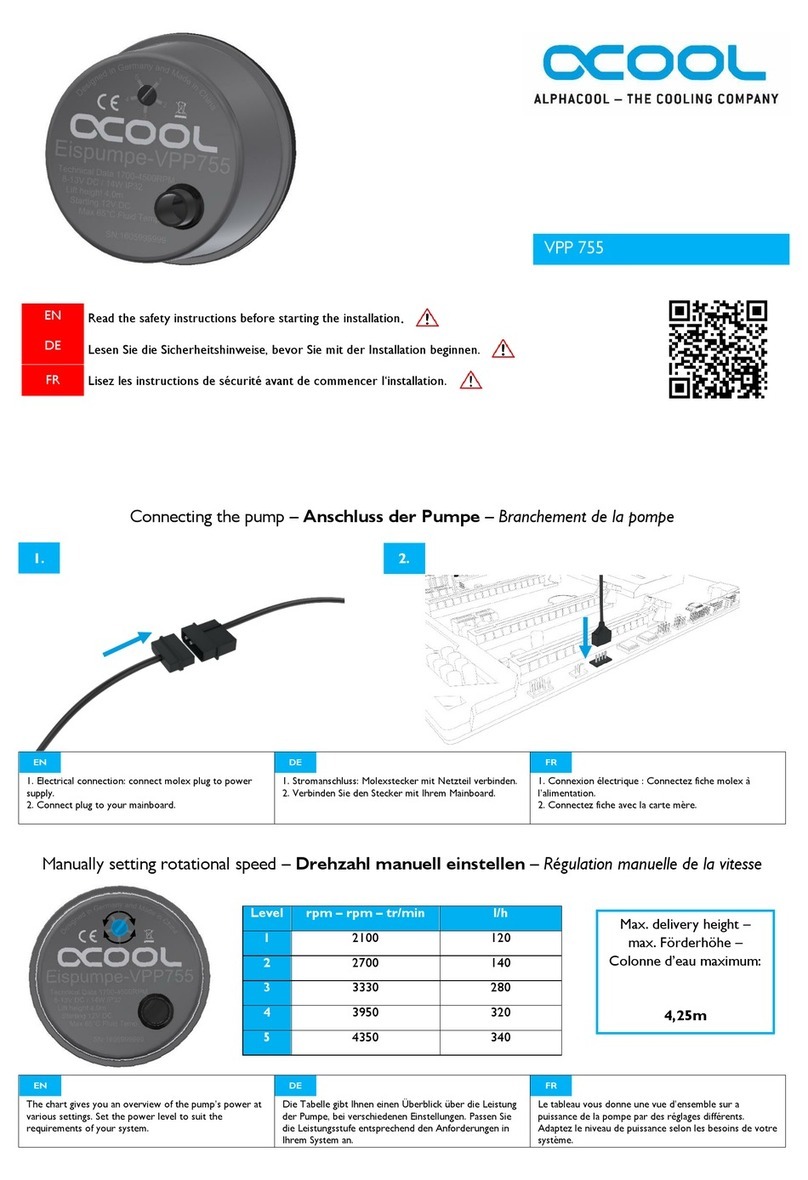
Alphacool VPP 755 User manual

Alphacool

Alphacool VPP 755 User manual

Popular Water Pump manuals by other brands

LACO Technologies UN-150V Operation and maintenance manual

LACO Technologies

LACO Technologies UN-150V Operation and maintenance manual

Graco Dyna-Star 236753 Instructions-parts list

Graco

Graco Dyna-Star 236753 Instructions-parts list

Roughneck 37889 owner's manual

Roughneck

Roughneck 37889 owner's manual

baxter ExactaMix 2400 Compounder Operator's manual

baxter

baxter ExactaMix 2400 Compounder Operator's manual

Lincoln industrial PMA-1 owner's manual

Lincoln industrial

Lincoln industrial PMA-1 owner's manual

Cembre CPE-1 Operation and maintenance manual

Cembre

Cembre CPE-1 Operation and maintenance manual

Halyard ON-Q Instructions for use

Halyard

Halyard ON-Q Instructions for use

Intex CS20110 owner's manual

Intex

Intex CS20110 owner's manual

GORMAN-RUPP PUMPS PAH8A65-C9 Installation, operation, and maintenance manual with parts list

GORMAN-RUPP PUMPS

GORMAN-RUPP PUMPS PAH8A65-C9 Installation, operation, and maintenance manual with parts list

Pentair myers aplex Series Installation and service manual

Pentair

Pentair myers aplex Series Installation and service manual

GORMAN-RUPP GHS Series Installation, operation and maintenance manual

GORMAN-RUPP

GORMAN-RUPP GHS Series Installation, operation and maintenance manual

Ralston Instruments DPPV Operation manual

Ralston Instruments

Ralston Instruments DPPV Operation manual

Finish Thompson DB11 series Assembly, installation and operation manual

Finish Thompson

Finish Thompson DB11 series Assembly, installation and operation manual

hillvert HT-ROBSON-SP1100-93 user manual

hillvert

hillvert HT-ROBSON-SP1100-93 user manual

EINHELL Bavaria BAK 12 operating instructions

EINHELL Bavaria

EINHELL Bavaria BAK 12 operating instructions

BUSCH R 5 RA 1000 B instruction manual

BUSCH

BUSCH R 5 RA 1000 B instruction manual

EINHELL BG-PW 18 Original operating instructions

EINHELL

EINHELL BG-PW 18 Original operating instructions

Binks GEMINI II Series Service & operating manual

Binks

Binks GEMINI II Series Service & operating manual

manuals.online logo
manuals.online logoBrands
  • About & Mission
  • Contact us
  • Privacy Policy
  • Terms and Conditions

Copyright 2025 Manuals.Online. All Rights Reserved.