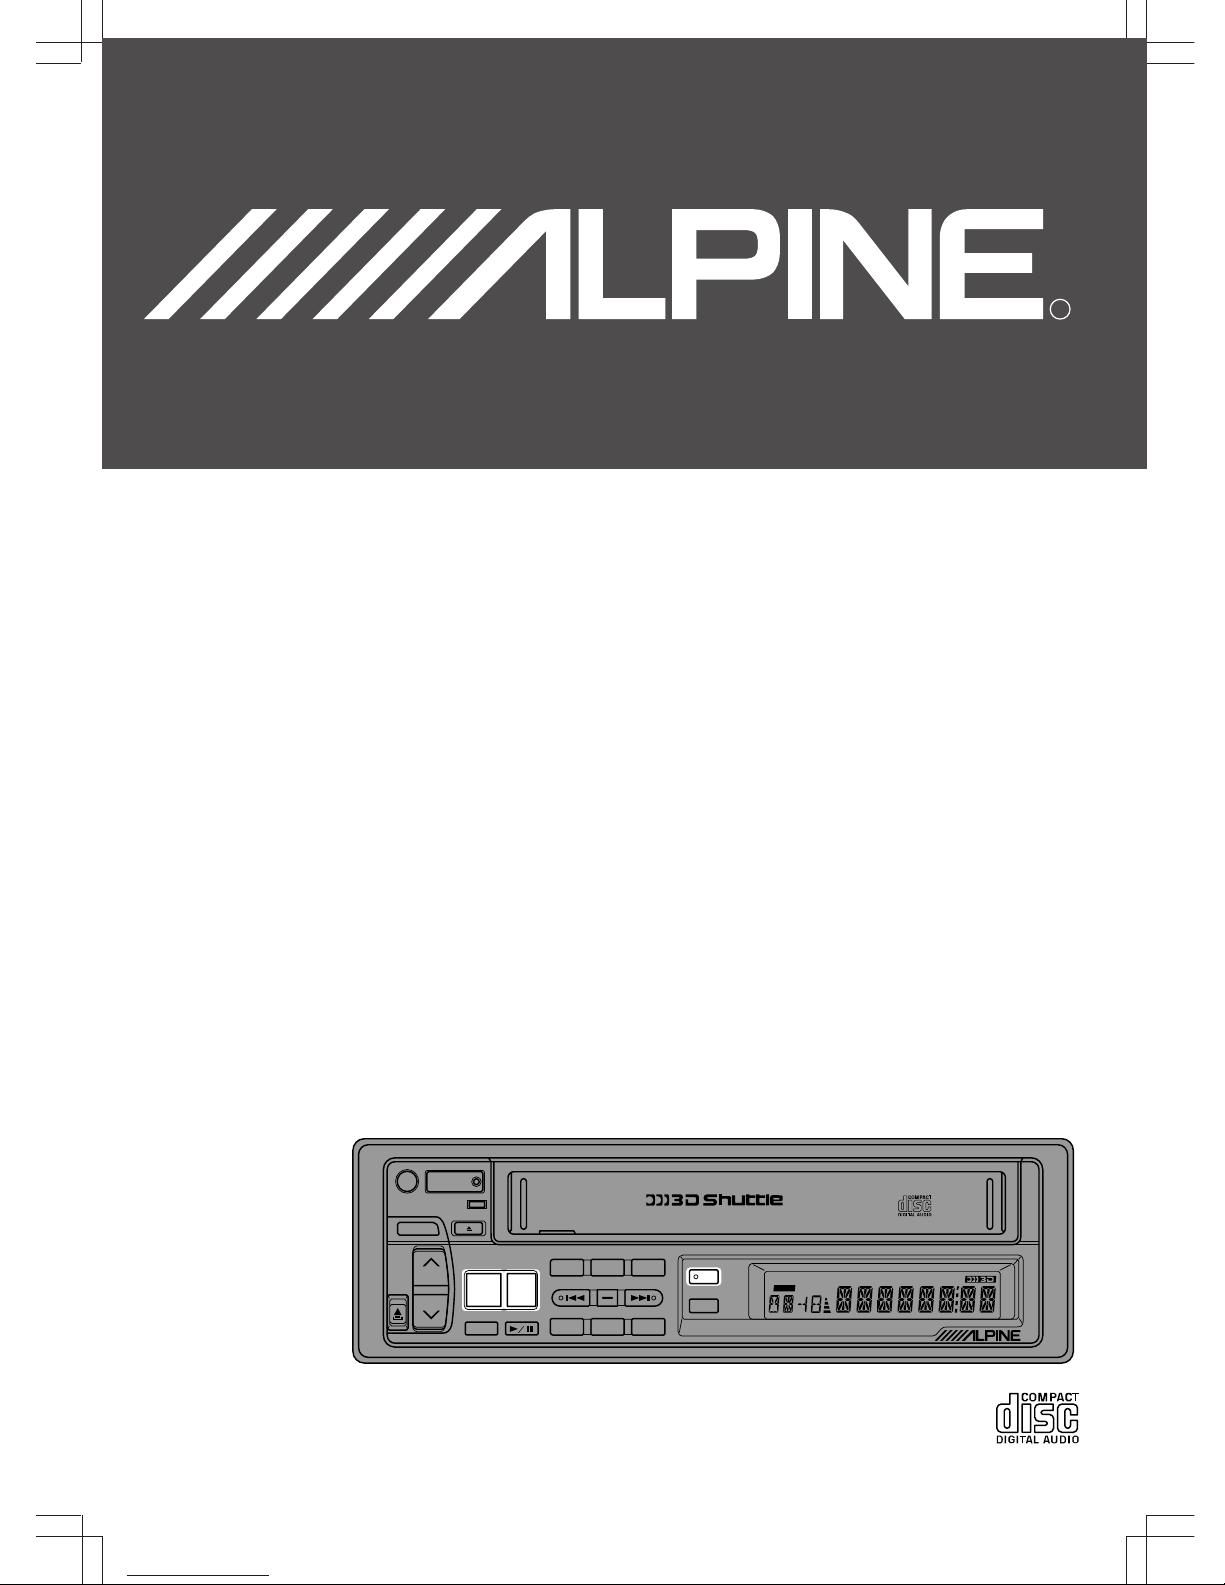
Alpine 3DE-7985E User manual

1
FROM 3DE-7985-3L 11-4-96
R
OWNER'S MANUAL
Please read before using this equipment.
Tuner/CD Changer
3DE-7985E
Z–ACTION MECHANISM
PWR
DN TUNE/A.ME UP
CT H M
CLK
TUNER
/
CD CHANGER
3DE-7985E
INTLZ
ACTION
■
DISC TITLE MEMORY
MODE
/
LOUD
BAND
D.A.P. MONO12 3
M.I.X. RPT45 6SCAN
MUTE
T. RCL
F
TITLE
DX
MOLD RPT
ST M.I.X.
SEEK
ALL
D.A.P
.
SOURCE
A.S.U.

2
Contents
PRECAUTIONS ....................................................... 3
DETACHABLE FRONT PANEL.............................. 6
BASIC OPERATION................................................ 7
RADIO OPERATION ............................................. 12
CD OPERATION.................................................... 23
CLOCK OPERATION ............................................ 32
REMOTE CONTROL ............................................. 34
DISC CARE ........................................................... 37
IN CASE OF DIFFICULTY..................................... 38
SPECIFICATIONS ................................................. 42

3
Thermal Protection Circuit
Be sure the temperature inside the vehicle is
between +60°C (+140°F) and –10°C (+14°F)
before attempting to play a disc. If the
temperature is over +60°C (+140°F), the
protection circuit functions to stop the CD
player, and "HI-TEMP" is displayed.
Moisture Condensation
You may notice the CD playback sound
wavering due to condensation. If this
happens, remove the disc from the player
and wait about an hour for the moisture to
evaporate.
Damaged Disc
Do not attempt to play cracked, warped, or
damaged discs. Playing a bad disc could
severely damage the playback mechanism.
Maintenance
If you have problems, do not attempt to
repair the unit yourself. Return it to your
Alpine dealer or the nearest Alpine Service
Station for servicing.
Precautions
+60°C
–10°C

4
New Discs
As a protective measure, the CD player will
automatically eject discs that have either
been inserted incorrectly or have irregular
surfaces. If a new disc is ejected immediately
after loading, use your finger to feel around
the outer edge of the CD and its center hole.
If you feel any small bumps or irregularities,
this could inhibit proper loading of the disc.
To remove the bumps, rub the inside edge of
the hole and outside edge of the disc with a
ball-point pen or other such instrument, then
insert the disc again.
Handling Magazine
When discs are being exchanged in the 3DE-
7985E, the magazine is pushed out from the
changer. While this operation is in progress,
do not try to pull out the magazine or stop its
movement in any way, as this could cause
damage to the mechanism. In addition, be
aware of the changer's operation so it will not
interfere with your driving. For example,
before changing gears, check the position of
the magazine so as not to hit it while it is
changing discs.
CAUTION:
Do not insert anything other than magazine
into insertion slot.
Precautions
Outside (Bumps)
IMPROPER
IMPROPER
New Disc
Center Hole
Bumps
Center Hole

5
Installation Location
Make sure the 3DE-7985E player/receiver
will not be exposed to:
• Direct sun and heat
• High humidity
• Excessive dust
• Excessive vibrations
Handling the Detachable
Front Panel
• Do not expose to rain or water.
• Do not drop or apply shock.
Precautions

6
Detaching the Front Panel
Press the PWR button to turn off the power.
Press the release button until the front panel
pops out.
Grasp the left side of the front panel and pull
it out.
Note: To protect the front panel, place it
in the supplied carrying case.
Attaching the Front Panel
1. First, insert the right side of the front
panel into the main unit. Align the 2 small
holes on the front panel with the 2
projections on the main unit.
2. Push the left side of the front panel until it
locks firmly into the main unit.
Note: Before attaching the front panel, make
sure that there is no dirt or dust on the
connector terminals and no foreign
object between the front panel and the
main unit.
1
2
3
Detachable Front
Panel
PWR
INTLZ
1
2
1
2

7
Basic Operation
1
1
Initial System Start-Up
Immediately after installing or applying power
to the unit, it should be initialized. To do this,
first, remove the detachable front panel.
Behind the front panel, to the right of the
connector, is a small hole. Using a pencil or
other pointed object, press the red reset
button mounted behind this hole to complete
the initialization procedure.
Turning Power On and Off
Press the PWR button to turn on the unit.
Note: The unit can be turned on by pressing
any other button except the eject (
h
)
and CLK buttons.
The volume level gradually increases to the
previous level you were listening to before
the unit was turned off.
Press the PWR button again to turn off the
unit.
Note: When Power is turned on for the very
first time, the A.S.U. (Automatic Set-
Up) function will be initiated automati-
cally. See A.S.U. description below.
1
1
PWR
INTLZ

8
Automatic Setup (A.S.U.)
This convenient feature sets up the unit
automatically after installation.
Press the PWR button to turn on the unit.
Press and hold the A.S.U. (Automatic Setup)
button for at least 3seconds to activate the
A.S.U. mode.
"A.S.U." will blink in the display.
The unit will automatically perform the
following operation.
1. Activates Auto Memory mode.
2. Gradually sets the Bass, Treble, Balance
and Fader controls to their center
positions, and turns the Loudness mode
on.
3. Increases gradually the volume level up to
the 12 position in the display.
4. Ends the A.S.U. mode.
Note: When the power is turned on immedi-
ately after installation, the A.S.U.
function is activated automatically.
Basic Operation
1
1
2
PWR
INTLZ
2
SOURCE
A.S.U.

9
Adjusting Volume/Bass/
Treble/Balance/Fader
Press and release the MODE/LOUD button
repeatedly to choose the desired mode.
Note: If the or button is not pressed in 5
seconds after selecting the BASS,
TREB, BAL and FAD modes, the unit
automatically returns to the VOL mode.
Press the button or until the desired
sound is obtained in each mode.
Notes:
• These buttons have a "Dual Speed"
function. Pressing lightly will change the
level slowly. Pressing the buttons harder
will change the level quickly.
• The BASS and TREBLE settings for each
source (FM, AM and CD) are automati-
cally memorized. These settings remain
until you manually change them.
Turning Loudness On/Off
Loudness introduces a special low- and high-
frequency emphasis at low listening levels to
compensate for the ear's decreased sensitiv-
ity to bass and treble sound.
Press and hold the MODE/LOUD button for
at least 2seconds to activate or deactivate
the loudness mode.
LD will appear in the upper, left corner of the
display to indicate the Loudness function is
on.
Basic Operation
MODE
/
LOUD
1VOL
TREB
BASS
BAL
FAD
2
1LD
MODE
/
LOUD

10
Basic Operation
Audio Mute Function
Activating this function will instantly lower the
volume level by 20 dB.
To activate, press the MUTE button. MUTE
will flash in the display and the audio level
will decrease by about 20 dB. Pressing the
MUTE button again will bring the audio back
to its previous level and the display will return
to normal.
Turning Cellular Mute Mode
On/Off
With a cellular phone connected, audio will
be interrupted whenever a call is received.
This function can be turned ON or OFF from
the head unit by following procedure below.
Press and hold the PWR button for at least 3
seconds.
Press the Preset 3 button to select the MUTE
ON or OFF mode.
Press the PWR button to activate the normal
mode.
1
1
MUTE
2
1
3
PWR
INTLZ
PWR
INTLZ
MUTE ON
MUTE OFF
1.# 2
3

11
Basic Operation
1.#
2
Sound Guide Function
This function will give audible feedback with
varying tones depending upon the button
pressed.
Press and hold the PWR button for more
than 3seconds.
Press the Preset 1 button and the display
shows "BEEP ON."
Pressing the button again turns the Sound
Guide function off. "BEEP OFF" will be
displayed and no tones will be heard.
Press the PWR button to activate the normal
mode.
ACT Function
Touching the CD magazine during its eject or
disc change cycle can damage the mecha-
nism. To prevent this, a warning light and
beep will activate while the cycle is in
progress. The audible beep may be disabled
leaving only the warning light active.
Press and hold the PWR button for at least 3
seconds.
Press the Preset 2 button to select the ACT
ON or OFF mode.
Press the PWR button to activate the normal
mode.
PWR
INTLZ
1
2
BEEP ON
BEEP OFF
D.A.P. 1
3
PWR
INTLZ
2
1.3
PWR
INTLZ
1
2
MONO2
ACT ON
ACT OFF
3
PWR
INTLZ

12
Radio Operation
Manual Tuning
Press the SOURCE button to select the
radio mode.
Press the BAND button repeatedly until the
desired radio band is displayed.
Press the TUNE button repeatedly until "DX
SEEK" and "SEEK" disappears from the
display.
Note: The initial mode is DX SEEK.
Press the DN (
c
) or UP (
f
) button to move
downward or upward one step respectively
until the desired station frequency is
displayed.
1
12 4
3
UP
DN
2
3
4
90.1
F1
F1
F2
AM
BAND
SEEK
SEEK
DX
(OFF)
TUNE/A.ME
TUNER 3D
SOURCE
A.S.U.

13
Radio Operation
Automatic Seek Tuning
Press the SOURCE button to select the
mode.
Press the BAND button repeatedly until the
desired radio band is displayed.
Press the TUNE button to illuminate the DX
and SEEK indicators in the display. With the
DX mode activated, both strong and weak
stations will be tuned automatically.
Press again to return to the local mode. The
DX indicator will turn off and only the SEEK
indicator will remain illuminated. Now only
strong stations will be tuned.
Press the DN (
c
) or UP (
f
) button to
automatically seek a station downward or
upward respectively.
The unit will stop at the next station it finds.
Press the same button again to seek next
station.
12 4
3
1
2
3
F1
F2
AM
BAND
SEEK
SEEK
DX
(OFF)
TUNE/A.ME
TUNER 3D
4
UP
90.1
F1
DN
SOURCE
A.S.U.

14
Radio Operation
Manual Storing of Station
Presets
1. Tune in the desired radio station you wish
to store in the preset memory.
2. Press and hold any one of the preset
buttons (1 through 6) for at least 2
seconds. The frequency display will
begin to blink.
3. Press the preset button into which you
wish to store the station while the display
is blinking (within 5 seconds).
The display stops blinking once the
station has been memorized. The display
shows the band, preset No. with a
triangle ( ) and the station frequency
memorized.
4. Repeat the procedure to store 5 other
stations onto the same band.
To use this procedure for other bands,
simply select the band desired and follow
steps 1 – 3 above.
A total of 24 stations can be stored in the
preset memory (6 stations for each band;
FM1, FM2, AM and D.A.P.).
Note: If you store a station in a preset
memory which already has a station,
the current station will be cleared and
replaced with the new station.
1
1
CT H M
D.A.P. MONO
12 3
M.I.X. RPT
45 6
SCAN

15
Radio Operation
1
Mono/Stereo Switching
Press the "F" button. The function indicator
on the button will turn off.
"ST" indicator appears when a stereo station
is tuned in.
Press the MONO button to switch from
stereo to monaural FM reception. This will
help in reducing the noise of weak FM Stereo
broadcasts. In the monaural mode, the MO
indicator appears. Press the MONO button
again to return to the stereo mode.
Press the "F" button to activate the normal
mode. The function indicator will illuminate.
F
MONO2
1.#2
2
90.1
F1 ST
90.1
F1MO
3
F

16
Radio Operation
Automatic Memory of Sta-
tion Presets
Press the SOURCE button to select the radio
mode.
Press the BAND button repeatedly until the
desired radio band is displayed.
Press and hold the A. ME button for at least 2
seconds. The frequency on the display
continues to change while the automatic
memory is in progress.
The tuner will automatically seek and store 6
strong stations in the selected band in order
of signal strength.
When the automatic memory has been
completed, the tuner goes to the station
stored in the preset location No. 1.
Note: If no stations are stored, the tuner will
return to the original station you were
listening to before the auto memory
procedure began.
1
123
2
A-MEMORY
F1
F2
AM
BAND
TUNE/A.ME
3
TUNER 3D
SOURCE
A.S.U.

17
Radio Operation
Storing into Direct Access
Preset (D.A.P.) Band
A combination of radio stations from any
band, AM and FM (up to 6 stations) can be
manually preset onto the D.A.P. band.
Press the "F" button. The function indicator
will turn off.
Press the D.A.P. button until the D.A.P.
indicator appears.
Press the BAND button to select FM or AM.
The selected band will be displayed.
To memorize stations onto the D.A.P. band,
follow the steps for the automatic or Manual
Storing of Station Presets section above.
Note: When Automatic Memory Preset is
used with D.A.P., 4 FM and 2 AM
stations will be stored in Presets 1 – 4
and 5 – 6 respectively.
To cancel the D.A.P. mode, press the D.A.P.
button. The D.A.P. indicator will turn off.
Press the "F" button to activate the normal
mode. The function indicator will illuminate.
2
D.A.P
.
1.#2
D.A.P. 1
1
F
3
F

18
Radio Operation
Tuning to Preset Stations
Press the SOURCE button to select the radio
mode.
Press the BAND button repeatedly until the
desired band is displayed.
To select the D.A.P. band, press the "F"
button then the D.A.P. button.
The D.A.P. indicator will appear in the display.
Make sure that the Function indicator
illuminates, and press the station preset
button that has your desired radio station in
memory. The display shows the band, preset
number with a triangle and frequency of the
station selected.
1
3
21
3
F1
F2
AM
D.A.P
.
90.1
F2 2
2
CT H M
D.A.P. MONO
12 3
M.I.X. RPT
45 6
SCAN
TUNER 3D
SOURCE
A.S.U.
BAND

19
Radio Operation
Monitoring Radio Field
Strength T. RCL (Tuner
Recall)
The signal strength conditions of a desired
radio station can be monitored during
playback of the CD player and Tuner.
Receive a desired station.
Press the T.RCL button. "L-" will appear in
the display. Depending upon the stations
signal strength, a number from 1 – 8 will
appear next to the "L". This function can only
be selected in the Tuner mode.
Change source to CD.
Field strength for the station being received
will be displayed during playback.
To turn T. RCL off, return to the Tuner mode
and press the T. RCL button.
Notes:
• In cars using a power antenna, activating
T.RCL will keep the antenna extended
regardless of the source selected (CD).
• T. RCL can only be activated and
deactivated in the tuner mode.
• With T.RCL activated, Radio or CD titles
cannot be displayed or modified.
1.@
1
2
T. RCL
T. RCL

20
Radio Operation
Displaying Station Titles
If a title has been entered for the selected
station, it can be displayed in place of the
frequency. The display will toggle between
the frequency and title display with each
press of the TITLE button.
(Refer to page 21 to title stations.)
1
1
CLK
TITLE
90.1
F1
12:58
F1
ALPINE
F1F1
NORMAL Mode
CLOCK PRIORITY Mode
STATION TITLE Mode
Title entered
Title not entered
Table of contents
Other Alpine Car Receiver manuals

Alpine
Alpine TDA-7563 User manual

Alpine
Alpine TDM-7545R User manual

Alpine
Alpine CDE-133BT User manual

Alpine
Alpine CDA9857 User manual

Alpine
Alpine CDE-130RR User manual

Alpine
Alpine DVA-7996 User manual

Alpine
Alpine CDE-W235EBT User manual

Alpine
Alpine IDA-X300 User manual

Alpine
Alpine CDA-9835R User manual

Alpine
Alpine CDE-178BT User manual

Alpine
Alpine CDE-103BT Instruction Manual

Alpine
Alpine CDE-135EBT User manual

Alpine
Alpine MDM-7741R User manual

Alpine
Alpine CDE-102 User manual

Alpine
Alpine CDA-105Ri User manual

Alpine
Alpine CDA-9830R User manual

Alpine
Alpine CDA-7998 User manual

Alpine
Alpine IVA-D300 User manual

Alpine
Alpine CDM-7856R User manual

Alpine
Alpine IDA-X100 User manual