
4
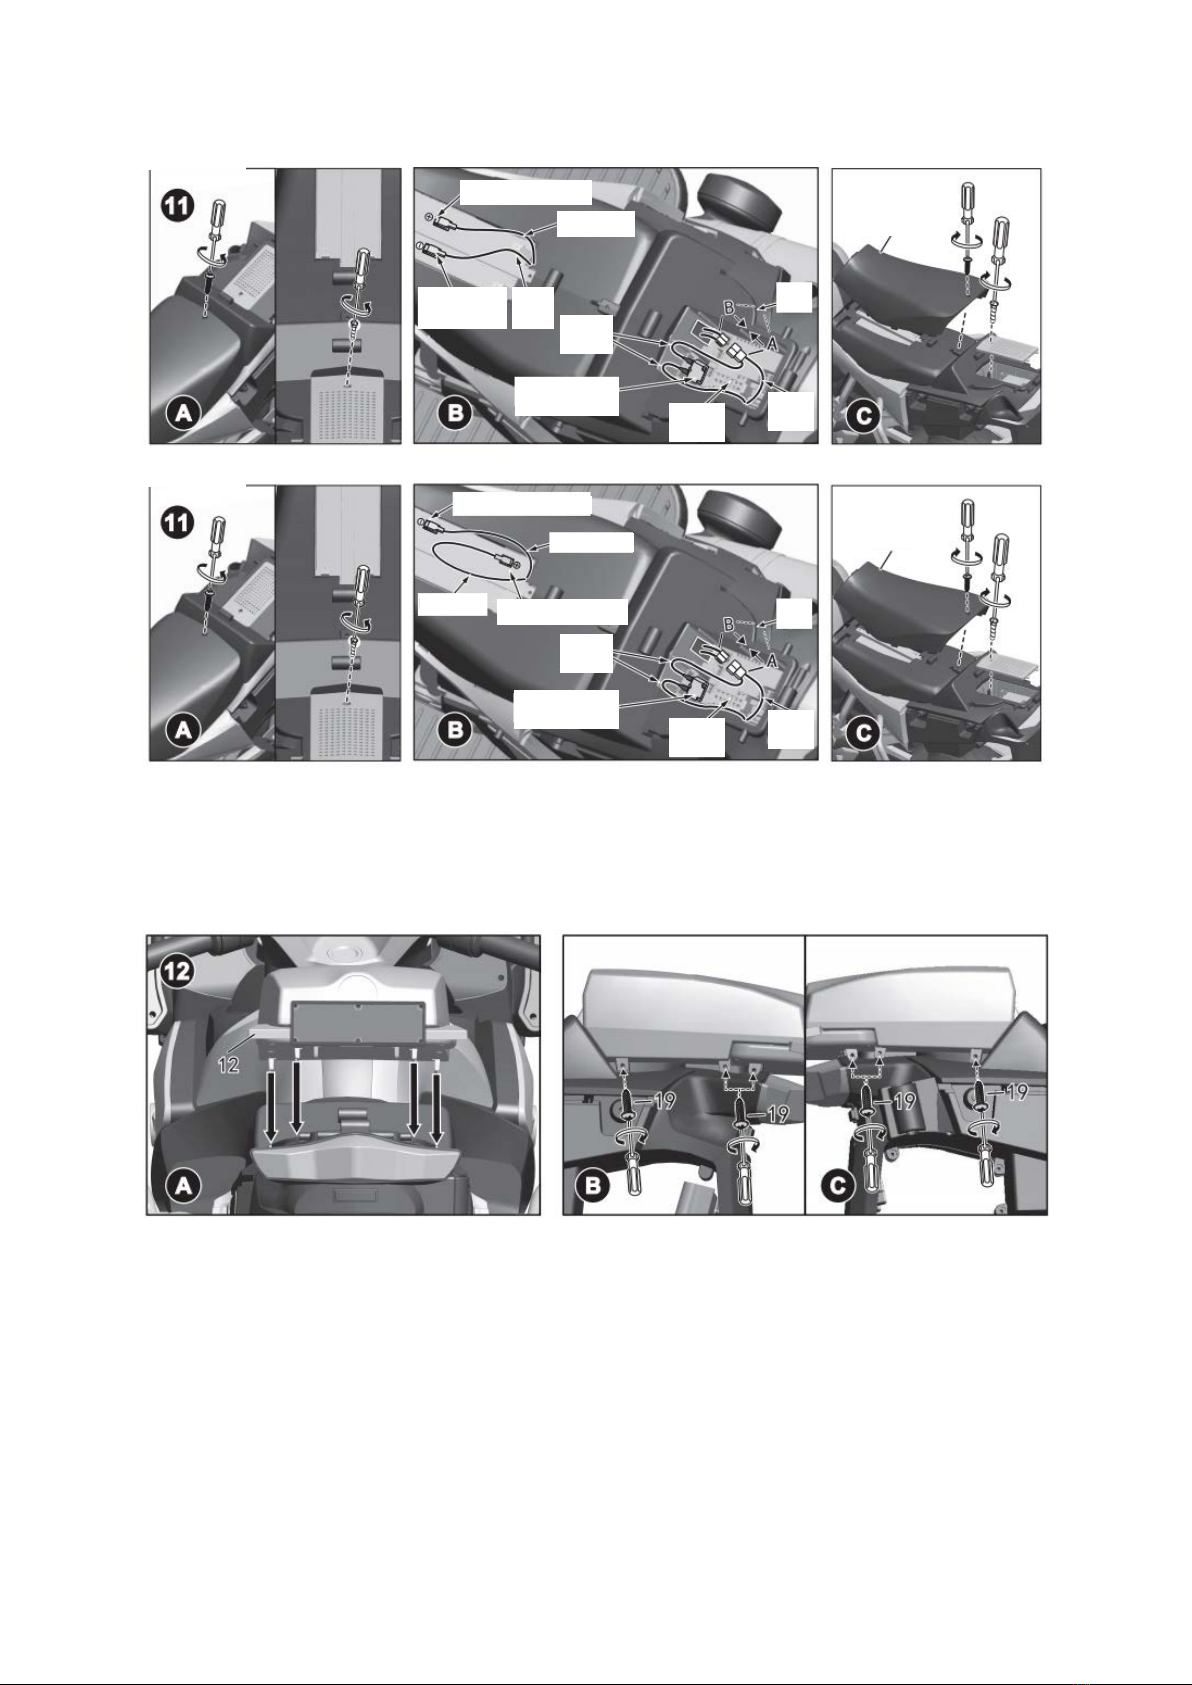
•Loosen the screw of the seat and open the seat; press the left and right toolbox
buttons to open the toolboxes, then remove the screw of taillight holder to open
it and screw off to open the control board box.
•Check the overcurrent protector and use a multimeter to test whether the
overcurrent protector is connected. Replace it if it is damaged.
•After the check, mount the control board box to the designated position and
tighten it with screws; mount the taillight holder to the designated position and
fix it with screws. Then, clamp the covers of the left and right toolboxes. Finally
mount the seat to the designated position and fix it with holder screws.
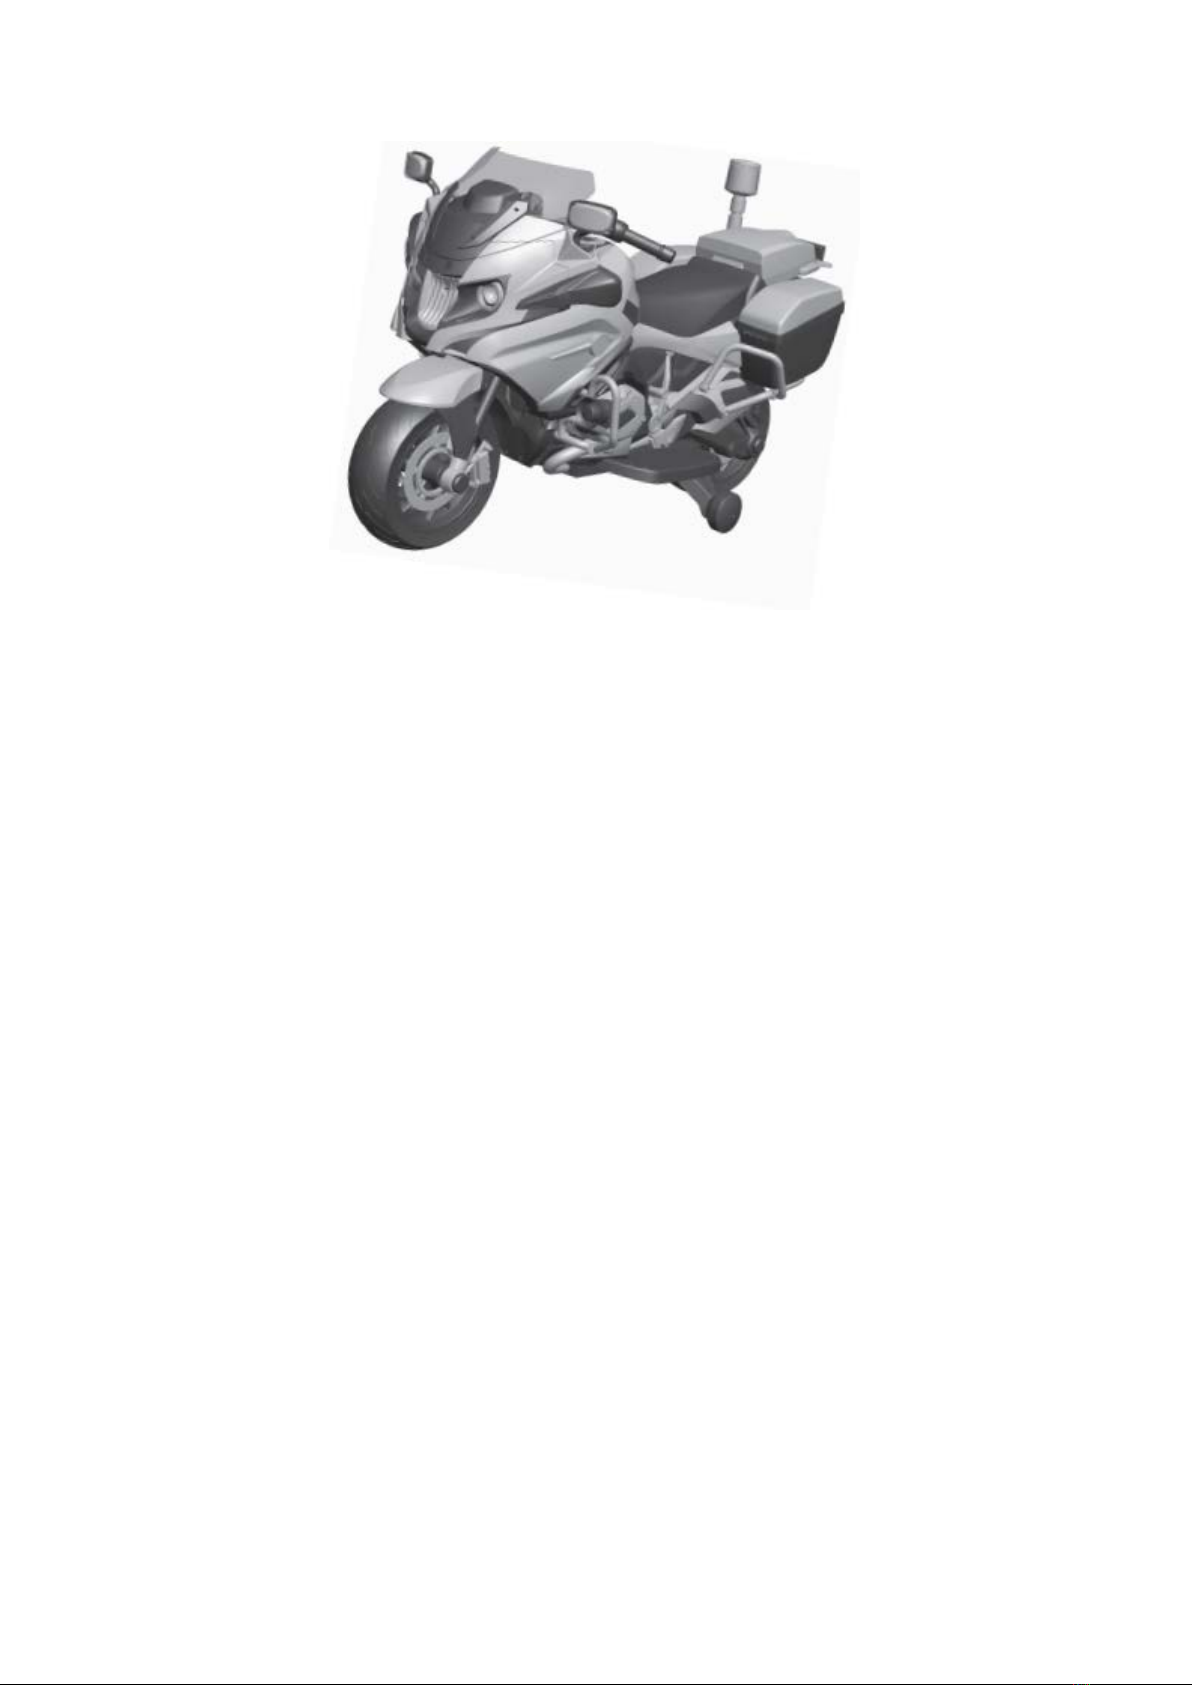
Components
Car Body
-1
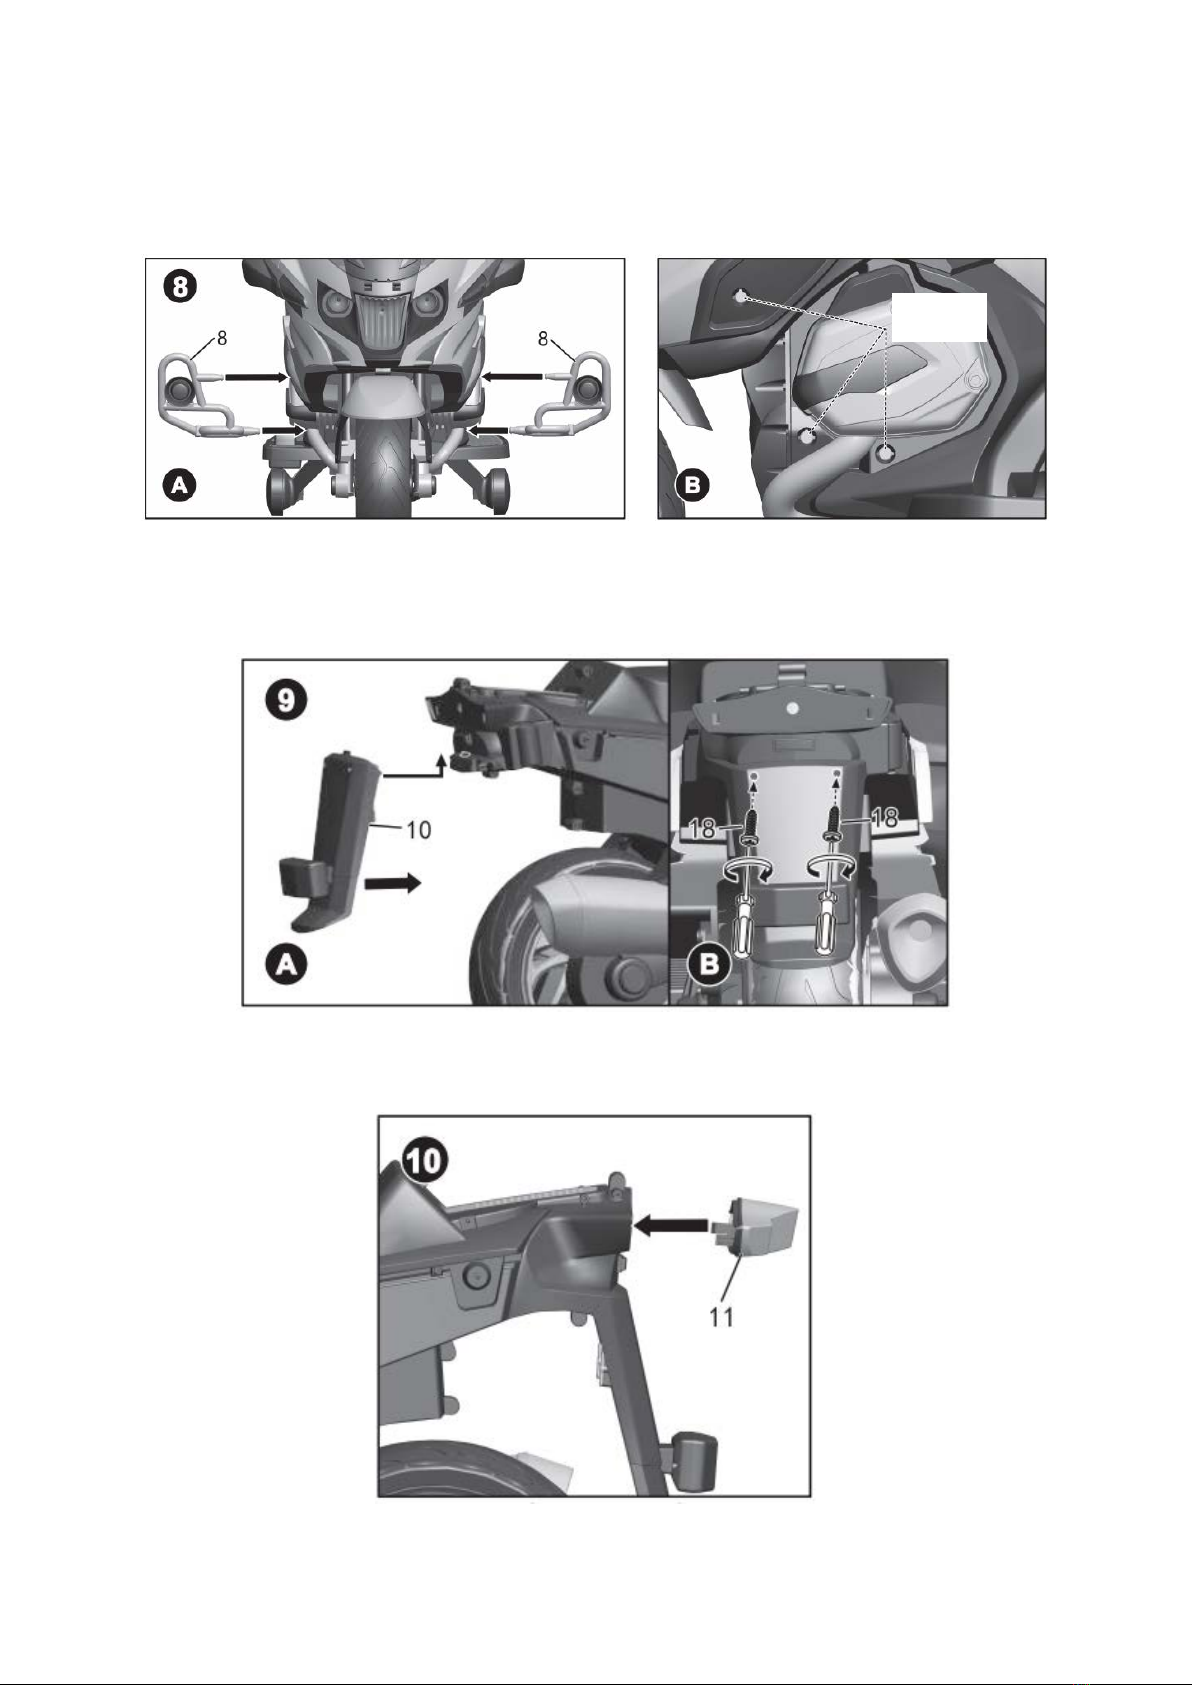
railings
Screw 3.5×15TAB (D=8) 4 pcs
- 16
Left and right rear railings
-9
-17
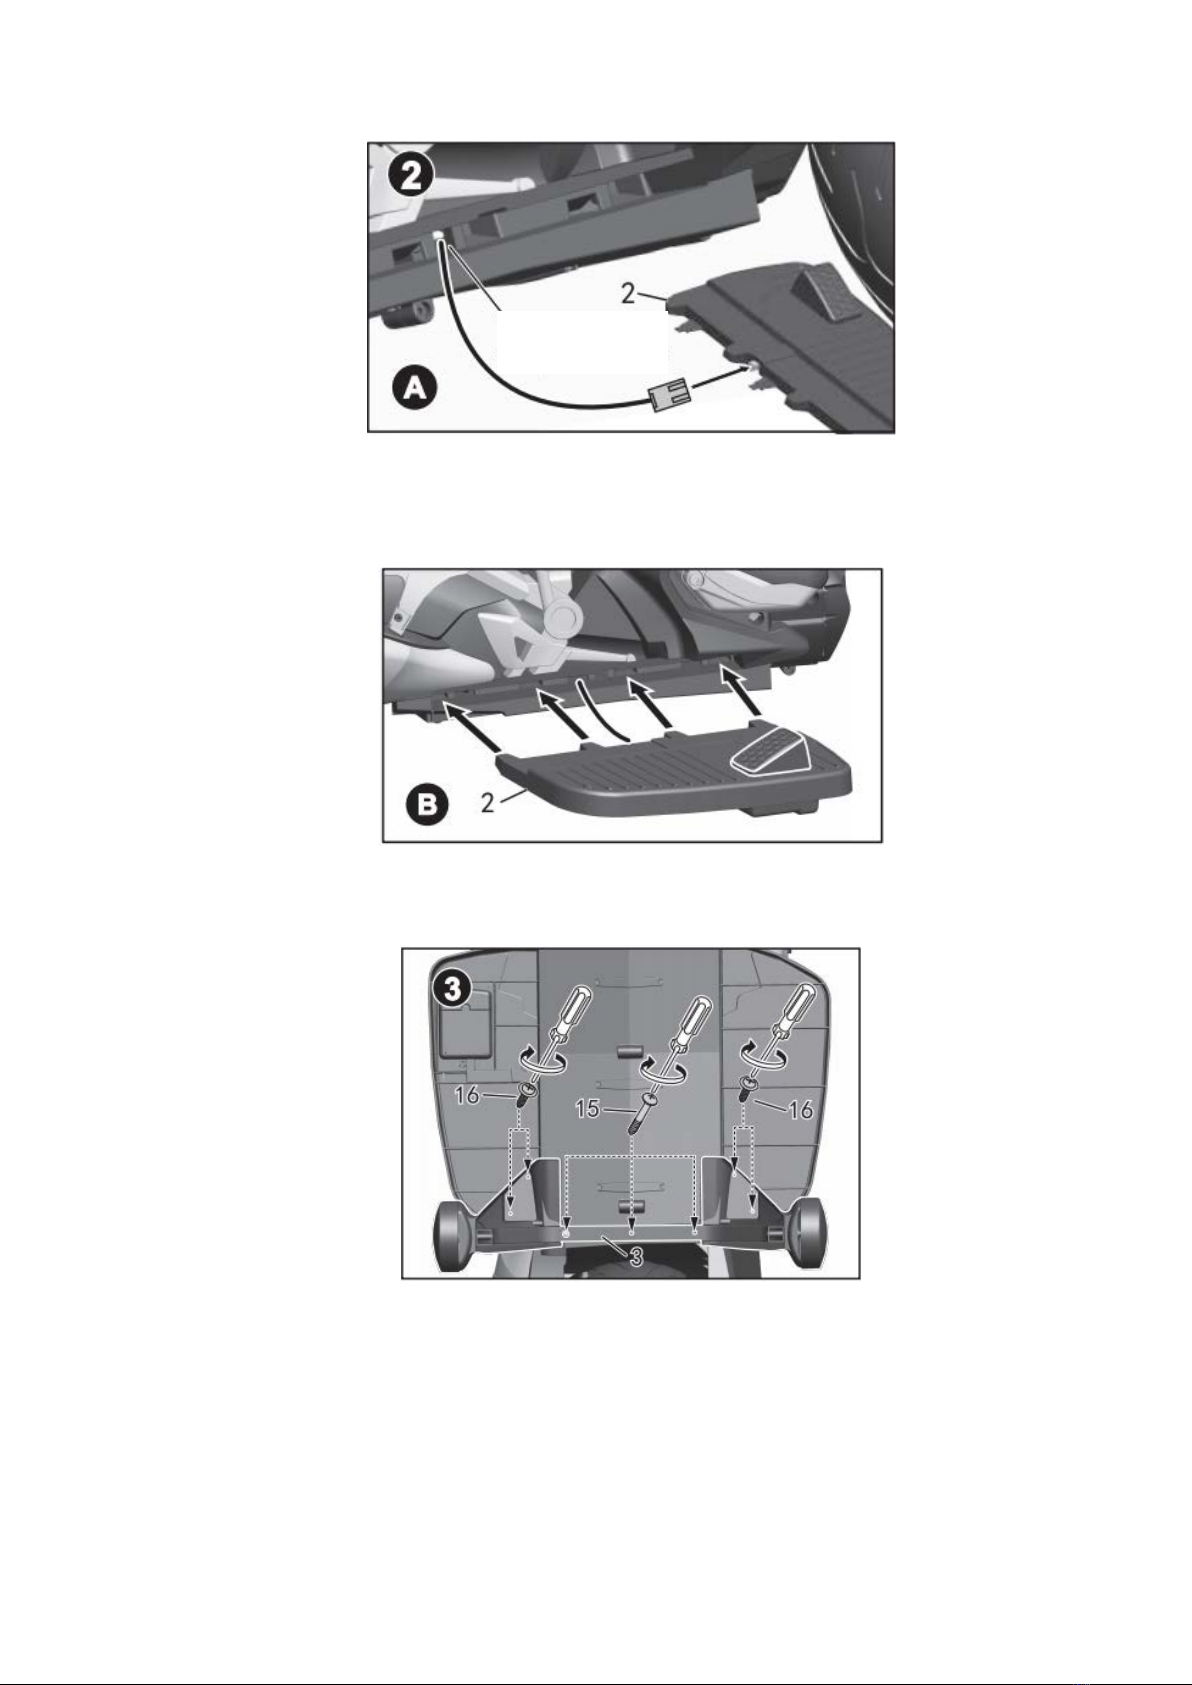
Left and right foot treadles
-2
-10
-18
-3
-11
Screw 4×15TAB(D=7.5) 10 pcs
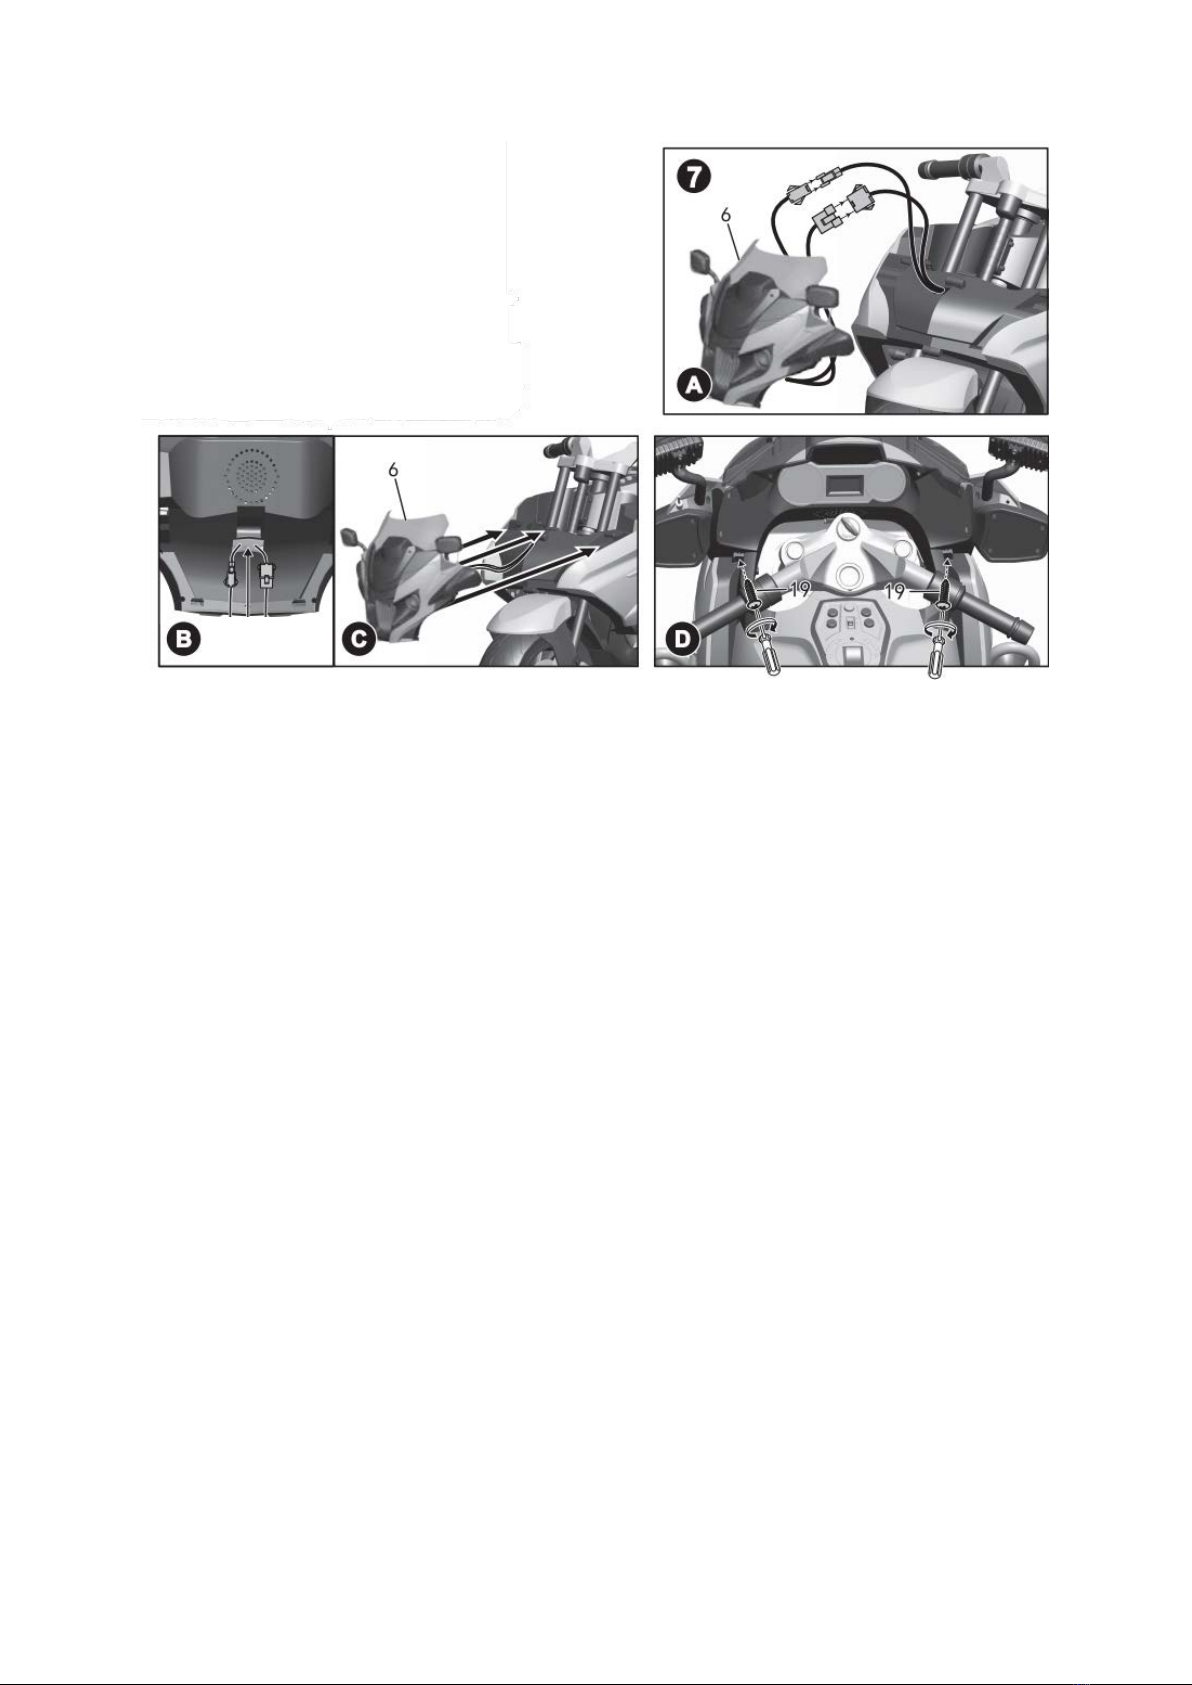
-19
Handlebar rubber sleeve
2 pcs
Screw 4×18TAB (D8.5) 4 pcs


 Supplementary service manual")


