3. Make sure that the frame is plumb, that corner conditions are joined at the correct angles, and that it is
at the correct height. Also, check the measurements of the frame against the shop drawings in several
locations to make sure that the sizes are correct. The grille will not fit if the frame is not installed as
indicated on the shop drawings.
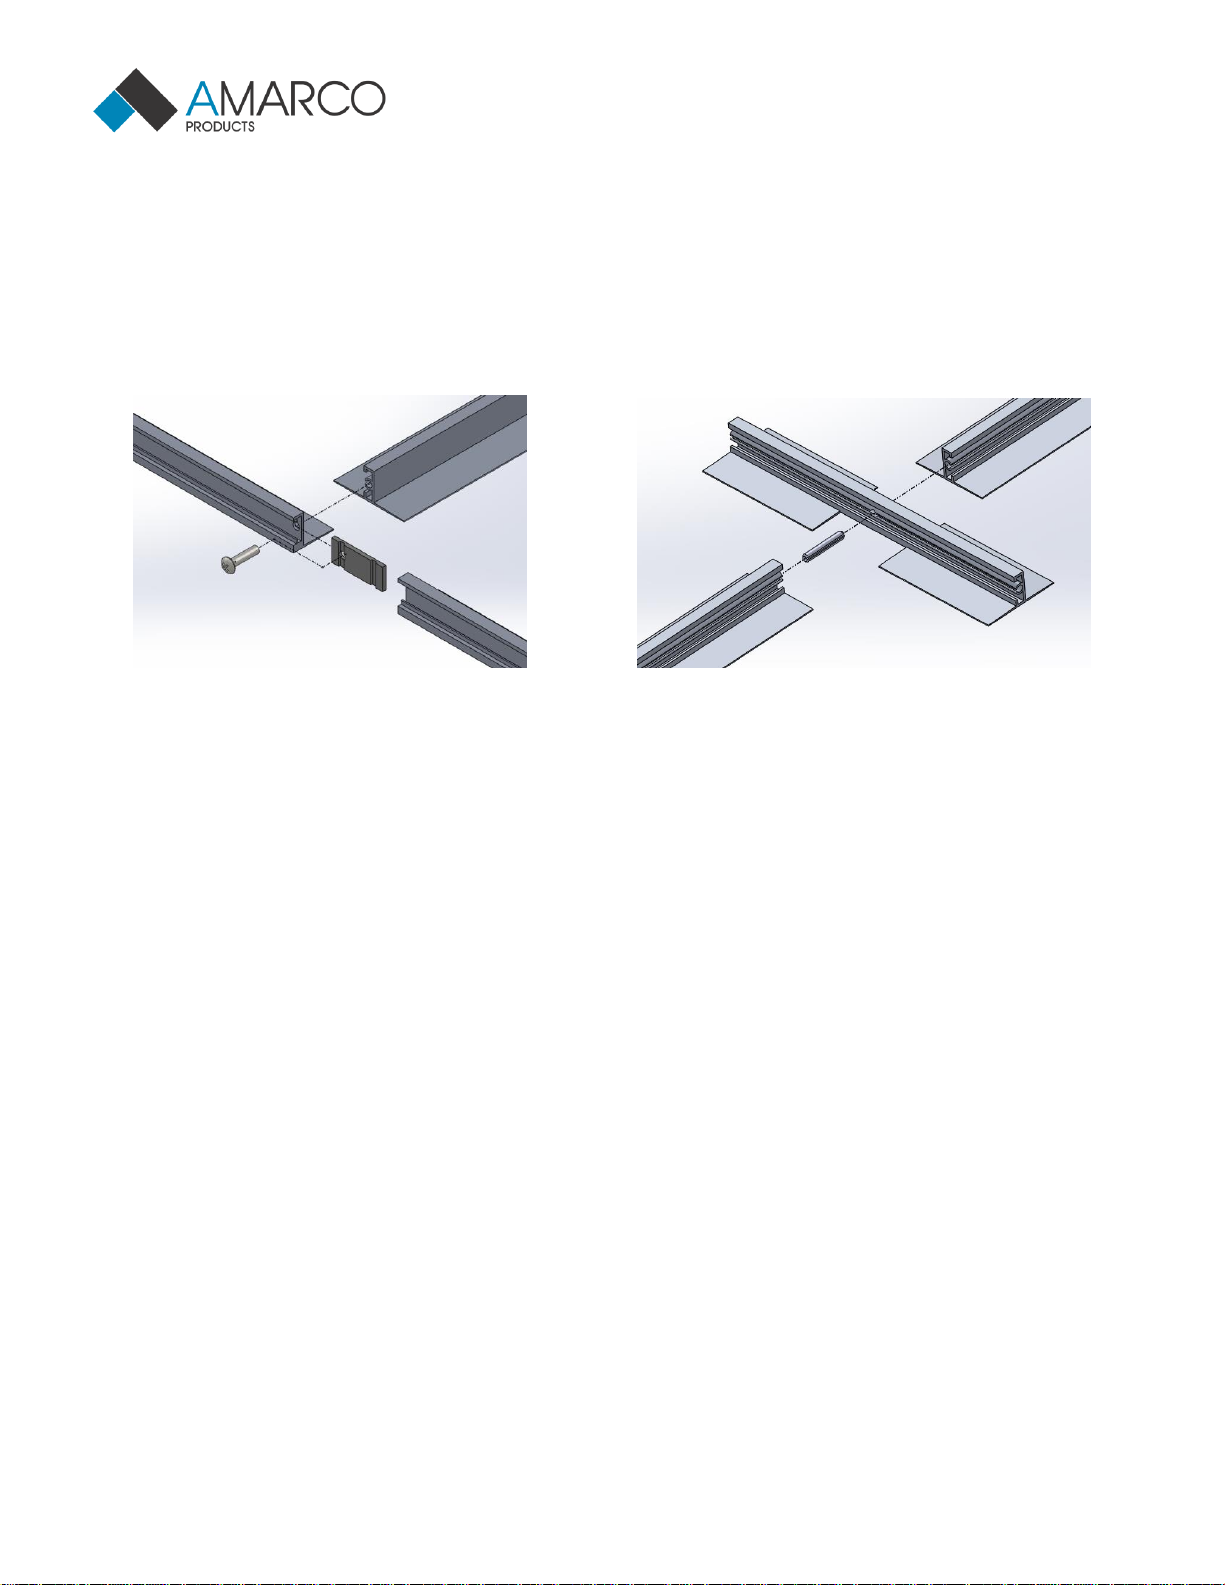
Illustration 1
INSTALL THE FRAME
1. Place the assembled frame into the opening. Shim as necessary to level the frame to the final height of
the finished floor surface.
2. Pour cement mortar around the edges of the frame and the center in sufficient quantity to be level with
the inside lip of the frame.
3. With a board that is slightly shorter than the inside of the frame, smooth and level the mortar. It is
critical that the recess be absolutely flat within 1/8 inch over 10’ and at the correct height to prevent
damage to the product.
4. Before the mortar sets, check the frame to make sure that it is plumb, that the members join at the
correct angles, and that it is at the correct height. Also, check the measurements of the frame against
the shop drawings in several locations to make sure that the sizes are correct. The mat / Grille will not fit
if the frame is not installed exactly as indicated on the shop drawings. Use spreaders if necessary to hold
the frame at the correct dimensions.
5. After the mortar has set, lay the optional drain pan material (if applicable) in the bottom of the recess.
Caulk all edges and seams.
6. When the cement has hardened, install plywood or other material in the recess to protect the edges of
the frame until it is time to install the Grilles. Wait to install the mats / Grilles until the building is ready
for use.


