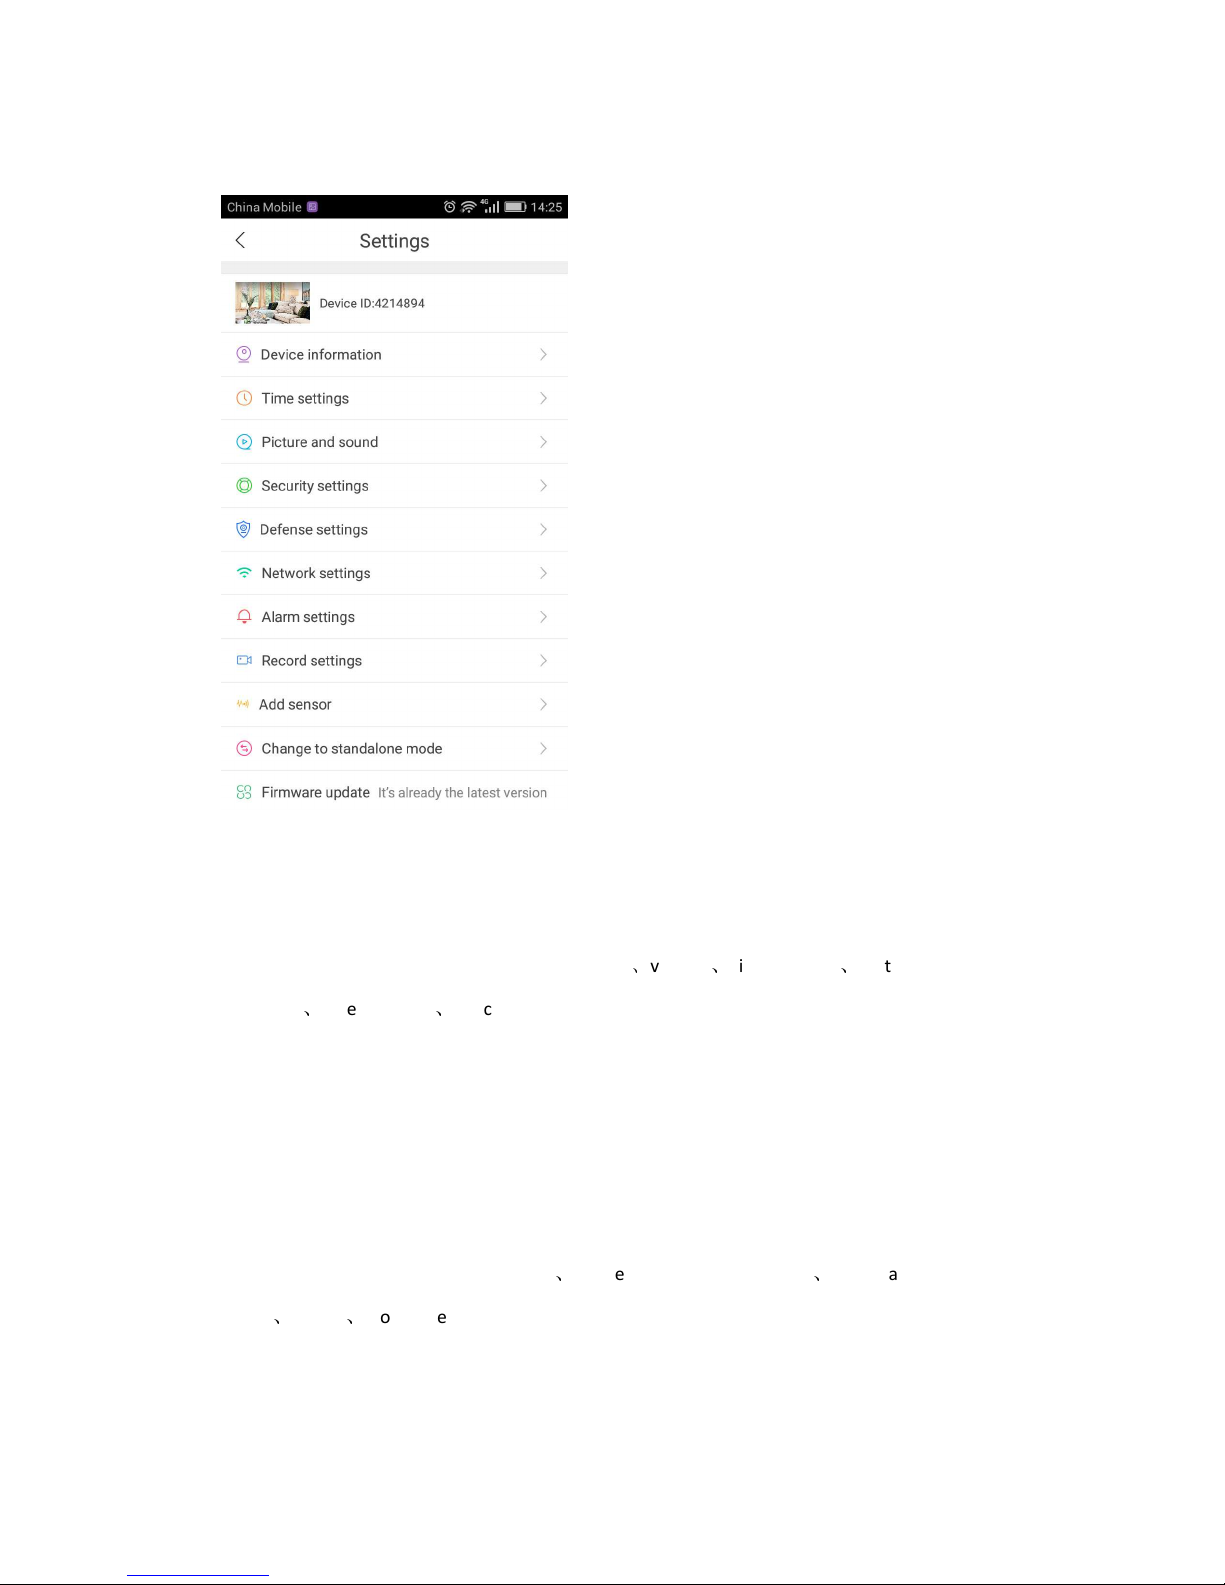
using alarm notification and alarm recording.
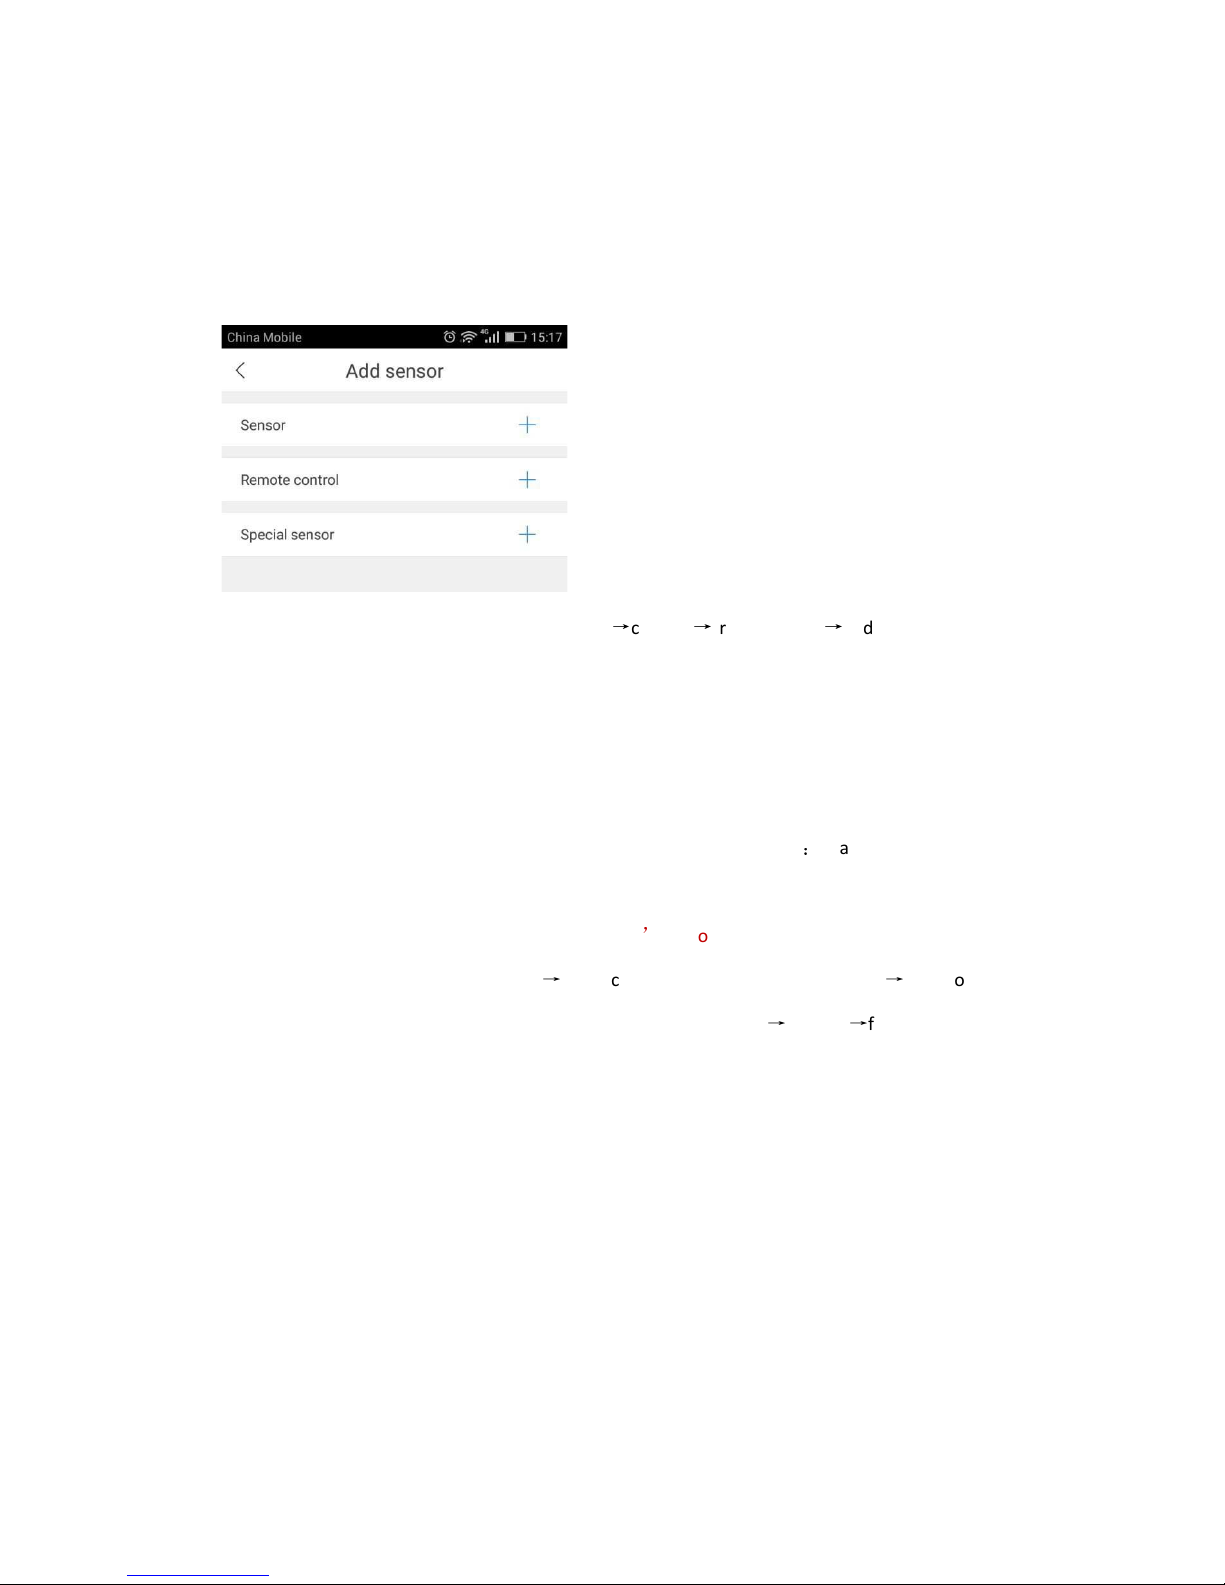
Add sensor (t is function needs device support):it’s available to add ordinary sensor (door
magnetic, PIR), remoter, special sensor (smoke detector, special gas detector).
Adding met ods :click”+” in add sensor interface
confirm
trigger sensor
add successfully.
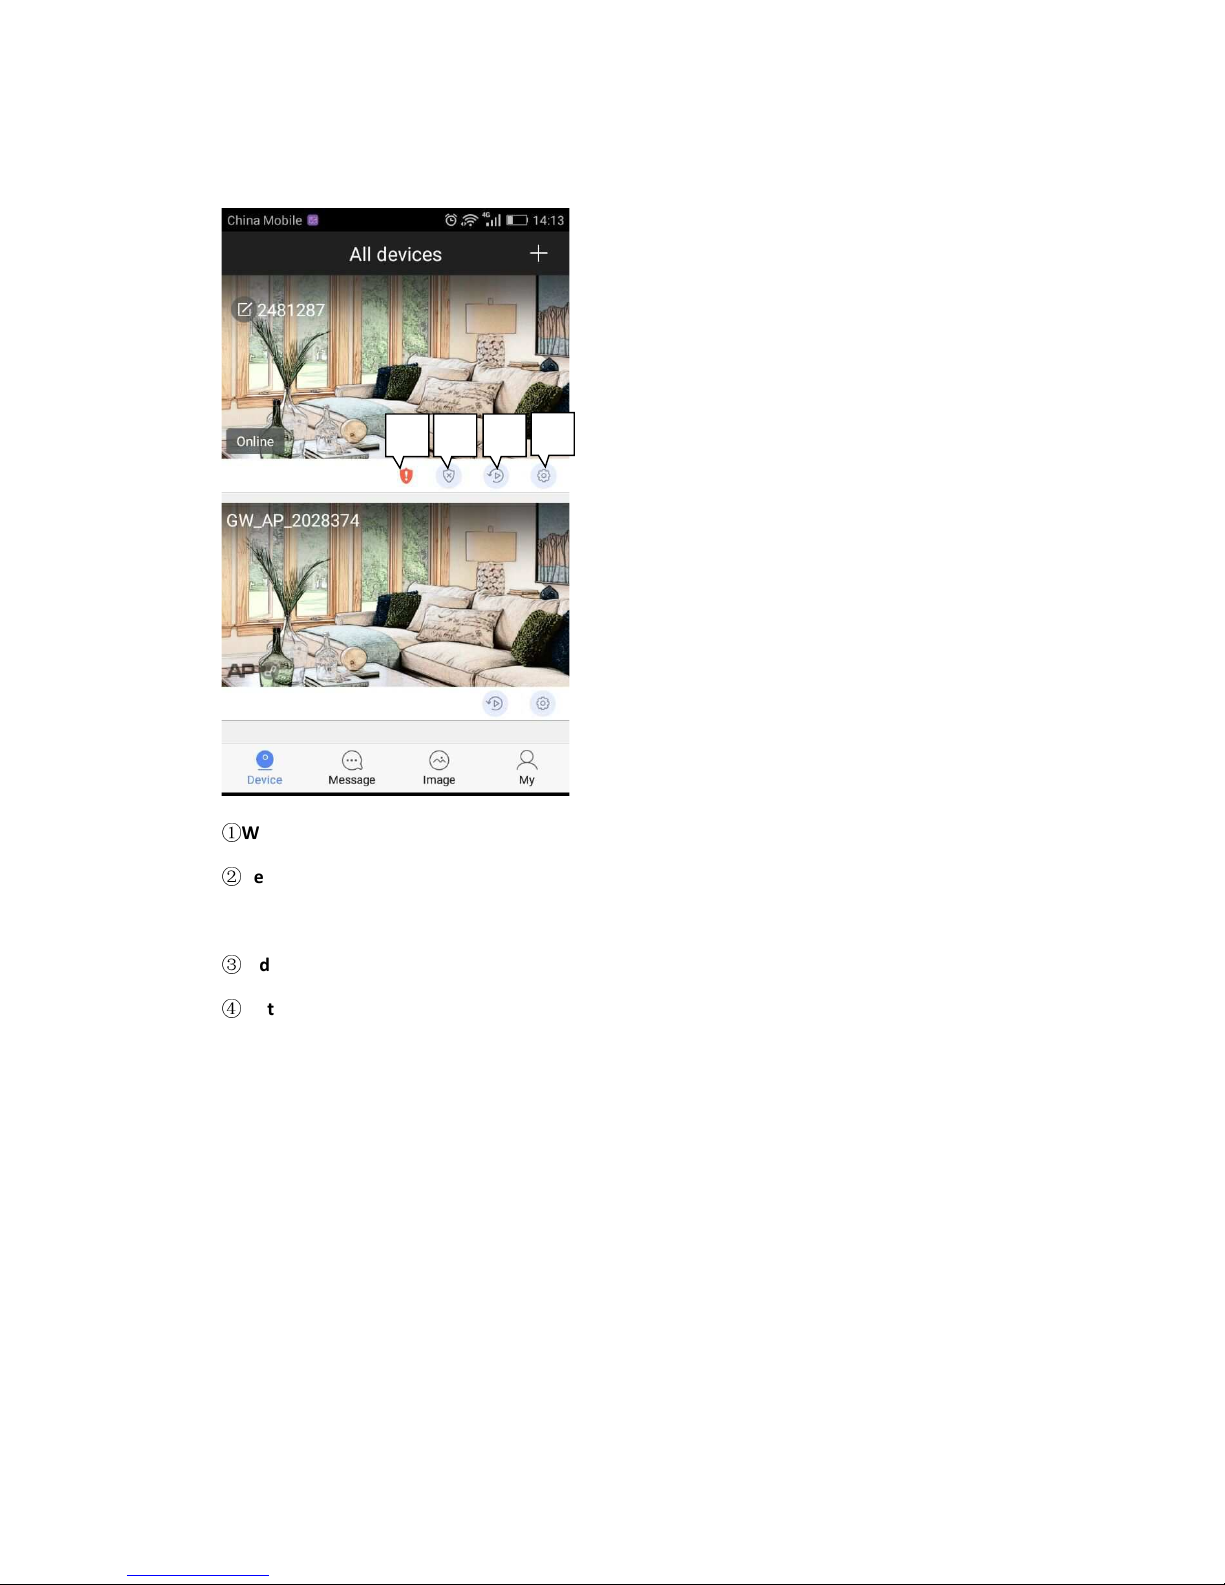
Using case: switc on “receive alarm prompt” in alarm settings after add sensor successfully. And
at t e same time deploying alarm s ould be done. Once door magnetic is triggered after
deploying alarm successfully, device will send alarm notifications to p one APP.
Firmware update:update & optimize device firmware.
Change to standalone mode (t is function needs device support)
it applies to t e users
wit out using router. You can get t roug via AP ot WiFi under t is mode.
Users wit out router can access t roug device
s ot WiFi, details are as follows:
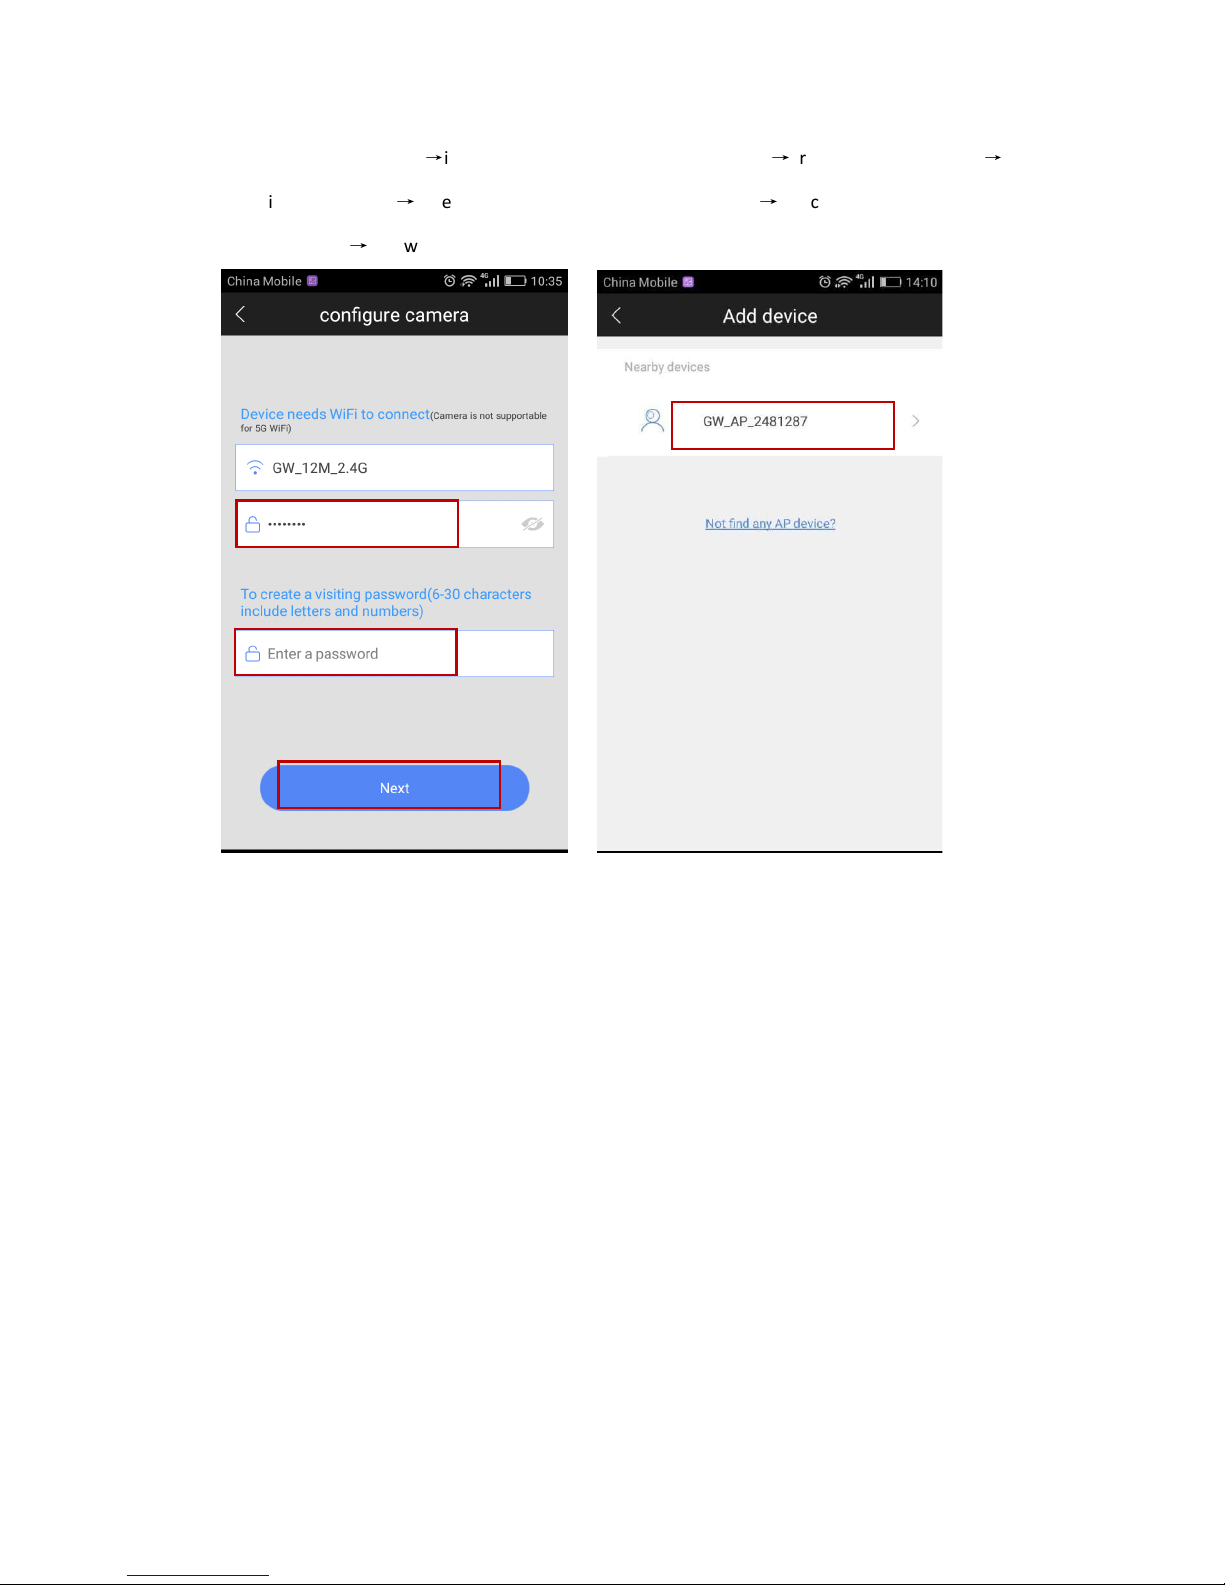
Let device back to t e initialized status
connect device ’s ot WiFi: GW-AP-XXX
back to APP
interface of “configuring camera” and click “skip, s ift to AP mode”
confirm
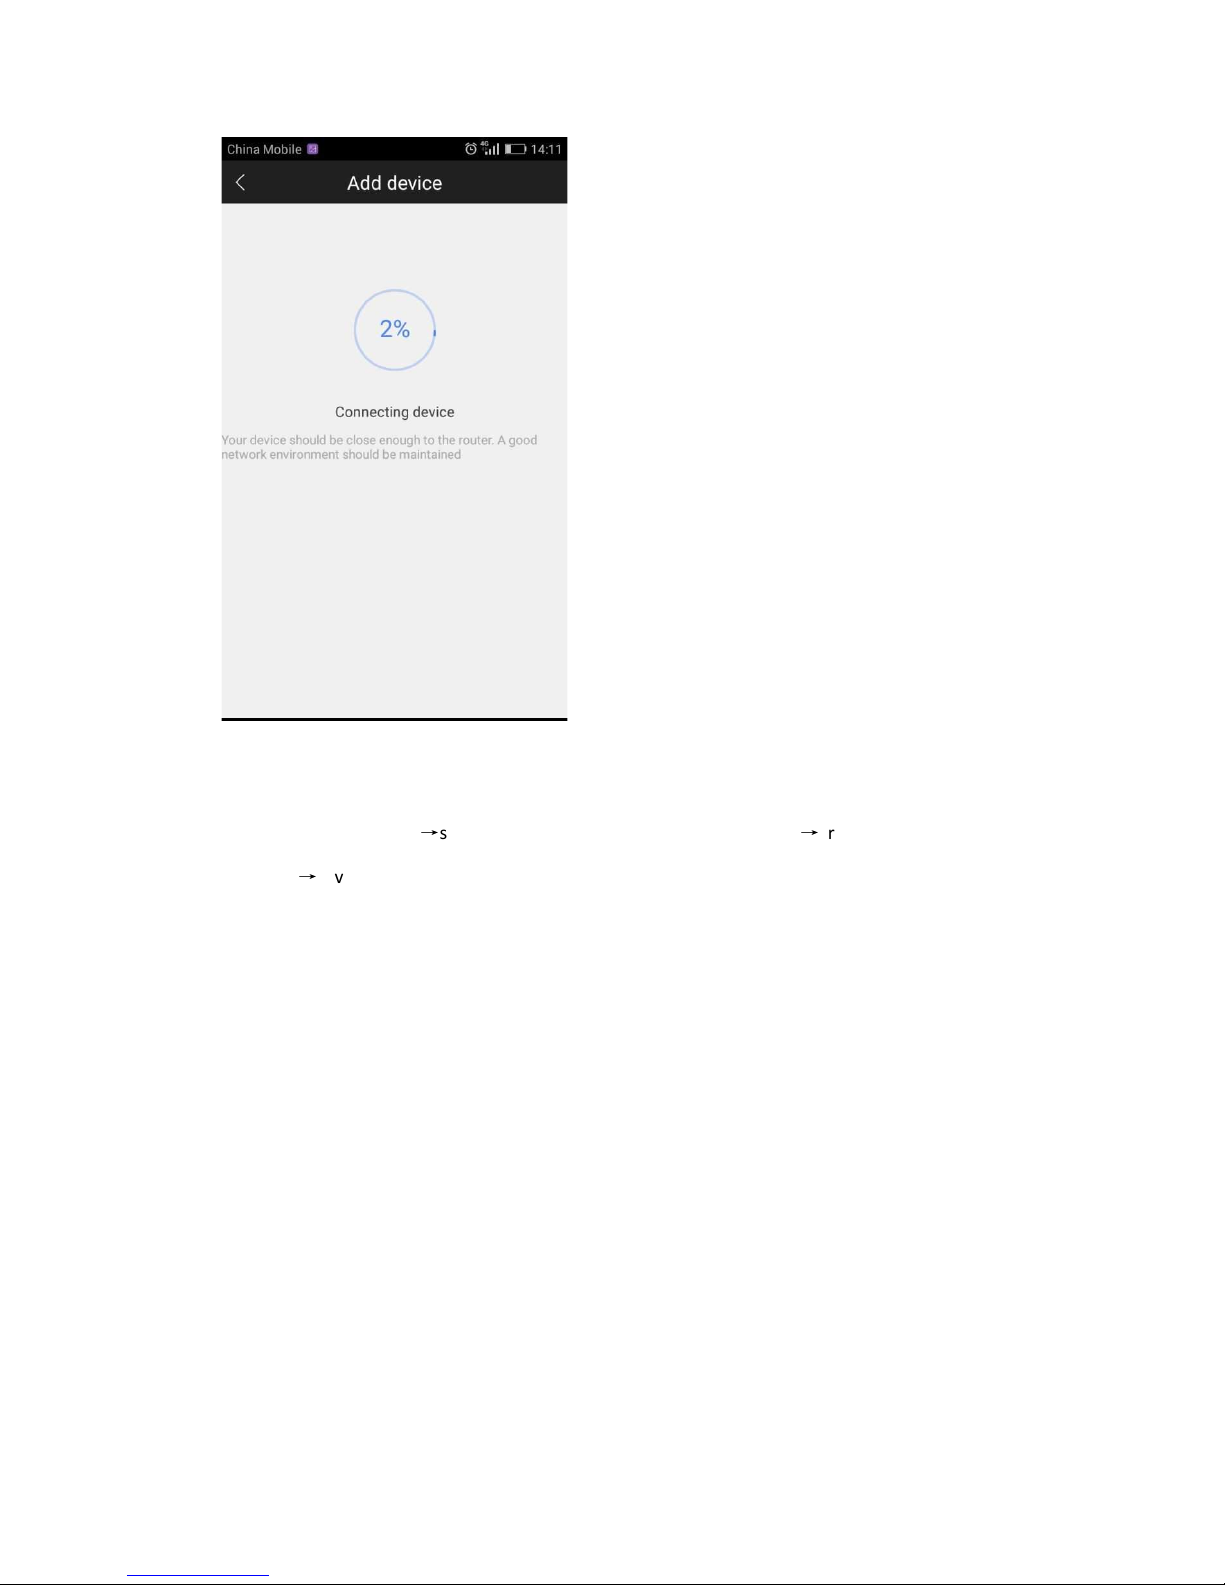
find t e device